프로젝트 환경 설정
0. Gradle이란
Gradle은 CI/CD를 위한 아래 Task들을 자동화 시켜주는 Build Tool이다.
- Compile
- Test
- Packaging
- Deploy & Run
안드로이드를 기준으로 Compile은 Kotlin 파일이나 Java파일을 바이트 코드로 변환해주는 작업이며, Test는 어플리케이션이 제대로 동작할지에 대한 Test(유닛 테스트, UI 테스트 등)를 지원한다. Packaging의 경우에는 코드를 패키징해 aab 파일이나 apk 파일로 만들어주는 것을 뜻하며, Deploy & Run은 코드를 어플리케이션으로 패키징해서 실제 기기에 넣어 실행할 수 있도록 만들어주는 것을 뜻한다.
스프링을 기준으로는 Compile과 Test는 안드로이드와 같으며, Packaing은 스프링 코드를 패키징 해 jar나 war 파일로 만들어준다. Deploy&Run은 만들어진 스프링을 돌려 서버를 실행해주는 것을 뜻한다.
최근 IntelliJ 버전은 Gradle을 통해서 실행 하는 것이 기본 설정이다.
1. 라이브러리 살펴보기
Gradle은 의존관계가 있는 라이브러리를 함께 다운로드 한다.
스프링 부트 라이브러리
- spring-boot-starter-web
- spring-boot-starter-tomcat : 톰캣 (웹서버)
- spring-webmvc : 스프링 웹 MVC
- spring-boot-starter-thymeleaf : 타임리프 템플릿 엔진(View)
- spring-boot-starter(공통) : 스프링 부트 + 스프링 코어 + 로깅
- spring-boot
- spring-core
- spring-boot-starter-logging
- logback, slf4j
- spring-boot
테스트 라이브러리
- spring-boot-starter-test
- junit : 테스트 프레임워크
- mockito : 목 라이브러리
- assertj : 테스트 코드를 좀 더 편하게 작성하게 도와주는 라이브러리
- spring-test : 스프링 통합 테스트 지원
2. View 환경설정
Welcome Page 만들기
//resources/static/index.html
<!DOCTYPE HTML>
<html>
<head>
 <title>Hello</title>
 <meta http-equiv="Content-Type" content="text/html; charset=UTF-8" />
</head>
<body>
Hello
<a href="/hello">hello</a></body>
</html>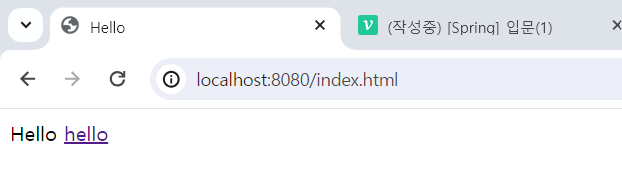
thymeleaf 템플릿 엔진
@Controller
public class HelloController {

    @GetMapping("hello")
    public String hello(Model model) {
        model.addAttribute("data", "hello!!");
        return "hello";
    }
}
//resources/templates/hello.html
<!Doctype HTML>
<html xmlns:th="http://www.thymeleaf.org">
<head>
<title>Hello</title>
<meta http-equiv="Content-Type" content="text/html; charset=UTF-8" />
</head>
<body>
<p th:text="'안녕하세요 . ' + ${data}" >안녕하세요. 손님</p>
</body>
</html>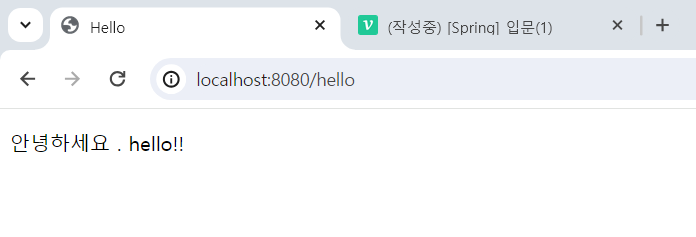
동작 환경 그림
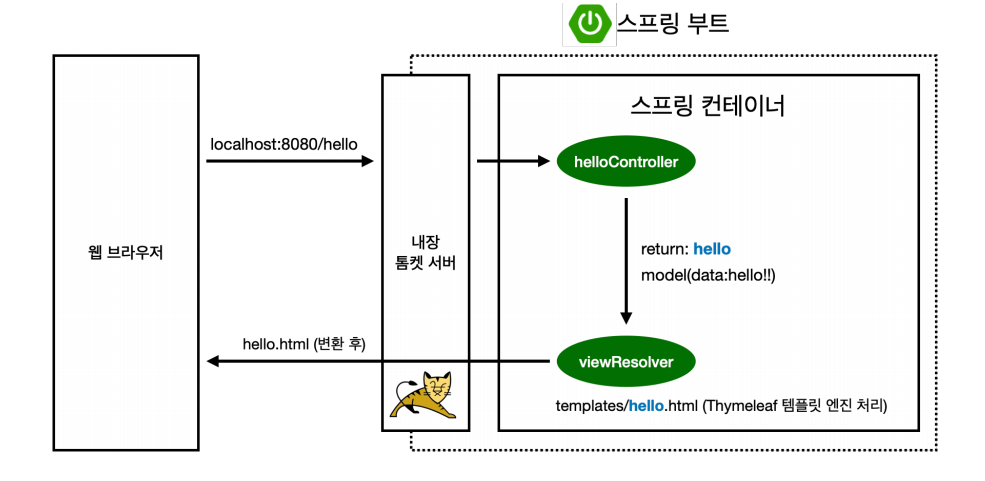
- 컨트롤러에서 리턴 값으로 문자를 반환하면 뷰 리졸버(viewResolver)가 화면을 찾아서 처리한다.
- 스프링 부트 템플릿엔진 기본 viewName 매핑
- resources: templates/ + {ViewName}+.html
3. spring 프로젝트를 윈도우 cmd창에서 빌드하고 실행하기
1. cmd창 켜고, 스프링 프로젝트가 있는 폴더로 이동
> cd 폴더경로2. gradlew 명령어 실행 (아래 순서대로 입력)
> gradlew.bat 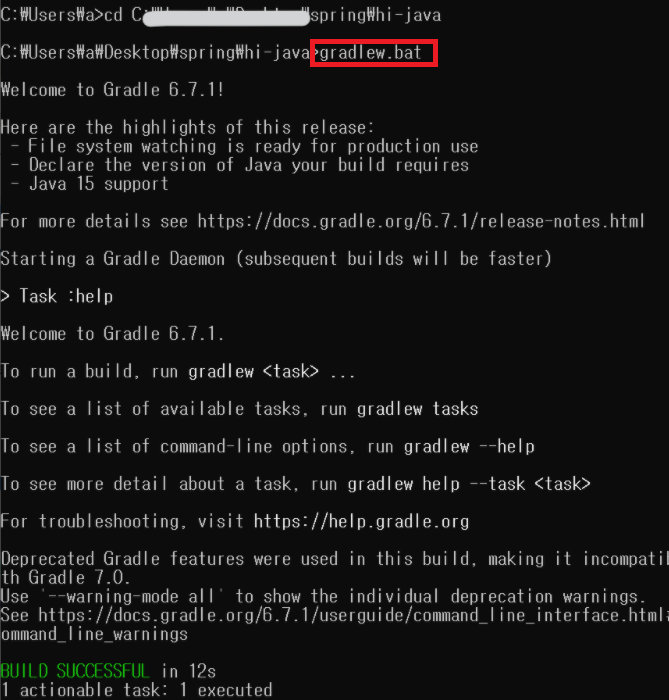
> gradlew build 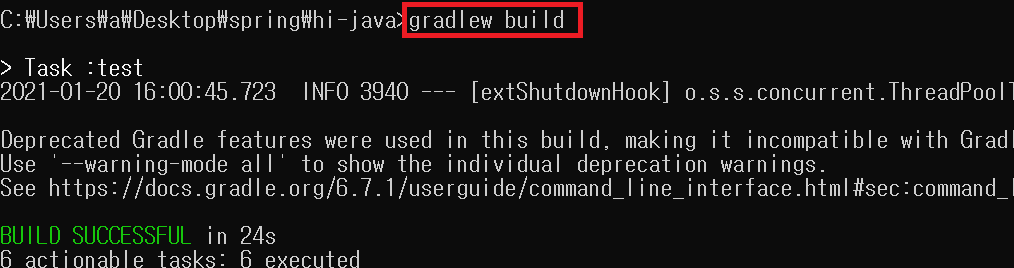
3. 실행파일(.jar) 찾아가기
> cd build
> dir	//build 폴더의 파일/디렉터리 보기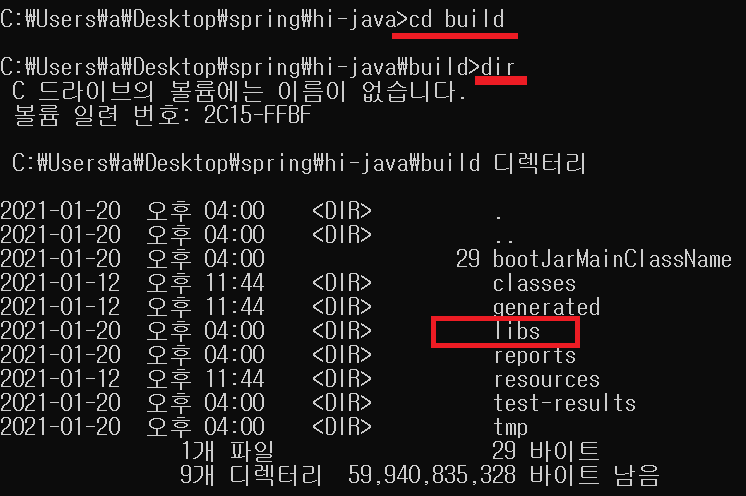
> cd libs
> dir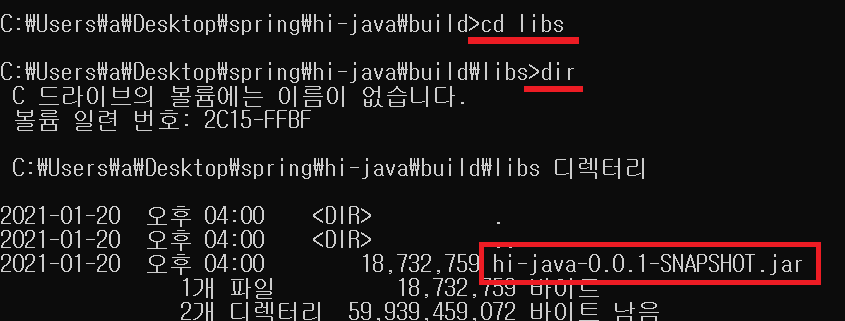
4. 실행
> java -jar 파일명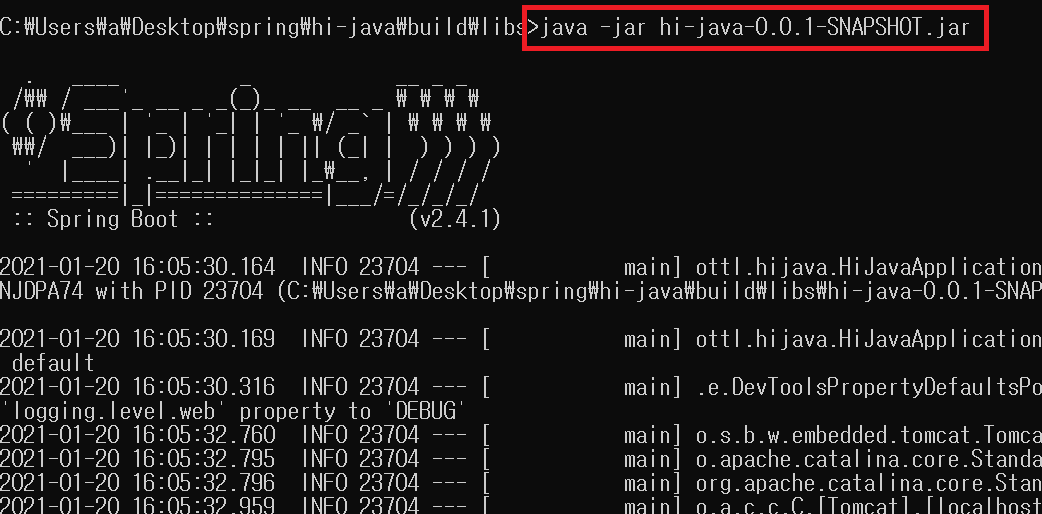

블로그 이전했습니다 -> https://young-code.tistory.com