Client는 React로 작업을 할 것이므로 React를 설치한다
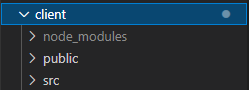
폴더구성은 이렇게 server/client를 구분해주고
터미널에 cd client로 client 폴더로 이동하여 client 개발을 한다
1. Create React App
npx create-react-app .
위 명령어로 설치하면 기본적으로 설치해줘야하는 요소들을 모두 설치하는데, '.'은 현재 dir에 설치하겠다는 것이므로 꼭 넣어주자
npm run start
를 통해 웹페이지를 로컬에 띄우는것 까지 가능하다
2. React Router Dom
화면 이동을 위한 Dependency를 추가해준다
npm install react-router-dom --save
https://reactrouter.com/web/example/basic
react router에 대한 참고 페이지
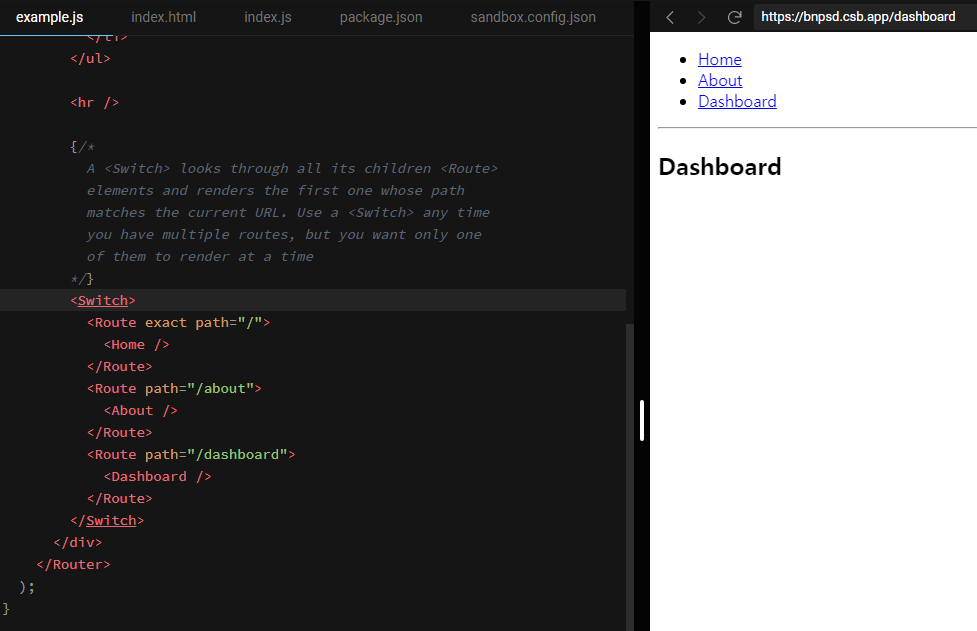
보통 웹 주소에 naver.com/cafe/mycafe 이런식으로 /로 구분을 하는데, Route라는 Component에 path를 위와 같이 지정해주면, 현재 주소를 변경시켜주는 역할을 하는 것이라고 보면 되겠다

app.js에 이렇게 시작할 때 Route를 통해 경로를 지정한다
참고 페이지에 있는것 처럼 import 해줘야할 내용까지 해주면 아래와 같은 모습이 되겠다
import './App.css';
import {
  BrowserRouter as Router,
  Switch,
  Route
} from "react-router-dom";
import LandingPage from './components/views/LandingPage/LandingPage'
import LoginPage from './components/views/LoginPage/LoginPage'
import Register from './components/views/RegisterPage/RegisterPage'
import Auth from './hoc/auth'

function App() {
  return (
    <Router>
      <div>


        {/* A <Switch> looks through its children <Route>s and
            renders the first one that matches the current URL. */}
        <Switch>
          <Route exact path="/" component={Auth(LandingPage, null)}/>
          <Route exact path="/login" component={Auth(LoginPage, false)}/>
          <Route exact path="/register" component={Auth(Register, false)}/>
        </Switch>
      </div>
    </Router>
  );
}

export default App;
참고로 Route 컴포넌트의 path 앞에 exact를 붙여줘야한다
3. CORS, Proxy 설정
server 쪽 포트는 5000번이고 client 쪽 포트는 3000번이라 설정을 해줘야만 통신이 가능하다
이것을 Cross-Origin Resource Sharing의 약자로 CORS라 하는데, 결과적으로 아무 포트에서 접근을 못하게 보안적으로 제한하는 정책임
해결하는 방법 중 하나로 proxy를 사용
아래는 참고 페이지
https://create-react-app.dev/docs/proxying-api-requests-in-development/
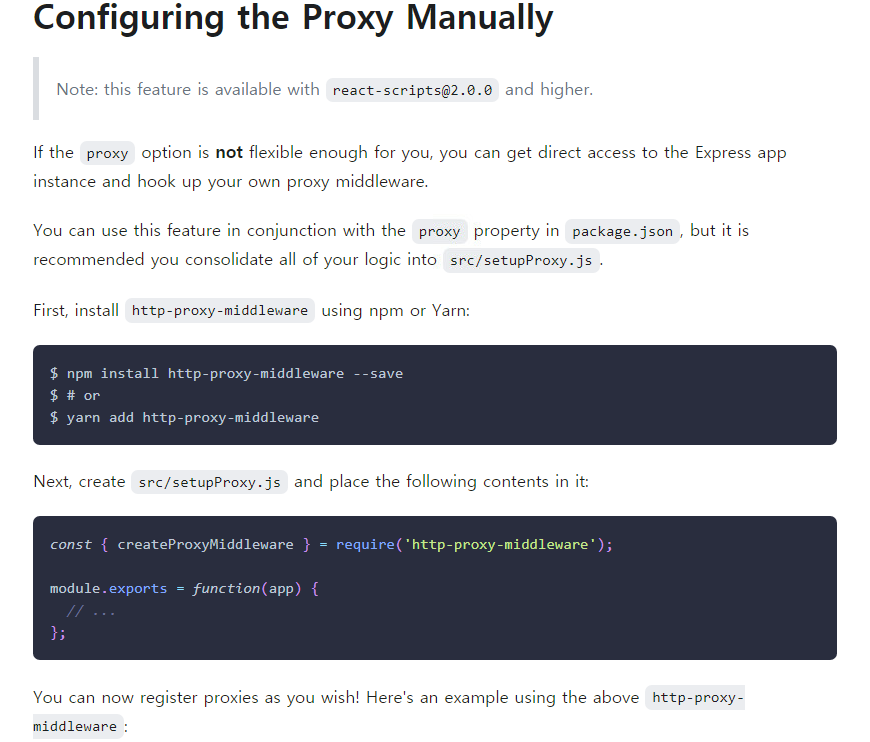
중간 쯤 설정 메뉴얼을 참고해서 적용해본다
npm install http-proxy-middleware --save
setupProxy.js 파일을 src 폴더에 생성하고 아래와 같이 설정해준다
target에 5000번 포트로 기입
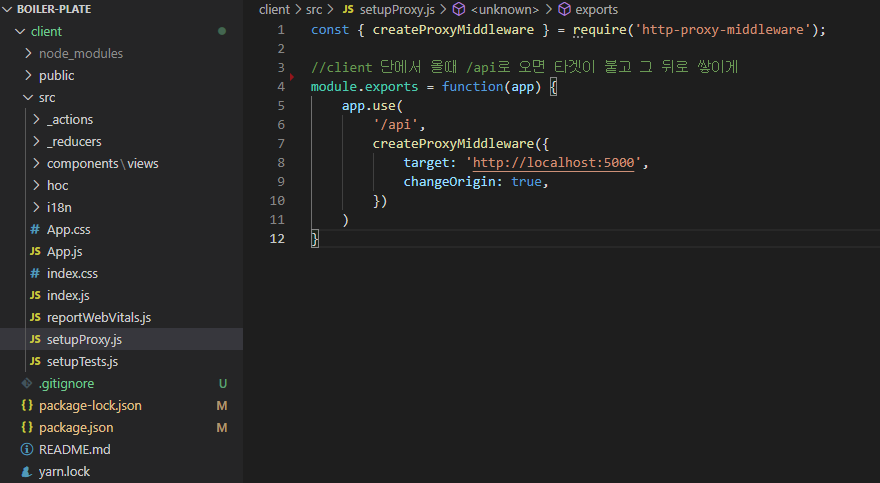
Todo: 로컬에서 할 때는 이렇게 하면 되겠는데, 실제 서비스할 때는 어떻게 해야하는지는 따로 알아봐야겠다
4. axiso
api 통신을 위해 필요한 것
npm install axios --save
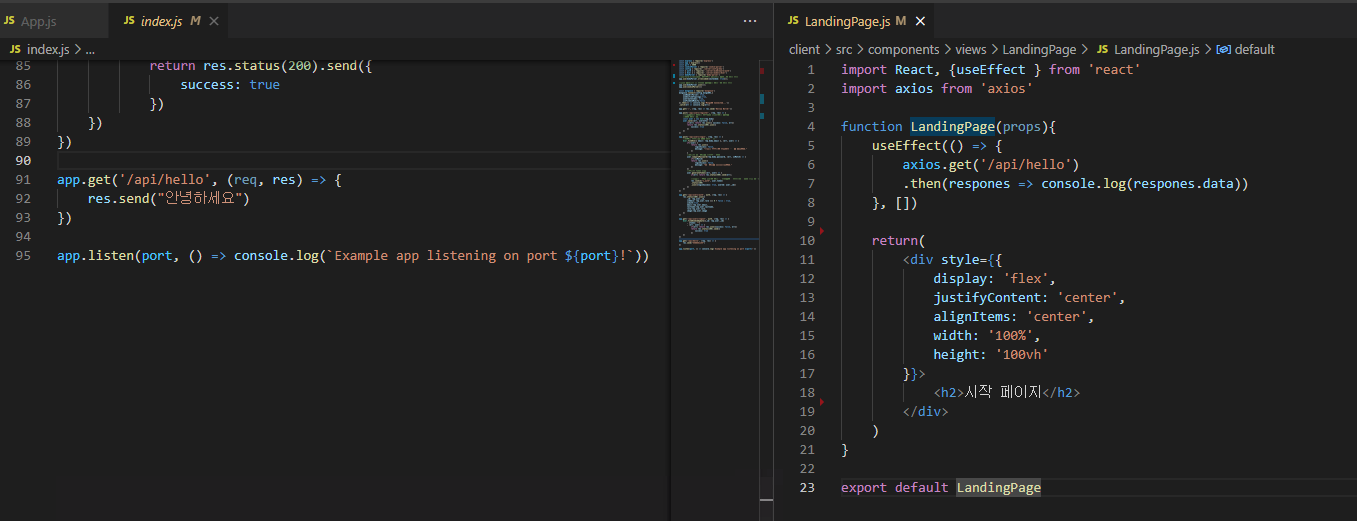
좌측: server 쪽 index.js이며 /api/hello라는 GET api를 만들었고
우측: clinet 쪽 view이며, 5~8번 라인에 component가 그려질 때 해당 API를 호출하고 그 결과값을 console에 찍는 것을 해본 것 이다
landing 페이지에 접속했을 때, 정상적인 결과는 로그에 안녕하세요가 찍히는 것을 보면 되겠다
5. concurrently
Server와 Client를 구동시킬때 한번에 할 수 있도록 도와줌
서버단에 설치함
npm install concurrently --save

10번 라인에 dev하나의 명령어로 백엔드와 프론트엔드 모두 올리는 것
\"npm run backend\"와 \"npm run start --prefix client\"를 연달아 작성하면 된다. --prefix client라고 하면 client 폴더에서 해당 스크립트를 알아서 찾아준다
결과적으로 구동할 때
npm run dev
명령어만 입력하면 서버와 클라이언트 모두 띄울 수 있다