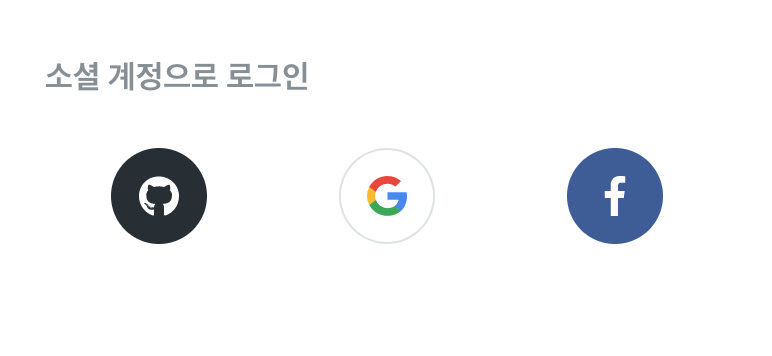
0Auth 구글 소셜 로그인 흐름 이해
웹에서 구글 로그인 버튼을 누른다 -> 구글 로그인 페이지로 이동 -> 로그인 후 확인 버튼을 누른다 -> 웹으로 리다이렉션 되고 로그인이 된 상태로 변한다.
클라이언트에서 이해하기
로그인 버튼을 누르면 구글 페이지로 이동하게 한다. -> 로그인 후 URI에 나오는 인가 코드를 서버로 보내준다. -> (서버에서 액세스토큰을 프론트로 보내줘서 프론트에서 또 액세스토큰을 다시 서버로 보내주는 건 생략하고 바로 서버에서 액세스토큰을 가지고 구글API에 구글 유저 정보를 받게끔 했다.) -> 서버에서 받은 유저 정보를 마이페이지에 렌더링한다.
서버에서 이해하기
인가 코드를 받는다. -> 인가 코드로 엑세스토큰을 받는다 -> 엑세스토큰을 가지고 구글API에 유저 정보를 요청한다. -> 유저 정보를 받아 프론트로 보내준다.
서버 로직
0단계: 구글 애플리케이션 등록하기
Google API로 요청하기 위해선 Google Cloud Platform에서 OAuth인증을 위해 사용할 애플리케이션을 등록하고 Client ID와 Client Secret을 받아와야 한다.
1단계: 승인 매개변수 설정
첫 번째 단계는 승인 요청을 생성하는 것입니다. 이 요청은 애플리케이션을 식별하고 사용자가 애플리케이션에 부여할 권한을 정의하는 매개변수를 설정합니다.
// 예시
const GOOGLE_LOGIN_URL = `https://accounts.google.com/o/oauth2/v2/auth?client_id=${process.env.GOOGLE_CLIENT_ID}&redirect_uri=${process.env.GOOGLE_REDIRECT_URI}&response_type=code&scope=https://www.googleapis.com/auth/userinfo.email`;
google 유저 정보를 얻기 위해 google의 access token을 받기 위해선, 우선 인가 코드가 필요하다.
1-1. 요청 필수 매개변수 :
- client_id
- redirect_uri
- response_type
- scope
1-2. scope가 뭔가요?
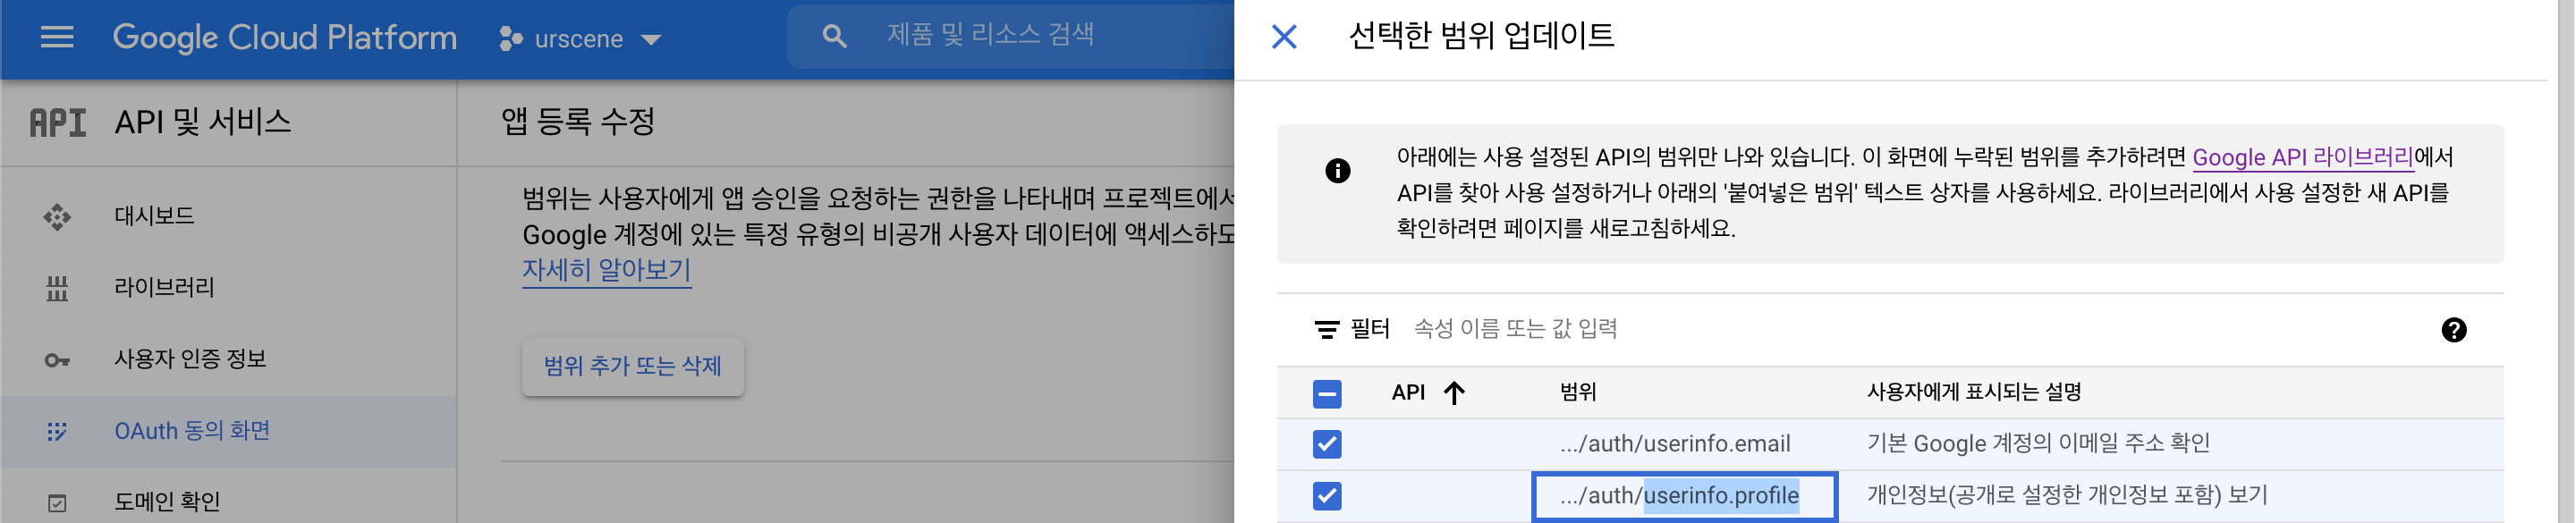
구글 애플리케이션 설정할 때 선택한 범위를 보면 본인은 두 개를 선택해놨다. 스코프에 따라 받을 수 있는 유저 정보가 다르다.
1. ../auth/userInfo.profile은 유저의 family name 등 이름 관련된 정보가 나오는데, 유저가 비공개로 설정을 해놨다면 받아올 수 없다고 한다.
2. ../auth/userinfo.email은 유저의 email값이 나온다. 본인은 email값이 필요해서 후자로 선택했다.
<div>
    <button className="lin-google" onClick={googleLoginHandler}>
    <div className="lin-google-logo"></div>
    <div className="lin-google-text">구글 로그인</div>
</button>
구글 로그인 버튼을 누르면 googleLoginHandler함수가 호출되며 위에 작성해둔 GOOGLE_LOGIN_URL페이지가 나오게 된다. 그 페이지에서 로그인을 진행한 후, 구글 애플리케이션에서 지정해뒀던 리다이렉트 url에서 나오는 인증 코드를 받아서 프론트로 보내준다.
1-3. 인증 코드 보내기
const authorizationCode = url.searchParams.get("code");

const handleGetAccessToken = async (authorizationCode) => {
   await axios.post(
      "http://localhost:80/sign/google", // 구글 소셜 로그인 엔드포인트
      {
        authorizationCode: authorizationCode,
      },
      {
        headers: { accept: `application/json` },
      },
    );
2단계: 인증 코드로 액세스 토큰 얻기
웹 서버는 인증 코드를 수신한 후 인증 코드를 액세스 토큰으로 교환할 수 있습니다.
2-1. 요청 필수 매개변수:
- code
- client_id
- client_secret
- grant_type
- redirect_uri
예시
POST /token HTTP/1.1
Host: oauth2.googleapis.com
Content-Type: application/x-www-form-urlencoded

code=4/P7q7W91a-oMsCeLvIaQm6bTrgtp7&
client_id=your_client_id&
client_secret=your_client_secret&
redirect_uri=https%3A//oauth2.example.com/code&
grant_type=authorization_code
const code = req.body.authorizationCode // 인증 코드 받기
const url = `https://oauth2.googleapis.com/token?code=${code}&client_id=${process.env.GOOGLE_CLIENT_ID}&client_secret=${process.env.GOOGLE_CLIENT_SECRET}&redirect_uri=${process.env.GOOGLE_REDIRECT_URI}&grant_type=${process.env.GOOGLE_GRANT_TYPE}`
const access_token = await axios
.post(url, {
headers: { "content-type": "application/x-www-form-urlencoded" },
})
.then((el) => {
return el.data.access_token
})
.catch((err) => {
console.log("err=", err)
})axios.post 요청을 보낼 때 headers의 content-type을 설정해주어야 한다.
3단계: Google API 호출하여 유저 정보 얻기
애플리케이션이 액세스 토큰을 얻은 후 API에 필요한 액세스 범위가 부여된 경우 토큰을 사용하여 지정된 사용자 계정을 대신하여 Google API를 호출할 수 있습니다. 이렇게 하려면 access_token쿼리 매개변수 또는 AuthorizationHTTP 헤더 Bearer값 을 포함하여 API에 대한 요청에 액세스 토큰을 포함합니다.
HTTP GET 예제
drive.filesAuthorization: Bearer

GET /drive/v2/files HTTP/1.1
Host: www.googleapis.com
Authorization: Bearer access_token
다음은 access_token 쿼리 문자열 매개변수를 사용하여 인증된 사용자에 대해 동일한 API에 대한 호출입니다 .


GET https://www.googleapis.com/drive/v2/files?access_token=access_token
const googleAPI = `https://www.googleapis.com/oauth2/v2/userinfo?access_token=${access_token}`
const userInfo = await axios
.get(googleAPI, {
headers: {
authorization: `Bearer ${access_token}`,
},
})
.then((el) => {
return el.data
})
.catch((err) => {
console.log("err=", err)
})
const email = userInfo.email
const [result, created] = await db.addGoogleUser(email)
if (!created) {
return res.status(400).json({ message: "user-already-exists" })
}axios.get 요청을 할 때 headers에 authorization 값을 설정해줘야 한다. 유저 정보를 받은 후 DB에 같은 email이 이미 존재하면 400코드를, 있으면 201코드를 보내며 회원가입에 성공하게 된다. 저장 후에 토큰을 만들어 쿠키에 담아 보내준다.
db.addGoogleUser(email) 가 뭔가요?
// db.js
addGoogleUser: async (email) =>
await User.findOrCreate({ where: { email }, defaults: { nickname: email.slice(0, email.indexOf("@")), image: 1 } }),email로 User 데이터베이스에서 값을 찾아 있으면 유저 정보가 이미 있다고 띄워주고, 없으면 새로 만들어준다. 만들 때 닉네임을 email값의 @ 앞까지 잘라서 저장해준다.
ex) email = test123@gmail.com -> nickname = test123
시행착오
access token까지 받은 후 google API에 유저 정보 요청을 했지만, 값이 받아지지 않았다. 프론트 코드를 보니url의 scope값이 올바르지 않았다.
수정 전
const url = `https://oauth2.googleapis.com/token?(생략)&scope=https://www.googleapis.com/auth/drive.file`수정 후
const url = "https://oauth2.googleapis.com/token?(생략)&scope=https://www.googleapis.com/auth/userinfo.email"scope의 주소가 내가 원하는 데이터를 볼 수 있게 해준다. 공식 문서를 다시 한 번 잘 보도록 하자.