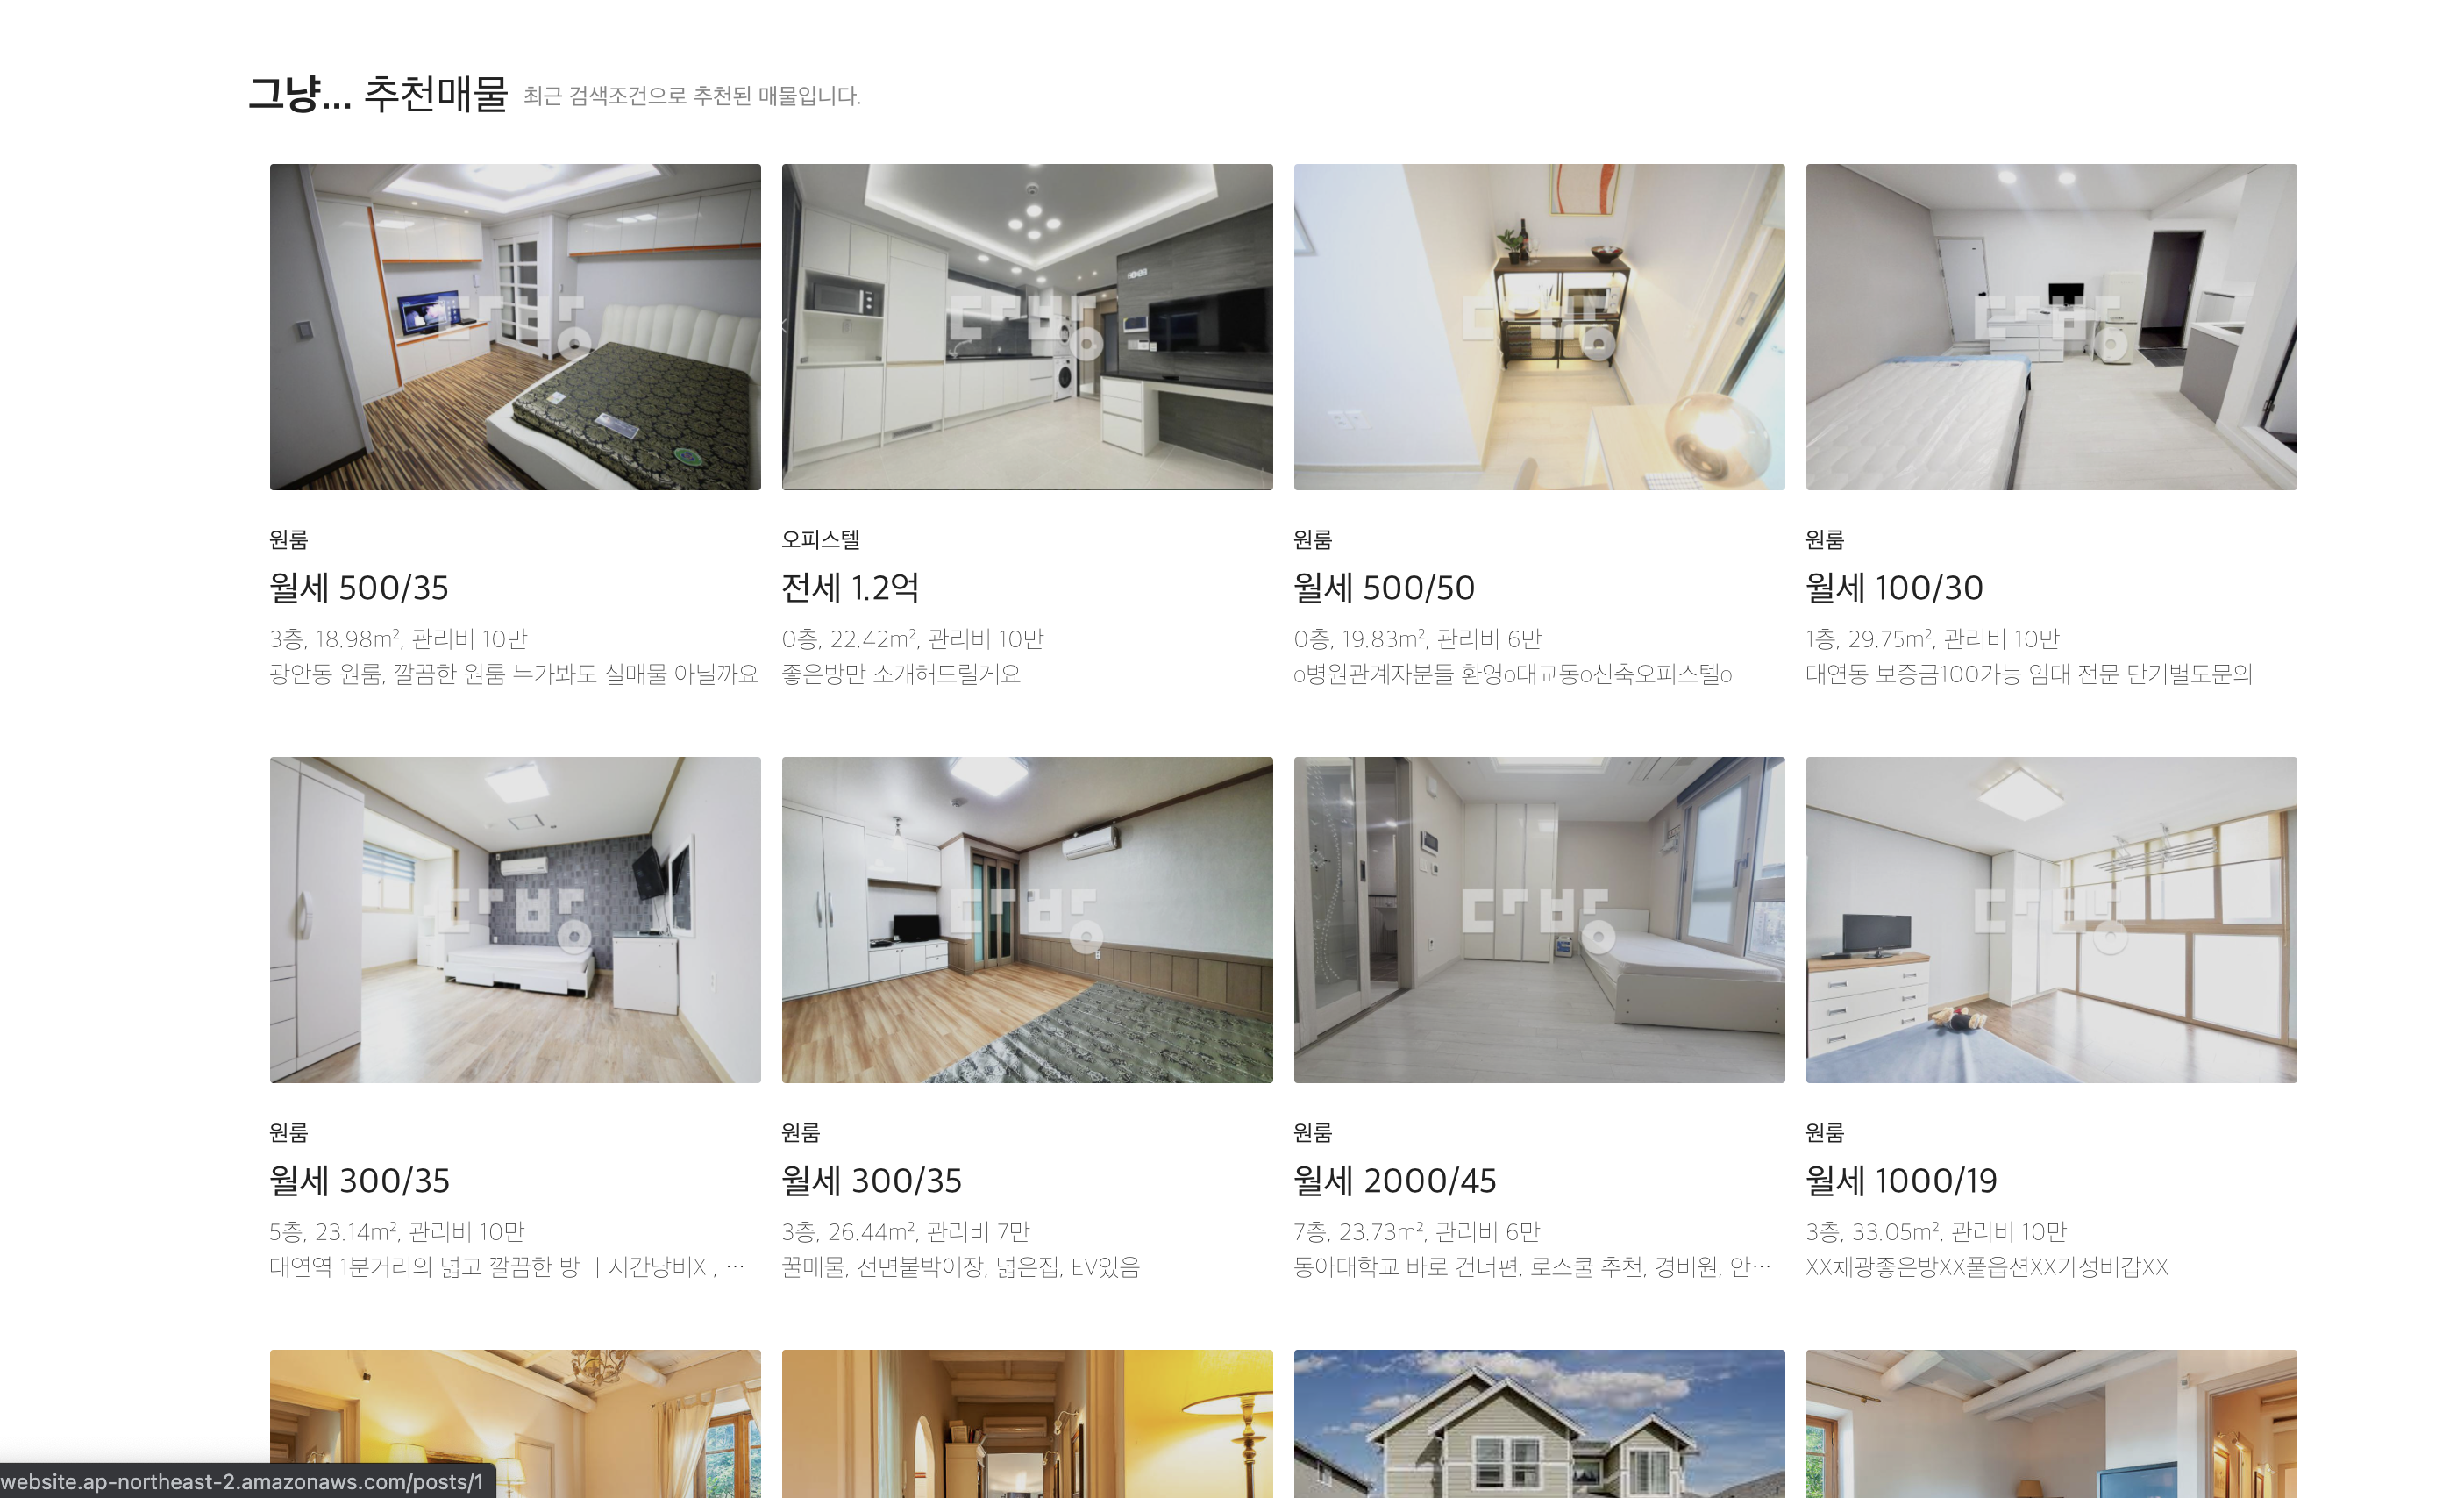
다방
input의 기본값 지워주기
위처럼 값을 안넣어도 0이 input 안에 들어있었음.
0이 들어가는 작업의 내용은 평과 제곱미터를 하나라도 입력하면 상호 변환이 되도록 해야하기때문이었음.
// useEffect로 값을 불러오면 최초 state 생성때 한번 값을 불러오기 때문에 input value가 처음부터 0으로 설정되어있음 -> 0도 없애고 싶었음
// 그래서 useEffect는 사용하기를 포기...
useEffect(() => {
  if (!pyeongInput.current.value) {
    pyeongInput.current.value = "1";
  } else {
    pyeongInput.current.value = m_square / 3.306;
  }
}, [m_square]);

useEffect(() => {
  mSquareInput.current.value = pyeong * 3.306;
}, [pyeong]);
// input 값이 변할때마다 함수를 불러오기로 함.
// input 값을 지웠을때는 또 0으로 설정이 되기때문에 강제로 "" 빈칸으로 되도록 조건 분기함.
const calcPyeong = (value) => {
if (value) {
pyeongInput.current.value = value / 3.306;
} else {
pyeongInput.current.value = "";
}
};
const calcMSquare = (value) => {
if (value) {
mSquareInput.current.value = value * 3.306;
setM_square(value * 3.306);
} else {
mSquareInput.current.value = "";
}
};
...
<input
...
onInput={(e) => {
e.target.value = e.target.value
.replace(/[^0-9.]/g, "")
.replace(/(\..*)\./g, "$1");
setPyeong(e.target.value);
calcMSquare(e.target.value);
}}
ref={pyeongInput}
/>
<input
...
onInput={(e) => {
e.target.value = e.target.value
.replace(/[^0-9.]/g, "")
.replace(/(\..*)\./g, "$1");
setM_square(e.target.value);
calcPyeong(e.target.value);
}}
ref={mSquareInput}
/>S3에 이미지 업로드
재활용하기 쉽게 파일 적어두기...
AWS.config.update({
  region: "ap-northeast-2", // 버킷이 존재하는 리전을 문자열로 입력합니다. (Ex. "ap-northeast-2")
  credentials: new AWS.CognitoIdentityCredentials({
    IdentityPoolId: "ap-northeast-2:5ff31b93-dc5f-416c-a12c-aa67c74c7025", // cognito 인증 풀에서 받아온 키를 문자열로 입력합니다. (Ex. "ap-northeast-2...")
  }),
});

const handleFileInput = (e) => {
  // input 태그를 통해 선택한 파일 객체
  const file = e.target.files[0];

  // S3 SDK에 내장된 업로드 함수
  const upload = new AWS.S3.ManagedUpload({
    params: {
      Bucket: "dabangclone", // 업로드할 대상 버킷명
      Key: moment().format("YYYY-MM-DD-HH-mm-ss") + ".jpg", // 업로드할 파일명 (* 확장자를 추가해야 합니다!)
      Body: file, // 업로드할 파일 객체
    },
  });

  const promise = upload.promise();

  promise.then(
    function (data) {
      alert("이미지 업로드에 성공했습니다.");
      dispatch(createImageUpload(data.Location));
    },
    function (err) {
      return alert("오류가 발생했습니다: ", err.message);
    }
  );
};

...

<input
  type="file"
  id="upload"
  className="image-upload"
  onChange={handleFileInput}
  />
  <label htmlFor="upload" className="image-upload-wrapper">
  사진 등록
</label>
#imageUpload .image-upload {
width: 120px !important;
height: 40px !important;
font-size: 100px;
text-align: right;
min-width: 0 !important;
outline: none;
background: rgb(0, 0, 0);
cursor: inherit;
display: block !important;
border-radius: 50% !important;
cursor: pointer;
position: absolute;
margin: 0 !important;
z-index: -1;
}
#imageUpload .image-upload-wrapper {
position: inherit;
height: 40px;
color: rgb(255, 255, 255);
font-size: 14px;
font-weight: 500;
background-color: rgb(35, 45, 74);
padding: 0px 20px;
border: 0px;
border-radius: 3px;
width: 120px;
line-height: 40px;
display: block;
text-align: center;
cursor: pointer;
}카카오 지도 (with 주소 검색창)
주소 검색을 하면 해당 주소를 지도의 중앙에 띄워준다! 이게 되네...
<script src="//t1.daumcdn.net/mapjsapi/bundle/postcode/prod/postcode.v2.js"></script>
<script src="https://dapi.kakao.com/v2/maps/sdk.js?appkey=앱키&libraries=services,clusterer,drawing"></script>useEffect(() => {
var mapContainer = document.getElementById("staticMap"), // 지도를 표시할 div
mapOption = {
center: new daum.maps.LatLng(37.537187, 127.005476), // 지도의 중심좌표
level: 5, // 지도의 확대 레벨
};
//지도를 미리 생성
var map = new daum.maps.Map(mapContainer, mapOption);
//주소-좌표 변환 객체를 생성
var geocoder = new daum.maps.services.Geocoder();
//마커를 미리 생성
var marker = new daum.maps.Marker({
position: new daum.maps.LatLng(37.537187, 127.005476),
map: map,
});
execDaumPostcode = () => {
new daum.Postcode({
oncomplete: function (data) {
var addr = data.address; // 최종 주소 변수
setJibun(data.jibunAddress);
setRoad(data.roadAddress);
var center = map.getCenter();
const Lat = center.getLat();
const Lng = center.getLng();
setLatitude(Lat);
setLongitude(Lng);
// 주소 정보를 해당 필드에 넣는다.
document.getElementById("daumAddressInput").value = addr;
// 주소로 상세 정보를 검색
geocoder.addressSearch(data.address, function (results, status) {
// 정상적으로 검색이 완료됐으면
if (status === daum.maps.services.Status.OK) {
var result = results[0]; //첫번째 결과의 값을 활용
// 해당 주소에 대한 좌표를 받아서
var coords = new daum.maps.LatLng(result.y, result.x);
// 지도를 보여준다.
mapContainer.style.display = "block";
map.relayout();
// 지도 중심을 변경한다.
map.setCenter(coords);
// 마커를 결과값으로 받은 위치로 옮긴다.
marker.setPosition(coords);
}
});
},
}).open();
};
}, []);
...
<input
type="button"
onClick={() => {
execDaumPostcode();
}}
value="주소 검색"
/>
...
<div
id="staticMap"
style={{
width: "440px",
height: "330px",
}}
></div>페이지 내 영역 별 컴포넌트 등록
각 영역별로 입력받은 내용을 서로 다른 reducer로 state에 등록해두고 state를 한번에 middleware로 api 호출을 하는 형태... 이게 맞나...?
S3 이용한 배포
회고
클론코딩은 css에 굉장히 많은 시간을 들이게된다...
조금 과하게 느껴져서 작업하는데 부담스러웠다.
API 명세 관련해서 깔끔하게 계획한대로 진행되었고 백엔드 팀과 커뮤니케이션이 무난히 진행되어서 만족스러웠다.

빠굥