🚨 문제
Windows 11 Home Edition을 사용하는 저는 Docker를 설치가 되질 않습니다.
💡 해결
Docker는 Windows 10 Pro, Enterprise, Education, Windows 11 Pro을 지원한다고 합니다.
아래의 방법은 Windows11 Home Edition에서 Docker를 사용하기 위한 방법입니다.
1. WSL2 설치 및 활성화
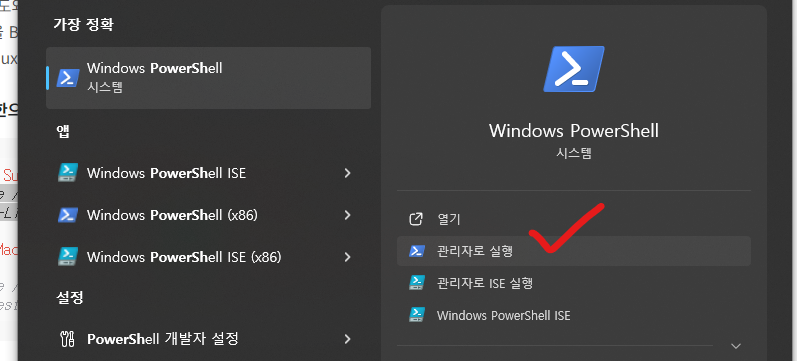
Windows PowerShell을 관리자 권한으로 실행합니다.
✅ Windows SubSystem Linux를 활성화시키는 명령어를 입력합니다.
dism.exe /online /enable-feature /featurename:Microsoft-Windows-Subsystem-Linux /all /norestart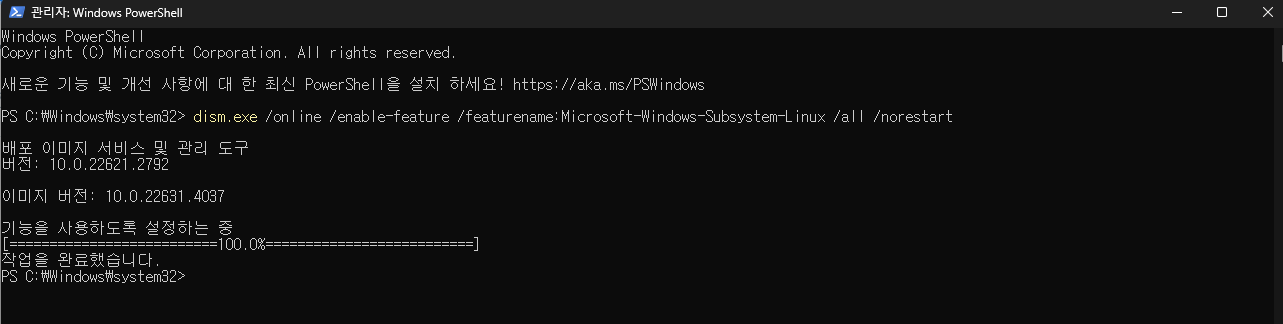
✅ VirtualMachinePlatform 기능을 활성화시키는 명령어 : WSL2 버전에 필요한 명령어
dism.exe /online /enable-feature /featurename:VirtualMachinePlatform /all /norestart
✅ 컴퓨터를 재부팅 한 후 wsl 명령어를 입력합니다.
아래와 같이 출력되는지 확인합니다.

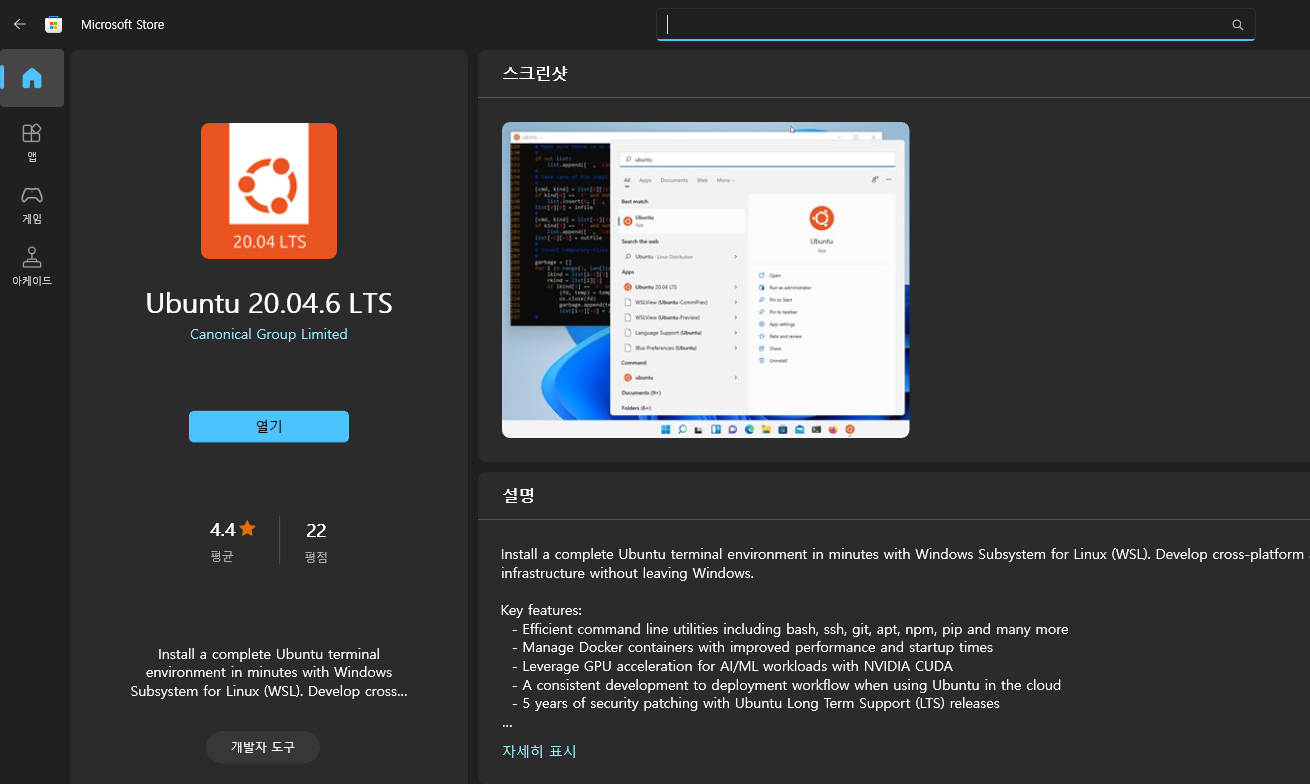
2. ubuntu 설치
✅ MicroSoft Stroe에서 ubuntu를 설치합니다.
✅ ubuntu 계정 및 패스워드 설정하기
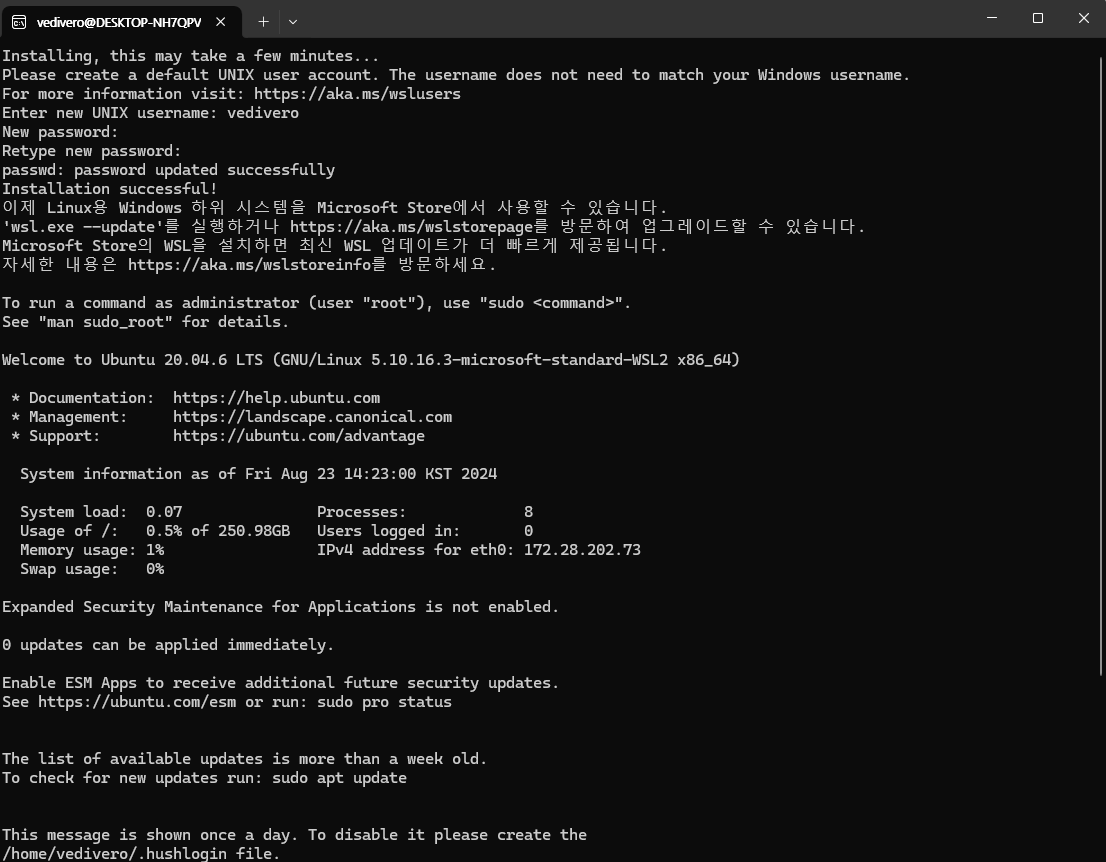
✅ Powershell에서 ubuntu가 설치되어 있는지 확인하기
wsl -l -v
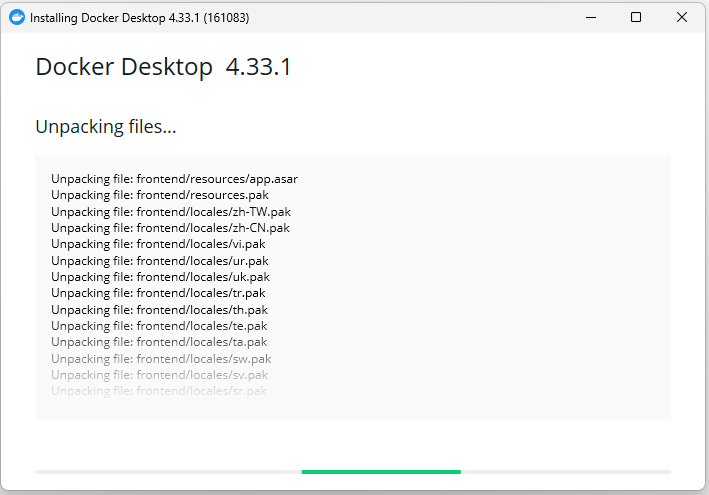
3. docker 다운로드
https://docs.docker.com/desktop/install/windows-install/
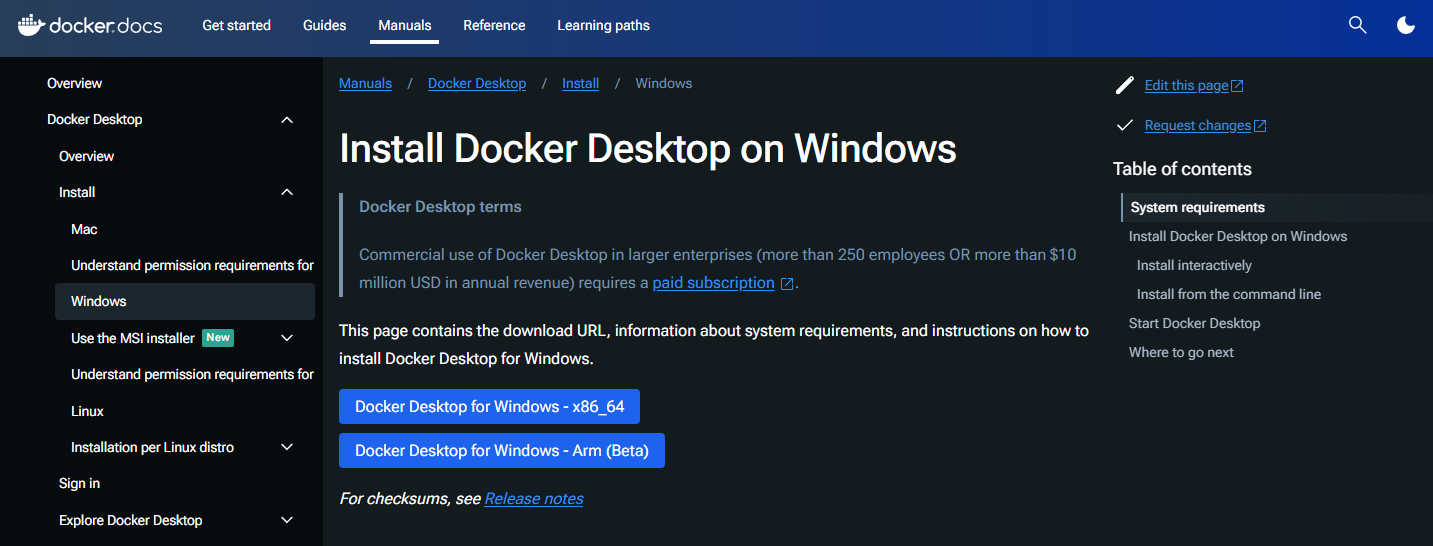
docker Install
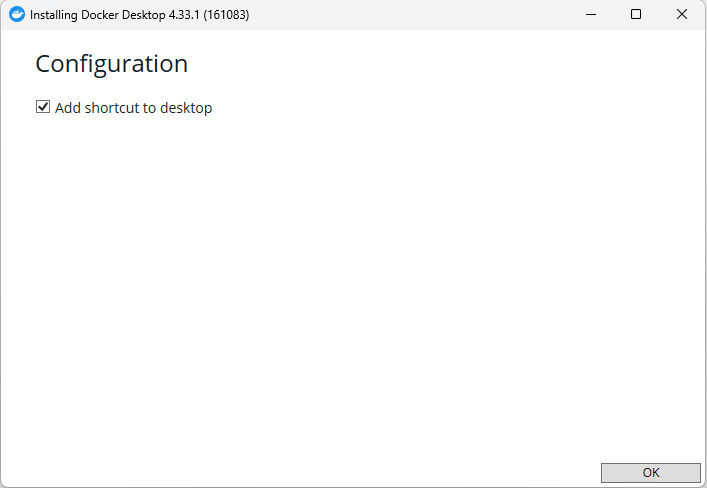
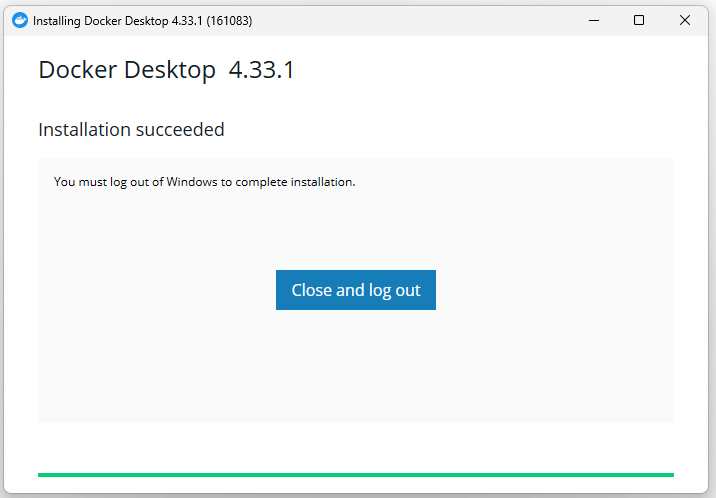
✅ 설치 완료 후, Close and log out버튼을 클릭하면 재부팅이 됩니다.
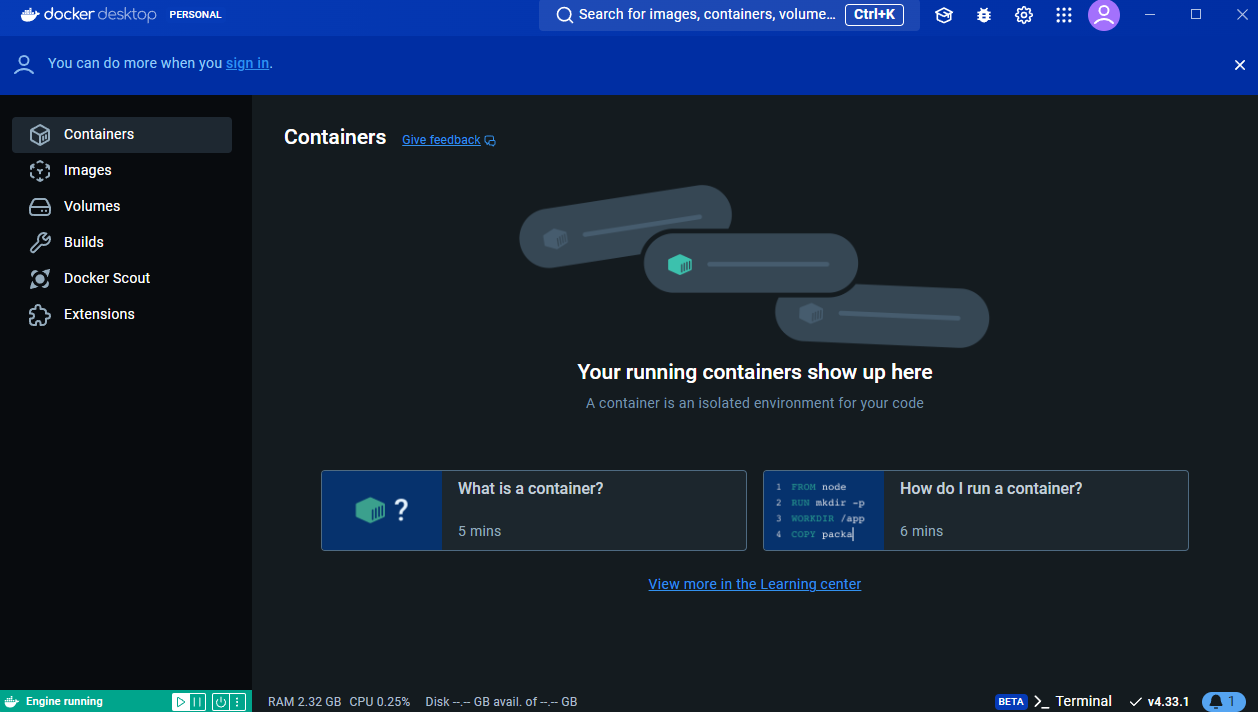
docker를 실행합니다.
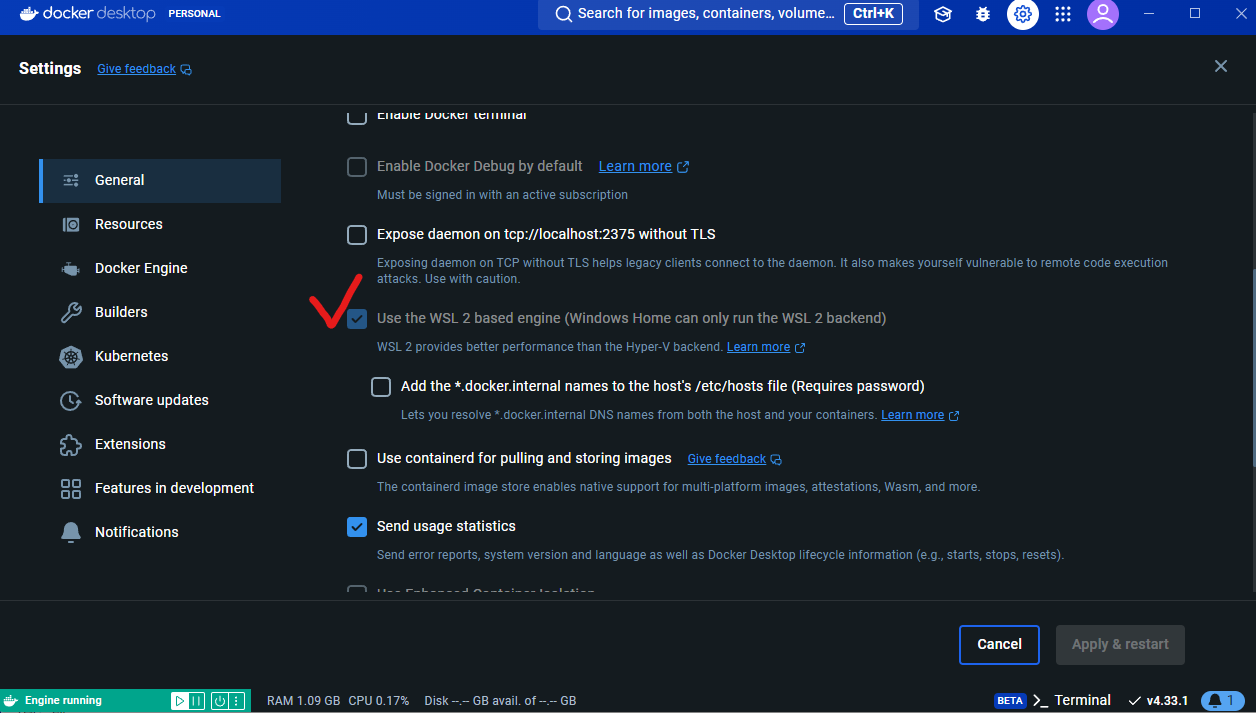
우측 상단 톱니바퀴 모양의 환경설정을 클릭합니다.
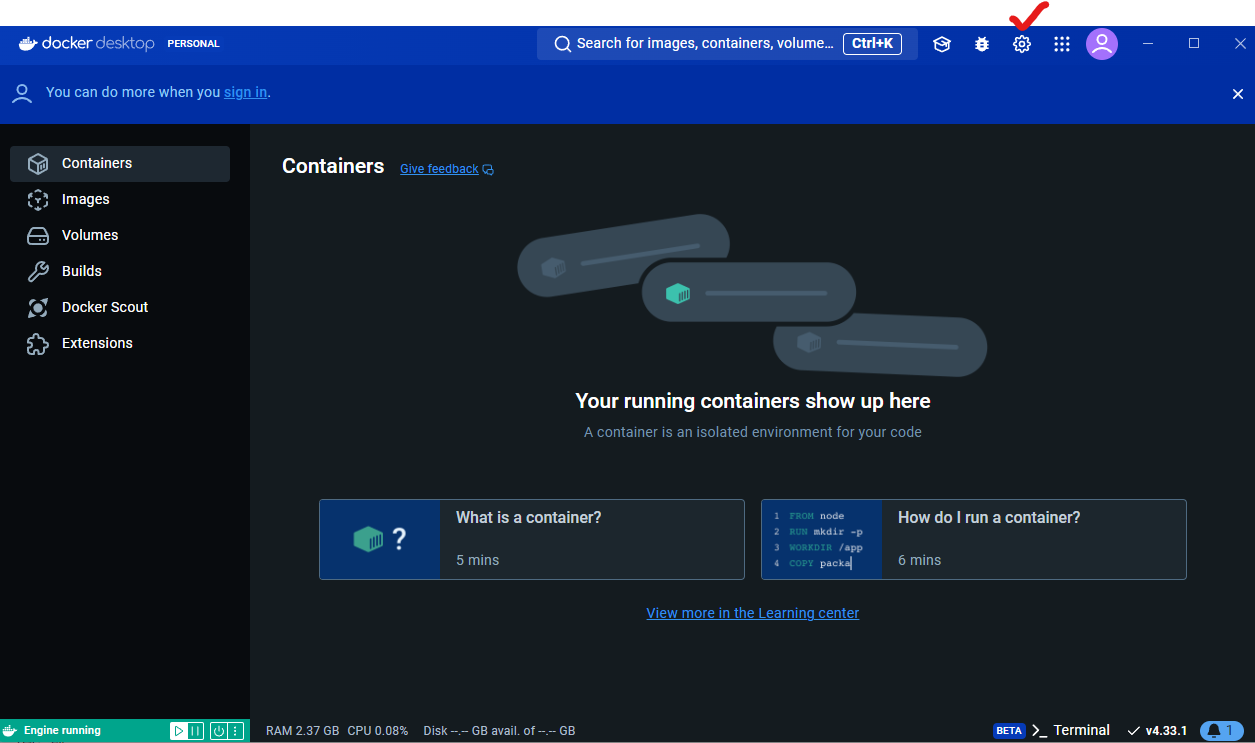
General설정에서 Use the WSL 2 based engine이 체크되어 있는지 확인합니다.
미리 체크가 되어 있지 않았다면, 체크하고 우측 하단의 Apply & restart 버튼을 누릅니다.
좌측 메뉴 중, Resources 메뉴로 이동하고, Enable integration with my defualt WSL distro 항목이 체크되어 있는지를 확인합니다.

docker 설치 테스트
wsl -l -v

docker 전용 머신이 추가된 것을 확인할 수 있습니다.
ubuntu에서 docker설치 테스트
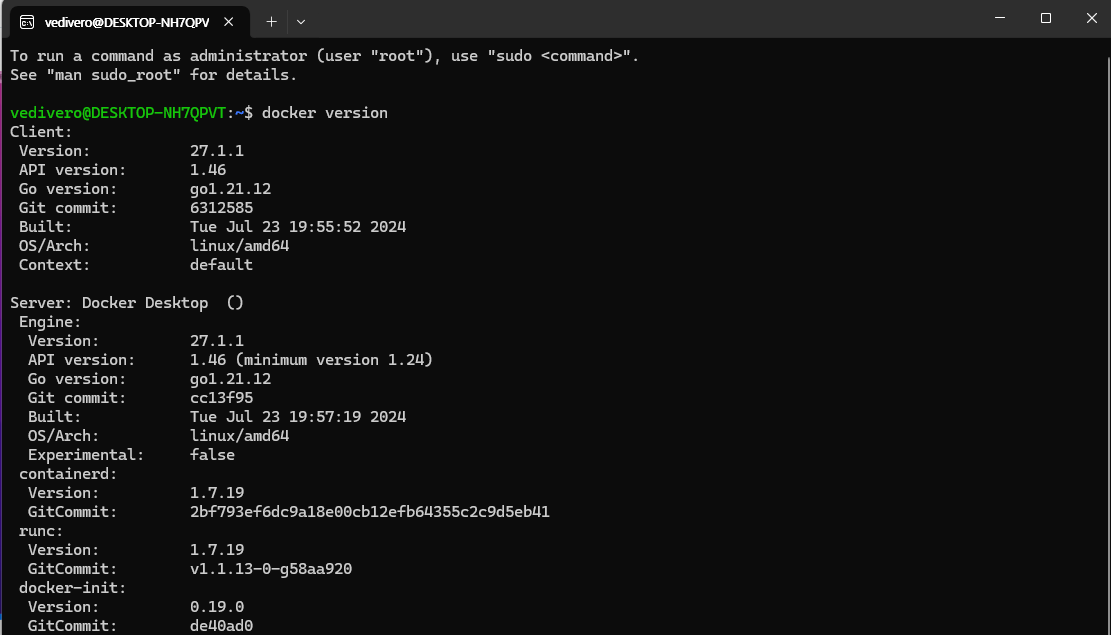
커맨드 창에서 docker version 을 입력하여, docker version이 표시되는지 확인합니다.