카테고리 별로 뉴스를 보여주는 프로젝트를 진행해 보겠습니다.
비동기 작업의 이해
비동기적으로 처리한다면 웹 어플리케이션이 멈추지 않기 대문에 동시에 여러가지 요청을 처리할 수도 있고, 기다리는 과정에서 다른 함수도 호출할 수 있습니다.
비동기 작업을 할 때 대부분 콜백 함수를 사용합니다.
(DB나 API를 통해서 유저 데이터를 얻어오는 경우, 필연적으로 이러한 latency가 발생하게 됩니다)
이런 상황을 만들어주기위해 자바스크립트의 대표 비동기 함수인 setTimeout을 사용해 보겠습니다.
콜백 함수
해당 함수가 처리된 직 후 어떠한 작업을 하고 싶다면 콜백 함수를 활용해서 작업합니다.
function increase(number, callback) {
	setTimeout(() => {
		const reault = number + 10;
    }, 1000)
}

increase(0, result => {
	console.log(result);
})
콜백 지옥
해당 함수가 처리된 직 후 어떠한 작업을 또 하고 싶다면
function increase(number, callback) {
	setTimeout(() => {
		const reault = number + 10;
    }, 1000)
}

increase(0, result => {
	console.log(result);
    increase(result, result => {
    	consol.log(result);
    })
})
3번, 4번.. 너무 여러번 중첩 -> 코드의 가독성이 나빠져서 웬만해서 지양해야 할 형태의 코드라고 합니다.
Promise
promise는 콜백 지옥 같은 코드가 형성되지 않게 하는 방안으로 ES6에 도입된 기능입니다. 앞에서 본 코드를 Promise를 사용하여 구현해 보겠습니다.
함수의
비동기로 작동하는 부분에서 promise 객체를 만들고 결과를 promise 객체의 resolve나 reject으로 감싸넣고 프로미스객체를 리턴합니다.
그리고 해당 함수가 처리된 직 후 어떠한 작업을 하고 싶다면 then을 사용해서 쉽게 할수 있습니다.
function increase(number) {
	const promise = new Promise((resolve, reject)=>{
    	setTimeout(() =>{
        	const result = number + 10;
            if (result > 50) {
            	const e = new Error('NumberToBig');
                return reject(e);
            }
            resolve(result);
        }, 1000)
    });
    return promise;
}

increase(0)
	.then(number => {
    	console.log(number);
        return increase(number); // 다음에 또 쓸려면 Promise를 리턴
    }).then(number => {
    	console.log(number);
        return increase(number);
    }).then(number => {
    	console.log(number);
        return increase(number);
    }).then(number => {
    	console.log(number);
        return increase(number);
    }).then(number => {
    	console.log(number);
        return increase(number);
    }).catch(e=>{
    	console.log(e);
    })
콜백지옥이 형성되지 않습니다.
async/await
ES2017(ES8) 문법입니다. 이렇게하면 Promise 가 끝날 때가지 기다리고, 결과 값을 특정 변수에 담을 수 있습니다. (비동기지만 동기식처럼 사용가능합니다.)
자세히 알려면 이 링크를 참고하세요
function increase(number) {
	const promise = new Promise((resolve, reject)=>{
    	setTimeout(() =>{
        	const result = number + 10;
            if (result > 50) {
            	const e = new Error('NumberToBig');
                return reject(e);
            }
            resolve(result);
        }, 1000)
    });
    return promise;
}

// 위에는 똑같음
async function runTasks() {
	try {
    	let result = await increase(0);
        console.log(result);
        result = await increase(result);
        console.log(result);
        result = await increase(result);
        console.log(result);
        result = await increase(result);
        console.log(result);
        result = await increase(result);
        console.log(result);
        result = await increase(result);
        console.log(result);
    } catch (e) {
    	console.log(e);
    }
}
axios 로 API 호출해서 데이터 받아오기
axios는 현재 가장 많이 사용되고 있는 js HTTP 클라이언트입니다. 이 라이브러리의 특징은 HTTP 요청을 Promise 기반으로 처리한다는 점입니다.
yarn create react-app news-viwer
cd news-viewer
yarn add axios
onClick 하면 데이터를 가져오는 코드입니다.
import React, { useState } from 'react';
import axios from 'axios';

const App = () => {
	const [data, setData] = useState(null);
	const onClick = () => {
		axios
			.get('https://jsonplaceholder.typicode.com/todos/1')
			.then((response) => {
				setData(response.data);
			});
	};

	return (
		<div>
			<div>
				<button onClick={onClick}>불러오기</button>
			</div>
			{data && (
				<textarea
					rows={7}
					value={JSON.stringify(data, null, 2)}
					readOnly={true}
				/>
			)}
		</div>
	);
};

export default App;
위 코드에 async 적용해보겠습니다.
import React, { useState } from 'react';
import axios from 'axios';

const App = () => {
	const [data, setData] = useState(null);
	const onClick = async () => {
		try {
			const response = await axios.get(
				'https://jsonplaceholder.typicode.com/todos/1',
			);
			setData(response.data);
		} catch (e) {
			console.log(e);
		}
	};

	return (
		<div>
			<div>
				<button onClick={onClick}>불러오기</button>
			</div>
			{data && (
				<textarea
					rows={7}
					value={JSON.stringify(data, null, 2)}
					readOnly={true}
				/>
			)}
		</div>
	);
};

export default App;
뉴스 뷰어 UI 만들기
components/NewItem.js
import React from 'react';
import styled from 'styled-components';

const NewsItemBlock = styled.div`
	display: flex;
	.thumbnail {
		margin-right: 1rem;
		img {
			display: block;
			width: 160px;
			height: 100px;
			object-fit: cover;
		}
	}
	.contents {
		h2 {
			margin: 0;
			a {
				color: black;
			}
		}
		p {
			margin: 0;
			line-height: 1.5;
			margin-top: 0.5rem;
			white-space: normal;
		}
	}
	& + & {
		margin-top: 3rem;
	}
`;

const NewsItem = ({ article }) => {
	const { title, description, url, urlToImage } = article;
	return (
		<NewsItemBlock>
			{urlToImage && (
				<div className="thumbnail">
					<a href={url} target="_blank" rel="noopener noreferrer">
						<img src={urlToImage} alt="thumbnail" />
					</a>
				</div>
			)}
			<div className="contents">
				<h2>
					<a href={url} target="_blank" rel="noopener noreferrer">
						{title}
					</a>
				</h2>
				<p>{description}</p>
			</div>
		</NewsItemBlock>
	);
};

export default NewsItem;
components/NewsList.js
import React from 'react';
import styled from 'styled-components';
import NewsItem from './NewsItem';

const NewsListBlock = styled.div`
	box-sizing: border-box;
	padding-bottom: 3rem;
	width: 768px;
	margin: 0 auto;
	margin-top: 2rem;
	@media screen ad (max-width: 768px) {
		width: 100%;
		padding-left: 1rem;
		padding-right: 1rem;
	}
`;

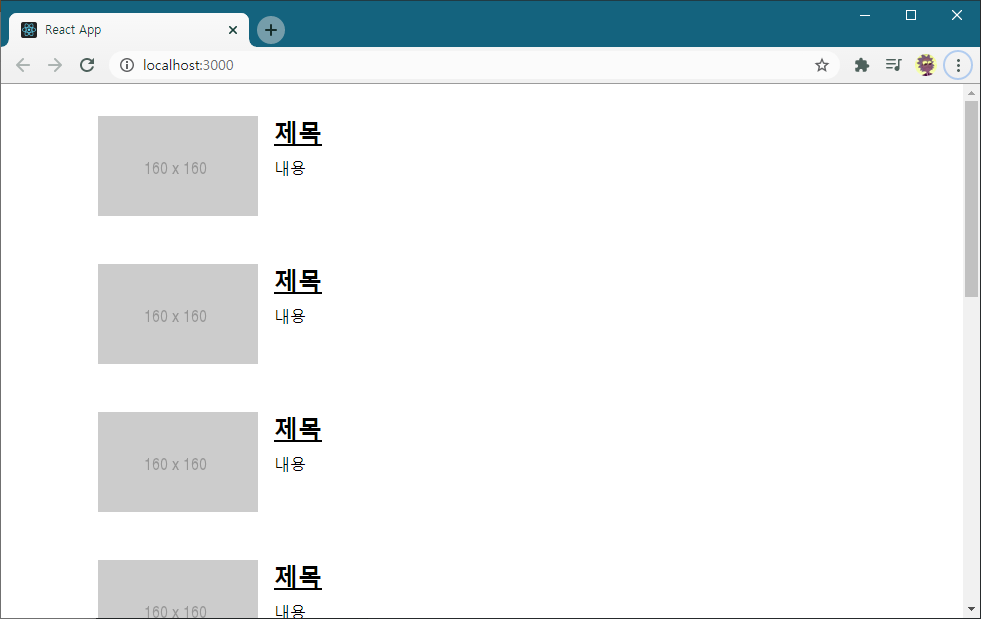
const sampleArticle = {
	title: '제목',
	description: '내용',
	url: 'https://google.com',
	urlToImage: 'https://via.placeholder.com/160',
};

const NewsList = () => {
	return (
		<NewsListBlock>
			<NewsItem article={sampleArticle} />
			<NewsItem article={sampleArticle} />
			<NewsItem article={sampleArticle} />
			<NewsItem article={sampleArticle} />
			<NewsItem article={sampleArticle} />
			<NewsItem article={sampleArticle} />
			<NewsItem article={sampleArticle} />
			<NewsItem article={sampleArticle} />
			<NewsItem article={sampleArticle} />
		</NewsListBlock>
	);
};

export default NewsList;

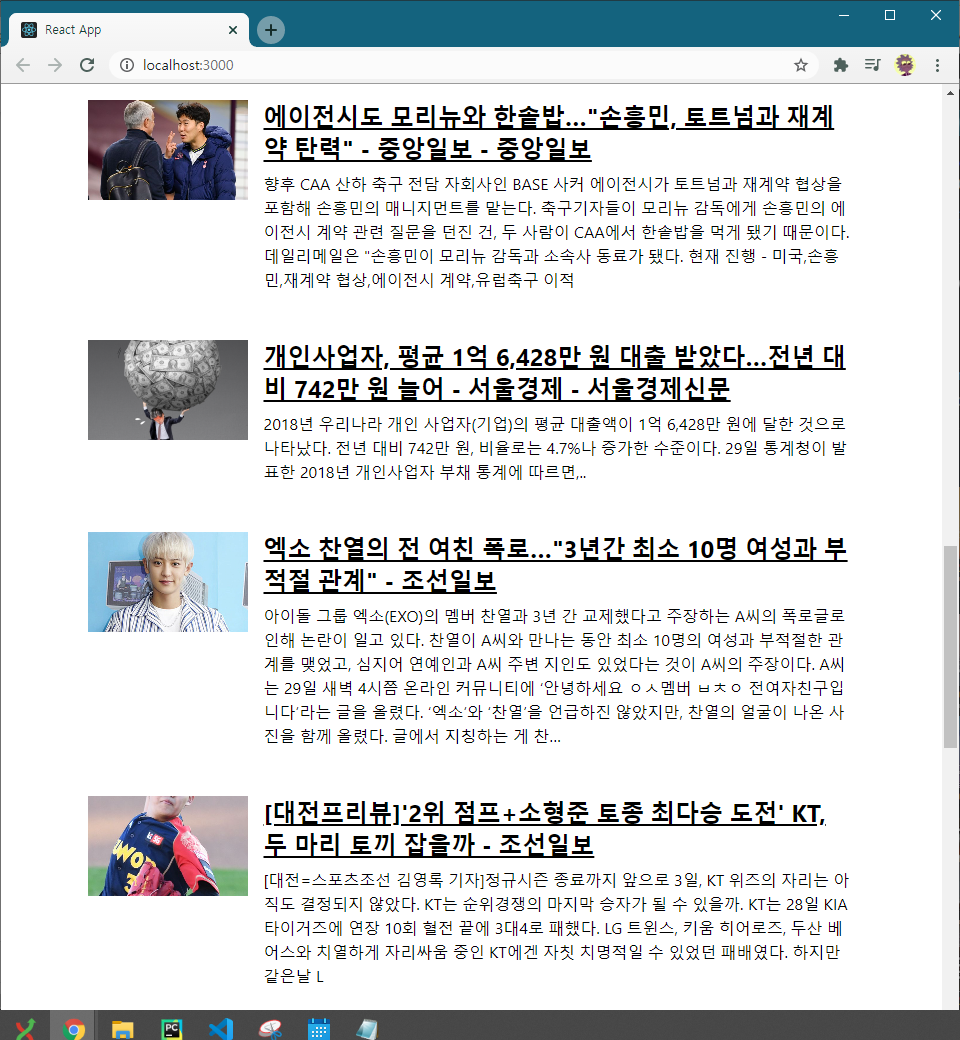
데이터 연동하기
components/NewsList.js
import React, { useEffect, useState } from 'react';
import styled from 'styled-components';
import NewsItem from './NewsItem';
import axios from 'axios';

const NewsListBlock = styled.div`
	box-sizing: border-box;
	padding-bottom: 3rem;
	width: 768px;
	margin: 0 auto;
	margin-top: 2rem;
	@media screen ad (max-width: 768px) {
		width: 100%;
		padding-left: 1rem;
		padding-right: 1rem;
	}
`;

const NewsList = () => {
	const [articles, setArticles] = useState(null);
	const [loading, setLoading] = useState(false);

	useEffect(() => {
		//async를 사용하는 함수 따로 선언
		const fetchData = async () => {
			setLoading(true);
			try {
				const response = await axios.get(
					'https://newsapi.org/v2/top-headlines?country=kr&apiKey=4943288ce3024fc88815bfb689b52a4b',
				);
				setArticles(response.data.articles);
			} catch (e) {
				console.log(e);
			}
			setLoading(false);
		};
		fetchData();
	}, []); // 초기 렌더링에만 실행하도록~

	// 대기 중일 때
	if (loading) {
		return <NewsListBlock>대기 중..</NewsListBlock>;
	}
	// 아직 articles 값이 설정되지 않았을 때
	if (!articles) {
		return null;
	}

	// articles 값이 유효할 때
	return (
		<NewsListBlock>
			{articles.map((article) => (
				<NewsItem key={article.url} article={article} />
			))}
		</NewsListBlock>
	);
};

export default NewsList;

map 함수를 사용하기 전에 꼭 !articles를 조회하여 해당 값이 현재 null이 아닌지 검사해야 합니다. 이 작업을 하지 않으면, 아직 데이터가 없을때 null에는 map 함수가 없기 때문에 렌더링 과정에서 오류가 발생합니다.
카테고리 기능 구현하기
components/Categories.js
import React from 'react';
import styled from 'styled-components';

const categories = [
	{
		name: 'all',
		text: '전체보기',
	},
	{
		name: 'business',
		text: '비즈니스',
	},
	{
		name: 'entertainment',
		text: '엔터',
	},
	{
		name: 'health',
		text: '건강',
	},
	{
		name: 'science',
		text: '과학',
	},
	{
		name: 'sports',
		text: '스포츠',
	},
	{
		name: 'tech',
		text: '기술',
	},
];

const CategoriesBlock = styled.div`
	display: flex;
	padding: 1rem;
	width: 768px;
	margin: 0 auto;
	@media screen and (max-width: 768px) {
		width: 100%;
		overflow-x: auto;
	}
`;

const Category = styled.div`
	font-size: 1.125rem;
	cursor: pointer;
	white-space: pre;
	text-decoration: none;
	color: inherit;
	padding-bottom: 0.25rem;

	&: hover {
		color: #495057;
	}

	& + & {
		margin-left: 1rem;
	}
`;
const Categories = () => {
	return (
		<CategoriesBlock>
			{categories.map((c) => (
				<Category key={c.name}>{c.text}</Category>
			))}
		</CategoriesBlock>
	);
};

export default Categories;
App.js
import React from 'react';
import Categories from './components/Categories';
import NewsList from './components/NewsList';

const App = () => {
	return (
		<>
			<Categories />
			<NewsList />;
		</>
	);
};

export default App;
이렇게 하면 상단에 카테고리 UI가 생깁니다.
이제 category 도 상태로 관리해보겠습니다.
상태로 관리하고
더 나아가 라우터로 관리하는 것 까지 했습니다.
