1. 새로운 Item > Pipeline Section 선택하여 Item 생성
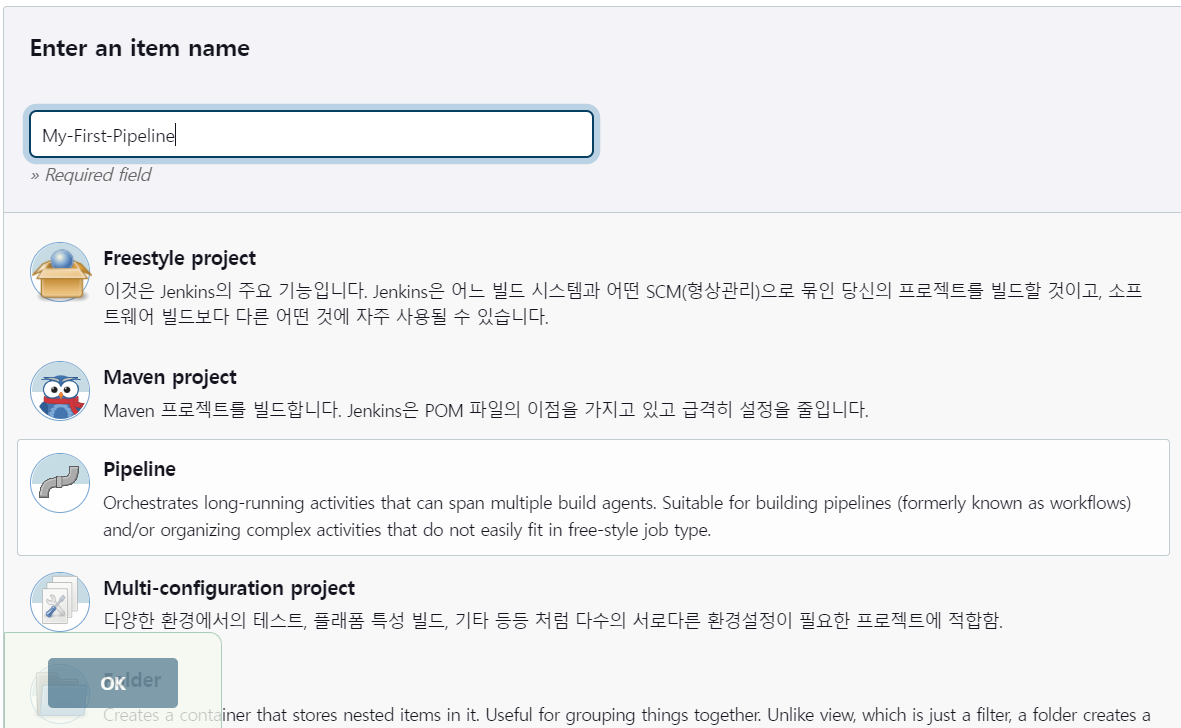
- Pipeline Section 기입
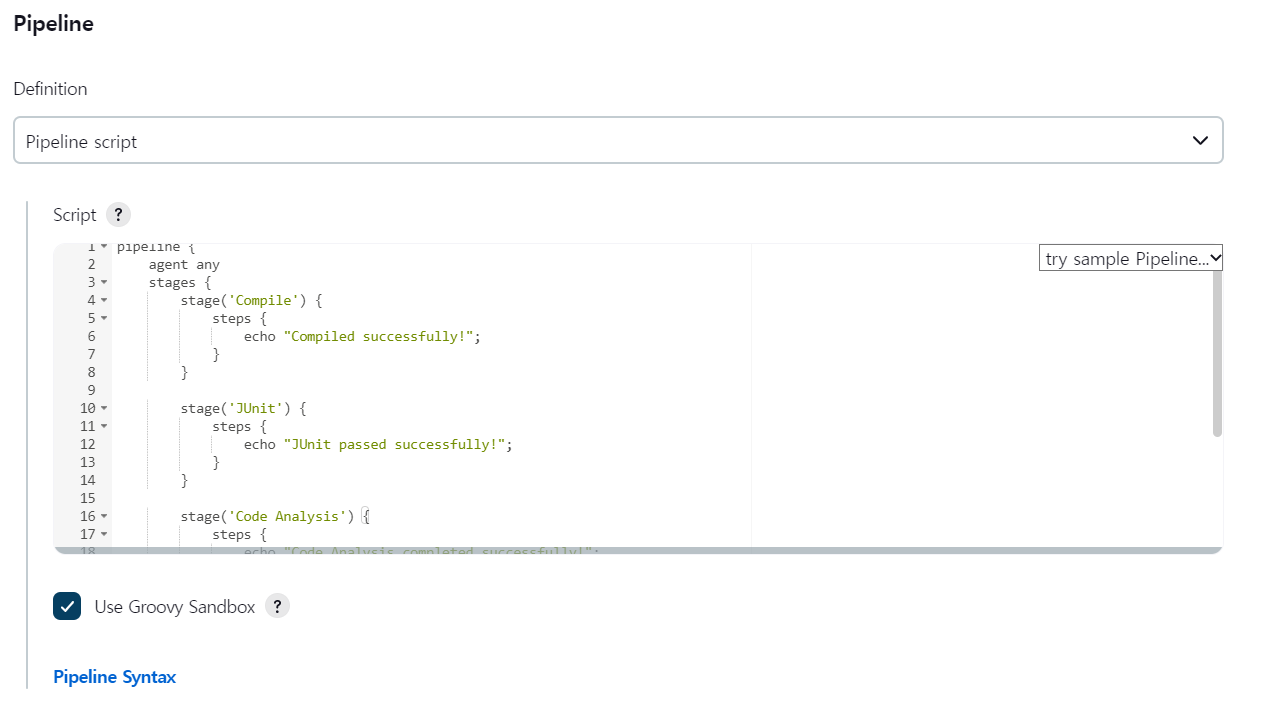
- Definition : Pipeline script 선택
- Script : 이전 Section에서 배웠던 Jenkins Declarative Script Syntax 활용
pipeline {
    agent any
    stages {
        stage('Compile') {
            steps {
                echo "Compiled successfully!";
            }
        }

        stage('JUnit') {
            steps {
                echo "JUnit passed successfully!";
            }
        }

        stage('Code Analysis') {
            steps {
                echo "Code Analysis completed successfully!";
            }
        }

        stage('Deploy') {
            steps {
                echo "Deployed successfully!";
            }
        }
    }
}
이후 Apply & 저장 버튼을 통해 Item을 생성한다.
3. 지금 빌드 클릭
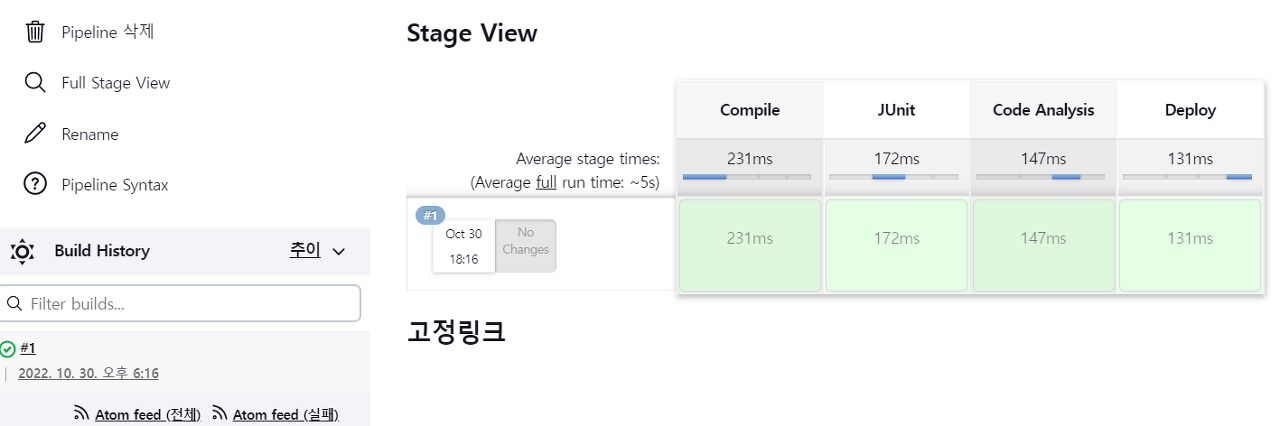
Stage View에서 Pipeline의 각 단계(Stage)를 처리하는 데 걸린 시간을 시각화해준다.
아래 ms 단위로 기입된 시간 Section을 클릭하면 해당 Stage에 발생한 Log들을 활용해 볼 수 있다.

물론 Build History의 Build > Console Output을 통해서도 Log를 활용할 수 있다.
4. Script 추가 & 결과 확인
이제는 "post" 구문을 활용해 만들었던 Pipeline Item에 Script를 추가해보자.
추가할 Script는 아래와 같다.
post {
  always {
    echo "This will always run"
  }
  success {
    echo "This will run when the run finished successfully"
  }
  failure {
    echo "This will run if failed"
  }
  unstable {
    echo "This will run when the run was marked as unstable"
  }
  changed {
    echo "This will run when the state of the pipeline has changed"
  }
}
Script 추가 후 다시 빌드 시켜보자

Post Action까지 추가되어 제대로 Pipeline이 실행되었음을 알 수 있다.

Build가 성공하였기 때문에 "always"와 "success" 안에 있는 echo문이 수행되었음을 확인할 수 있다.

혹시 틀린 내용이 있다면 언제든 말씀해주세요!