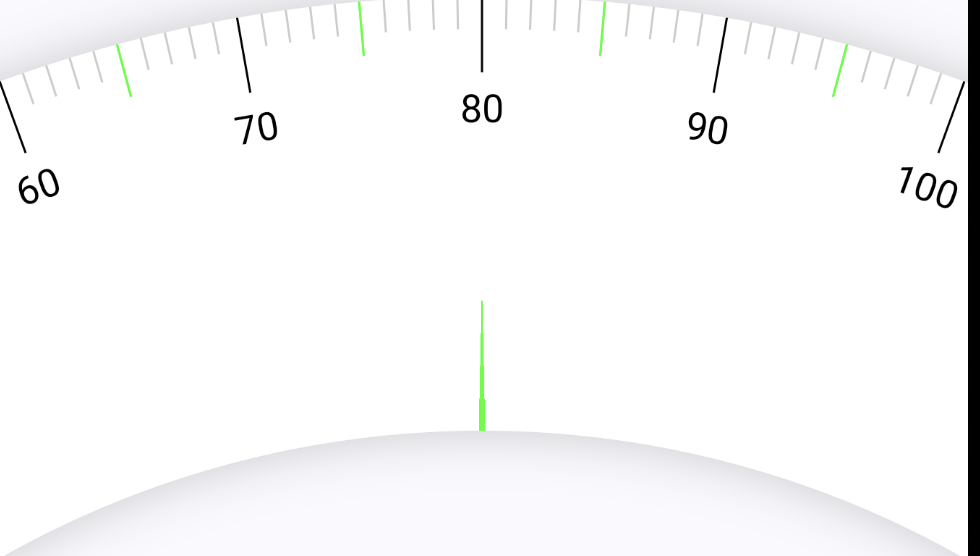
1. 실행 영상
위와 같이 체중계에서 드래그를 이용해 체중을 선택하는 화면을 그려볼 것이다.
2. 원 그리기
먼저 시작해야할 부분은 체중계에 저 원의 모양이다.
먼저 각 정보들을 담은 data class를 정의한다.
data class ScaleStyle(
    val scaleWidth: Dp = 100.dp,
    //반지름
    val radius: Dp = 550.dp,
    //일반 즉 81,82 << 이부분의 색상
    val normalLineColor: Color = Color.LightGray,
    //65, 75 등 5의 배수인 부분의 색상
    val fiveStepLineColor: Color = Color.Green,
    //60, 70 등 10의 배수의 색상
    val tenStepLineColor: Color = Color.Black,
    //일반 색상의 길이
    val normalLineLength: Dp = 15.dp,
    // 5의 배수의 길이
    val fiveStepLineLength: Dp = 25.dp,
    //10의 배수의 길이
    val tenStepLineLength: Dp = 35.dp,
    //가라키는 중앙 선의 색상
    val scaleIndicatorColor: Color = Color.Green,
    //가리키는 중앙 선의 길이
    val scaleIndicatorLength: Dp = 60.dp,
    //체중계에 적혀있는 숫자의 사이즈
    val textSize: TextUnit = 18.sp
)
@Composable
fun Scale(
modifier: Modifier = Modifier,
style: ScaleStyle = ScaleStyle(),
minWeight: Int = 50,
maxWeight: Int = 100,
initialWeight: Int = 80,
onWeightChange: (Int) -> Unit
) {
val radius = style.radius
val scaleWidth = style.scaleWidth
var center by remember {
mutableStateOf(Offset.Zero)
}
var circleCenter by remember {
mutableStateOf(Offset.Zero)
}
var angle by remember {
mutableStateOf(0f)
}
Canvas(
modifier = modifier
) {
center = this.center
circleCenter = Offset(center.x, scaleWidth.toPx() / 2f + radius.toPx())
drawContext.canvas.nativeCanvas.apply {
drawCircle(
circleCenter.x,
circleCenter.y,
radius.toPx(),
Paint().apply {
strokeWidth = scaleWidth.toPx()
color = Color.White.toArgb()
setStyle(Paint.Style.STROKE)
setShadowLayer(
60f,
0f,
0f,
android.graphics.Color.argb(50, 0, 0, 0)
)
}
)
}
}
}코드를 보면 drawContext.canvas.nativeCanvas 쓰는 것을 볼 수 있다.
분명 Canvas 내에서도 drawCircle을 사용할 수 있는데 왜 nativeCanvas를 사용했을까?
일단 둘 다 원을 그리는 것이 맞지만, 좀 더 세밀한 그리기를 하고 싶을 때 nativeCanvas를 사용한다.
일단 Canvas 내부의 drawCircle을 보면 아래의 형식인데 DrawStyle과 blendMode에서는 그림자 효과를 나타내는 방법이 없었다. (혹시 있다면 댓글로 알려주심 감사하겠습니다.
	//Canvas의 drawCircle
    fun drawCircle(
        color: Color,
        radius: Float = size.minDimension / 2.0f,
        center: Offset = this.center,
        @FloatRange(from = 0.0, to = 1.0) alpha: Float = 1.0f,
        style: DrawStyle = Fill,
        colorFilter: ColorFilter? = null,
        blendMode: BlendMode = DefaultBlendMode
    )
반면 nativeCavas의 drawCircle은 Paint 안에 shadow효과가 있기 때문에 원의 그림자 효과를 넣을 수 있어서 nativeCanvas를 적용했다.
일반적인 Compose UI에서는 DrawScope의 API로 충분하지만, 특정 효과나 정밀한 컨트롤이 필요할 때 nativeCanvas를 활용하면 좋다.
	//nativeCanvas의 drawCircle 여러가지 방법 중에 사용한 파라미터
    public void drawCircle(float cx, float cy, float radius, @NonNull Paint paint) {
        super.drawCircle(cx, cy, radius, paint);
    }
두 번째 궁금한 점은 circlecenter의 정의이다. y를 왜 아래와 같이 구현했을까?
circleCenter = Offset(center.x, scaleWidth.toPx() / 2f + radius.toPx())먼저 중앙점에서 점을 찍었을 때 사진을 보자.(이 점이 추후 원을 그릴 때 중앙점이 된다.)
drawCircle(
	center.x,
	center.y,
	5.dp.toPx(),
	Paint().apply {
	color = Color.Red.toArgb()
	}
)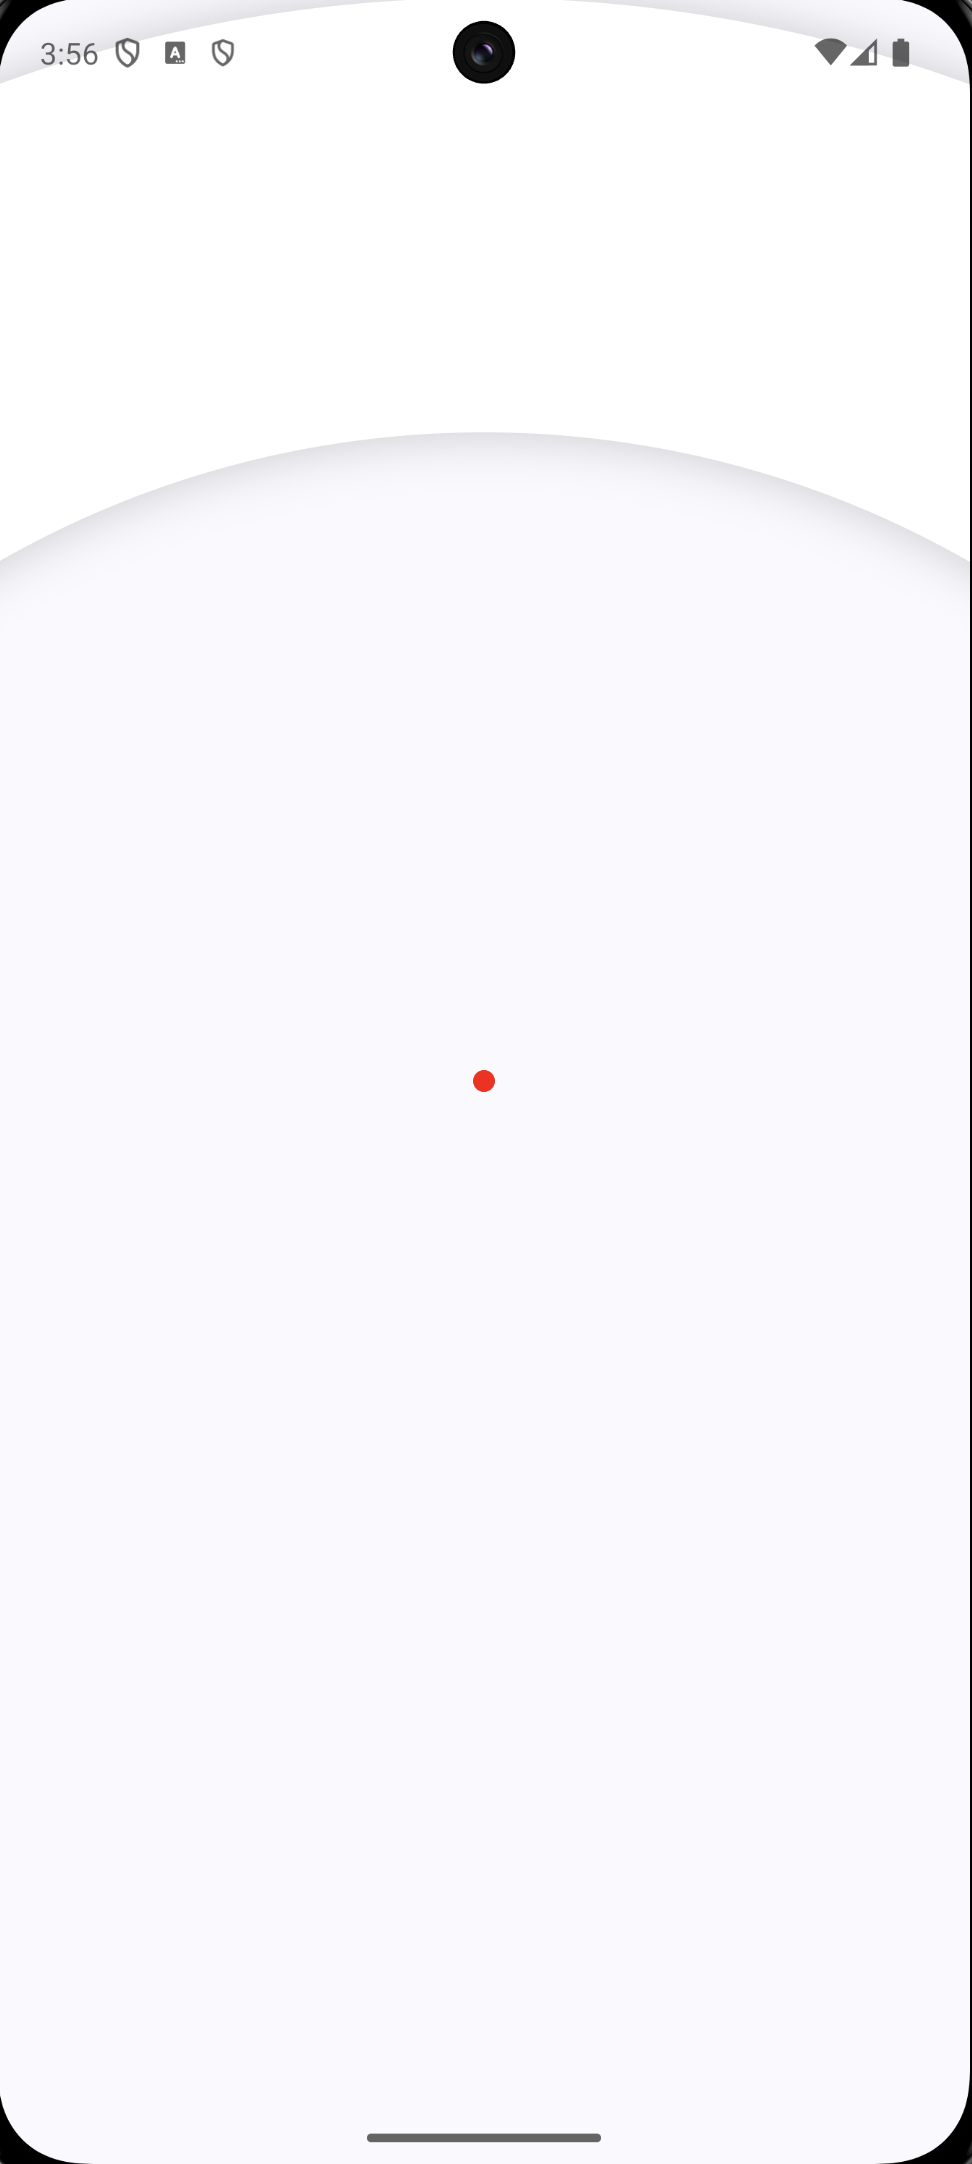
진짜 핸드폰의 중앙(만약 전체 사이즈로 조정했을 경우), 사이즈가 전체 화면이 아닌 경우 Scale 컴포저블의 크기의 중앙 점을 찍게된다.
만약 해당 circleCenter의 y으로 변경되면 아래의 화면이 된다.
drawCircle(
center.x,
center.y,
5.dp.toPx(),
Paint().apply {
color = Color.Red.toArgb()
}
)
drawCircle(
circleCenter.x,
circleCenter.y,
5.dp.toPx(),
Paint().apply {
color = Color.Green.toArgb()
}
)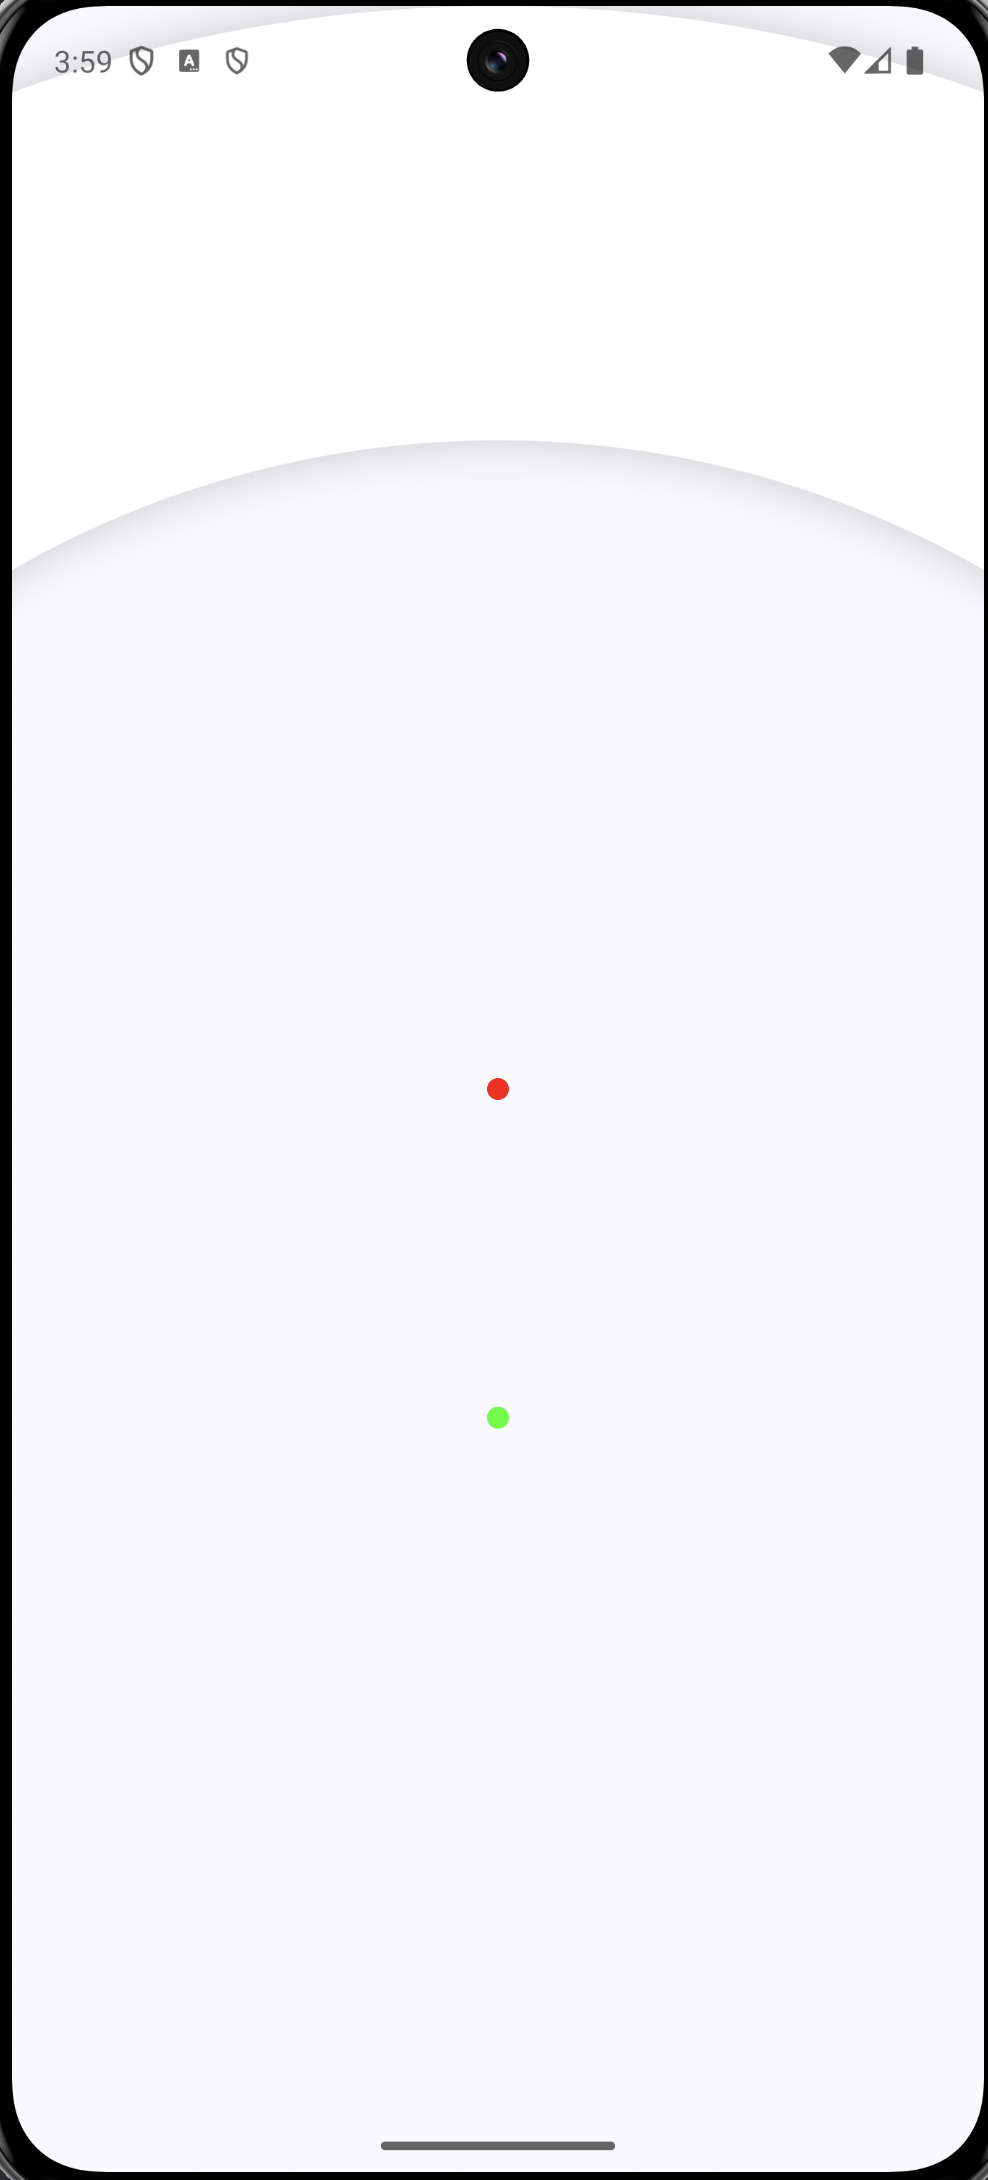 저 초록 점이 이제 해당 원을 그릴 때의 중심점이다.
이제 점을 radius 크기만큼 키우고, Stroke를 주어보자
drawCircle(
	circleCenter.x,
	circleCenter.y,
	radius.toPx(),
	Paint().apply {
		color = Color.Green.toArgb()
		setStyle(Paint.Style.STROKE)
		strokeWidth = 5f
	}
)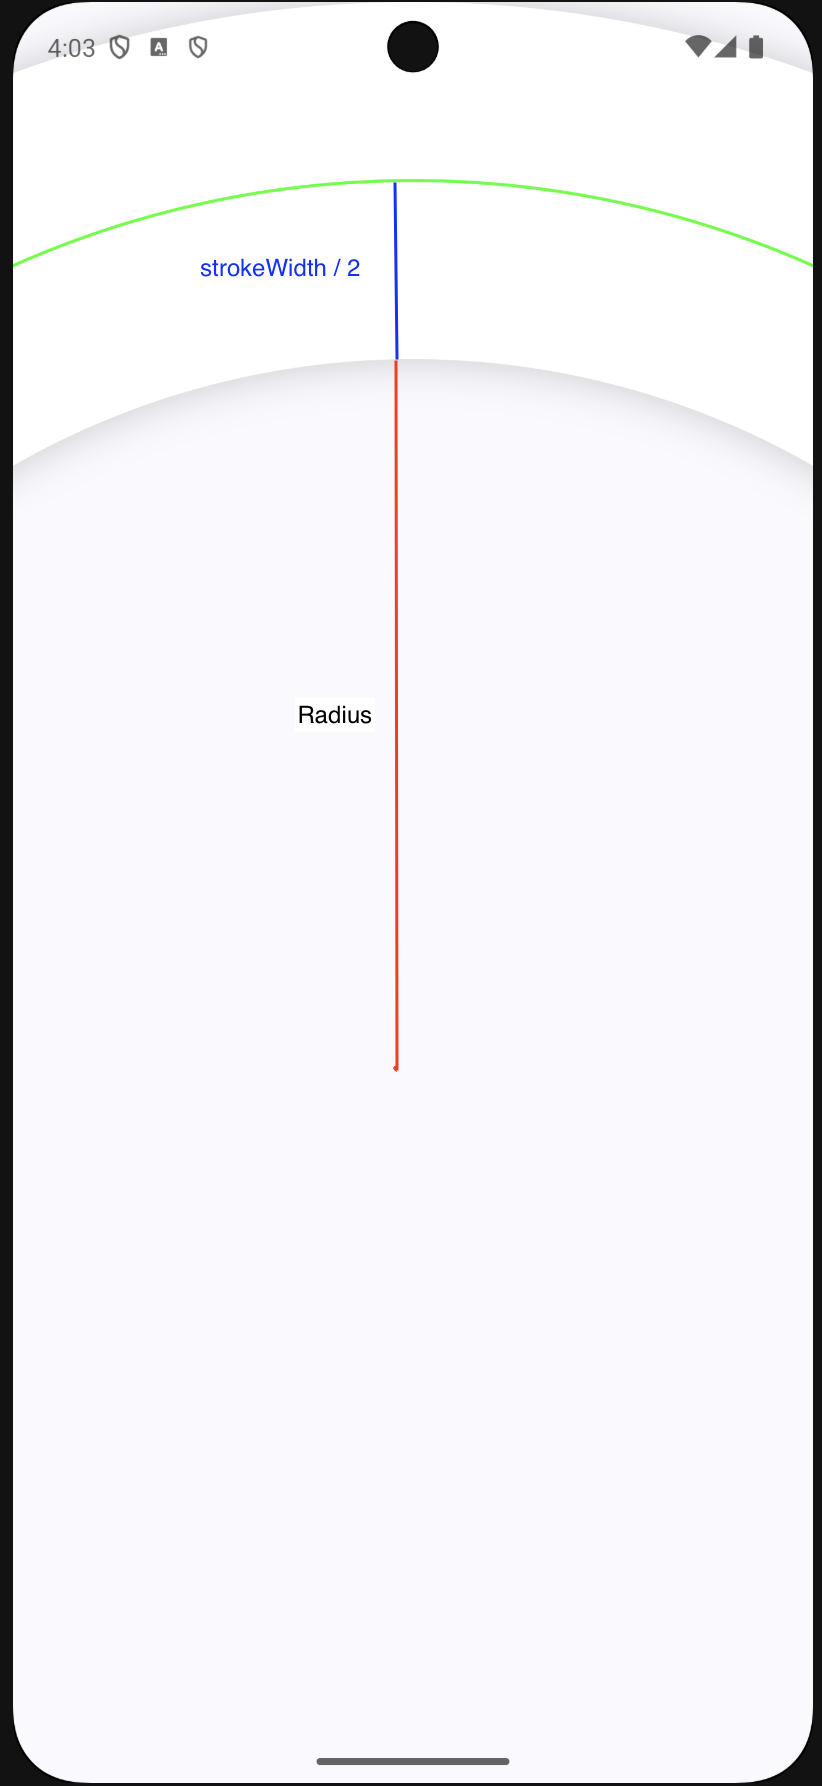
이제 왜 circleCent의 y를 위와같이 정의한 지 알 수 있다. 결과물에서 중앙에 선이 생긴 것을 볼 수 있다.
이제 strokeWidth를 정의된 값으로 바꿔주고, shadow를 적용해주면 원하던 결과물을 얻을 수 있다. 해당 원이 위에 있는 이유는 fillMaxSize()를 사용했기 때문이다. 이를 Box 컴포저블로 감싸고 아래로 배치하면 드디어 원하던 결과물이 나오게 된다.
//mainActivity
            Box(
                modifier = Modifier
                    .fillMaxSize()
            ) {
                Scale(
                    modifier = Modifier
                        .fillMaxWidth()
                        .height(300.dp)
                        .align(Alignment.BottomCenter),
                    style = ScaleStyle(
                        scaleWidth = 200.dp
                    )
                ) {
                	//TODO: 추후 구현
                }
            }


//Scale 컴포저블
//...
       drawContext.canvas.nativeCanvas.apply {
            drawCircle(
                circleCenter.x,
                circleCenter.y,
                radius.toPx(),
                Paint().apply {
                    strokeWidth = scaleWidth.toPx()
                    color = Color.White.toArgb()
                    setStyle(Paint.Style.STROKE)
                    setShadowLayer(
                        60f,
                        0f,
                        0f,
                        android.graphics.Color.argb(50, 0, 0, 0)
                    )
                }
            )
        }
//...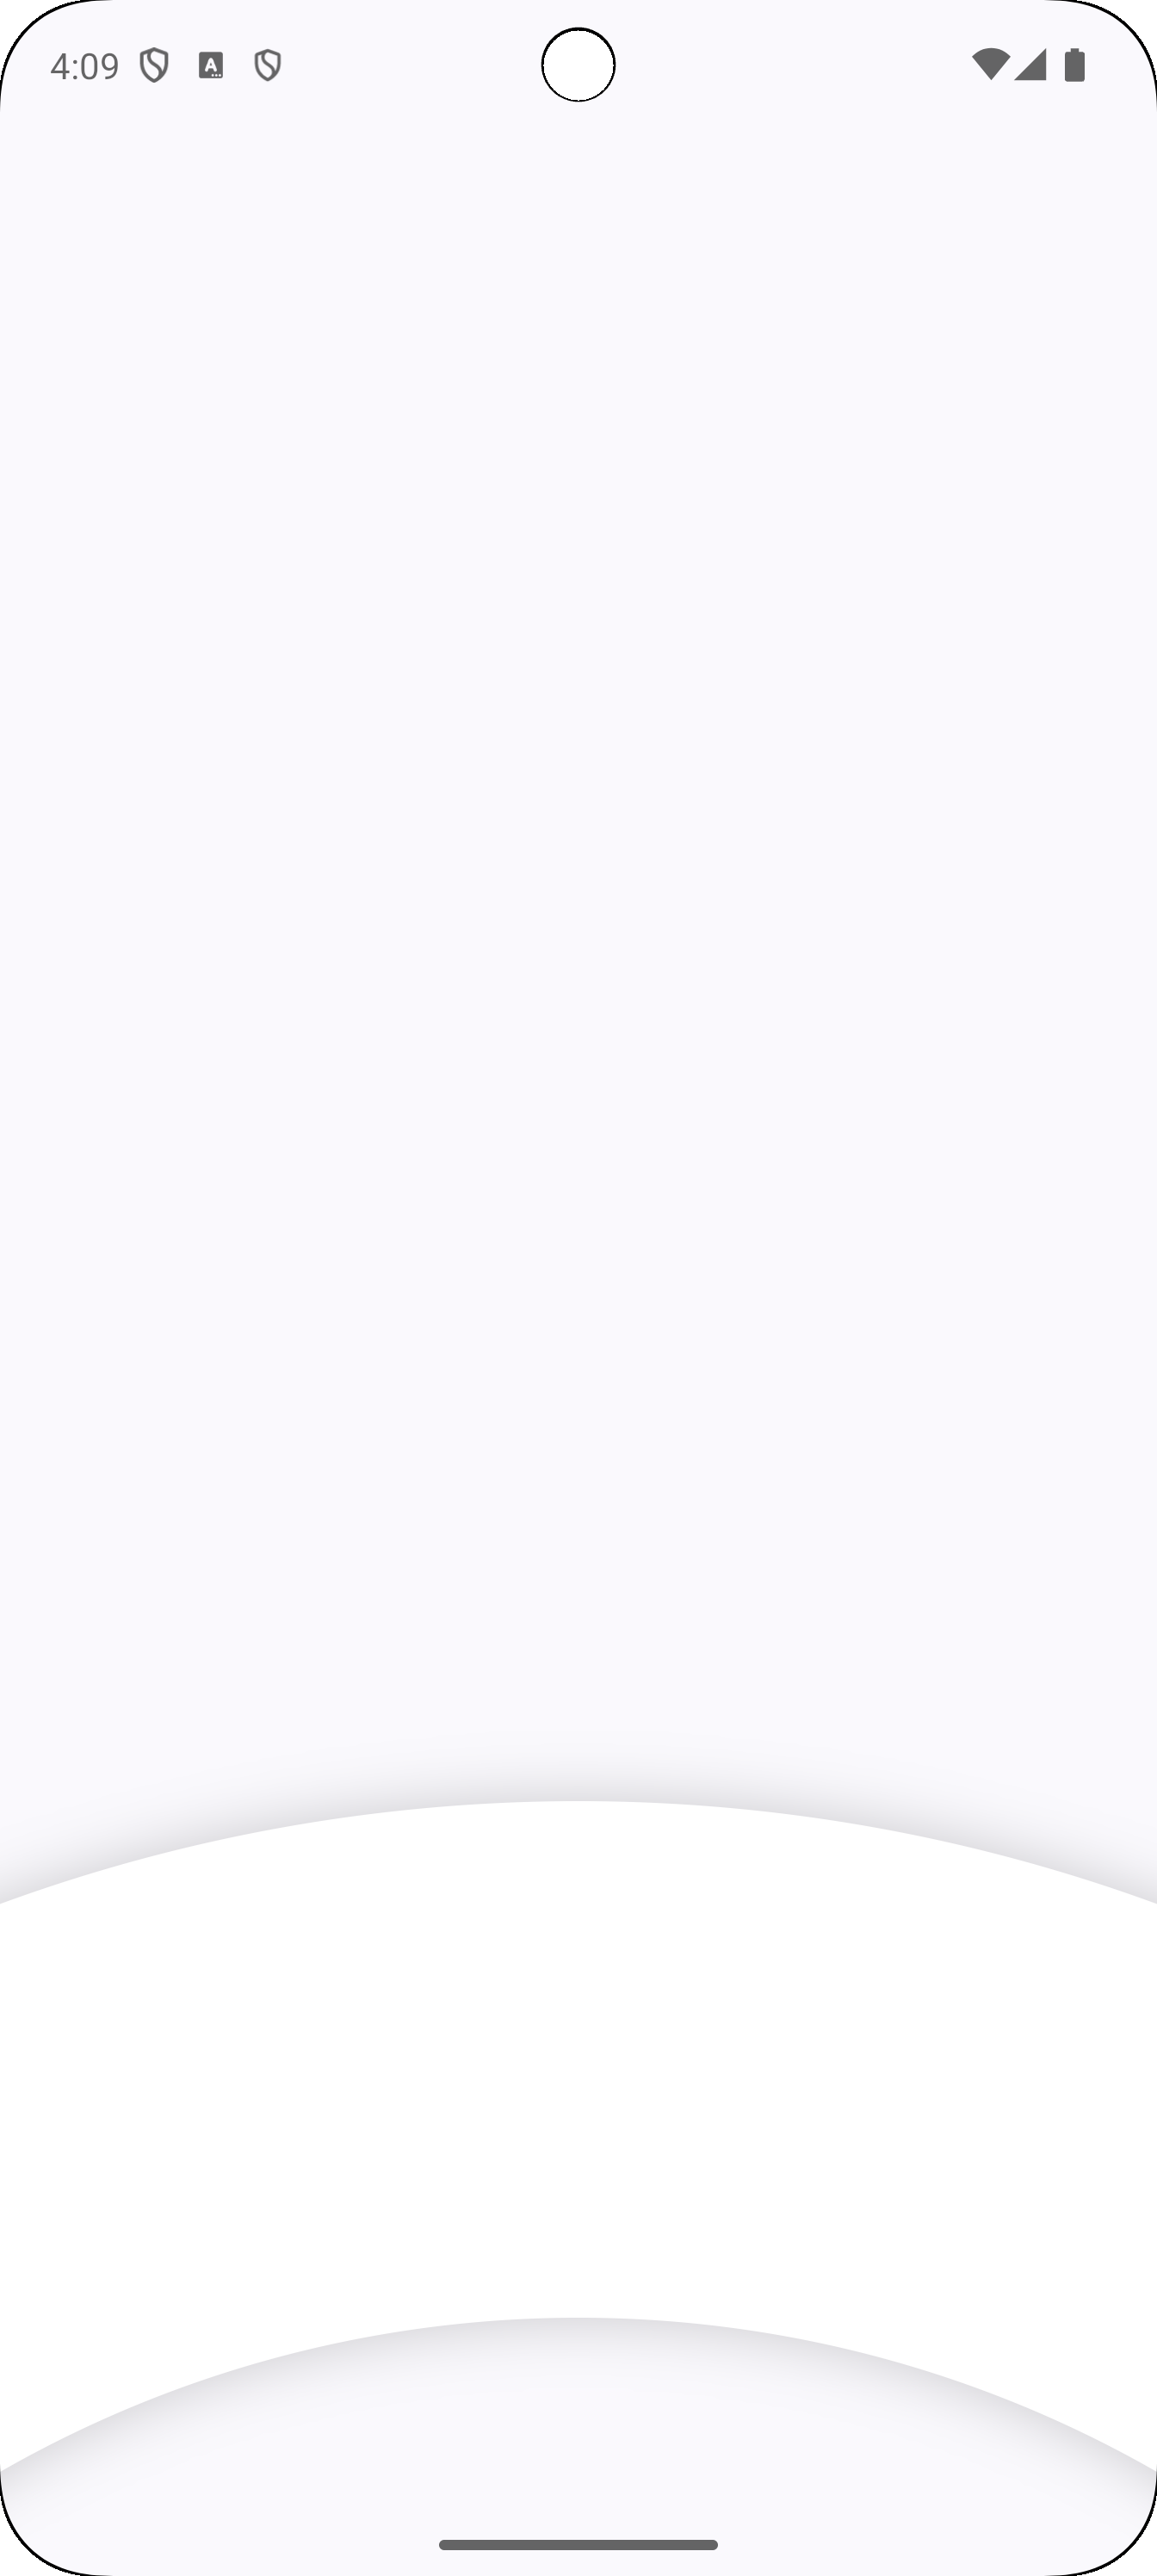
원하는 모양의 체중계를 구현했다. 체중계의 두께는 이제 sacleWidth에 따라 조절이 가능하다.
다음에는 각 체중에 따른 선을 그리는 방법을 구현해보려고 한다.
3. 깃허브 링크 및 참조 문헌
깃허브 : https://github.com/Yoon-Chan/CanvasCompose
참조: pl-coding 강의 내용 중 일부