
사전지식
terraform: 하시코프에서 오픈소스로 개발중인 인프라스트럭처 관리 도구(IaC)입니다.
eks는 aws에서 제공하는 관리형 kubernetes 서비스입니다.
글의 목적
클라우드 엔지니어에게 필수적인 terraform을 사용하여 aws eks를 구성하고, helm을 통해 ingress와 application을 EKS 위에 띄우는 내용을 안내드립니다.
이 글은 AWS에서 제공한 from-zero-to-eks-with-terraform-and-helm 라는 문서를 참고했습니다.
작업 환경
Git
Terraform
Kubectl
AWS-IAM-AUTHENICATOR
Helm
AWS 계정 설정
1. eks 생성
terraform 스크립트 준비
$ cd ~
$ git clone https://github.com/terraform-providers/terraform-provider-aws.git
$ cd terraform-provider-aws/examples/eks-getting-started
해당 디렉토리에 .tf라는 확장자 파일이 생성된 것을 확인할 수 있습니다.
이 파일들은 terraform 스크립트이며 eks 클러스터를 구성할 수 있도록 작성되어 있습니다.

HCL은 테라폼에서 사용하는 설정 언어입니다. 테라폼에서 모든 설정과 리소스 선언은 HCL을 사용해 이루어집니다. 테라폼에서 HCL 파일의 확장자는 .tf를 사용합니다.
예를 들어 파일 vpc.tf의 내용을 보면 다음과 같이 vpc 생성에 필요한 정보가 입력되어 있습니다.
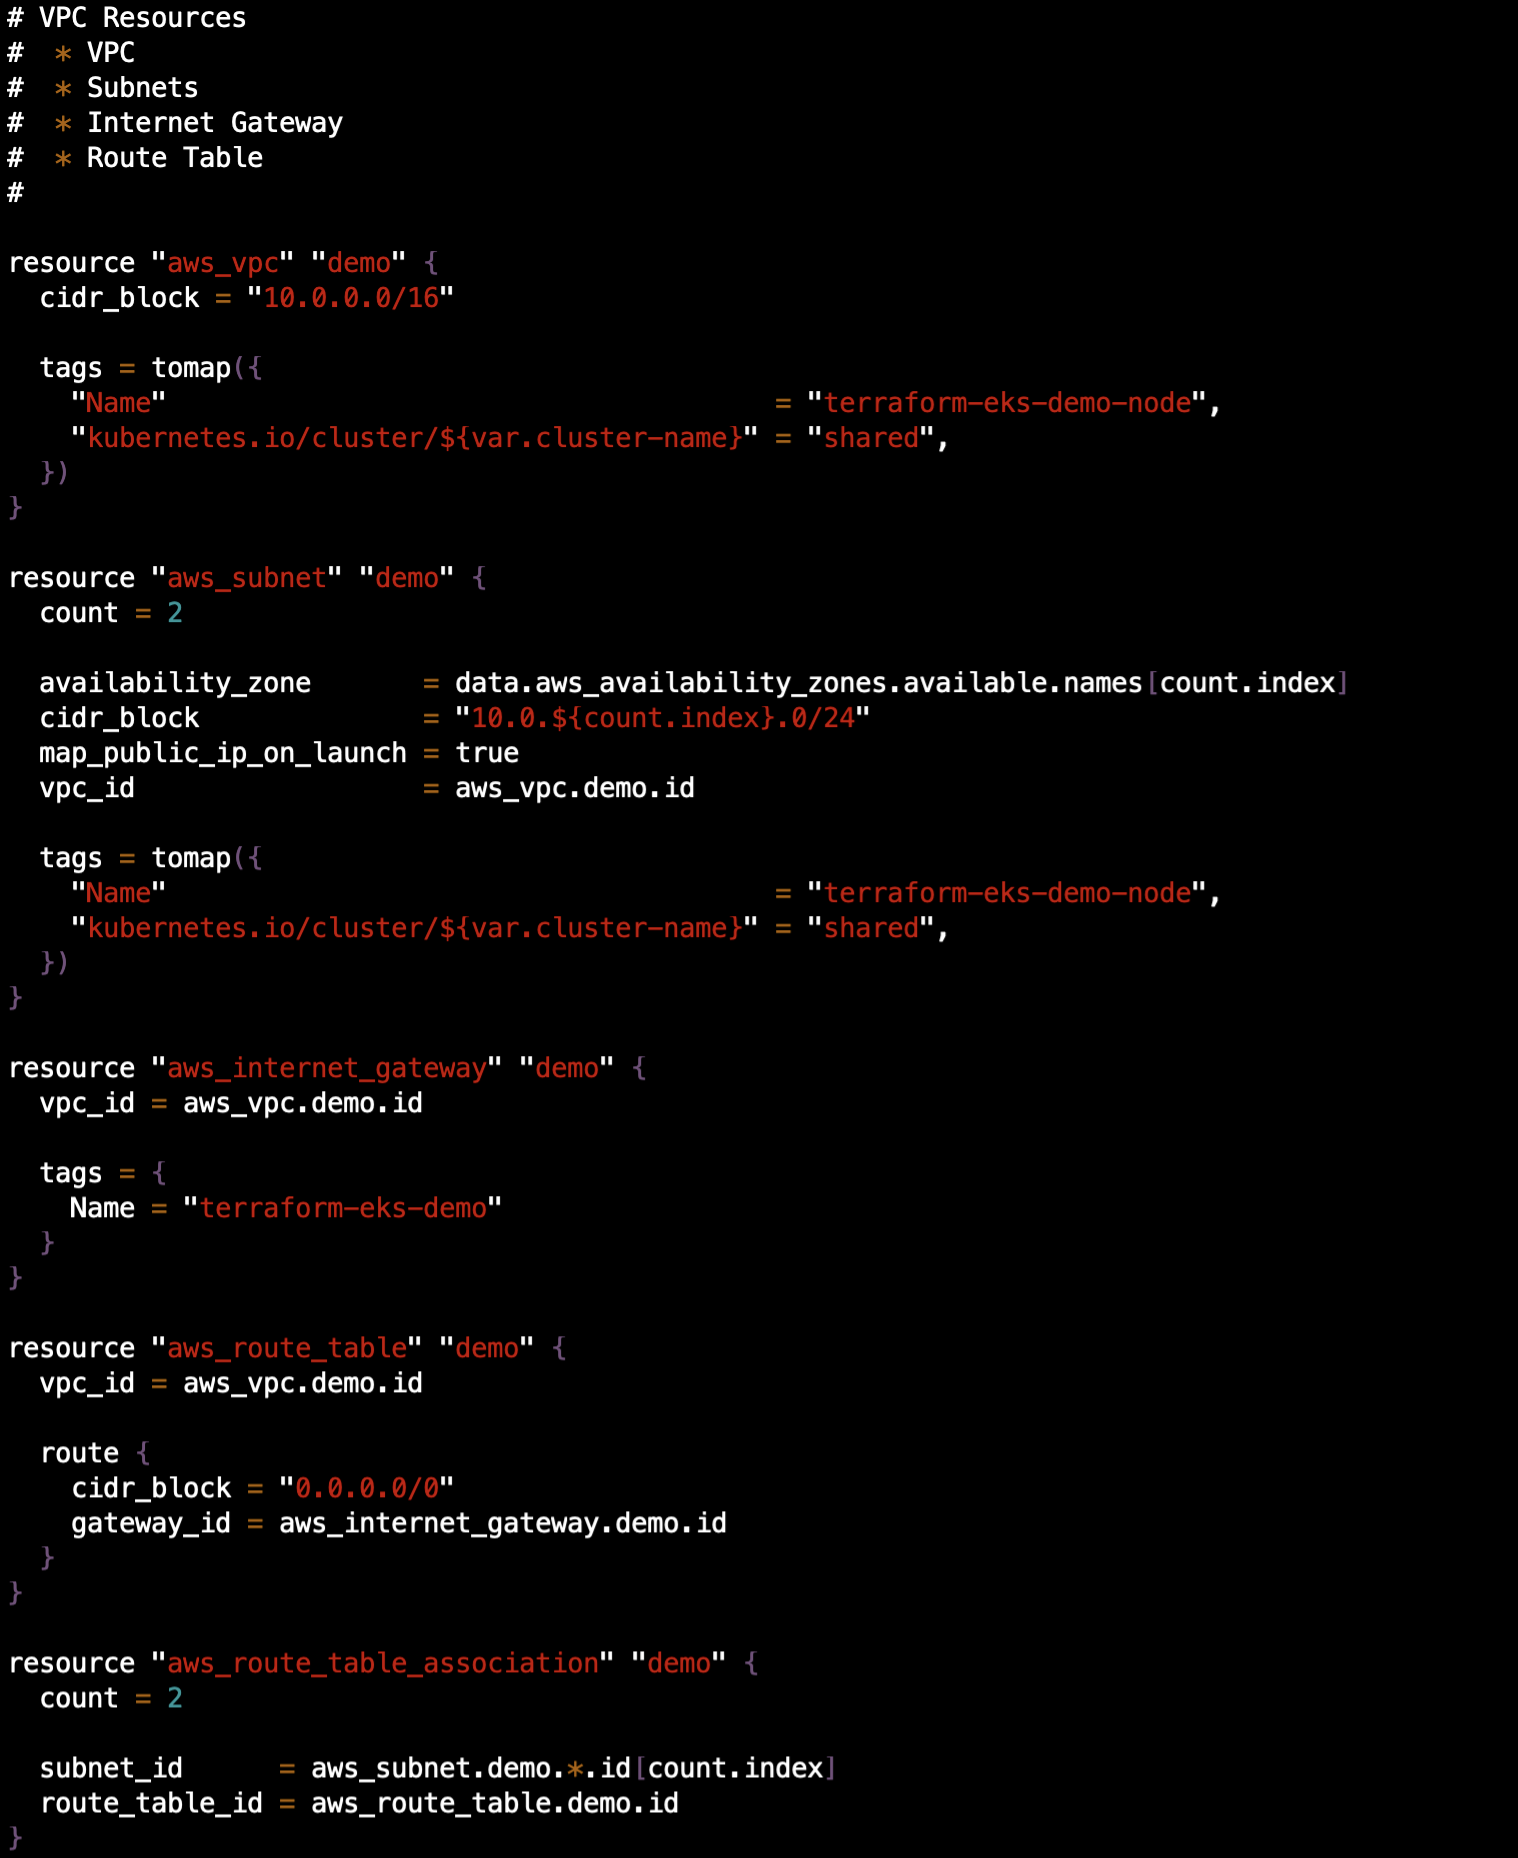
variables.tf 파일에는 eks 구성에 필요한 환경 변수가 입력되어 있습니다.
필요하신 경우에는 리전과 클러스터 이름 변경이 가능합니다.

Terraform Initialization
terraform을 사용하기 위한 초기화 작업입니다.
$ terraform initTerraform Plan
.tf 파일의 내용을 실제로 구성이 가능한지 확인하는 명령입니다.
$ terraform planTerraform Apply
.tf 파일의 내용대로 리소스를 생성, 수정, 삭제하는 작업입니다.
현재는 최초로 실행하기 때문에 리소스를 생성만 하게 됩니다.
$ terraform apply
.tf 파일에 입력된 내용대로 리소스를 생성, 수정, 삭제하는 작업입니다.
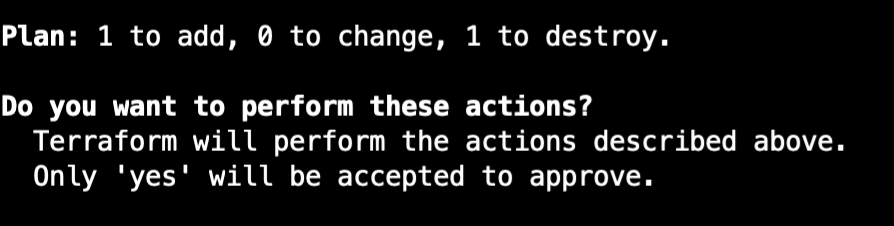
실제로 apply가 실행되기 전에 확인하는 과정을 거칩니다.
아래와 같은 문구가 나오면 yes를 입력하면 됩니다.
1. kubectl 설정
EKS 생성이 완료되면 kubectl을 이용해서 EKS에 접근이 가능하도록 설정합니다.
아래 명령어를 통해 접근할 EKS의 정보를 yaml config로 출력할 수 있습니다.
$ mkdir ~/.kube/
$ terraform output kubeconfig > ~/.kube/config
ConfigMap 접근 설정
Kubenetes Master 노드의 ConfigMap에 대해 EKS 클러스터가 접근이 가능하도록 설정합니다.
$ terraform output config_map_aws_auth > configmap.yml
$ kubectl apply -f configmap.yml
EKS 재배포
Worker Node 개수 변경
먼저 현재 worker node의 개수를 확인합니다.
$ kubectl get nodes -o wideeks-worker-nodes.tf 파일을 확인해보면 desired_size, max_size, min_size가 1로 설정된 것을 확인할 수 있습니다.
그 값을 아래와 같이 수정하고 다시 Terraform 배포를 진행합니다.
  scaling_config {
    desired_size = 2
    max_size     = 10
    min_size     = 2
  }
배포를 하기 전에 plan으로 변경 내용을 확인합니다.
$ terraform plan


An execution plan has been generated and is shown below.
Resource actions are indicated with the following symbols:
  ~ update in-place

Terraform will perform the following actions:

  # aws_eks_node_group.demo will be updated in-place

...(생략)
      ~ scaling_config {
          ~ desired_size = 1 -> 2
          ~ max_size     = 1 -> 10
          ~ min_size     = 1 -> 2
        }
...(생략)
`
Plan: 0 to add, 1 to change, 0 to destroy.

------------------------------------------------------------------------

Note: You didn't specify an "-out" parameter to save this plan, so Terraform
can't guarantee that exactly these actions will be performed if
"terraform apply" is subsequently run.
기존에 배포된 내용에서 1개의 부분이 수정되었다는 메시지와 변경 사항에 대해서 확인할 수 있습니다.
apply를 해보고 다시 워커 노드의 개수를 확인합니다.
워커 노드의 개수를 확인해보면 1개의 worker node가 추가된 것이 확인됩니다.
$ kubectl get nodes -o wide테라폼에서 EKS를 위해 생성되는 EC2의 타입은 기본적으로 t3.medium로 설정되어 있습니다.
Helm 을 이용한 POD 배포
nginx-ingress 배포
Helm을 통해 ingress를 배포합니다.
$ helm install my-nginx stable/nginx-ingress --set rbac.create=true

WARNING: This chart is deprecated
NAME: my-nginx
LAST DEPLOYED: Fri Aug 28 17:38:11 2020
NAMESPACE: default
STATUS: deployed
REVISION: 1
TEST SUITE: None
해당 nginx-ingress는 deprecated 되었지만 Terraform, Helm을 이용한 EKS 구성을 테스트가 가능합니다.
ingress관련 2개의 pod가 running 중인 것을 확인할 수 있습니다.
$ kubectl get podApplication 배포
airflow 라는 어플리케이션을 배포합니다.
아래와 같이 airflow 관련 manifest.yaml 파일을 생성합니다.
ingress가 / 경로 호출에 대해 airflow로 라우팅하도록 설정합니다.
$ cat > airflow-manifest.yaml <<EOF
ingress:
  enabled: true
  web:
    path: "/"
    annotations:
      kubernetes.io/ingress.class: "nginx"
EOF
그 다음에 helm으로 배포합니다.
$ helm install airflow stable/airflow -f airflow-manifest.yamlairflow 관련 6개의 pod가 추가 된 것을 확인할 수 있습니다.
$ kubectl get pod서비스 확인
사용하는 계정에서 elb에 대한 권한이 있다면 elb의 dns name을 확인할 수 있습니다.
$ aws elb describe-load-balancers | grep DNSName
"DNSName": "a9a7fff789cd84a7f881ex57fwe0f14e-1133921978.ap-northeast-2.elb.amazonaws.com",Resources 제거
Pod 제거
아래 helm 명령어로 pod를 제거합니다.
$ helm uninstall airflow
$ helm uninstall my-nginx
EKS 제거
배포한 위치에서 terraform으로 생성한 eks와 같은 리소스를 아래 명령어로 제거할 수 있습니다.
$ terraform destroy준비작업
Terraform 설치
사용자의 환경에 맞는 terraform 설치가 필요합니다.
아래의 가이드는 ubuntu 기준입니다.
$ wget https://releases.hashicorp.com/terraform/0.14.8/terraform_0.14.8_linux_amd64.zip
$ ls -al
$ sudo apt install yum
$ sudo yum install -y unzip
$ unzip terraform_0.14.8_linux_amd64.zip
$ cp terraform /usr/bin/
$ ./terraform -version
Helm 설치
사용자의 환경에 맞는 helm 설치가 필요합니다.
아래의 가이드는 ubuntu 기준입니다.
$ sudo snap install helm --classic
kubectl 설치
사용자의 환경에 맞는 kubectl 설치가 필요합니다.
아래의 가이드는 ubuntu 기준입니다.
$ curl -LO "https://dl.k8s.io/release/$(curl -L -s https://dl.k8s.io/release/stable.txt)/bin/linux/amd64/kubectl"
$ sudo install -o root -g root -m 0755 kubectl /usr/local/bin/kubectl
AWS-IAM-AUTHENICATOR 설치
Kubectl로 AWS EKS에 접근하기 위해서는 AWS-IAM-AUTHENICATOR가 필요합니다.
아래의 가이드는 ubuntu 기준입니다.
$ curl -o aws-iam-authenticator https://amazon-eks.s3.us-west-2.amazonaws.com/1.17.7/2020-07-08/bin/linux/amd64/aws-iam-authenticator
$ chmod +x ./aws-iam-authenticator
$ mkdir -p $HOME/bin && mv ./aws-iam-authenticator $HOME/bin/aws-iam-authenticator && export PATH=$PATH:$HOME/bin
$ echo 'export PATH=$PATH:$HOME/bin' >> ~/.bashrc
aws cli 설치 및 configure
aws cli 사용이 가능하도록 아래 링크에서 사전 준비가 필요합니다.
aws cli 설치 공식가이드: https://docs.aws.amazon.com/ko_kr/cli/latest/userguide/getting-started-install.html
aws configure 공식가이드: https://docs.aws.amazon.com/ko_kr/cli/latest/userguide/cli-configure-quickstart.html