
Font Optimization
next/font는 개인정보 보호 및 성능 향상을 위해 font(사용자 정의 폰트 포함)를 자동으로 최적화하고 외부 네트워크 요청을 제거한다.
next/font에는 모든 글꼴 파일에 대한 자동 자체 호스팅이 내장되어 있다. 이는 사용된 기본 CSS size-adjust 속성 덕분에 레이아웃 변경 없이 웹 font를 최적으로 로드(load)할 수 있음을 의미한다.
또한 이 새로운 font 시스템을 사용하면 성능과 개인정보 보호를 염두에 두고 모든 Google 글꼴을 편리하게 사용할 수 있다. CSS 및 font 파일은 빌드 시 다운로드되며 나머지 정적 자산(static assets)과 함께 자체 호스팅된다. 브라우저에서 Google로 요청이 전송되지 않는다.
구글 Fonts
모든 Google 글꼴을 자동으로 자체 호스팅한다. 글꼴은 배포(deployment)에 포함되며 배포와 동일한 도메인에서 제공된다.
next/font/google에서 사용하고 싶은 글꼴을 함수로 가져와서 시작할 수 있다. 최고의 성능과 유연성을 위해 variable fonts을 사용하는 것이 좋다.
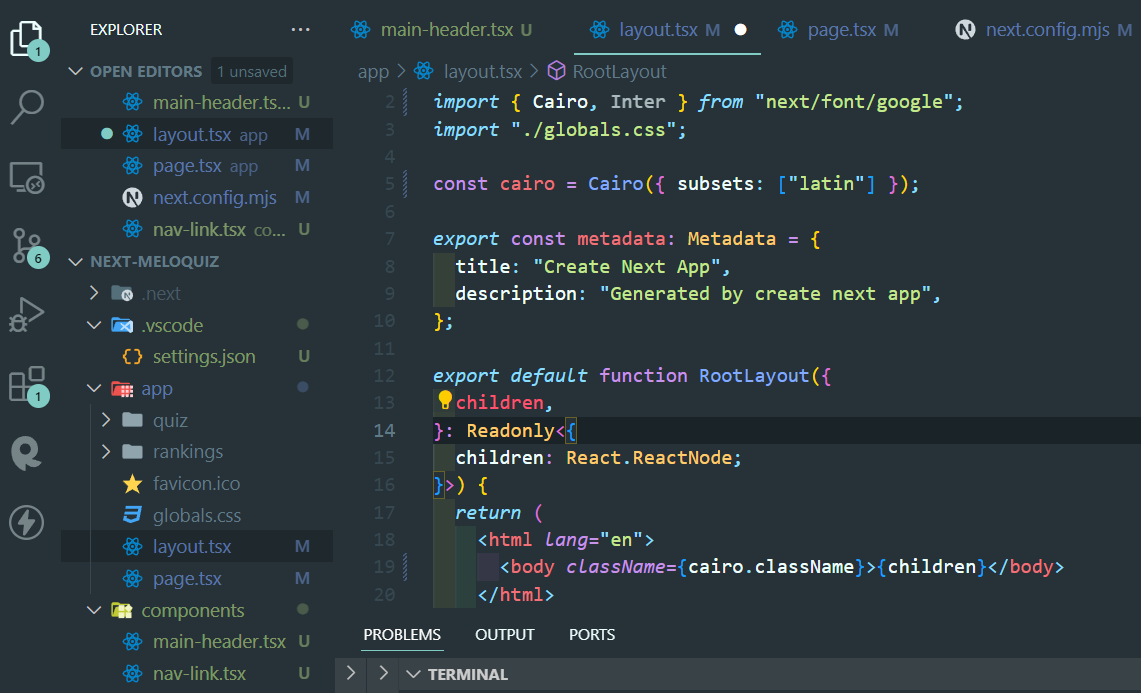
모든 페이지에서 글꼴을 사용하려면 아래와 같이 app 폴더 아래에 layout.tsx 파일에 추가하면 된다. 나는 TypeScript를 사용하기 때문에 tsx 파일일뿐 루트에 위치한 layout 파일에 추가하면 된다.
Variable font을 사용할 수 없는 경우 weight를 지정해야 한다.
import { Roboto } from 'next/font/google'

const roboto = Roboto({
  weight: '400',
  subsets: ['latin'],
})

export default function MyApp({ Component, pageProps }) {
  return (
    <main className={roboto.className}>
      <Component {...pageProps} />
    </main>
  )
}
배열을 사용하여 여러 weight 및 또는 스타일을 지정할 수 있다.
const roboto = Roboto({
  weight: ['400', '700'],
  style: ['normal', 'italic'],
  subsets: ['latin'],
  display: 'swap',
})
알아두면 좋은 것
여러 단어로 구성된 font 이름에는 밑줄(_)을 사용한다. 예: Roboto Mono는 Roboto_Mono로 import해야한다.
head에 font 적용
head 내부에 font를 삽입하여 wrapper 및 className 없이 font를 사용할 수도 있다.
import { Inter } from 'next/font/google'

const inter = Inter({ subsets: ['latin'] })

export default function MyApp({ Component, pageProps }) {
  return (
    <>
      <style jsx global>{`
        html {
          font-family: ${inter.style.fontFamily};
        }
      `}</style>
      <Component {...pageProps} />
    </>
  )
}
Single page 사용
단일 페이지에서 font를 사용하려면 아래와 같이 특정 페이지에 font를 추가한다.
import { Inter } from 'next/font/google'

const inter = Inter({ subsets: ['latin'] })

export default function Home() {
  return (
    <div className={inter.className}>
      <p>Hello World</p>
    </div>
  )
}
subset 지정
Google font는 자동으로 subset이다. 이렇게 하면 font 파일의 크기가 줄어들고 성능이 향상된다. 이러한 subsets 중에 미리 로드할 subset을 정의해야 한다. 지정하지 않으면 경고가 발생한다.
이는 함수 호출에 추가하여 수행할 수 있다.
const inter = Inter({ subsets: ['latin'] })여러 fonts 사용
애플리케이션에서 여러 font를 가져와 사용할 수 있다. 사용할 수 있는 접근 방식은 두 가지가 있다.
첫 번째 접근 방식은 font를 export 및 import하고 필요한 곳에 해당 className을 적용하는 유틸리티 함수를 만드는 것이다. 이렇게 하면 렌더링될 때만 미리 로드된다.
app/fonts.ts
import { Inter, Roboto_Mono } from 'next/font/google'

export const inter = Inter({
  subsets: ['latin'],
  display: 'swap',
})

export const roboto_mono = Roboto_Mono({
  subsets: ['latin'],
  display: 'swap',
})
또는 CSS 변수를 생성하여 원하는 CSS 솔루션과 함께 사용할 수 있다.
app/global.css
html {
  font-family: var(--font-inter);
}

h1 {
  font-family: var(--font-roboto-mono);
}
위의 예에서 Inter는 전역적으로 적용되며 모든 h1 태그는 Roboto Mono로 스타일이 지정된다.
권장 사항: 각각의 새 font는 클라이언트가 다운로드해야 하는 추가 resource이므로 여러 글꼴을 보수적으로 사용해야 한다.
Local fonts
next/font/local을 import하고 Local font 파일의 src를 지정한다다. 최고의 성능과 유연성을 위해 variable font를 사용하는 것이 좋다.
import localFont from 'next/font/local'

// Font files can be colocated inside of `pages`
const myFont = localFont({ src: './my-font.woff2' })

export default function MyApp({ Component, pageProps }) {
  return (
    <main className={myFont.className}>
      <Component {...pageProps} />
    </main>
  )
}
여러 파일을 사용하려는 경우 src를 배열로 나타낸다.
const roboto = localFont({
  src: [
    {
      path: './Roboto-Regular.woff2',
      weight: '400',
      style: 'normal',
    },
    {
      path: './Roboto-Italic.woff2',
      weight: '400',
      style: 'italic',
    },
    {
      path: './Roboto-Bold.woff2',
      weight: '700',
      style: 'normal',
    },
    {
      path: './Roboto-BoldItalic.woff2',
      weight: '700',
      style: 'italic',
    },
  ],
})
Tailwind CSS 사용
next/font는 CSS 변수를 통해 Tailwind CSS와 함께 사용할 수 있다.
아래 예에서는 next/font/google의 Inter font를 사용한다(Google 또는 Local Fonts의 모든 font를 사용할 수 있다). CSS 변수 이름을 정의하고 inter에 할당하려면 변수 옵션으로 글꼴을 로드한다. 그런 다음 inter.variable을 사용하여 HTML 문서에 CSS 변수를 추가한다.
import { Inter } from 'next/font/google'

const inter = Inter({
  subsets: ['latin'],
  variable: '--font-inter',
})

export default function MyApp({ Component, pageProps }) {
  return (
    <main className={`${inter.variable} font-sans`}>
      <Component {...pageProps} />
    </main>
  )
}
마지막으로 Tailwind CSS 구성에 CSS 변수를 추가한다.
tailwind.config.js
/** @type {import('tailwindcss').Config} */
module.exports = {
  content: [
    './pages/**/*.{js,ts,jsx,tsx}',
    './components/**/*.{js,ts,jsx,tsx}',
    './app/**/*.{js,ts,jsx,tsx}',
  ],
  theme: {
    extend: {
      fontFamily: {
        sans: ['var(--font-inter)'],
        mono: ['var(--font-roboto-mono)'],
      },
    },
  },
  plugins: [],
}
이제 font-sans 및 font-mono 유틸리티 클래스를 사용하여 요소에 글꼴을 적용할 수 있습니다.
Fonts 재사용
localFont 또는 Google font 함수를 호출할 때마다 해당 font는 애플리케이션에서 하나의 인스턴스로 호스팅된다. 따라서 여러 파일에 동일한 font 함수를 로드하면 동일한 font의 여러 인스턴스가 호스팅된다. 이 상황에서는 다음을 수행하는 것이 좋다.
- 하나의 공유 파일에서 font loader function 호출
- constant로 export
- font를 사용하려는 각 파일에서 constant를 import
