210411 WECODE #36 2차 프로젝트 왓챠피디아

위코드 2차 프로젝트로 왓챠피디아의 상세페이지를 담당하였다.
이번 프로젝트를 하면서 내가 새롭게 구현한 4가지 기능이 있다.
별점 기능 구현캐러셀 구현- 평점 그래프 구현
- 모달 창 구현
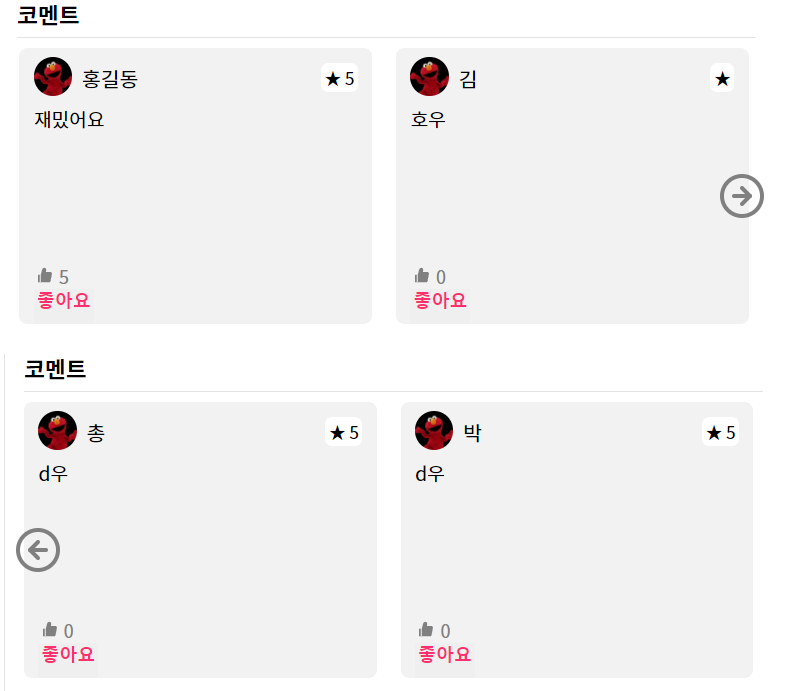
여기서 캐러셀 기능을 먼저 적어보겠다.
캐러셀 구현은 width값으로 조절하는게 핵심!!
import { React, useState } from 'react';
import { FiArrowLeftCircle, FiArrowRightCircle } from 'react-icons/fi';
import styled from 'styled-components';

function Gallery({ movie }) {
  const [carousel, setCarousel] = useState(0);
  const [handleLeft, setHandleLeft] = useState(false);
  const [handleRight, setHandleRight] = useState(true);

  const handleArrow = WIDTH => {
    setCarousel(carousel + WIDTH);
    setHandleLeft(carousel + WIDTH === 0 ? false : true);
    {
      movie.galleries &&
        setHandleRight(
          carousel + WIDTH === WIDTH * Math.floor(movie.galleries.length / 2)
            ? false
            : true
        );
    }
  };
carousel의 초기값은 0
왼쪽 화살표 버튼(handleLeft)의 초기값은 false
오른쪽 화살표 버튼(handelRight)의 초기값은 true를 주었다.
초기 갤러리 창에서 필요한 버튼은 오른쪽버튼이기 때문!handleArrow함수의 인자를WIDTH로 받고
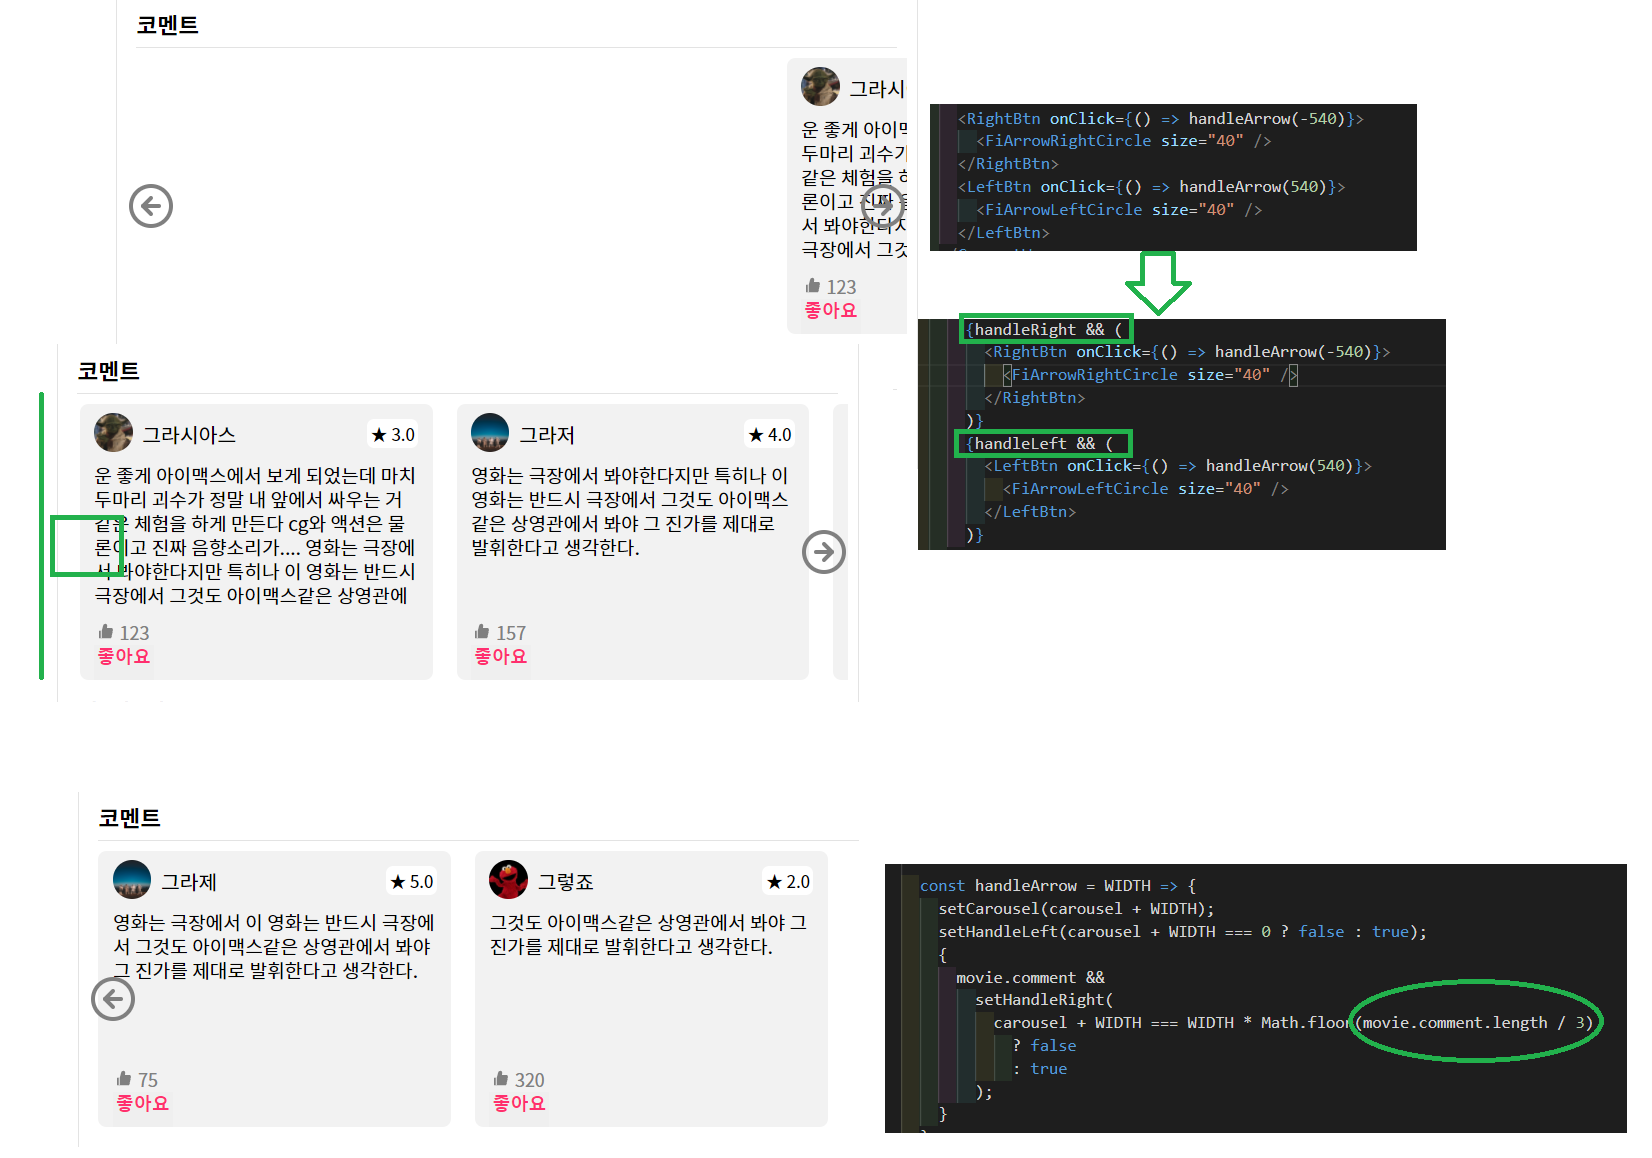
carousel + WIDTH로 width값이 변경될때마다 초기화된다.setHandleLeft: width가 0일때 false로써 왼쪽버튼이 보이지 않고, 0이 아닌 width값을 가지게 되면 true로 왼쪽버튼이 생겨난다.setHandleRight: 이미지 갯수가 6장이고 버튼클릭시 2장씩 넘어가는 걸 구현할 때
Math.floor(movie.galleries.length / 2)은 오른쪽 버튼을 3번 누를수 있고,
3번 누르면 해당 width값만큼 이동 되었으니 버튼은 false값이 된다!
  return (
    <GalleryWrap>
      <GalleryTitle>갤러리</GalleryTitle>
      <SubWrap>
        <List
          carousel={carousel}
          handleLeft={handleLeft}
          handleRight={handleRight}

          {movie.galleries &&
            movie.galleries.map((el, idx) => (
              <li key={idx}>
                <Img alt="gallery" src={el} />
              </li>
            ))}
        </List>
      </SubWrap>
      {handleRight && (
        <RightBtn onClick={() => handleArrow(-260)}>
          <FiArrowRightCircle size="30" />
        </RightBtn>
      )}
      {handleLeft && (
        <LeftBtn onClick={() => handleArrow(260)}>
          <FiArrowLeftCircle size="30" />
        </LeftBtn>
      )}
    </GalleryWrap>
  );
}

export default Gallery;

const SubWrap = styled.section`
  width: 320px;
  overflow: hidden;
`;

const List = styled.ul`
  display: flex;
  transition: 1s;
  transform: translateX(${props => props.carousel}px);
`;

const Img = styled.img`
  width: 130px;
  height: 90px;
  padding: 0 5px;
`;
styled.component는SubWrap과List가 핵심이라 두개만 가져왔다.<RightBtn onClick={() => handleArrow(-260)}>
<LeftBtn onClick={() => handleArrow(260)}>
이미지 한장의 width가 130px이니 버튼을 클릭시 두장이 함께 이동하기 위해 인자로-260260을 받는다.
그리고 인자260이 위에서WIDTH가 되는 것이다!transform: translateX(${props => props.carousel}px);이동하는 px값은 리렌더된carousel의 값!
- 조건부랜더링의 중요성
handleRight && (handleLeft && (을 해주어야width=0일때 왼쪽 버튼이 false값으로 사라진다! 즉, 참일때만 버튼이 활성화되어 움직이도록!

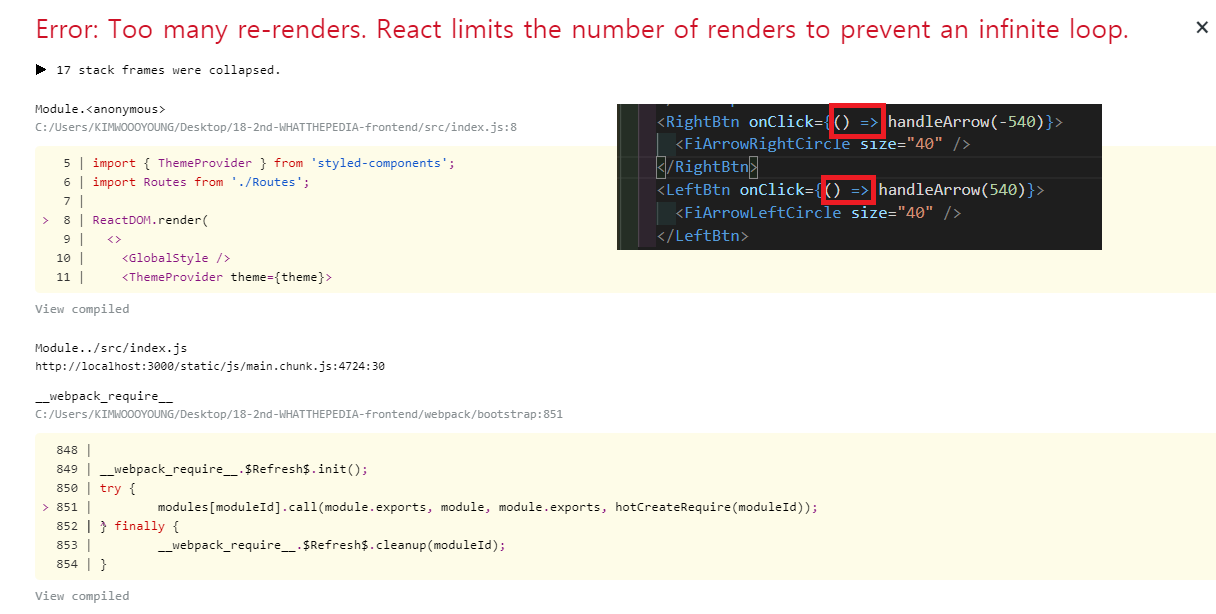
- Too many re-render 오류
버튼onClick시 참일때만 작동하도록( ) =>을 적어주어야 한다!

