오늘은 openai 라이브러리를 이용한 간단한 사이트를 만들어 봤습니다.
import streamlit as st
import openai

openai.api_key = "key"

st.title("ChatGPT Plus DALL-E")

with st.form("form"):
    user_input = st.text_input("Prompt")
    submit = st.form_submit_button("Submit")

if submit:  # Submit 버튼을 누를때 마다 ~
    st.write(user_input)

    gpt_prompt = []

    gpt_prompt.append({
        "role": "system",
        "content": "Imagine the detail appearance of the input. Response shortly. Translate in English",  # 자세한 외형을 상상하라, 짧게 대답하라
    })

    gpt_prompt.append({
        "role": "user",
        "content": user_input
    })

    with st.spinner("Watting for ChatGPT..."):  # 응답을 기다리는 동안 로딩 표시
        prompt = openai.ChatCompletion.create(
            model="gpt-3.5-turbo",
            messages=gpt_prompt)

    prompt = prompt["choices"][0]["message"]["content"]
    st.caption(prompt)

    # DALL-E 이미지 만들어주는 툴
    with st.spinner("Watting for DALL-E..."):
        result = openai.Image.create(
            prompt=prompt,
            size="1024x1024"
        )

    st.image(result["data"][0]["url"])
개인적으로 streamlit을 사용하며 놀랐습니다. 단 코드 몇 줄로 어느정도 볼만한 웹이 띄워진다는게 놀랍더군요.
먼저 라이브러리를 다운받아야합니다
pip install streamlit openai이후 key라고 적힌 부분에 openai에서 발급받은 api key를 넣어줍니다.
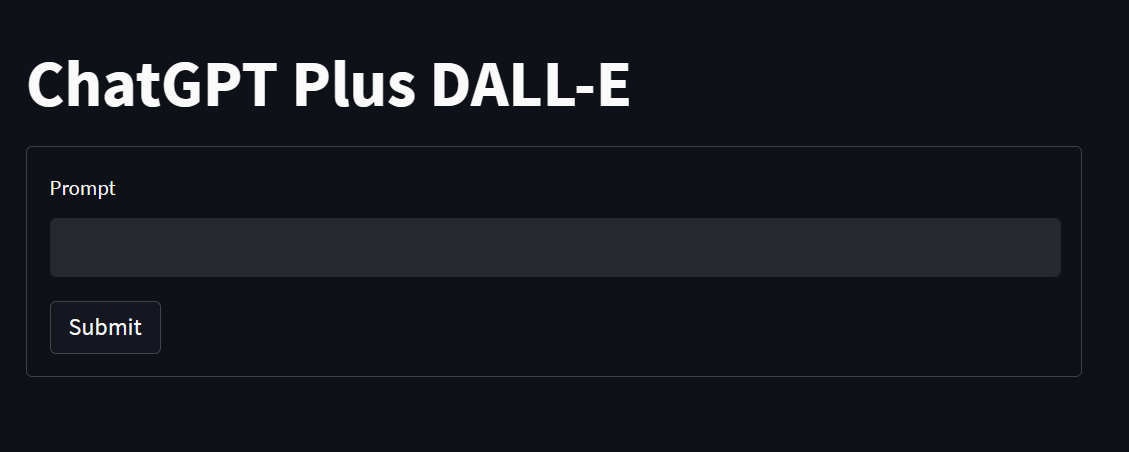
openai.api_key = "key"이제 유저에게 입력받을 창과 제출버튼을 만들어줍니다.
st.title("ChatGPT Plus DALL-E")

with st.form("form"):
    user_input = st.text_input("Prompt")
submit = st.form_submit_button("Submit")st.title을 통해 웹페이지 메인에 띄울 문구를 적어주고
with st.form("form")을 사용하면 보다 멋진 창으로 만들어 줄 수 있습니다.
그리고 streamlit을 사용하며 놀랐던 부분 중 또 하나는
버튼을 누를때마다를 코드로 작성하면if submit: 으로 굉장히 간단하는 것입니다.
if submit:  # Submit 버튼을 누를때 마다 ~
    st.write(user_input)

    gpt_prompt = []

    gpt_prompt.append({
        "role": "system",
        "content": "Imagine the detail appearance of the input. Response shortly. Translate in English",  # 자세한 외형을 상상하라, 짧게 대답하라
    })

    gpt_prompt.append({
        "role": "user",
        "content": user_input
    })
제출 버튼을 누르면 gpt_prompt라는 빈 리스트 안에 들어갈 내용을 추가시켜 줄건데 첫번째로 들어가는 내용은 gpt가 system역할을 맡아 content안에 있는 내용을 수행하게 됩니다.
이후 추가되는 내용은 user가 작성한 내용을 user역할을 맡아 수행합니다.
    with st.spinner("Watting for ChatGPT..."):  # 응답을 기다리는 동안 로딩 표시
        prompt = openai.ChatCompletion.create(
            model="gpt-3.5-turbo",
            messages=gpt_prompt)

    prompt = prompt["choices"][0]["message"]["content"]
    st.caption(prompt)
with st.spinner대기할때 로딩이 돌아가는 표시를 만들어 줍니다.
prompt는 openai 라이브러리 기능을 사용해 사용할 모델을 선정하고 아까 작성했던 내용을 메세지로 날립니다.
이후 propt에 담긴 내용 중 우리가 필요한 내용만을 선택해 streamlit의 caption함수를 사용해 시각적으로 해당 문구를 보여줍니다.
이렇게 작성된 propt는 본래 목적인 이미지를 만들어주는 문구가 됩니다.
    # DALL-E 이미지 만들어주는 툴
    with st.spinner("Watting for DALL-E..."):
        result = openai.Image.create(
            prompt=prompt,
            size="1024x1024"
        )

    st.image(result["data"][0]["url"])
위의 코드와 마찬가지로 로딩표시를 해주고 openai를 이용해 이미지를 생성해줍니다.
