장고 앱 작성
간단한 설문조사 어플리케이션 만들기
- 사람들이 설문 내용을 보고 직접 투표할 수 있는 개방된 사이트
- 관리자가 설문을 추가, 변경, 삭제할 수 있는 관리용 사이트
프로젝트 만들기
< 장고 버전 확인 >
$ python -m django --version< 코드를 저장할 디렉토리로 이동한 후 프로젝트 만들기 >
$ django-admin startproject mysitemysite라는 디렉토리와 파일들이 생성됨
mysite/
    manage.py
    mysite/
        __init__.py
        settings.py
        urls.py
        asgi.py
        wsgi.py
< 프로젝트가 제대로 동작하는지 확인 >
mysite에서 아래 명령어 입력
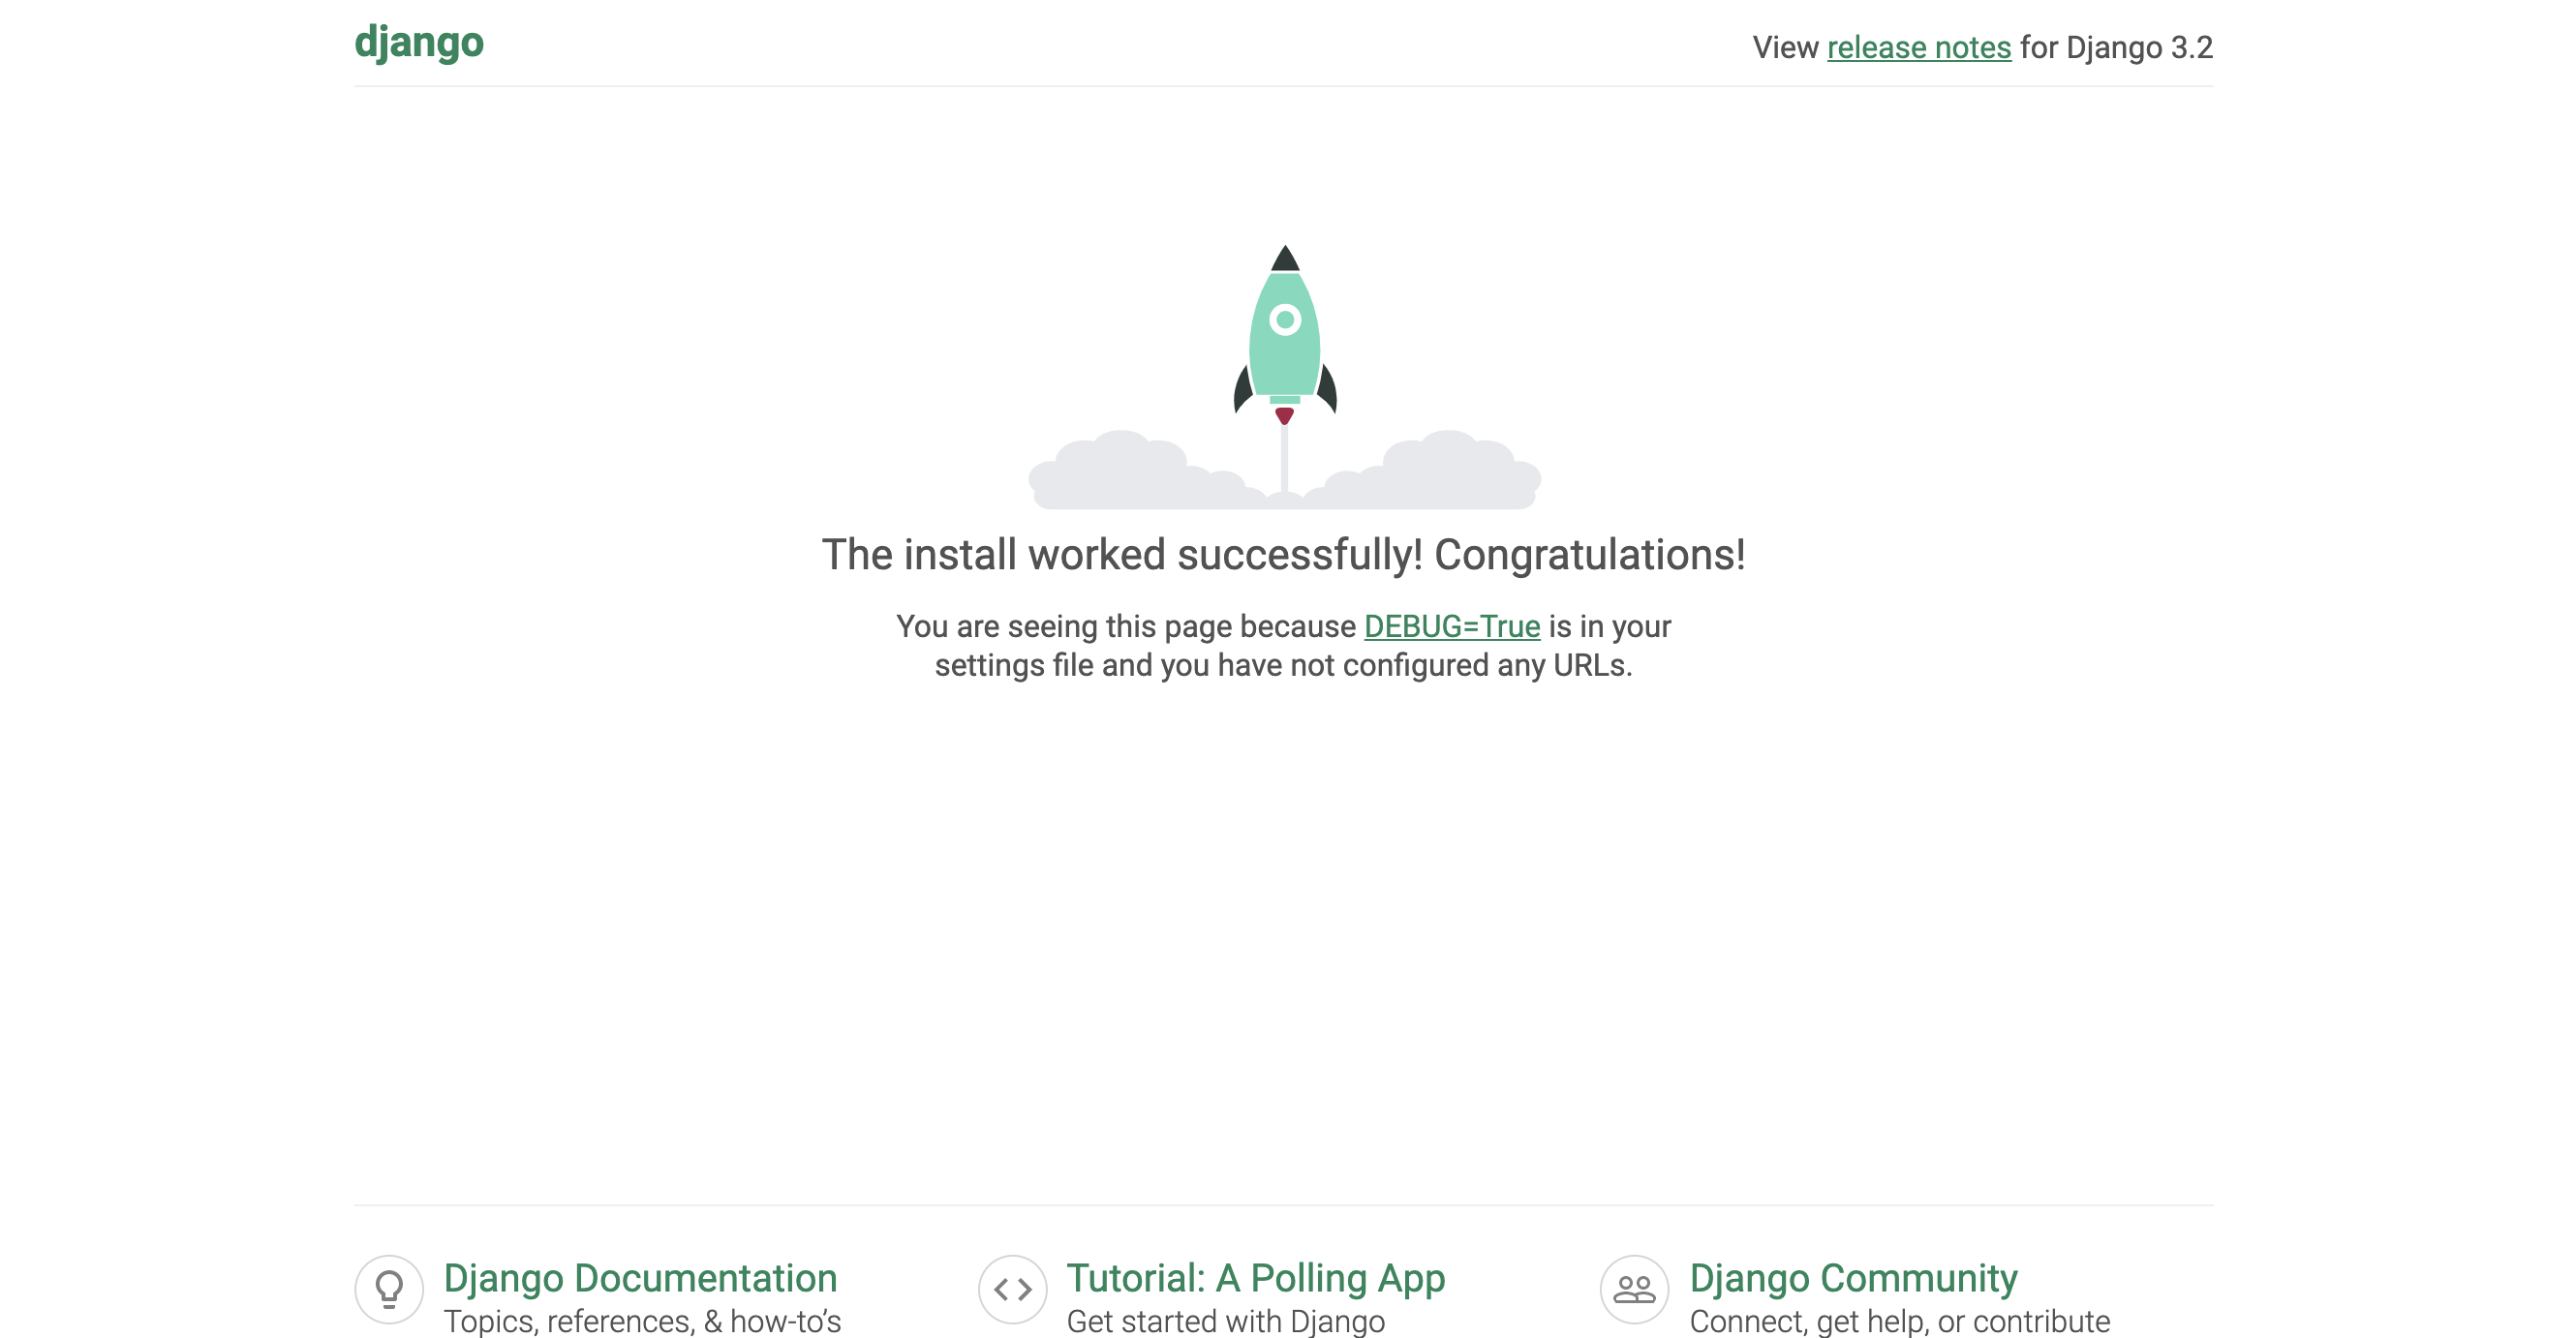
$ python manage.py runserver터미널에 아래처럼 뜨면, 웹 브라우저에서 http://127.0.0.1:8000/ 을 통해 접속
Performing system checks...

System check identified no issues (0 silenced).

You have unapplied migrations; your app may not work properly until they are applied.
Run 'python manage.py migrate' to apply them.

4월 06, 2021 - 15:50:53
Django version 3.1, using settings 'mysite.settings'
Starting development server at http://127.0.0.1:8000/
Quit the server with CONTROL-C.
로켓이 있는 화면이 보인다면 성공!
설문조사 앱 만들기
< 앱을 생성하기 위해 manage.py가 존재하는 디렉토리에서 다음의 명령을 입력 >
$ python manage.py startapp polls
polls라는 디렉토리가 생성됨
polls/
    __init__.py
    admin.py
    apps.py
    migrations/
        __init__.py
    models.py
    tests.py
    views.py
view 작성
《polls/view.py》를 열어 다음과 같은 파이썬 코드를 입력
# polls/view.py
from django.http import HttpResponse


def index(request):
    return HttpResponse("Hello, world. You're at the polls index.")
Django에서 가장 간단한 형태의 뷰입니다. 뷰를 호출하려면 이와 연결된 URL 이 있어야 하는데, 이를 위해 URLconf가 사용됩니다.
polls 디렉토리에서 URLconf를 생성하려면, urls.py라는 파일을 생성해야 합니다. 정확히 생성했다면, 앱 디렉토리는 다음과 같이 보일 겁니다.
polls/
    __init__.py
    admin.py
    apps.py
    migrations/
        __init__.py
    models.py
    tests.py
    urls.py
    views.py
《polls/urls.py》 파일에는 다음과 같은 코드 작성
# polls/urls.py
from django.urls import path

from . import views

urlpatterns = [
    path('', views.index, name='index'),
]
《mysite/urls.py》 파일에는 다음과 같은 코드 작성
# mysite/urls.py
from django.contrib import admin
from django.urls import include, path

urlpatterns = [
    path('polls/', include('polls.urls')),
    path('admin/', admin.site.urls),
]
http://localhost:8000/polls/ 접속
《polls/view.py》에 작성한 "Hello, world. You’re at the polls index." 가 보임
데이터베이스
SQLite는 Python에서 기본으로 제공되기 때문에 별도로 설치할 필요가 없습니다.
*다른 데이터베이스는 USER, PASSWORD, HOST 같은 추가 설정 필요
mysite/settings.py 확인
기본적으로는, INSTALLED_APPS는 Django와 함께 딸려오는 다음의 앱들을 포함합니다.
- django.contrib.admin – 관리용 사이트. 곧 사용하게 될 겁니다.
- django.contrib.auth – 인증 시스템.
- django.contrib.contenttypes – 컨텐츠 타입을 위한 프레임워크.
- django.contrib.sessions – 세션 프레임워크.
- django.contrib.messages – 메세징 프레임워크.
- django.contrib.staticfiles – 정적 파일을 관리하는 프레임워크.
이 어플리케이션들은 일반적인 경우에 사용하기 편리하도록 기본으로 제공됩니다.
이러한 기본 어플리케이션들 중 몇몇은 최소한 하나 이상의 데이터베이스 테이블을 사용하는데, 그러기 위해서는 데이터베이스에서 테이블을 미리 만들 필요가 있습니다. 이를 위해, 다음의 명령을 실행해봅시다.
$ python manage.py migrate모델 만들기
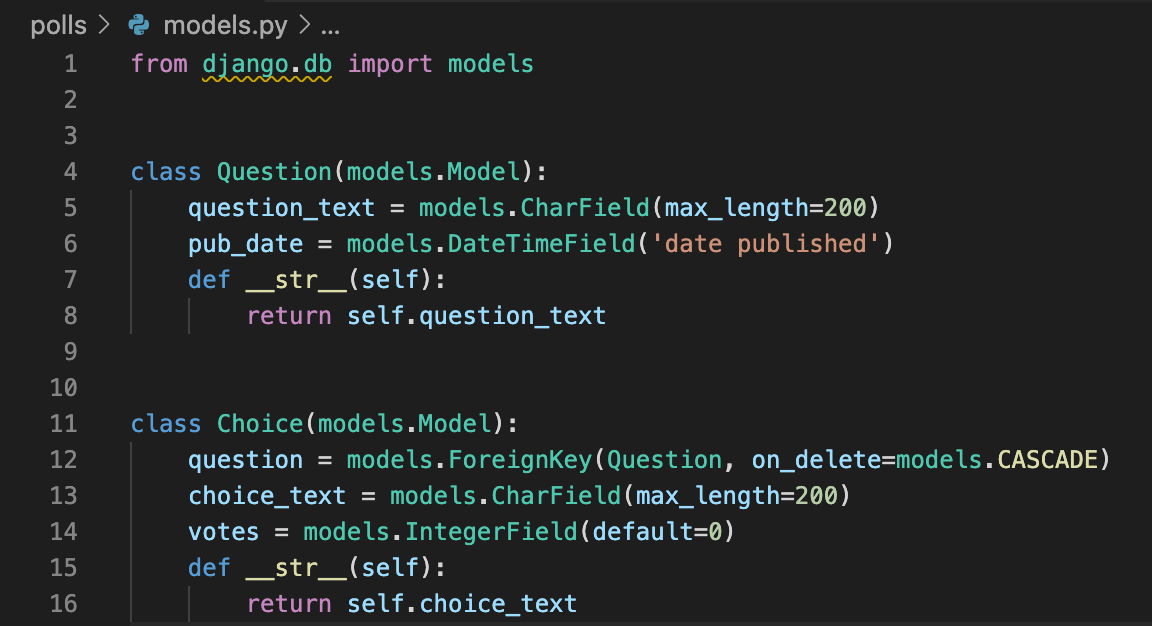
# polls/models.py
from django.db import models


class Question(models.Model):
    question_text = models.CharField(max_length=200)
    pub_date = models.DateTimeField('date published')


class Choice(models.Model):
    question = models.ForeignKey(Question, on_delete=models.CASCADE)
    choice_text = models.CharField(max_length=200)
    votes = models.IntegerField(default=0)
여기서 각 모델은 django.db.models 하위 클래스로 표시됩니다. 각 모델에는 여러 클래스 변수가 있으며, 각 변수는 모델의 데이터베이스 필드를 나타냅니다.
필드(field)란 데이터베이스에서 세로 방향으로 표시한 컬럼(Column)을 말한다.
모델의 활성화
모델에 대한 이 작은 코드가, Django에게는 상당한 양의 정보를 전달합니다. Django는 이 정보를 가지고 다음과 같은 일을 할 수 있습니다.
- 이 앱을 위한 데이터베이스 스키마 생성(CREATE TABLE 문)
- Question과 Choice 객체에 접근하기 위한 Python 데이터베이스 접근 API를 생성
스키마(database schema) : 데이터베이스에서 자료의 구조, 자료의 표현 방법, 자료 간의 관계를 형식 언어로 정의한 구조이다.
그러나, 가장 먼저 현재 프로젝트에게 polls 앱이 설치되어 있다는 것을 알려야 합니다.
INSTALLED_APPS 추가 설정
앱의 구성 클래스인 PollsConfig 클래스는 polls/apps.py 파일 내에 존재
'polls.apps.PollsConfig', 추가
# mysite/settings.py
INSTALLED_APPS = [
    'polls.apps.PollsConfig',#추가된 부분
    'django.contrib.admin',
    'django.contrib.auth',
    'django.contrib.contenttypes',
    'django.contrib.sessions',
    'django.contrib.messages',
    'django.contrib.staticfiles',
]
새로운 모델을 만들었다는 변경사항을 migration으로 저장시키고 싶다는 것을 Django에게 알려줍니다.
$ python manage.py makemigrations polls이제, migrate 를 실행시켜 데이터베이스에 모델과 관련된 테이블을 생성
$ python manage.py migrateAPI 가지고 놀기
이제, 대화식 Python 쉘에 뛰어들어 Django API를 자유롭게 가지고 놀아봅시다. Python 쉘을 실행하려면 다음의 명령을 입력합니다.
python manage.py shell>>> from polls.models import Choice, Question # Import the model classes we just wrote.
# No questions are in the system yet.
>>> Question.objects.all()
<QuerySet []>
# Create a new Question.
# Support for time zones is enabled in the default settings file, so
# Django expects a datetime with tzinfo for pub_date. Use timezone.now()
# instead of datetime.datetime.now() and it will do the right thing.
>>> from django.utils import timezone
>>> q = Question(question_text="What's new?", pub_date=timezone.now())
# Save the object into the database. You have to call save() explicitly.
>>> q.save()
# Now it has an ID.
>>> q.id
1
# Access model field values via Python attributes.
>>> q.question_text
"What's new?"
>>> q.pub_date
datetime.datetime(2012, 2, 26, 13, 0, 0, 775217, tzinfo=<UTC>)
# Change values by changing the attributes, then calling save().
>>> q.question_text = "What's up?"
>>> q.save()
# objects.all() displays all the questions in the database.
>>> Question.objects.all()
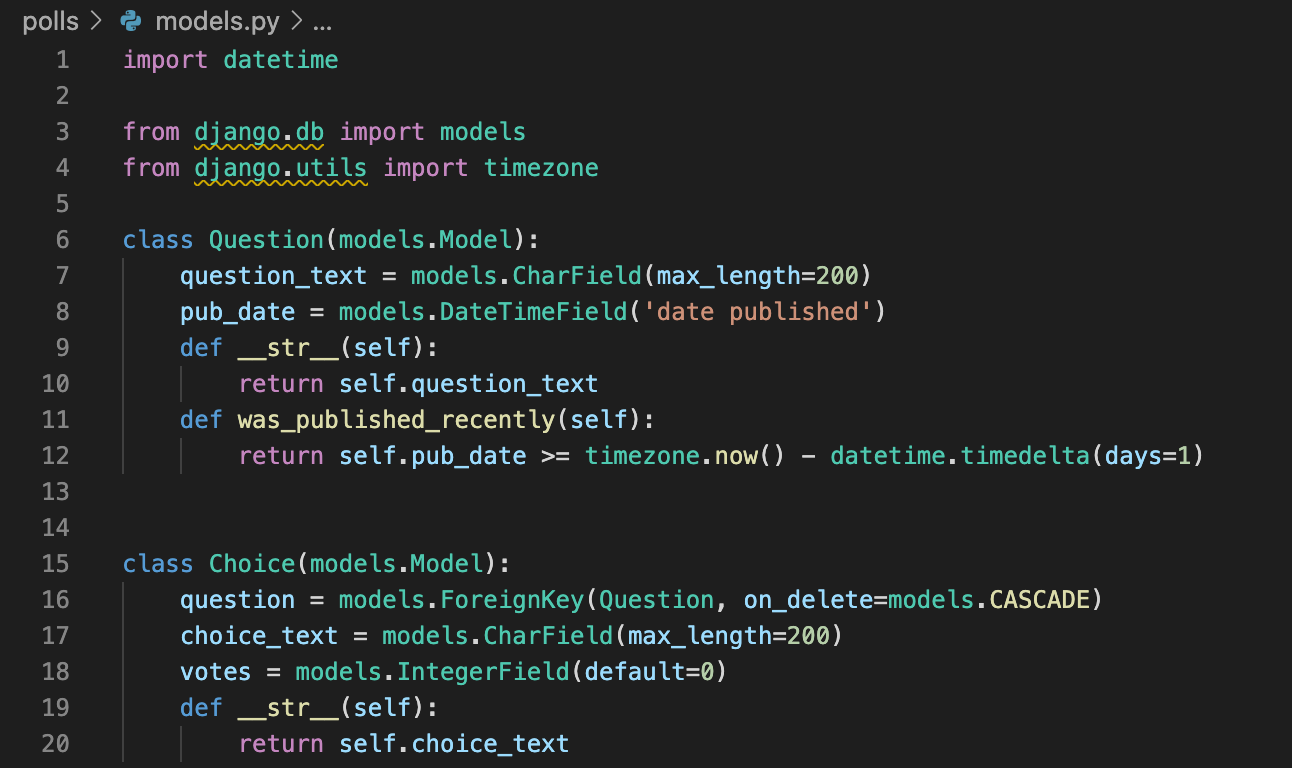
<QuerySet [<Question: Question object (1)>]><Question: Question object (1)>은 이 객체를 표현하는 데 별로 도움이 되지 않습니다. (polls/models.py 파일의) Question 모델을 수정하여, str() 메소드를 Question과 Choice에 추가해 봅시다.
< polls/models.py >
커스텀 메소드 또한 추가해봅시다:)
변경된 사항을 저장하고, python manage.py shell를 다시 실행
>>> from polls.models import Choice, Question

# Make sure our __str__() addition worked.
>>> Question.objects.all()
<QuerySet [<Question: What's up?>]>

# Django provides a rich database lookup API that's entirely driven by
# keyword arguments.
>>> Question.objects.filter(id=1)
<QuerySet [<Question: What's up?>]>
>>> Question.objects.filter(question_text__startswith='What')
<QuerySet [<Question: What's up?>]>

# Get the question that was published this year.
>>> from django.utils import timezone
>>> current_year = timezone.now().year
>>> Question.objects.get(pub_date__year=current_year)
<Question: What's up?>

# Request an ID that doesn't exist, this will raise an exception.
>>> Question.objects.get(id=2)
Traceback (most recent call last):
    ...
DoesNotExist: Question matching query does not exist.

# Lookup by a primary key is the most common case, so Django provides a
# shortcut for primary-key exact lookups.
# The following is identical to Question.objects.get(id=1).
>>> Question.objects.get(pk=1)
<Question: What's up?>

# Make sure our custom method worked.
>>> q = Question.objects.get(pk=1)
>>> q.was_published_recently()
True

# Give the Question a couple of Choices. The create call constructs a new
# Choice object, does the INSERT statement, adds the choice to the set
# of available choices and returns the new Choice object. Django creates
# a set to hold the "other side" of a ForeignKey relation
# (e.g. a question's choice) which can be accessed via the API.
>>> q = Question.objects.get(pk=1)

# Display any choices from the related object set -- none so far.
>>> q.choice_set.all()
<QuerySet []>

# Create three choices.
>>> q.choice_set.create(choice_text='Not much', votes=0)
<Choice: Not much>
>>> q.choice_set.create(choice_text='The sky', votes=0)
<Choice: The sky>
>>> c = q.choice_set.create(choice_text='Just hacking again', votes=0)

# Choice objects have API access to their related Question objects.
>>> c.question
<Question: What's up?>

# And vice versa: Question objects get access to Choice objects.
>>> q.choice_set.all()
<QuerySet [<Choice: Not much>, <Choice: The sky>, <Choice: Just hacking again>]>
>>> q.choice_set.count()
3

# The API automatically follows relationships as far as you need.
# Use double underscores to separate relationships.
# This works as many levels deep as you want; there's no limit.
# Find all Choices for any question whose pub_date is in this year
# (reusing the 'current_year' variable we created above).
>>> Choice.objects.filter(question__pub_date__year=current_year)
<QuerySet [<Choice: Not much>, <Choice: The sky>, <Choice: Just hacking again>]>

# Let's delete one of the choices. Use delete() for that.
>>> c = q.choice_set.filter(choice_text__startswith='Just hacking')
>>> c.delete()
관리자 생성하기
우선, 관리 사이트에 로그인 할 수 있는 사용자를 생성해 봅시다. 다음과 같은 명령을 수행합니다.
$ python manage.py createsuperuser원하는 username 을 입력하고 엔터를 누르세요
Username: admin그런 다음 원하는 이메일 주소를 입력하라는 메시지가 표시됩니다.
Email address: admin@example.com마지막으로, 암호를 입력하세요. 암호를 두번 물어보게 되는데, 두번째 입력하는 암호를 올바로 입력했는지를 확인하기 위한 암호입니다.
Password: **********
Password (again): *********
Superuser created successfully.
개발 서버 시작
http://127.0.0.1:8000/admin/ 접속
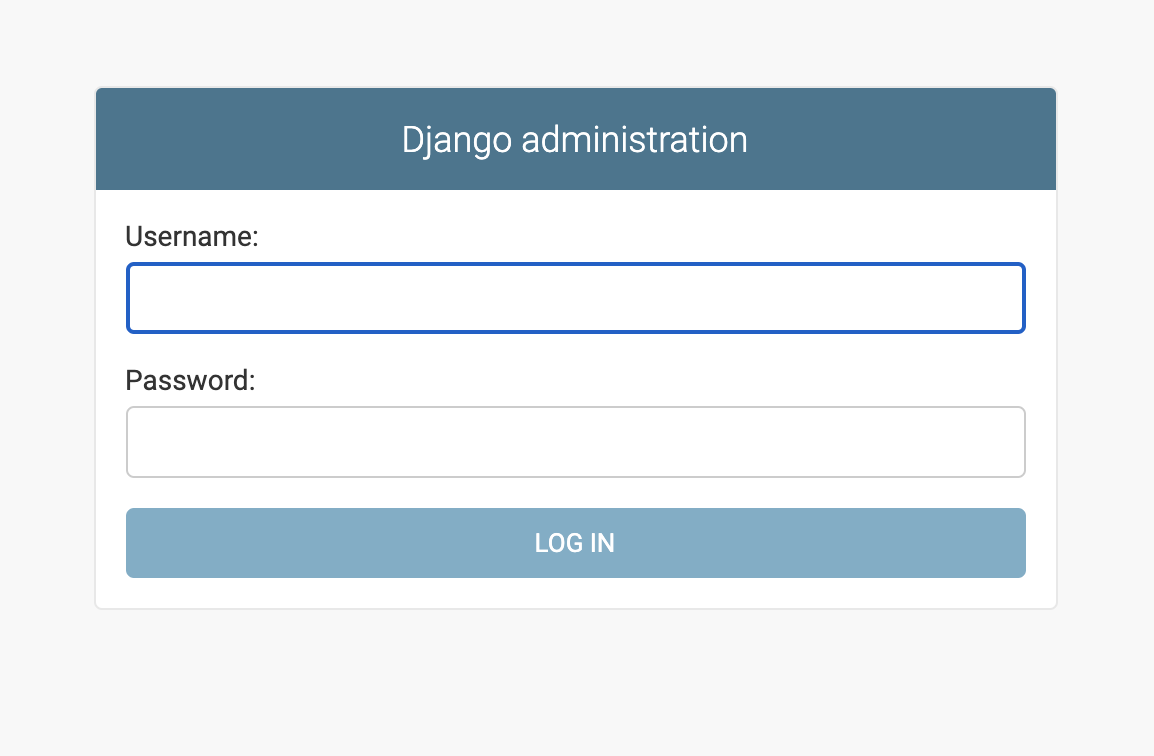
로그인
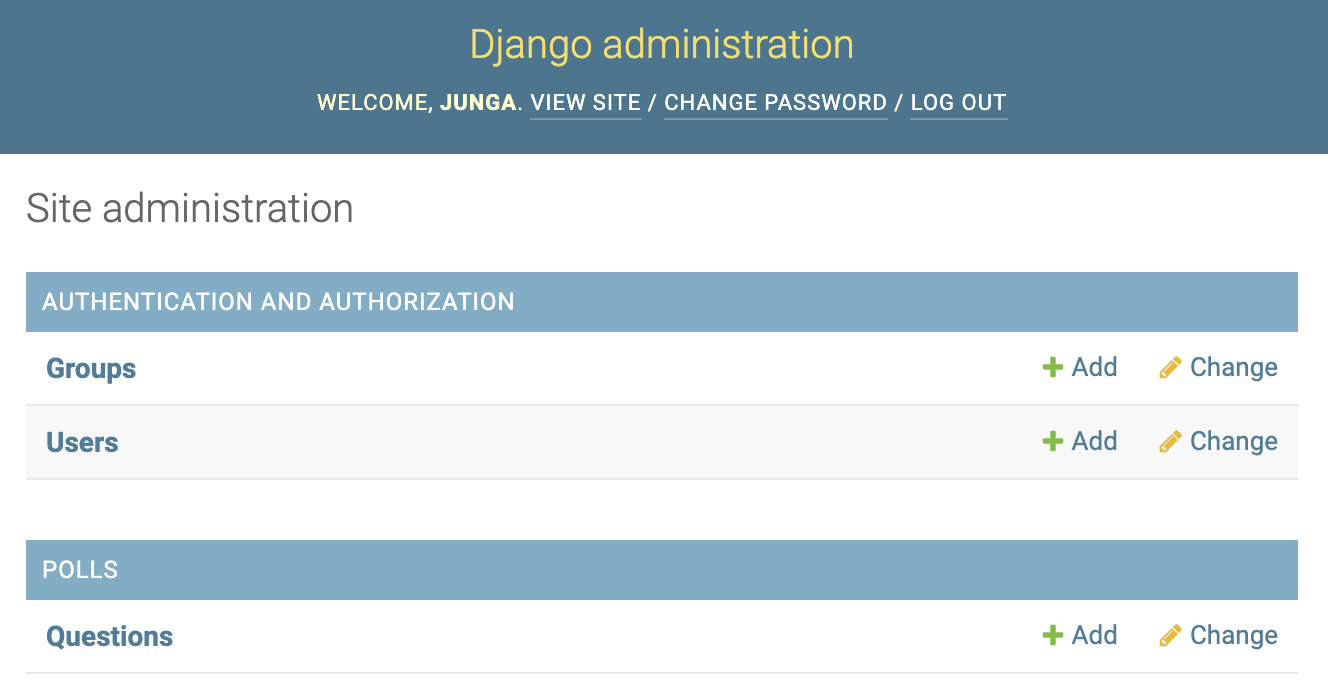
관리 사이트에서 poll app 을 변경가능하도록 만들기
#polls/admin.py
from django.contrib import admin

from .models import Question

admin.site.register(Question)
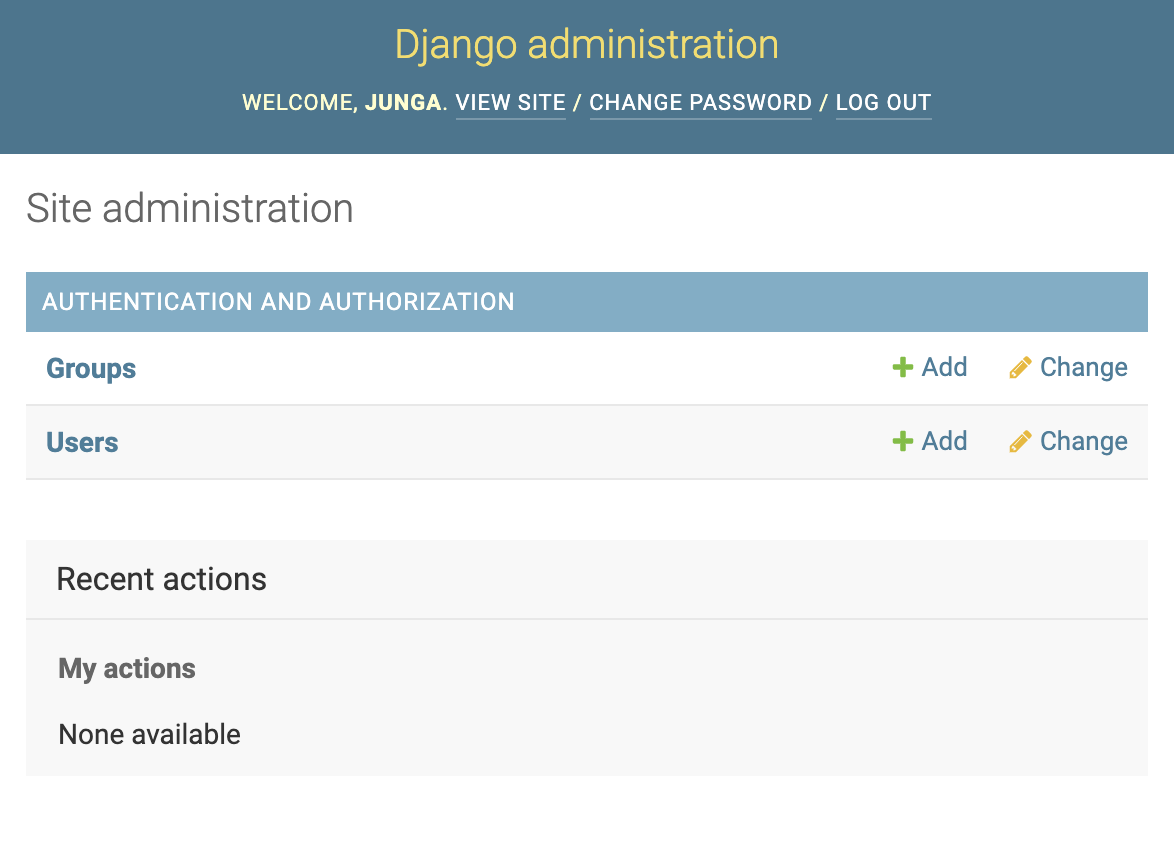
관리 기능을 탐색
《Questions》 => 《What’s up?》
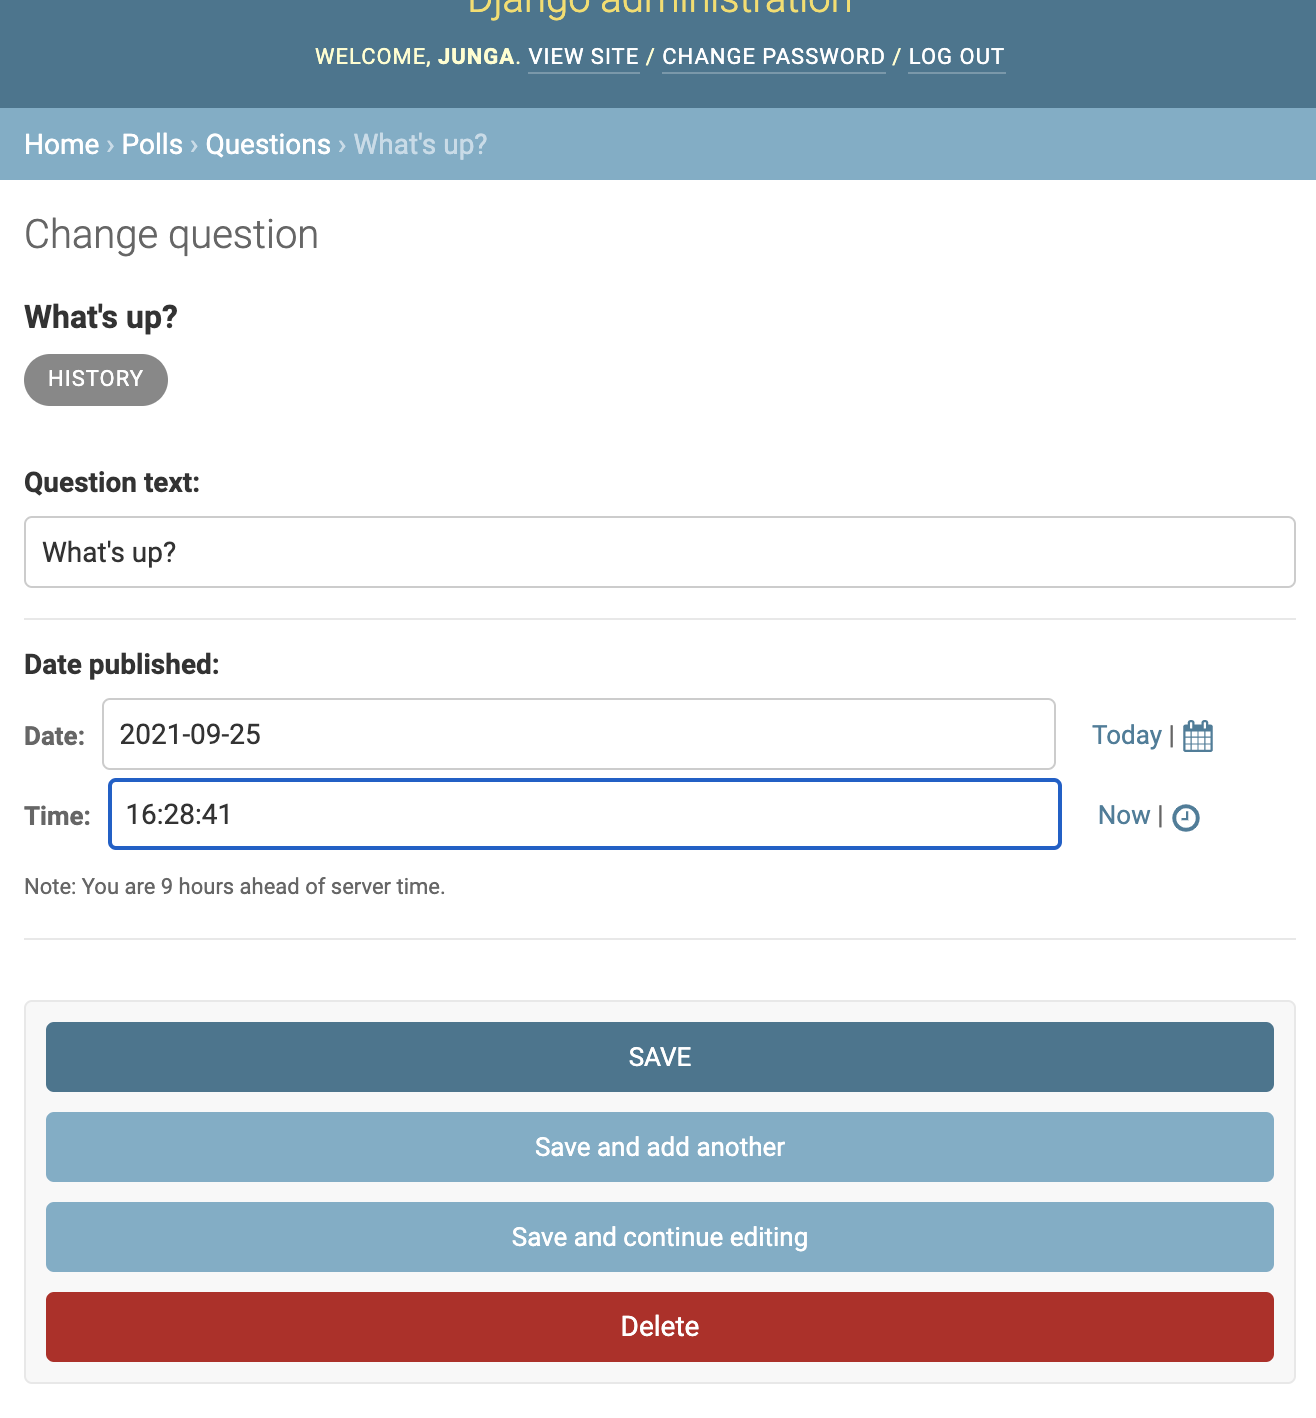
여기서 알아둘 것들:
이 서식은 Question 모델에서 자동으로 생성되었습니다
모델의 각 필드 유형들은 (DateTimeField, CharField) 적절한 HTML 입력 위젯으로 표현됩니다. 필드의 각 유형들은 Django 관리 사이트에서 어떻게 표현해되어야 할지 알고 있습니다.
각각의 DateTimeField 는 JavaScript 로 작성된 단축 기능과 연결됩니다. 날짜는 《오늘》(《Today》) 버튼과 달력 팝업에서 입력할 수 있으며, 시간은 《지금》(《Now》) 버튼과 일반적으로 입력하는 시간들을 제공하는 편리한 팝업을 통해서도 입력할 수 있습니다.
페이지의 아래 부분에서 다음과 같은 몇가지 옵션을 제공합니다.
- 저장(Save) – 이 유형의 객체에 대한 변경사항을 저장하고, 변경된 목록 페이지를 보여줍니다
- 저장 및 편집 계속(Save and continue editing) – 이 객체에 대한 변경사항을 저장하고, 현재 편집창을 갱신합니다
- 저장 및 다른 이름으로 추가(Save and add another) – 변경사항을 저장하고, 이 유형의 객체에 대한 비어있는 새로운 입력창을 불러옵니다
- 삭제(Delete) – 삭제를 확인하는 페이지를 띄웁니다.
공부하자 ✏️
- 스키마
- 모델 객체 접근