View
화면의 영역을 잡아주는 엘리먼트
import { StatusBar } from 'expo-status-bar';
import React from 'react';
import { StyleSheet, Text, View } from 'react-native';
export default function App() {
return (
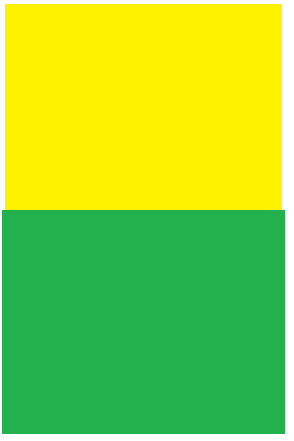
<View style={styles.container}>
<View style={styles.subContainerOne}></View>
<View style={styles.subContainerTwo}></View>
</View>
);
}
const styles = StyleSheet.create({
container: {
flex: 1,
backgroundColor: '#fff',
},
subContainerOne: {
flex:1,
backgroundColor:"yellow"
},
subContainerTwo: {
flex:1,
backgroundColor:"green"
}
});전체 바탕 container
원래 색은 fff(하양)지만 보이기 위해 검정칠
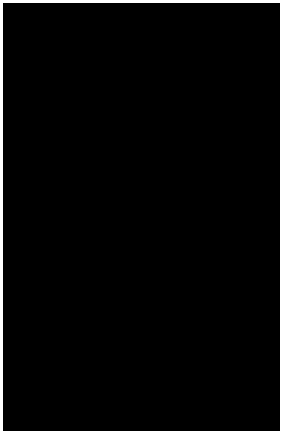
색칠된 subContainer 두개
Text
엘리먼트 안에 text
Text 안에서 줄 바꾸는 3가지 방법
1. 템플릿 리터럴 사용
<Text>{
` 첫 줄
두번째 줄`
}</Text>
2. {\n} 사용
<Text>첫 줄{'\n'}두번째 줄</Text>3. 분리
<Text>첫 줄</Text>
<Text>두번째 줄</Text>
import React from 'react';
import { StyleSheet, Text, View } from 'react-native';
export default function App() {
return (
<View style={styles.container}>
<Text>문자는 Text 태그 사이에 작성!!</Text>
</View>
);
}
const styles = StyleSheet.create({
container: {
flex: 1,
backgroundColor: '#fff',
alignItems: 'center',
justifyContent: 'center',
},
});화면 정중앙에 문자는 Text 태그 사이에 작성!! 이 나온다.
ScrollView
앱 화면을 벗어나는 영역의 경우 이 엘리먼트로 감싸면 스크롤이 가능해지며 모든 컨텐츠를 볼 수 있다.
Button
버튼 기능이 있는 박스이며 본인의 영역을 갖는다.
이벤트가 일어나게 하려면 onPress 에 함수를 바인딩한다.
ios와 안드로이드에서 다르게 나타날 수 있어 button보다 TouchableOpacity를 사용한다.
import React from 'react';
import { StyleSheet, Text, View, Button, Alert } from 'react-native';

export default function App() {
  const alertFun =()=>{
            Alert.alert('팝업 알람입니다!!')
          }
  return (
    <View style={styles.container}>
      <View style={styles.textContainer}>
        <Text style={styles.textStyle}>아래 버튼을 눌러주세요</Text>
        {/* 버튼 onPress 속성에 밖에서 구현한 함수를 연결 할 수 있습니다. */}
        <Button
          style={styles.buttonStyle}
          title="버튼입니다 "
          color="#f194ff"
          onPress={alertFun}
        />
        {/* ES6 문법으로 배웠던 화살표 함수로 연결 할 수도 있습니다. */}
        <Button
            style={styles.buttonStyle}
            title="버튼입니다 "
            color="#FF0000"
            onPress={()=>{
              Alert.alert('팝업 알람입니다!!')
            }}
          />
          </View>
    </View>
  );
}
- 버튼 설명서
https://reactnative.dev/docs/button - 팝업 알람(Alert) 설명서
https://reactnative.dev/docs/alert#docsNav
TouchableOpacity
이 영역은 스타일을 주지 않은 이상 화면에 영향을 주지 않는 영역을 갖는다.
임의의 영역과 디자인에 버튼 기능을 달고 싶을 때 주로 사용하는 태그
    <ScrollView style={styles.container}>
      <TouchableOpacity style={styles.textContainer} onPress={customAlert}>
        <Text style={styles.textStyle}>영역을 갖는 텍스트</Text>
      </TouchableOpacity>
Image
이미지를 사용하는 방식
1. assets폴더에 있는 이미지를 가져와서 사용하는 방법
2. 외부 이미지 링크를 넣어서 사용하는 방법 (uri)
1번 방법
import pic from ".assets/dsadas.png"

...
return(<View>
<Image source={pic}>
</View>)
2번 방법
...
return(<View>
<Image source={{uri:'이미지 주소'}}>
</View>)
-Image 태그 사용 설명서
https://reactnative.dev/docs/image#docsNav