패키지 설치
GraphQL을 사용하기 위해서는 패키지를 먼저 설치해야 합니다.
이에 따라 어떤 프레임워크위에서 가동할지 그리고 어떤 드라이버를 사용할지 정해야합니다.
여기서는 Express프레임워크 그리고 Apollo 드라이버를 사용하여 GraphQL서버를 만들 것 입니다.
# For Express and Apollo (default)
$ npm i @nestjs/graphql @nestjs/apollo @apollo/server graphql

# For Fastify and Apollo
# npm i @nestjs/graphql @nestjs/apollo @apollo/server @as-integrations/fastify graphql

# For Fastify and Mercurius
# npm i @nestjs/graphql @nestjs/mercurius graphql mercurius
들어가기에 앞서 알아둬야 할 점
NestJS에서는 GraphQL 서버를 구현하기 위한 두 가지 방법이 있습니다.
하나는 code first 방식이며 나머지 하나는 schema first 방식입니다.
GraphQL에 익숙치 않다면 code first를 이미 익숙하다면 schma first 방식을 하기를 추천합니다.
여기서는 code first 방식만을 다룰 것이며 schma first 방식은 NestJS 공식 문서에서 확인해 주시기 바랍니다.
code first 방식은 타입스크립트의 클래스와 데코레이터를 이용하여 GraphQL 스키마를 생성합니다.
그렇기 때문에 GraphQL 문법을 신경쓰지 않아도 된다는 장점을 지니게 됩니다.
모듈 설정
기본적으로 GraphQLModule의 forRoot메서드를 통해 어떤 driver을 사용할 것인지 명시해야 합니다. 앞서 Apollo드라이버를 사용하기로 했기 때문에 ApolloDriver를 명시해줍니다.
import { Module } from '@nestjs/common';
import { GraphQLModule } from '@nestjs/graphql';
import { ApolloDriver, ApolloDriverConfig } from '@nestjs/apollo';

@Module({
  imports: [
    GraphQLModule.forRoot<ApolloDriverConfig>({
      driver: ApolloDriver,
      autoSchemaFile: join(process.cwd(), 'src/schema.gql'),
    }),
  ],
})
export class AppModule {}
추가적으로 autoSchemaFile을 설정해서 src/schema.gql 파일에 code first방식으로 생성한 graphQL 스키마와 쿼리, 뮤테이션을 저장하게 만들고 있습니다.
playground
위와 같이 설정했다면 서버를 실행했을때 https://server.com/graphQL(로컬 개발 환경이라면 http://localhost:3000/graphQL) 경로에 graphQL을 테스트 할 수 있는 playground에 접속할 수 있습니다.
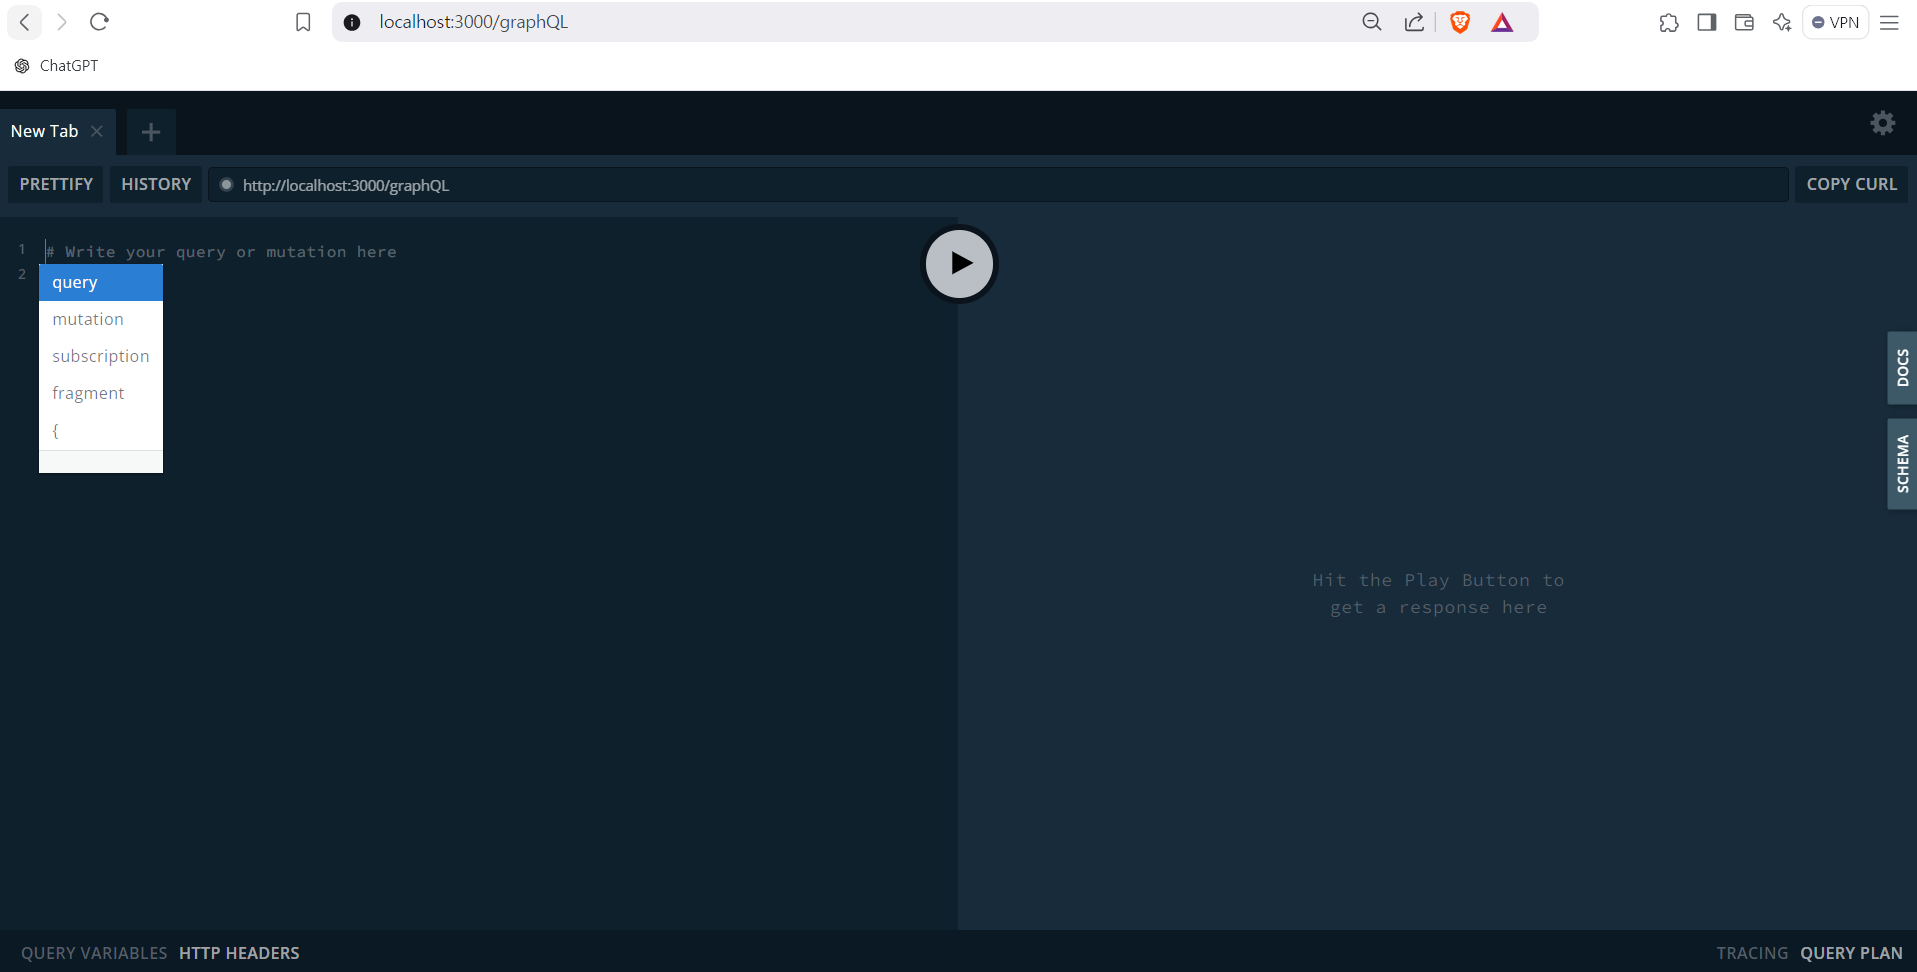
참고로 GraphQLModule의 forRoot 메서드에서 path메서드로 경로를 바꿀 수 있습니다.
마무리
이것으로 NestJS에서 GraphQL을 사용할 최소한의 준비를 마쳤습니다.
다음에는 Resolver에 대해 알아볼 것입니다.
