DB 선택
H2
http://www.h2database.com
접속하여 DB 다운로드 받는다.
H2 콘솔을 실행한다.
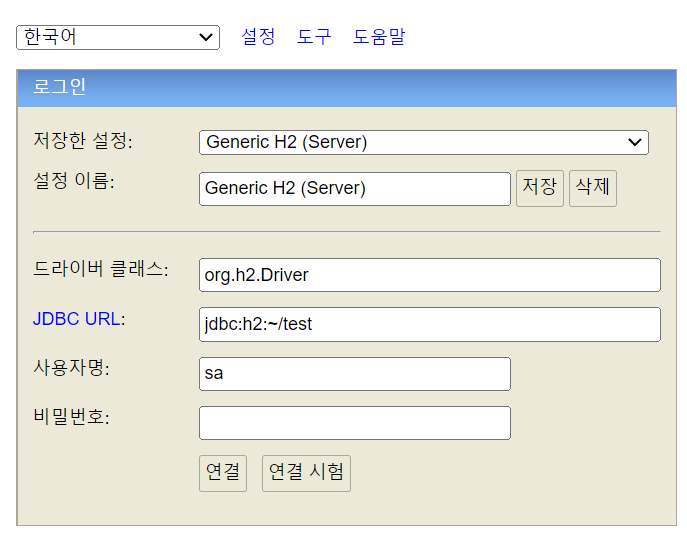
연결을 누르면

디비가 생성 되었다.
intellij 프로젝트 생성
build 는 gradle를 선택 하였다.
java 버전은 8버전 이상으로 선택 해야 한다.
build.gradle 에서
dependencies 추가
// https://mvnrepository.com/artifact/org.hibernate/hibernate-entitymanager
implementation group: 'org.hibernate', name: 'hibernate-entitymanager', version: '5.3.10.Final'
// https://mvnrepository.com/artifact/com.h2database/h2
testImplementation group: 'com.h2database', name: 'h2', version: '1.4.199'
JPA 설정파일
resources 아래
/META-INF/persistence.xml 형태로 설정파일을 지정 해줘야 한다.
<?xml version="1.0" encoding="UTF-8"?>
<persistence version="2.2"
             xmlns="http://xmlns.jcp.org/xml/ns/persistence" xmlns:xsi="http://www.w3.org/2001/XMLSchema-instance"
             xsi:schemaLocation="http://xmlns.jcp.org/xml/ns/persistence http://xmlns.jcp.org/xml/ns/persistence/persistence_2_2.xsd">
    <persistence-unit name="hello">
        <properties>
            <!-- 필수 속성 -->
            <property name="javax.persistence.jdbc.driver" value="org.h2.Driver"/>
            <property name="javax.persistence.jdbc.user" value="sa"/>
            <property name="javax.persistence.jdbc.password" value=""/>
            <property name="javax.persistence.jdbc.url" value="jdbc:h2:tcp://localhost/~/test"/>
            <property name="hibernate.dialect" value="org.hibernate.dialect.H2Dialect"/>

            <!-- 옵션 -->
            <property name="hibernate.show_sql" value="true"/>
            <property name="hibernate.format_sql" value="true"/>
            <property name="hibernate.use_sql_comments" value="true"/>
            <!--<property name="hibernate.hbm2ddl.auto" value="create" />-->
        </properties>
    </persistence-unit>
</persistence>
property name="hibernate.dialect" value="org.hibernate.dialect.H2Dialect"
에서 name 은 쿼리마다 다른 부분을 설정해주기 위해 나타낸다.
ex)페이징: MySQL은 LIMIT , Oracle은 ROWNUM
value에서 사용할 db를 바꿔주면 된다.

개발자 GH