swagger
django에 swagger 사용하는 방법 간단히 정리
swagger는 django drf를 사용해야한다.
# 최상단 urls.py에 작성

from django.contrib import admin
from django.urls import path, re_path, include
from django.conf import settings
from rest_framework import permissions
from drf_yasg.views import get_schema_view
from drf_yasg import openapi

# 기본 세팅
schema_view = get_schema_view(
    openapi.Info(
        title="",
        default_version="v1",
        description="API documentation",
        terms_of_service="https://www.google.com/policies/terms/",
        contact=openapi.Contact(name="", email="@gmail.com"),
        license=openapi.License(name=""),
    ),
    public=True,
    permission_classes=(permissions.AllowAny,),
)


urlpatterns = [
    path('products', include('products.urls')), # app 이름 추가
]

# 기본 정규표현식 설정
if settings.DEBUG:
    urlpatterns += [
        re_path(r'^swagger(?P<format>\.json|\.yaml)$', schema_view.without_ui(cache_timeout=0), name="schema-json"),
        re_path(r'^swagger', schema_view.with_ui('swagger', cache_timeout=0), name='schema-swagger-ui'),
        re_path(r'^redoc', schema_view.with_ui('redoc', cache_timeout=0), name='schema-redoc'),
	]
그럼 이제 pip install restframework, pip install drf-yasg 하고나서
아래와 같이 작성한다.
참고로 swagger만 쓰고 싶은 경우에는 serialize.py 작성 안해도 쓸 수는 있다.
# 해당 views.py
class ProductView(APIView):
@swagger_auto_schema(
response={
"201":"SUCCESS",
"400":"BAD_REQUEST"
},
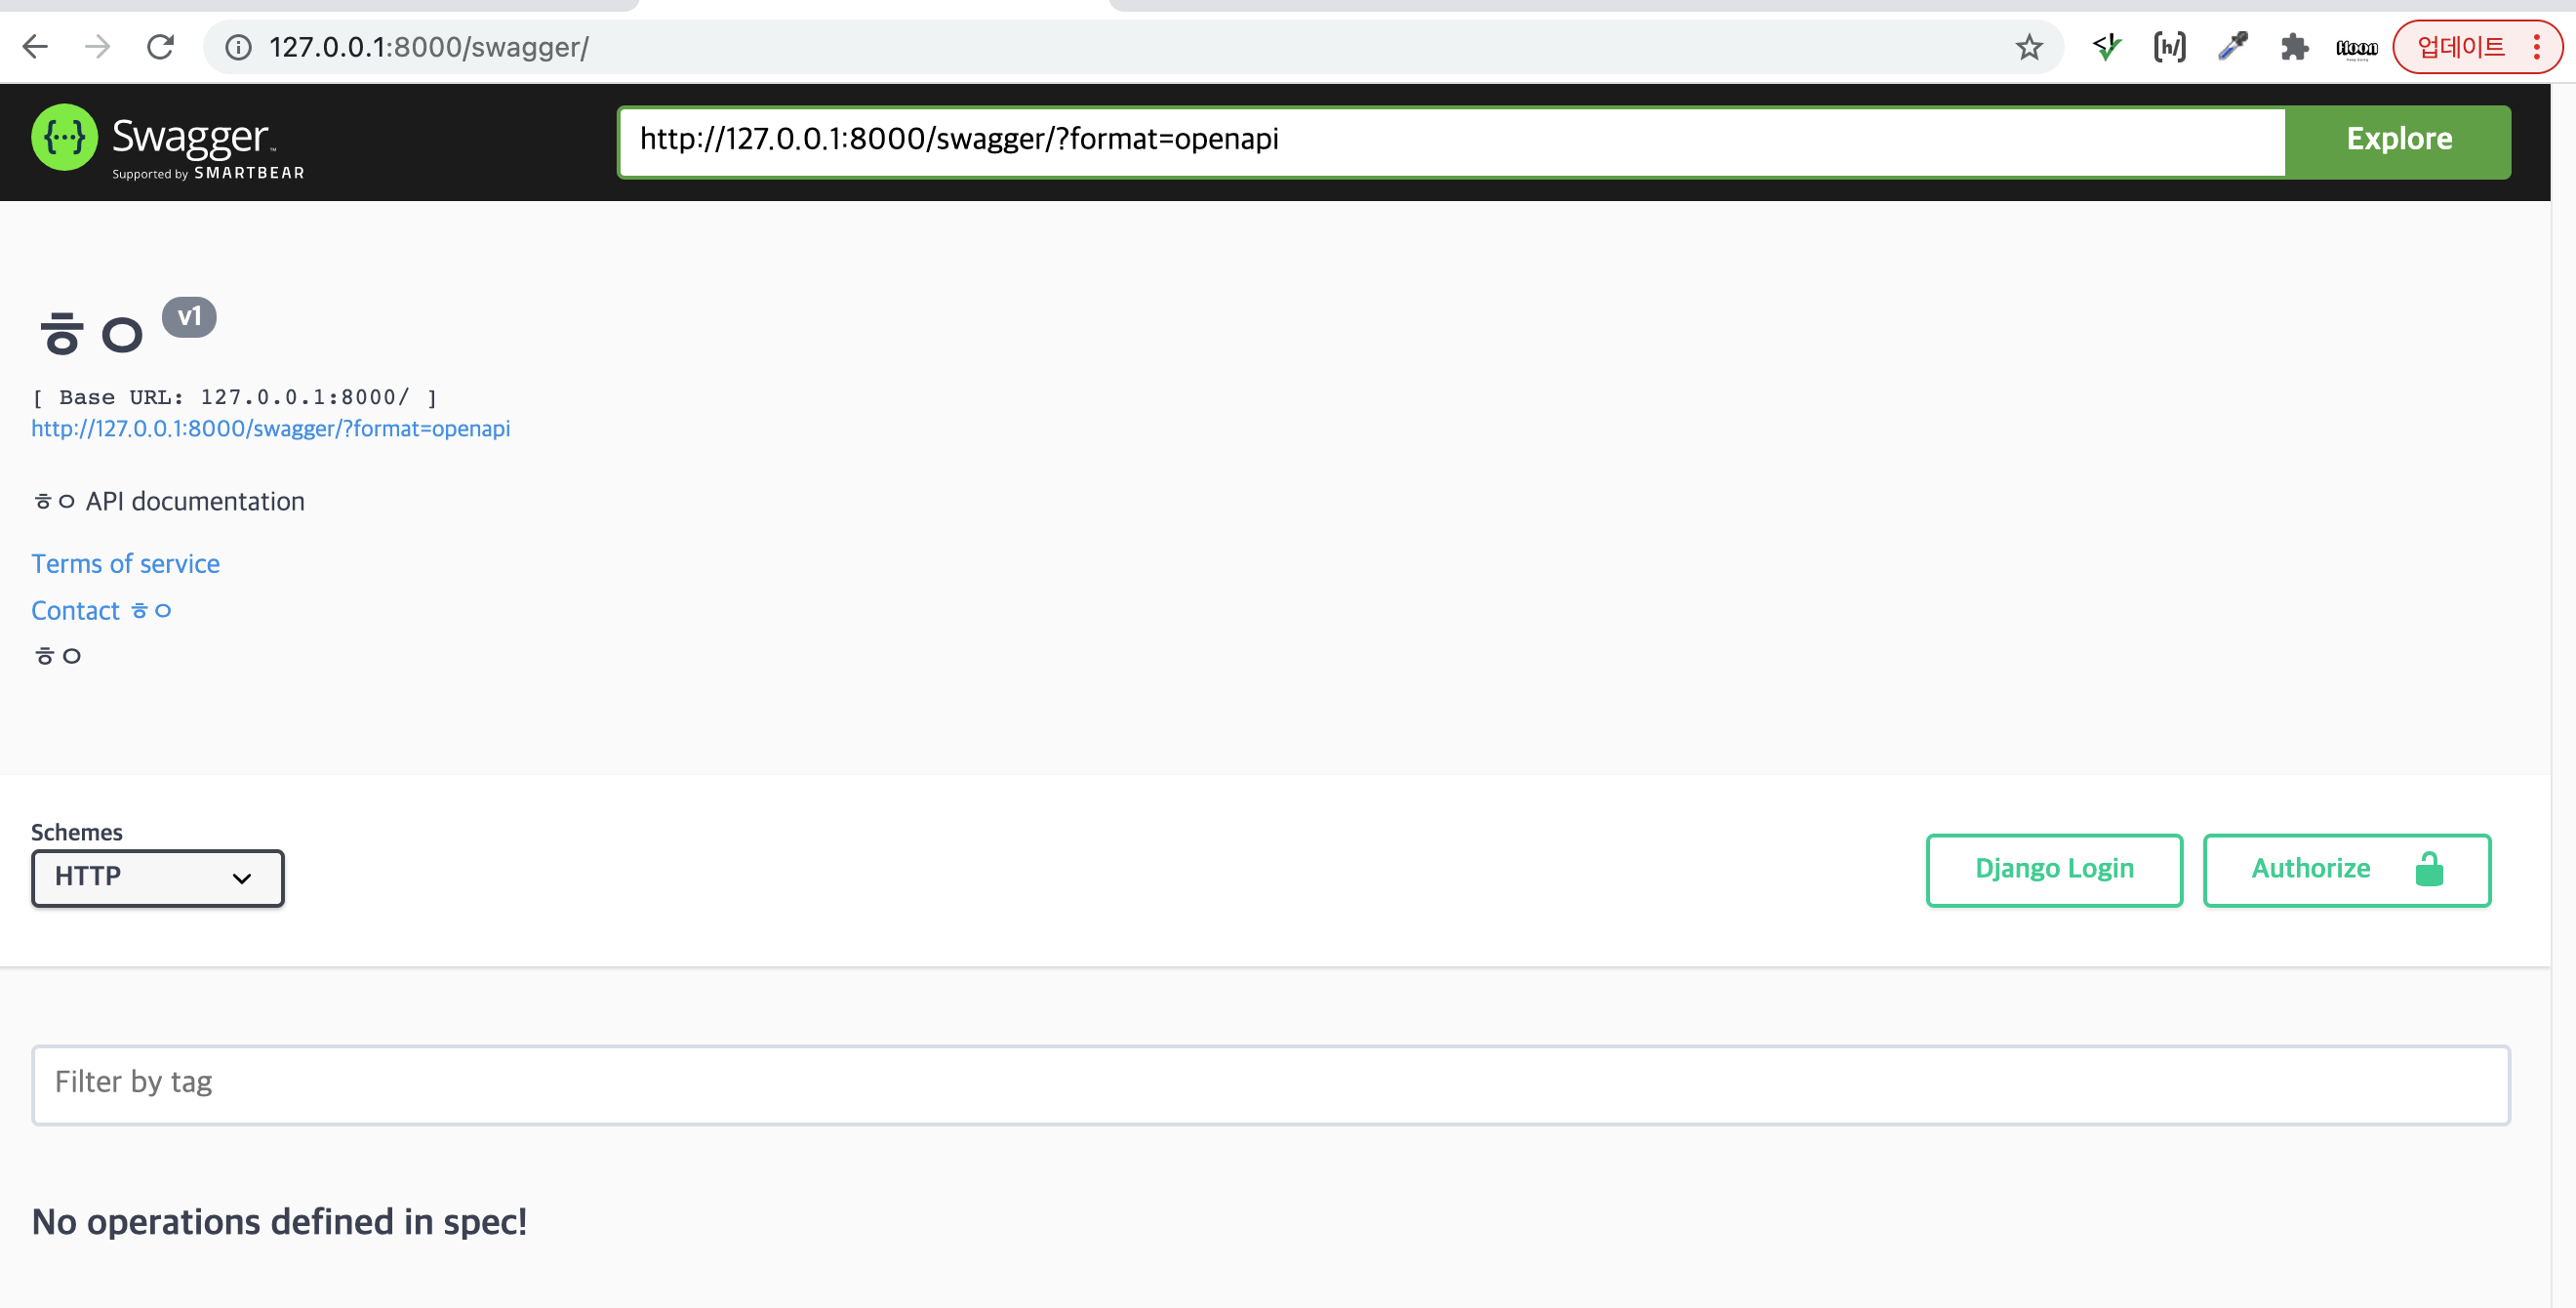
def get(self, request):이렇게하고 http://127.0.0.1:8000/swagger/products 와 같이 url을 적고 사이트를 다시 새로고침한다.
그럼 밑에 뭐가 뜨는데, 오른쪽에 새로 생긴 것을 클릭하고 쿼리 스트링이라면 1과 같이 값을 넣고 리스트를 보면 된다.
-끝-

꾸준하게 🐌