맥 푸티 설치 하기 전에 3가지 설치 꼭 해주기
내가 참고했던 사이트 링크들을 걸어놨다
1. homebrew에 Mac PUTTY 설치
homebrew가 설치 완료되었다면 터미널에 brew install putty 를 입력
2. macport 설치
https://www.macports.org/install.php 사이트 들어가서 자신의 컴퓨터에 맞는 버전으로 설치 해준다.
나는 mac OS big sur v11로 설치!!!
macport설치를 완료했다면 터미널에 다음 명령어를 입력
sudo port -v selfupdate
근데 난 위 명령어를 입려했더니 다음과 같은 오류가 떴다...
🚫 sudo: port: command not found그래서 여기저기 구글링 해본 결과
export PATH=$PATH:/opt/local/bin
export MANPATH=$MANPATH:/opt/local/share/man
export INFOPATH=$INFOPATH:/opt/local/share/info
위 코드들을 차례대로 입력하고 나서 다시 sudo port -v selfupdate를 입력했더니 해결됨
업데이트 하고 나서 sudo port install putty를 입력
그러면
continue? [Y/N]라는 질문이 나온다. Y입력!
이후에는 자동으로 Mac PUTTY 설치가 이어서 진행이 된다.
  python39 has the following notes:
    To make this the default Python or Python 3 (i.e., the version run by the
    'python' or 'python3' commands), run one or both of:

        sudo port select --set python python39
        sudo port select --set python3 python39
마지막에 이렇게 뜨면 마지막 두 명령어 복붙해서 입력해준다.
그리고 나서 putty를 입력해보면
(putty:****): Gtk-WARNING **: (생략): cannot open display: 위와 같은 오류가 발생
3. XQuartz 설치해줘야 함^^...
https://www.xquartz.org/ 여기로 들어가서 다운로드...
XQuarz 설치가 완료되면 자동으로 로그아웃 됨을 주의
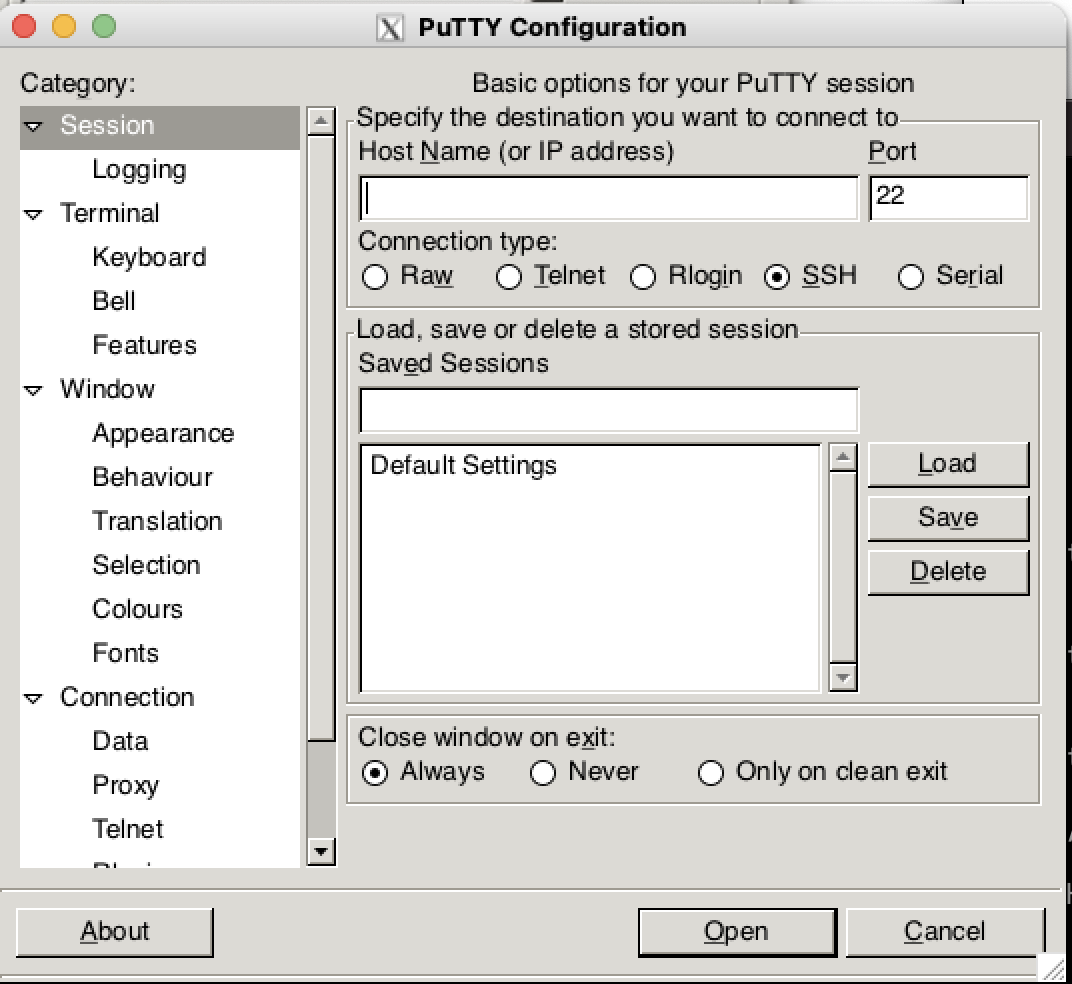
다시 터미널을 열어서 putty를 입력해보면 다음과 같이 잘 실행됨을 확인할 수 있다.

성실함은 최고의 무기