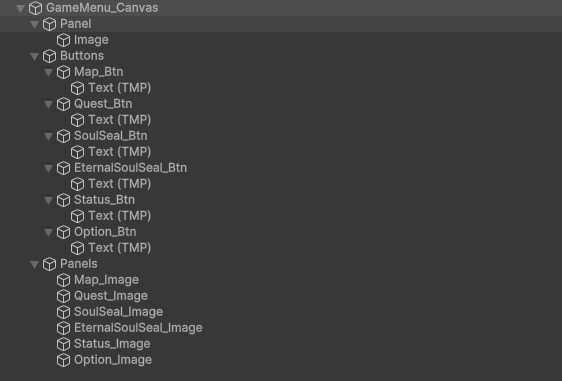
- 다음과 같이 세팅
-
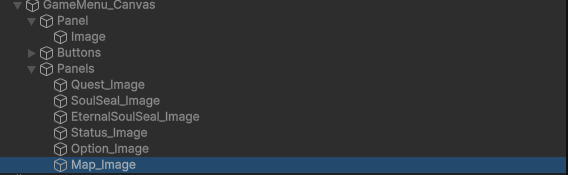
- 겹쳐있는 모든 object는 Hierarchy의 아래에 있을 수록 가장 위에! (즉, 눈과 가까이에!) 존재한다. 각 버튼을 누를 때마다 해당 버튼과 관련된 판넬의 그룹 내 Hierarchy 순서가 가장 아래로 오게 하면 된다!
- 겹쳐있는 모든 object는 Hierarchy의 아래에 있을 수록 가장 위에! (즉, 눈과 가까이에!) 존재한다. 각 버튼을 누를 때마다 해당 버튼과 관련된 판넬의 그룹 내 Hierarchy 순서가 가장 아래로 오게 하면 된다!
-
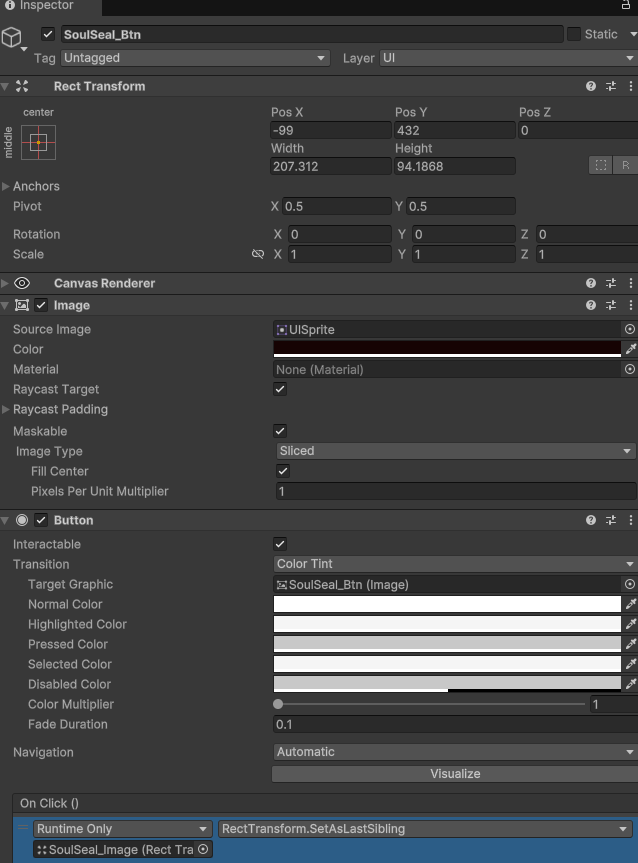
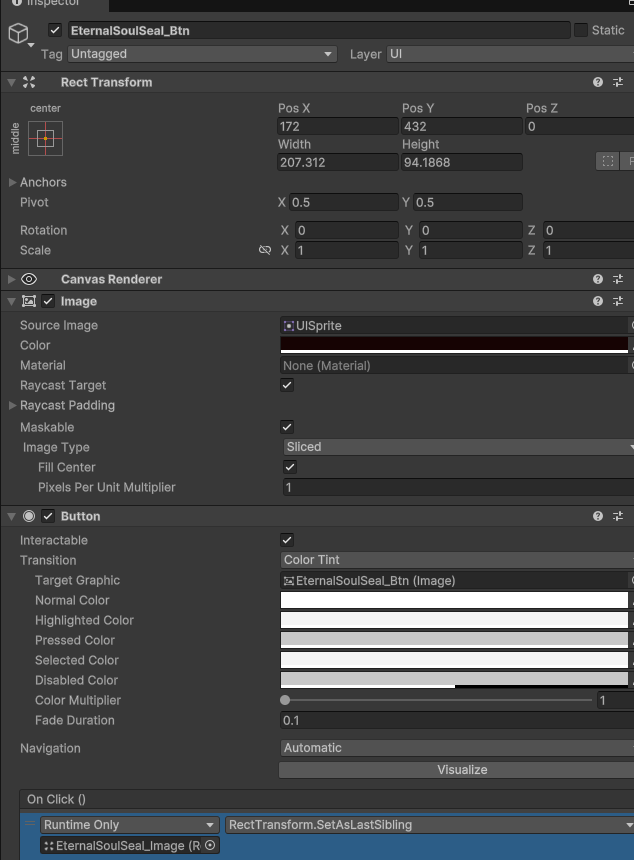
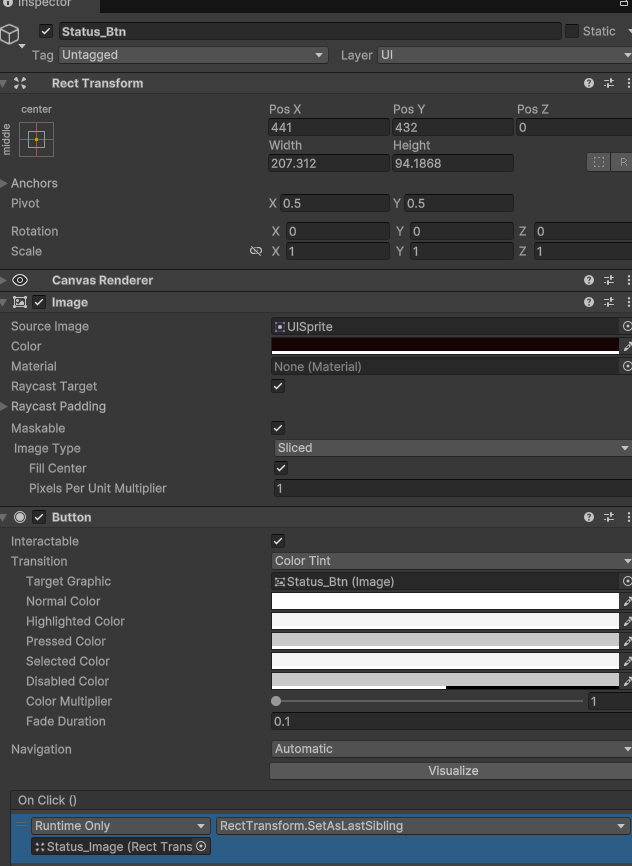
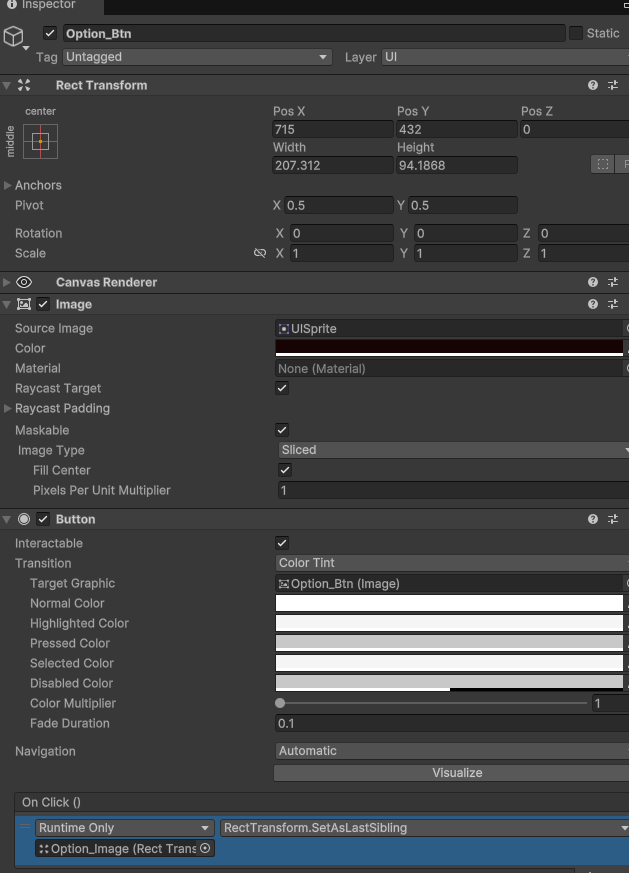
그리고 유니티에서는 이 기능을 아주 간단하게 제공한다. 버튼의 Inspector에서 버튼이 클릭되었을 때 할 일을 정해주는 OnClick() 부분을 추가(+)한다. 그리고 그 버튼에 해당하는 판넬을 None이라고 되어 있는 칸에 드래그해서 넣어준다!
-
마지막으로, No Function이라고 되어 있는 칸RectTransform>SetAsLastSibling 으로 바꿔준다!
-
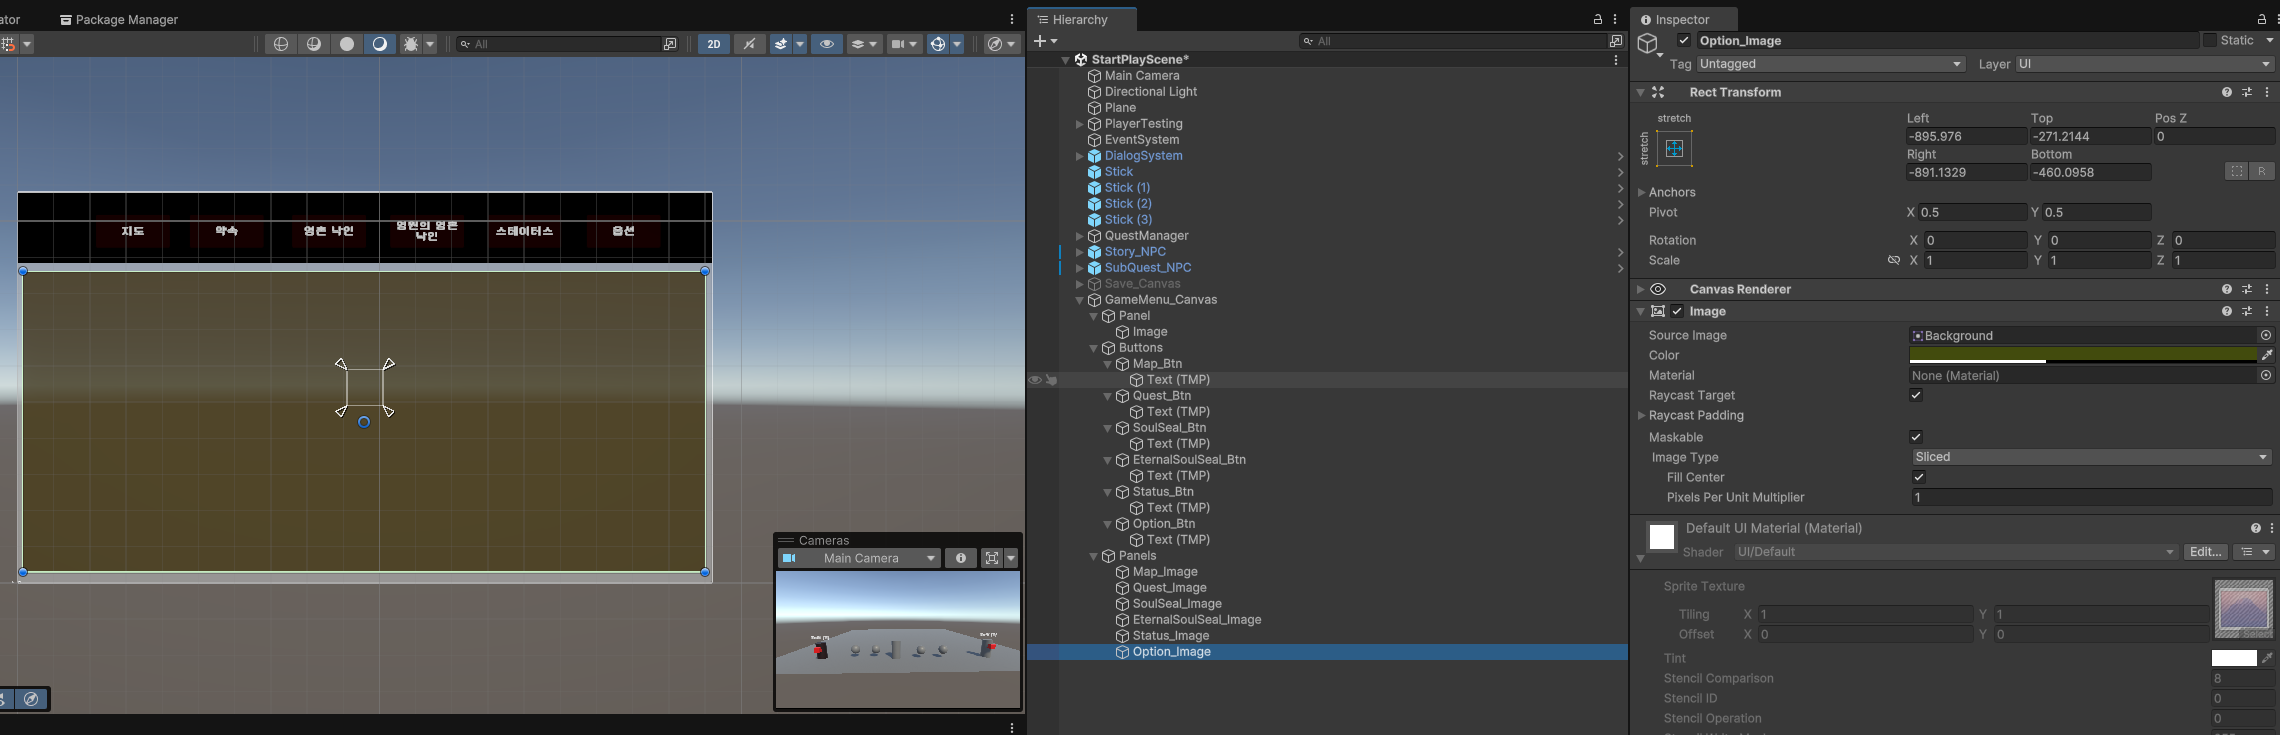
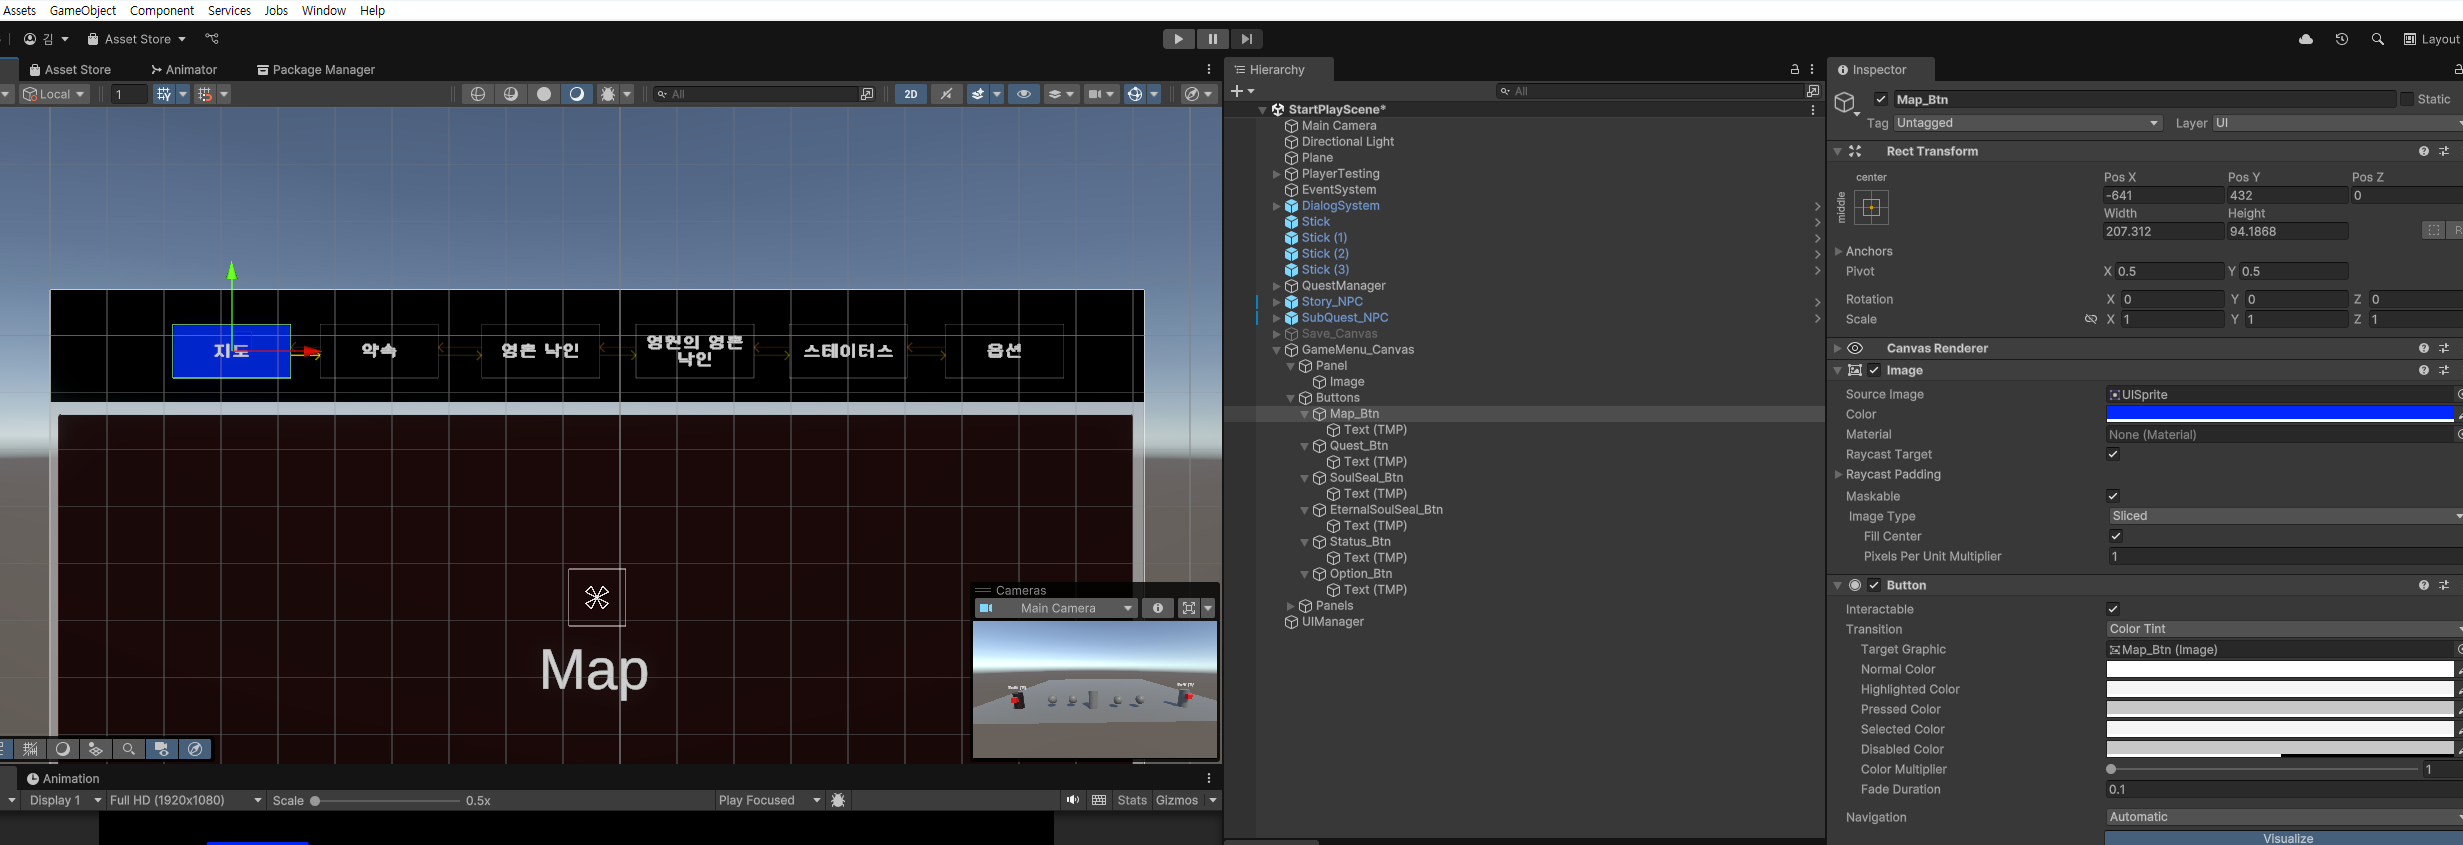
맵 버튼을 누르면 하이라키 맨 밑에 배치하여 해당 이미지를 제일 먼저 보여주기

-
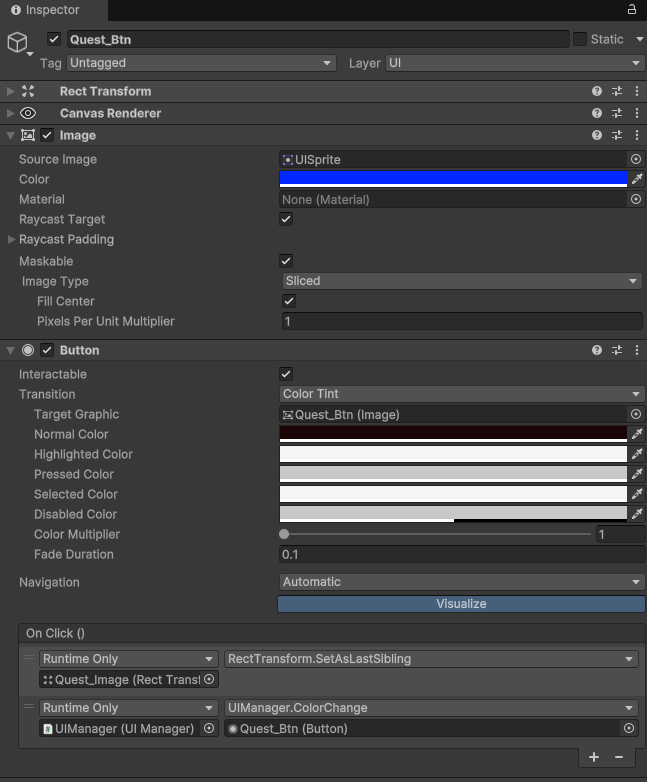
퀘스트 버튼을 누르면 하이라키 맨 밑에 해당 이미지를 배치하여 제일 먼저 보여주기

-
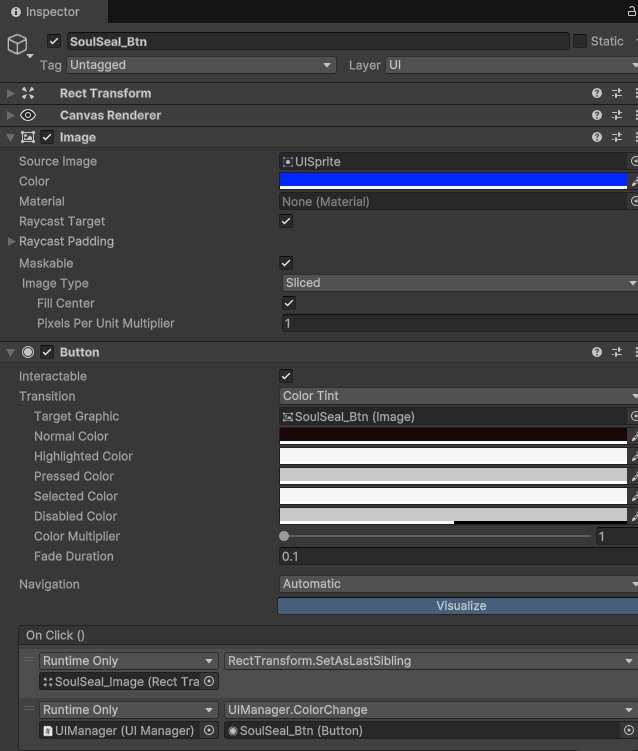
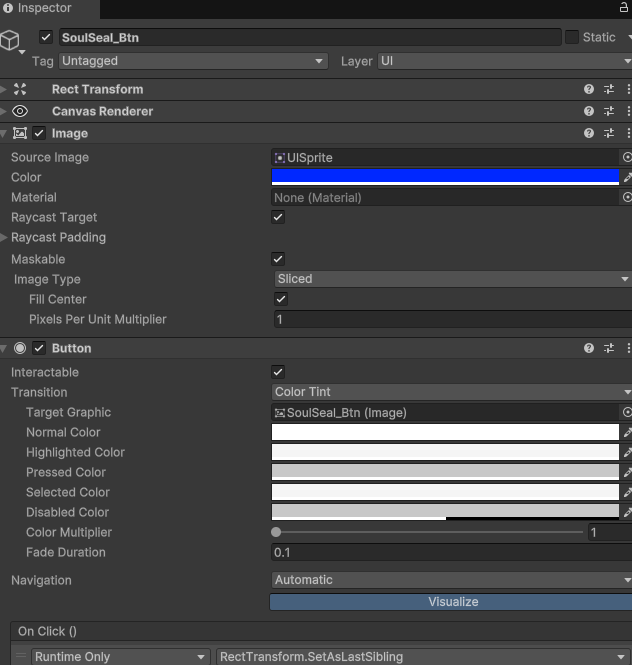
영혼낙인 버튼을 누르면 하이라키 맨 밑에 해당 이미지를 배치하여 제일 먼저 보여주기
-
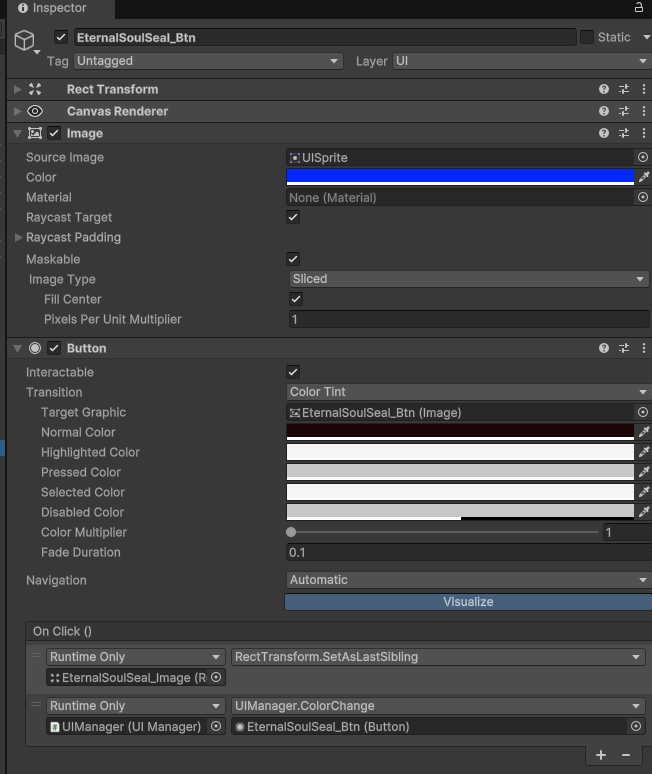
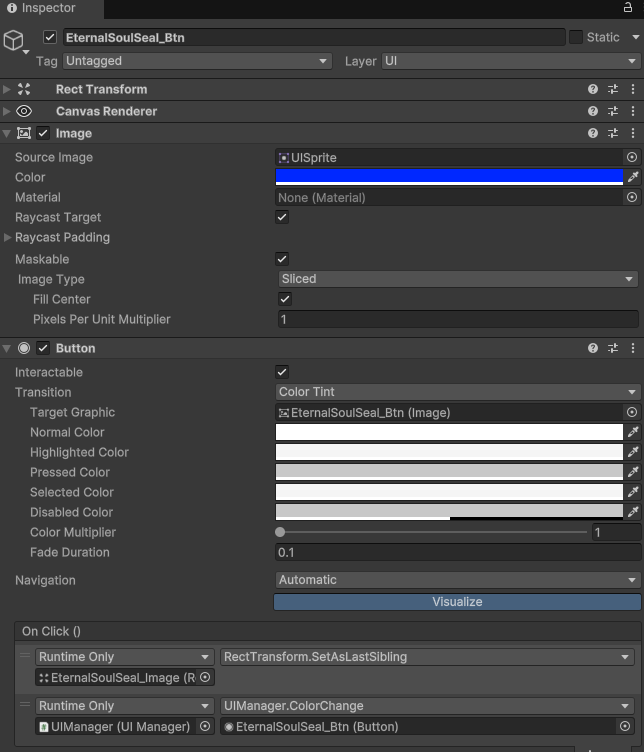
영혼의 영혼낙인 버튼을 누르면 하이라키 맨 밑에 해당 이미지를 배치하여 제일 먼저 보여주기
-
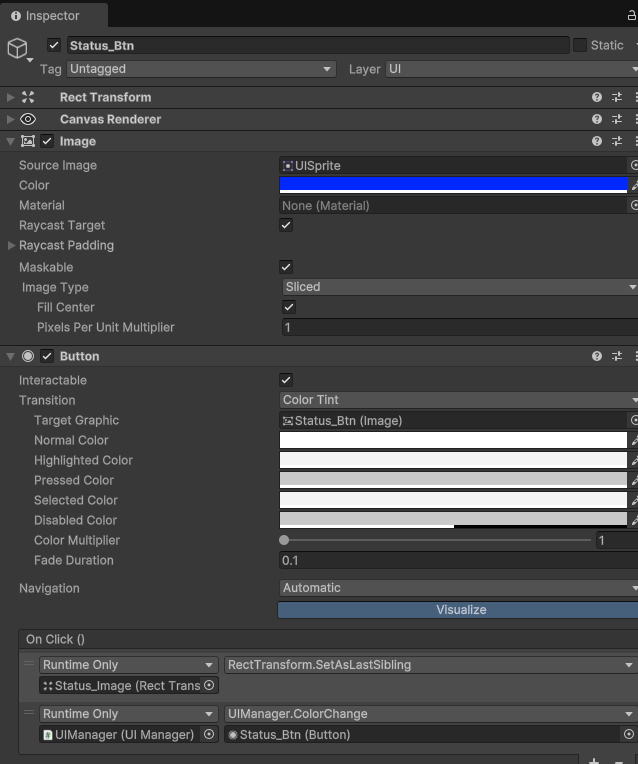
Status 버튼을 누르면 하이라키 맨 밑에 해당 이미지를 배치하여 제일 먼저 보여주기
-
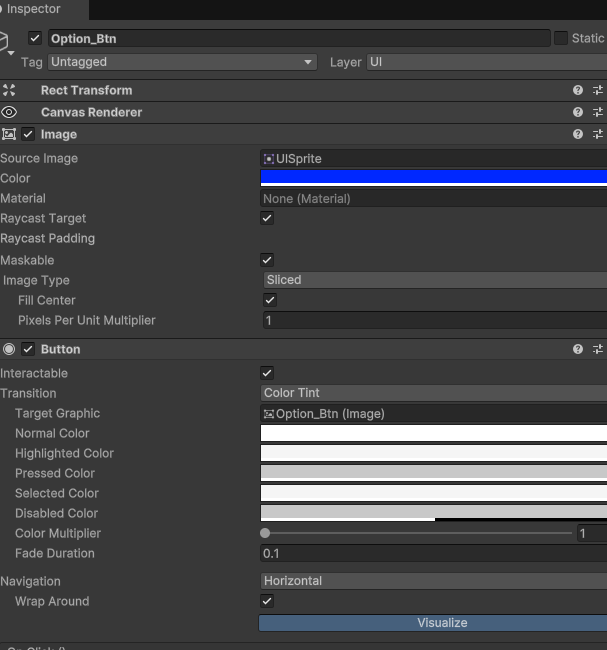
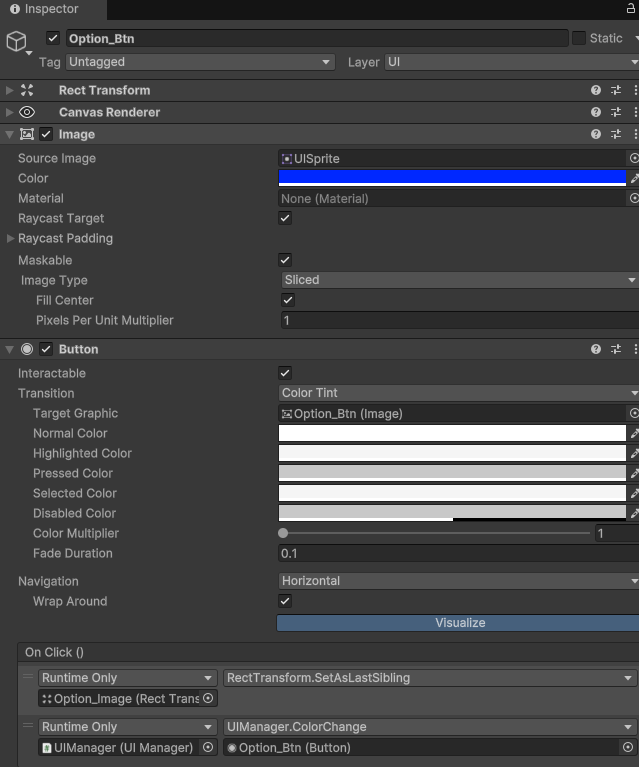
옵션 버튼을 누르면 하이라키 맨 밑에 해당 이미지를 배치하여 제일 먼저 보여주기
-
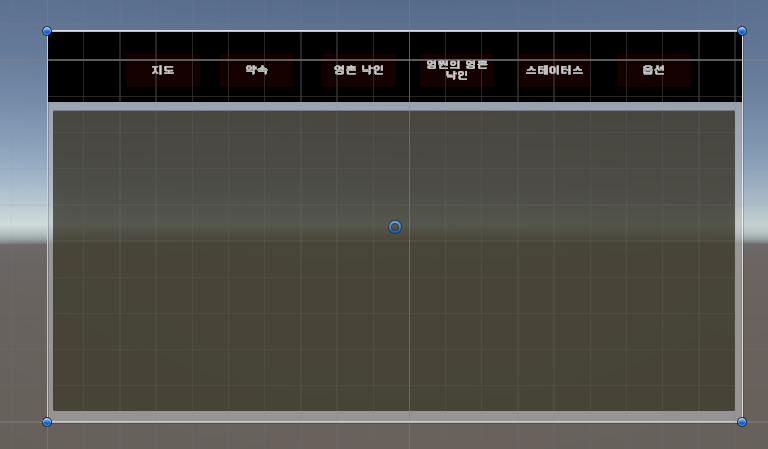
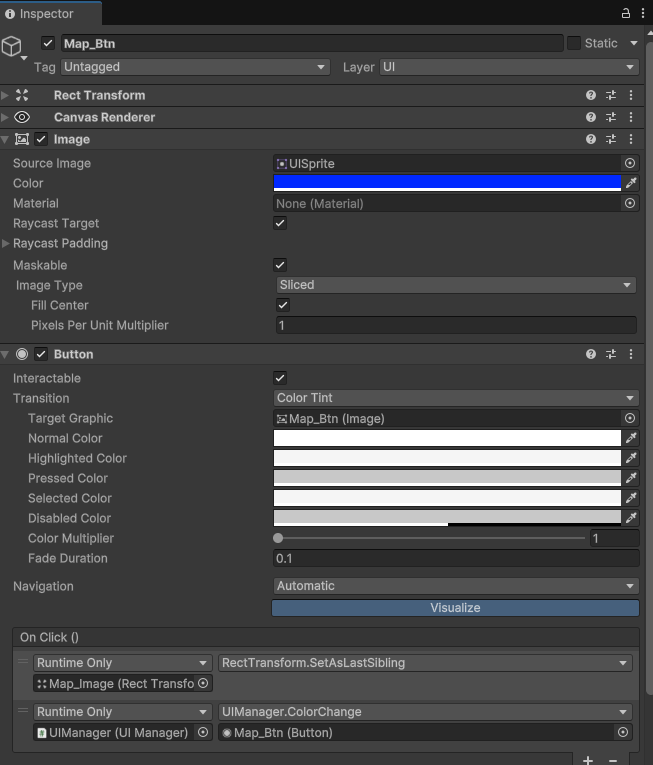
- 게임 메뉴 탭을 보면 지도 버튼이 첫번째로 있다. 따라서 지도 이미지를 맨 하단에 배치 해야 한다.
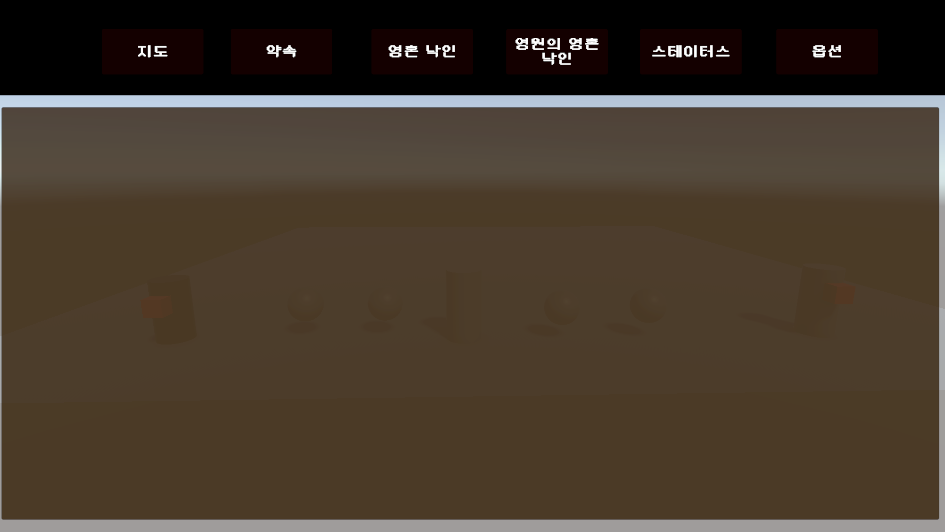
- 게임 메뉴 탭을 보면 지도 버튼이 첫번째로 있다. 따라서 지도 이미지를 맨 하단에 배치 해야 한다.
-
- 버튼을 선택했을 때 선택했다고 유저에게 알리기 위해 버튼의 명도를 높여본다.
-
먼저, 지도 버튼이 첫번째 이므로 버튼의 이미지를 파란색으로 설정한다.
-
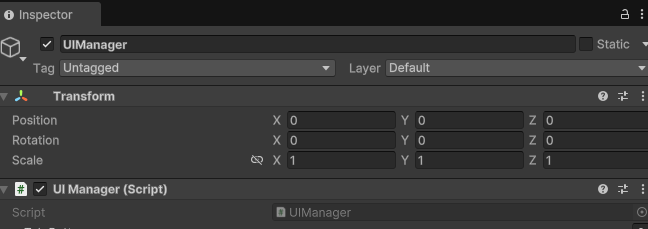
UIManager라는 빈 객체 만들고 UIManager 스크립트 추가
-
- UIManager.cs 작성
using UnityEngine;
using UnityEngine.UI;

public class UIManager : MonoBehaviour
{

    public Button[] TabButtons;
    private bool isChoose = false;

    public void ColorChange(Button clickedButton)
    {
        isChoose = !isChoose;

        foreach(Button button in TabButtons)
        {
            Image buttonImage = button.GetComponent<Image>();

            if (button == clickedButton)
            {
                // 클릭된 버튼은 파란색
                buttonImage.color = Color.blue;
            }
            else
            {
                // 나머지 버튼은 검은색
                buttonImage.color = Color.black;
            }
        }
    }
}-
- UIManager 스크립트 인스펙터 각 버튼 할당
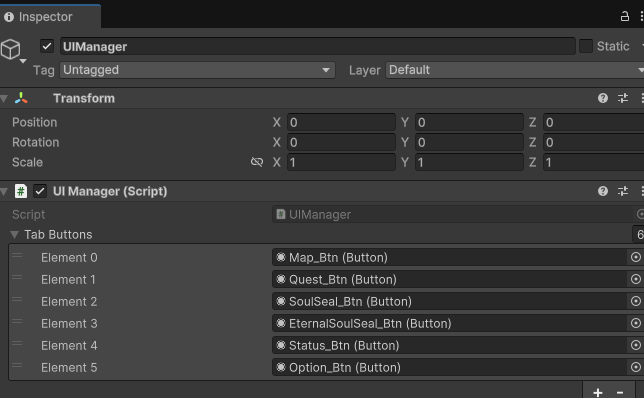
- UIManager 스크립트 인스펙터 각 버튼 할당
-
- 각 버튼의 OnClick 이벤트에서 UIManager에 있는 ColorChange 메서드 호출. 인자는 각 버튼을 넘기면 됨.


- 각 버튼의 OnClick 이벤트에서 UIManager에 있는 ColorChange 메서드 호출. 인자는 각 버튼을 넘기면 됨.
키보드 조작으로 탭 이동하기.
- 아무 버튼이나 Button 컴포넌트에 Visualize을 누른다.
- 아무 버튼이나 Button 컴포넌트에 Visualize을 누른다.
- 그러면 어떤 화살표가 나타는데 화살표 연결 순선대로 Navaigate을 할 수 있다.


- UIManager.cs에 코드를 추가한다.
using System;
using UnityEngine;
using UnityEngine.EventSystems;
using UnityEngine.UI;

public class UIManager : MonoBehaviour
{

    public Button[] TabButtons;

    EventSystem system; //⭐
    public Selectable firstInput; //⭐
    private Button lastSelectedButton; //⭐마지막으로 선택된 버튼
    void Start()
    {
        system = EventSystem.current; //⭐

        if (TabButtons != null && TabButtons.Length > 0) //⭐
        {
            TabButtons[0].Select(); //⭐ 첫 번째 버튼 선택
            lastSelectedButton = TabButtons[0]; //⭐
            ColorChange(lastSelectedButton); //⭐ 초기 색상 설정
        }

    }


    private void Update()
    {
        if (Input.GetKeyDown(KeyCode.Q))
        {
            NavigateButtons(true);
        }
        else if (Input.GetKeyDown(KeyCode.E))
        {
            Debug.Log("E");
            NavigateButtons(false);
        }
    }
    private void NavigateButtons(bool isShiftPressed)//⭐
    {
        // 현재 선택된 Selectable 가져오기
        Selectable current = system.currentSelectedGameObject?.GetComponent<Selectable>();//⭐

        if (current == null && lastSelectedButton != null) //⭐마우스로 빈 공간 선택시 current가 null이므로, null일 경우
        {
            lastSelectedButton.Select(); //⭐마지막 버튼 선택
            current = lastSelectedButton; //⭐마지막으로 버튼을 current에 저장.
        }

        if (current != null) //⭐
        {
            Selectable next = isShiftPressed ? current.FindSelectableOnLeft() : current.FindSelectableOnRight();  //⭐ true/false에 따른 왼쪽 이동과 오른쪽이동.

            if (next != null) //⭐
            {
                Debug.Log("2");
                next.Select();//⭐

                Button nextButton = next.GetComponent<Button>(); //⭐선
                if (nextButton != null && nextButton != lastSelectedButton)//⭐
                {
                    Debug.Log("3");
                    nextButton.onClick.Invoke(); //⭐
                    lastSelectedButton = nextButton; //⭐마지막 선택된 버튼 업데이트
                }
            }
        }
    }
    public void ColorChange(Button clickedButton)
    {

        foreach(Button button in TabButtons)
        {
            Image buttonImage = button.GetComponent<Image>();

            if (button == clickedButton)
            {
                // 클릭된 버튼은 파란색
                buttonImage.color = Color.blue;
            }
            else
            {
                // 나머지 버튼은 검은색
                buttonImage.color = Color.black;
            }
        }
    }
}
-
- 첫번째 버튼인 지도 버튼의 Navigation을 Horizontal로 바꾸고 WrapAround을 체크 한다.
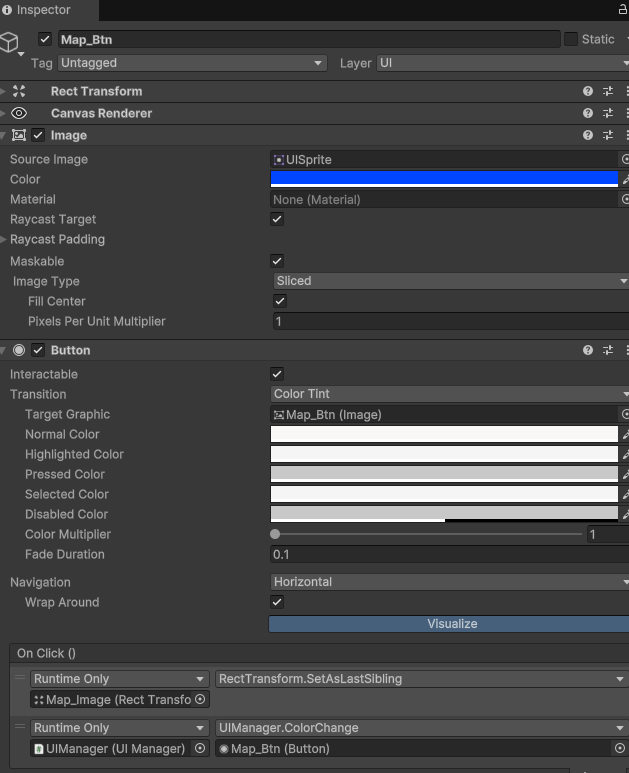

- 첫번째 버튼인 지도 버튼의 Navigation을 Horizontal로 바꾸고 WrapAround을 체크 한다.
-
마지막 버튼인 옵션 버튼도 마찬가지로 한다.

-
- 그리고 각 버튼의 노멀 색깔(기본 색깔)을 흰색으로
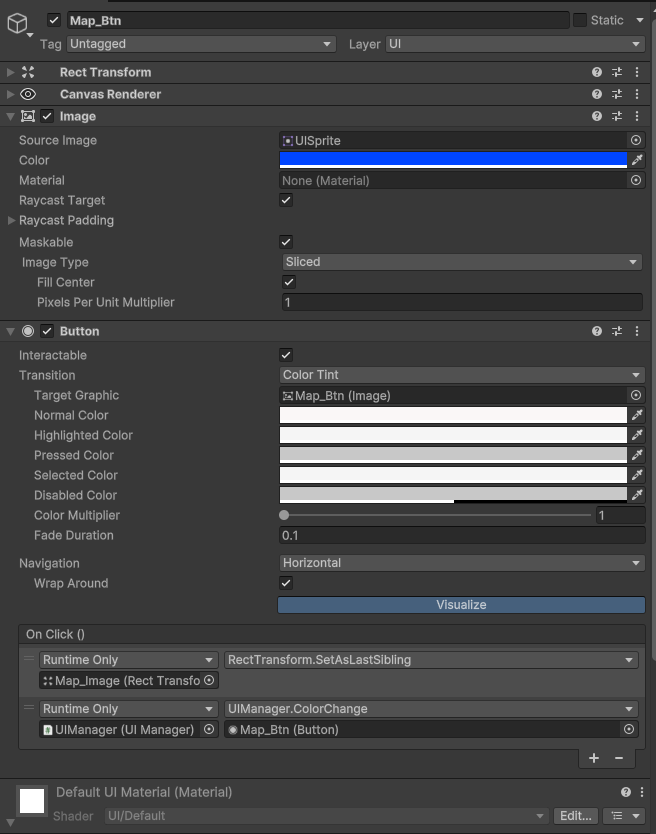
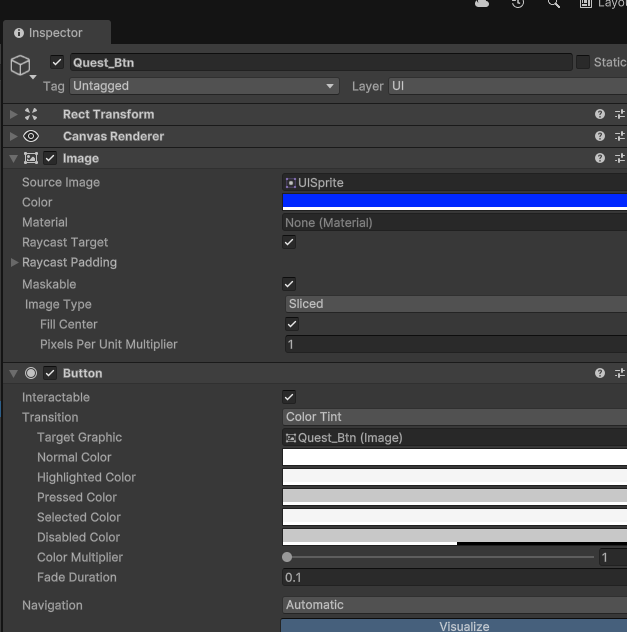
- 그리고 각 버튼의 노멀 색깔(기본 색깔)을 흰색으로