🤍 뷰를 이용한 화면 구성
✅ 액티비티 뷰 구조
- 화면을 출력하는 컴포넌트는 액티비티
- 화면에 내용을 표시하려면 뷰 클래스를 이용
✅ 액티비티 코드로 화면 구성하기
화면을 구성하는 뷰 클래스를 액티비티 코드에서 직접 생성
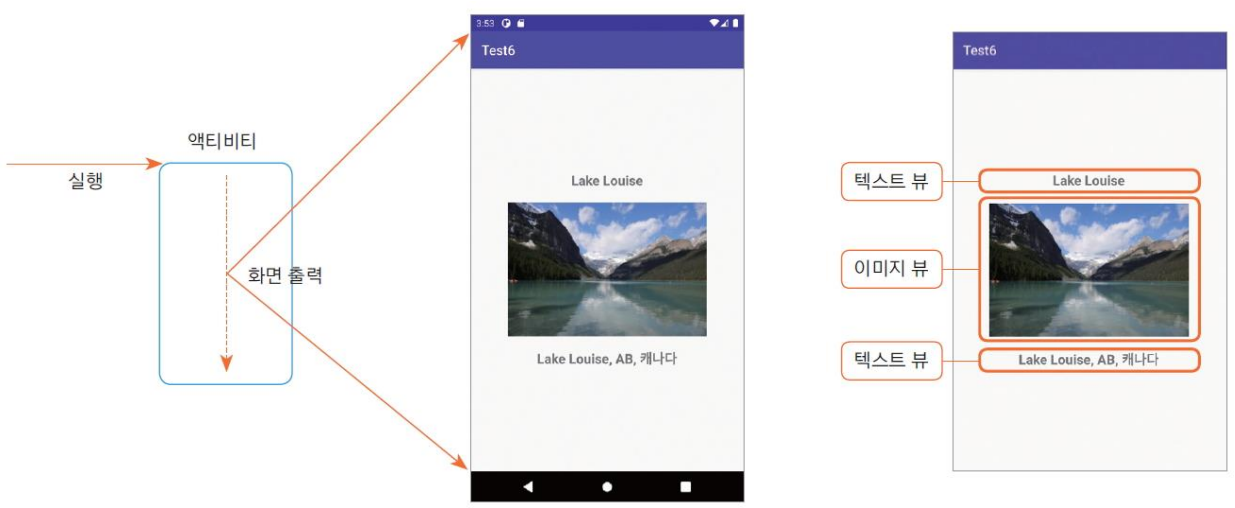
- 먼저 구글에서 Lake Louise 검색하여 이미지 다운로드
        // TextView 생성 2 - apply 키워드 이용
        // apply 키워드 이용시 해당객체의 속성을 바로 설정 가능(변수.**로 안 불러도 된다._)
        val name = TextView(this).apply{
            typeface = Typeface.DEFAULT_BOLD // 폰트 굵게
            textSize = 30F //30F로 폰트 사이즈
            text = "Lake Louise" //화면에 출력할 글자
        }

        // 이미지 출력 ImageView 생성
        // also 키워드 이용 -> it.-로 해당 객체를 이용한다.
        val image = ImageView(this).also{
            it.setImageDrawable(ContextCompat.getDrawable(this, R.drawable.lake_1))
            it.adjustViewBounds = true
        }

        // 주소 문자열 출력 TextView 생성
        val address = TextView(this).apply{
            typeface = Typeface.DEFAULT_BOLD
            text = "Lake Louise, AB, 캐나다"
        }

        // 레이아웃을 생성하고, 뷰를 담아준다.
        val layout = LinearLayout(this).apply{
            // 뷰 배치 방향 설정 : orientation
            orientation = LinearLayout.VERTICAL
            // 뷰 정렬 설정 : grqvity
            gravity = Gravity.CENTER
            // LinearLayout 객체에 TextView, ImageView, TextView 객체 추가
            addView(name, WRAP_CONTENT, WRAP_CONTENT)
            addView(image, WRAP_CONTENT, WRAP_CONTENT)
            addView(address, WRAP_CONTENT, WRAP_CONTENT)
        }
        //LinearLayout 객체를 화면에 출력
        setContentView(layout)
✅ 레이아웃 XML로 화면 구성하기
엑티비티에 레이아웃 XML 명시
		// 화면 출력 XML 명시 -> setContentView 함수
        //setContentView(R.layout.activity_main)
        //setContentView(R.layout.text_view)
        //setContentView(R.layout.edit_text_view)
        // TextView 생성 1 - 일반적인 방법
        val name = TextView(this)
        name.typeface = Typeface.DEFAULT_BOLD
        name.textSize = 25F
        name.text = "Lake Louise"

        val image = ImageView(this)
        // 이미지 세팅 -> R(리소스) 안에 있는 리소스 파일을 선택할 수 있다.
        // 1.setImageDrawable -> 네트워크나 파일을 읽어서 이미지를 그린다.
        // 2.setImageResource -> res 폴더에 있는 리소스를 가져온다.
        // image.setImageDrawable(ContextCompat.getDrawable(this, R.drawable.lake_1))
        image.setImageResource(R.drawable.lake_1)
        image.adjustViewBounds = true  // 이미지의 새로길이에 맞춰서 비율을 맞춰준다.
레이아웃 XML에 화면 구성하기
<?xml version="1.0" encoding="utf-8"?>
<LinearLayout xmlns:android="http://schemas.android.com/apk/res/android"
    android:layout_width="match_parent"
    android:layout_height="match_parent"
    android:orientation="vertical"
    android:gravity="center">

    <TextView
        android:id="@+id/name"
        android:layout_width="wrap_content"
        android:layout_height="wrap_content"
        android:text="Lake Louis"
        android:textSize="30sp"
        android:textStyle="bold" />

    <ImageView
        android:id="@+id/image"
        android:layout_width="wrap_content"
        android:layout_height="wrap_content"
        android:adjustViewBounds="true"
        android:src="@drawable/lake_1" />
    <TextView
        android:id="@+id/address"
        android:layout_width="wrap_content"
        android:layout_height="wrap_content"
        android:textStyle="bold"
        android:text="Lake Louise, AB, 캐나다"
        android:textSize="15sp"/>
</LinearLayout>
출력 화면(버튼은 X)
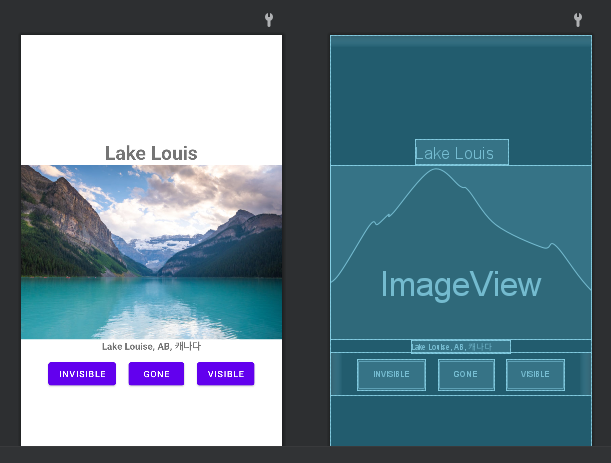

내가 보려고 만든 벨로그