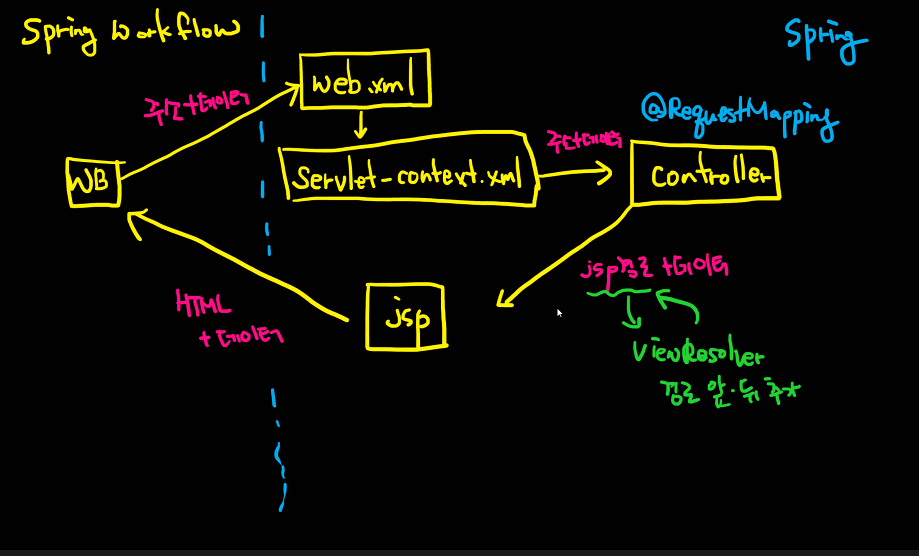
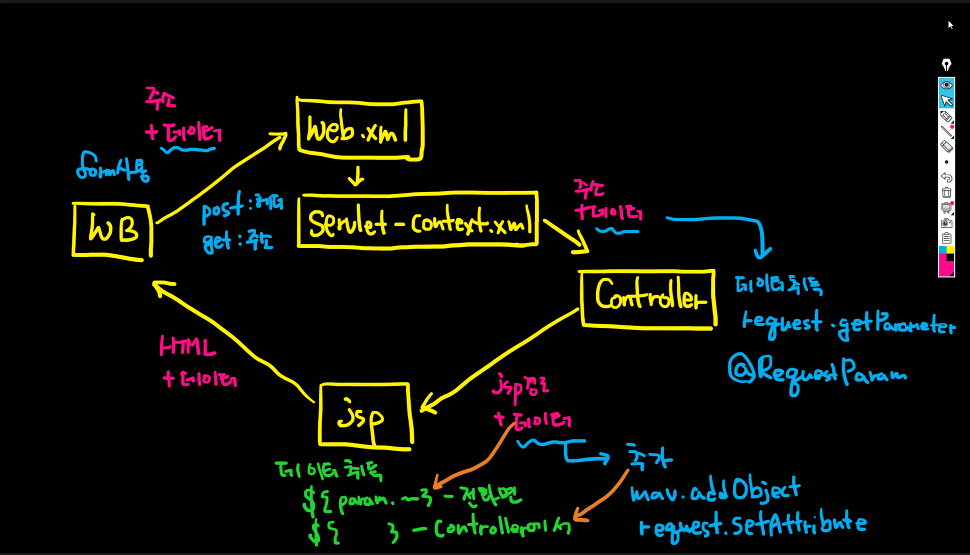
스프링 동작순서 복습
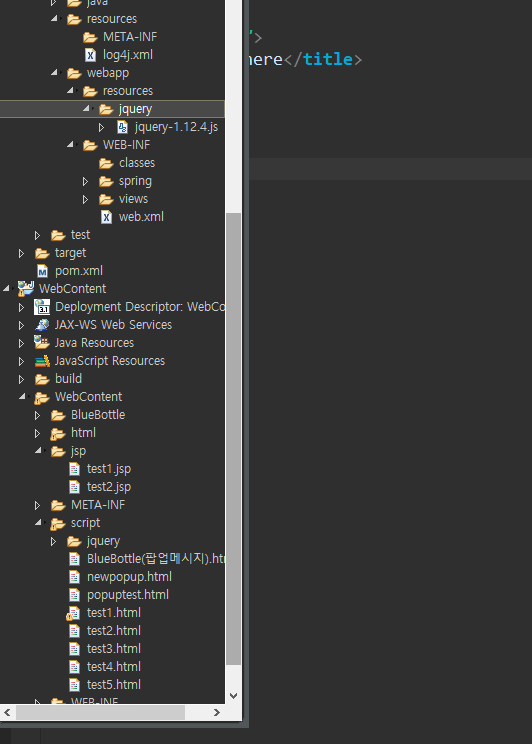
제이쿼리 파일 옮기기
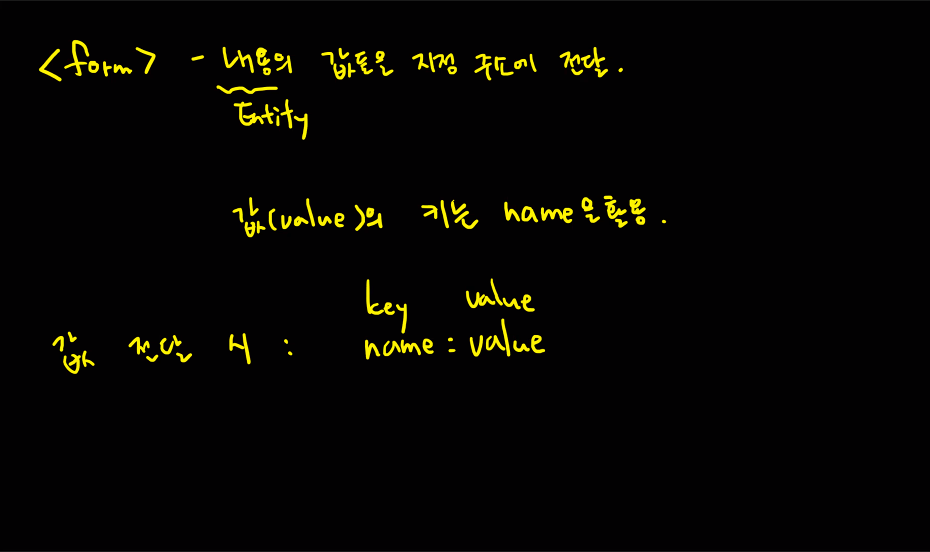
form
-
내용(entity)의 값들은 지정 주소에 전달
-
값(value)의 키는 name을 활용
-
값 전달 시 : name : value --> key/ value 형태
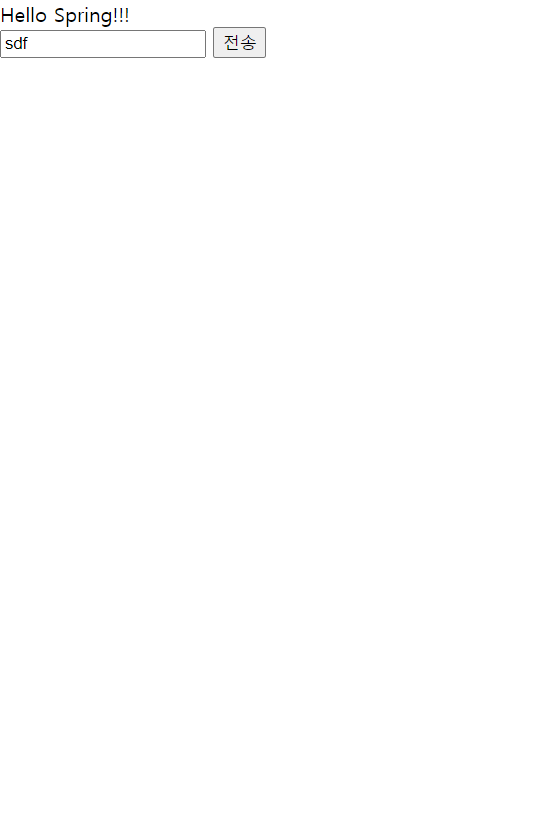
test1 참고
<%@ page language="java" contentType="text/html; charset=UTF-8"
    pageEncoding="UTF-8"%>
<!DOCTYPE html>
<html>
<head>
<meta charset="UTF-8">
<title>Insert title here</title>
<script type="text/javascript"
	src="resources/jquery/jquery-1.12.4.js"></script>
<script type="text/javascript">
$(document).ready(function(){
	$("#sendBtn").on("click",function(){
		$("#sendForm").submit(); //submit() : form실행
	});
});
</script>
</head>
<body>
Hello Spring!!!<br/>
<!-- action : 값을 전송하여 이동할 주소 -->
<form action="test2" id="sendForm" method="post">
<input type="text" name="txt" />
<input type="button" value="전송" id="sendBtn"/>
</form>
</body>
</html>
서버를 실행시키기 위해 TestController 에 추가
package com.test.spring.test.controller;
import java.util.ArrayList;
import java.util.HashMap;
import java.util.List;
import javax.servlet.http.HttpServletRequest;
import javax.servlet.http.HttpServletResponse;
import org.springframework.stereotype.Controller;
import org.springframework.web.bind.annotation.RequestMapping;
import org.springframework.web.bind.annotation.RequestParam;
import org.springframework.web.servlet.ModelAndView;
@Controller
public class TestController {
@RequestMapping(value="/test1")
/*
* ModelAndView : 데이터와 뷰를 담을 수 있는 클래스
*/
public ModelAndView test1(ModelAndView mav) {
//ViewResolver : "/WEB-INF/views/test/test1.jsp"
mav.setViewName("test/test1"); //jsp 위치지정
return mav;
}
//@HttpServletRequest : 요청과 관련된 데이터 집합(사용자에서 넘어온것)
//@RequestParam(value=값)변수타입 변수명 : 값에 해당하는 key가 넘어올때
//Key에 연결된 값을 변수에 담는다.
//@RequestParam 변수타입 변수명 : 변수명과 동일한 Key가 넘어올 때
// Key에 연결된 값을 변수에 담는다.
//@RequestParam HashMap : 넘어오는 Key와 Value들을 Map에 담는다.
//@RequestParam(value=값) List 변수명 : 값에 해당하는 Key들이 넘어올 때
// List는 체크박스 쓸대만 사용 Key에 연결된 값들을 리스트에 담는다.
// HttpServletResponse: 응답에 대한 정보(보낼형태, 헤더정보)
@RequestMapping(value="/test2")
public ModelAndView test2(HttpServletRequest req,
@RequestParam(value="txt") String s,
@RequestParam String txt,
@RequestParam HashMap<String, String> params,
@RequestParam (value="txt") ArrayList<String> list,
ModelAndView mav) {
System.out.println(req.getParameter("txt"));
System.out.println(s);
System.out.println(txt);
System.out.println(params.get("txt"));
System.out.println(list.get(0));
//req.setAttribute("test", "Hi~");
mav.addObject("test", "Hi2!!"); // Model에 값을 담는다
List<HashMap<String, String>> data
= new ArrayList<HashMap<String, String>>();
for(int i = 10; i > 0 ; i-- ) {
HashMap<String, String> temp
= new HashMap<String, String>();
temp.put("no", Integer.toString(i));
temp.put("title","test" + i);
data.add(temp);
}
mav.addObject("data", data);
mav.setViewName("test/test2");
return mav;
}
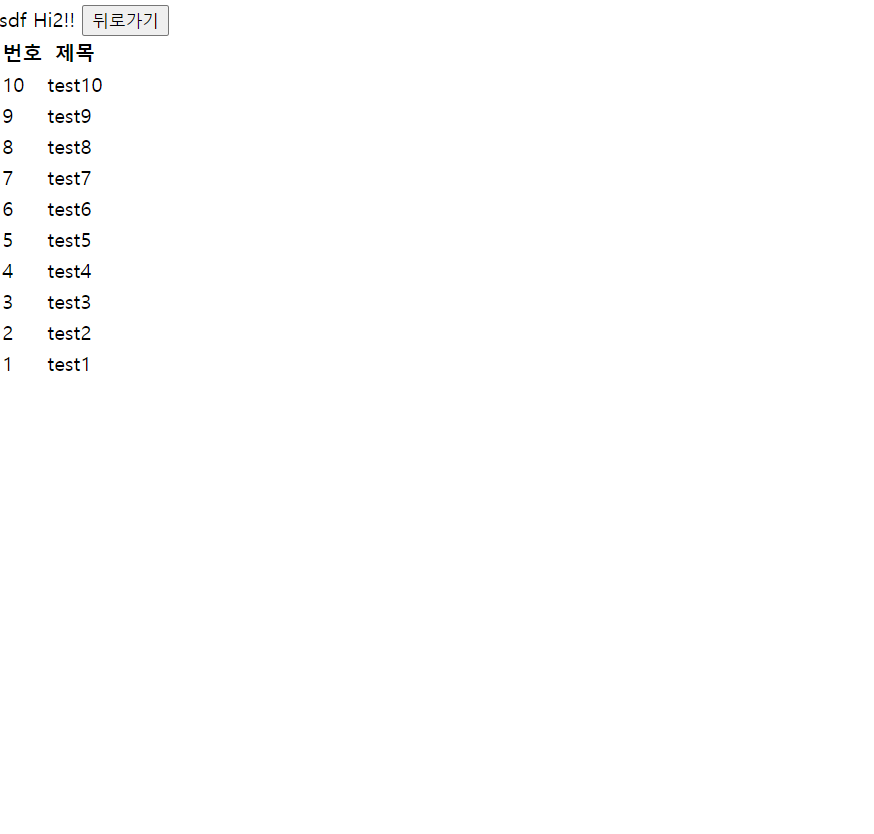
}test2 참고
<%@ page language="java" contentType="text/html; charset=UTF-8"
pageEncoding="UTF-8"%>
<%@ taglib prefix="c" uri="http://java.sun.com/jsp/jstl/core"%>
<!DOCTYPE html>
<html>
<head>
<meta charset="UTF-8">
<title>Insert title here</title>
<script type="text/javascript"
src="resources/jquery/jquery-1.12.4.js"></script>
<script type="text/javascript">
$(document).ready(function(){
$("#backBtn").on("click",function(){
//history.back(); //브라우저 히스토리 기록 전단계로 이동
//history.go(-1); // 브라우저 히스토리 기록 지정한 만큼 이동
location.href = "test1" // 해당주소로 이동
});
});
</script>
</head>
<body>
${param.txt}<%-- ${param.~~~~} : 전 화면에서 넘어온 값 취득 --%>
${test}<%-- param.이 안 붙는 경우는 java에서 전송한 경우 --%>
<input type="button" value="뒤로가기" id="backBtn"/>
<br/>
<table>
<thead>
<tr>
<th>번호</th>
<th>제목</th>
</tr>
</thead>
<tbody>
<c:forEach var="d" items="${data}">
<tr>
<td>${d.no}</td>
<td>${d.title}</td>
</tr>
</c:forEach>
</tbody>
</table>
</body>
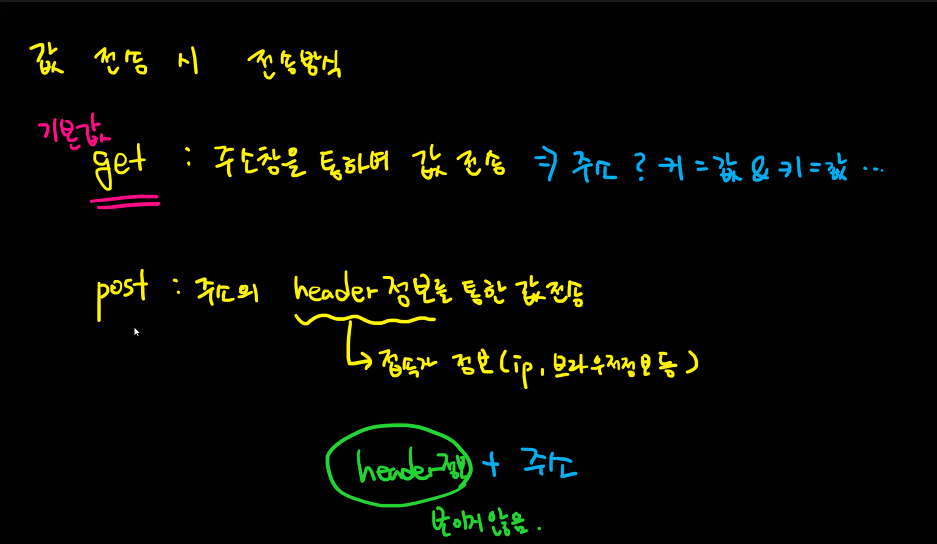
</html>값 전송방식
-
get(기본값) : 주소창을 통하여 값 전송 ==> 주소? 키=값 & 키=값...
- ex) 검색창
-
post: 주소의 header 정보를 통한 값 전송
- hearder 정보->접속자 정보(ip, 브라우저정보등)
- 주소창에 입력값이 안나온다.
model은 맵형태다 .그래서 키값, 벨류값 무조건 기억!!
test1출력결과
test2출력결과
스프링 쉽지않다. 하지만 계속하다보면 재미있을 것 같고, 일단 오늘 부터 DB모임이 시작되었다. 열심히 해서 모두 좋은결과을 만들고 한번 만든만큼 성공적인 스터디로 만들어보자
호텔리어 출신 비전공자