다음 코드는 코딩셰프의 코드를 참고하여 작성되었습니다.
플러터(flutter) 순한맛 강좌 22 | Navigator(네비게이터) 이해하기

import 'package:flutter/material.dart';
void main() => runApp(MyApp());
class MyApp extends StatelessWidget {
const MyApp({Key? key}) : super(key: key);
@override
Widget build(BuildContext context) {
return MaterialApp(
debugShowCheckedModeBanner: false,
title: 'Navigator',
theme: ThemeData(
primarySwatch: Colors.red,
),
home: FirstPage(),
);
}
}
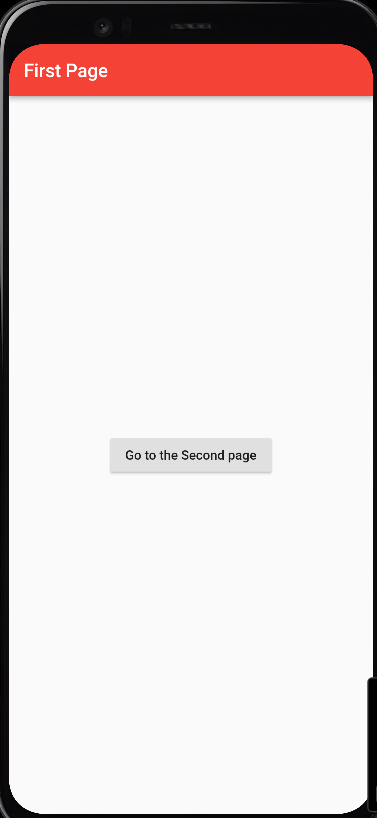
class FirstPage extends StatelessWidget {
const FirstPage({Key? key}) : super(key: key);
@override
Widget build(BuildContext context) {
return Scaffold(
appBar: AppBar(
title: Text('First Page'),
),
body: Center(
child: RaisedButton(
child: Text('Go to the Second page'),
onPressed: () {
// Navigator.push(
// context,
// MaterialPageRoute(builder: (BuildContext context) {
// return SecondPage();
// }),
// );
Navigator.push(
context,
MaterialPageRoute(
builder: (_) => SecondPage()));
// _로 되어있는 것을 보게 된다면 사용하지 않는 값이라 인지하면 됨
},
),
),
);
}
}
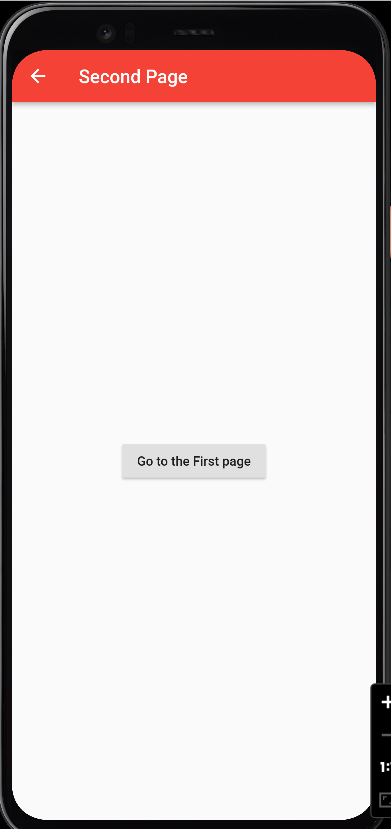
class SecondPage extends StatelessWidget {
const SecondPage({Key? key}) : super(key: key);
@override
Widget build(BuildContext ctx) {
return Scaffold(
appBar: AppBar(
title: Text('Second Page'),
),
body: Center(
child: RaisedButton(
child: Text('Go to the First page'),
onPressed: () {
Navigator.pop(ctx);
},
),
),
);
}
}

크레페는 귀엽다