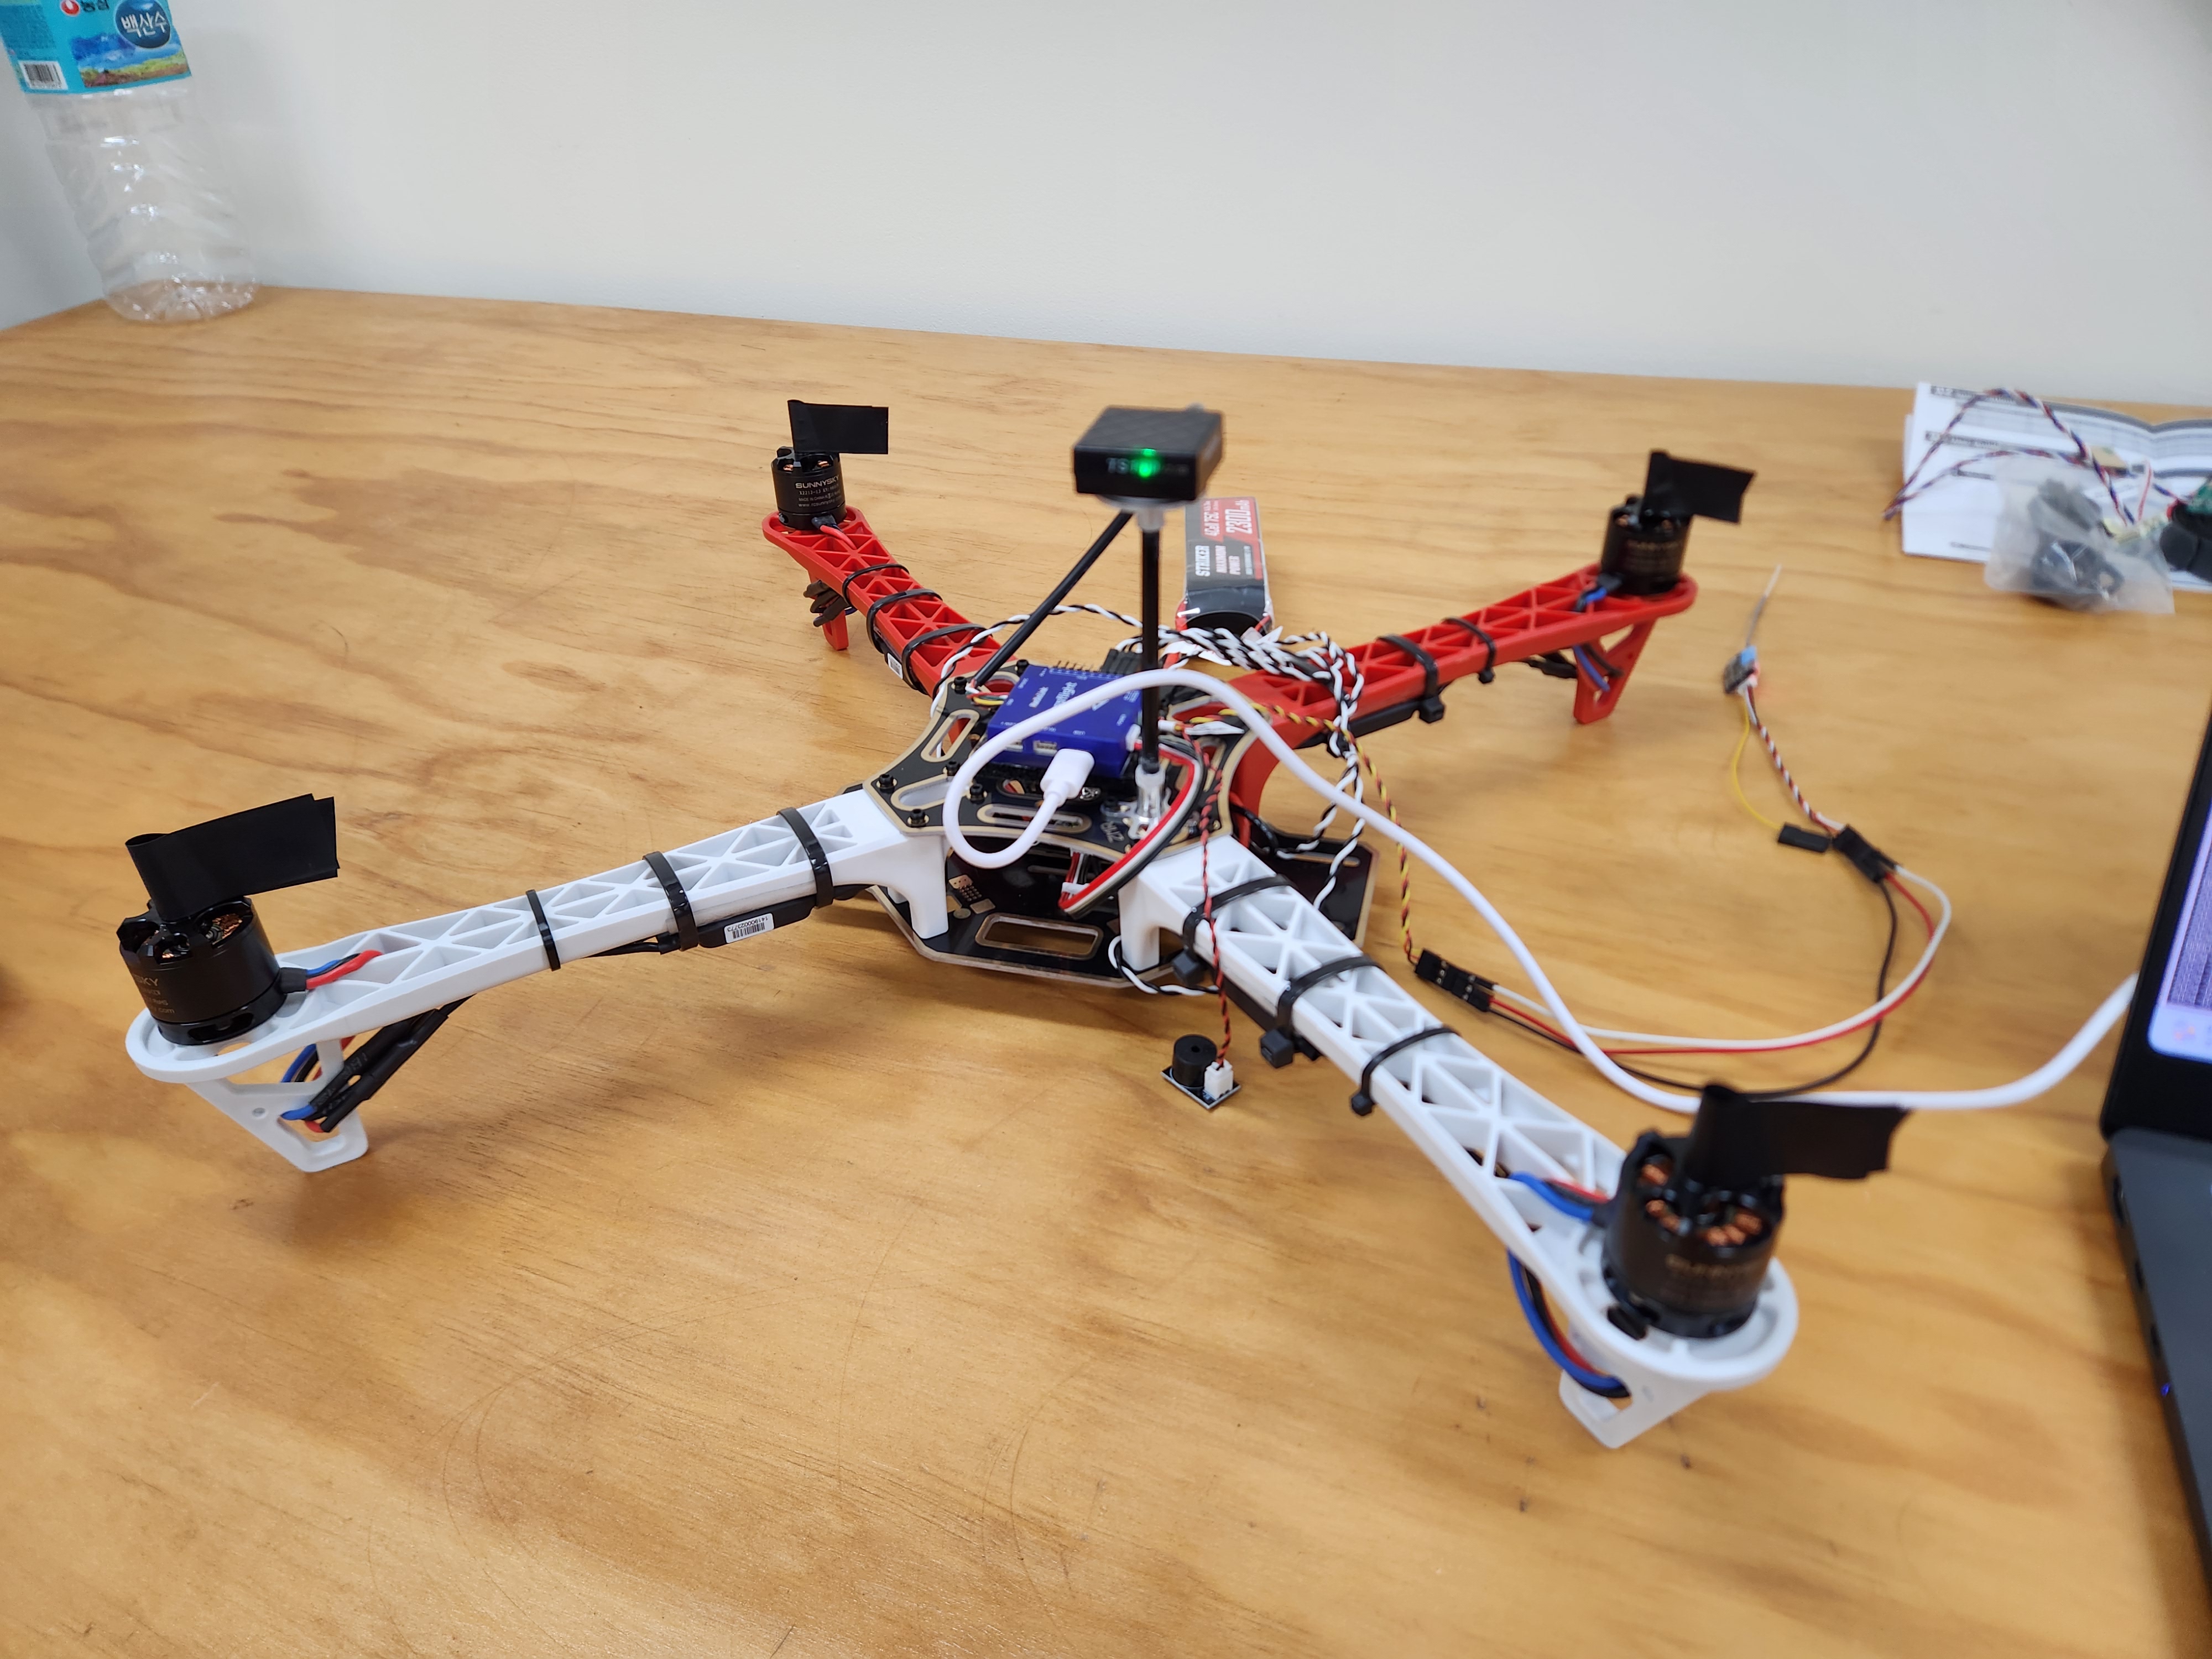
crossflight fc 의 firmware update 를 수행하고 acc, gyro, rx, esc, motor 설정을 수행한다.
- Empirical knowledge 의 부족을 느껴서 수행
가이드 : https://www.radiolink.com/crossflight_manual
- st10 rx bind 참고 메뉴얼 : https://helsel.co.kr/article/%EB%93%9C%EB%A1%A0%EC%A0%95%EB%B3%B4%ED%8C%81/2/36541/
- esc calibration 참고영상 : https://www.youtube.com/watch?v=W1B5mgJaCEY&ab_channel=RadioLink
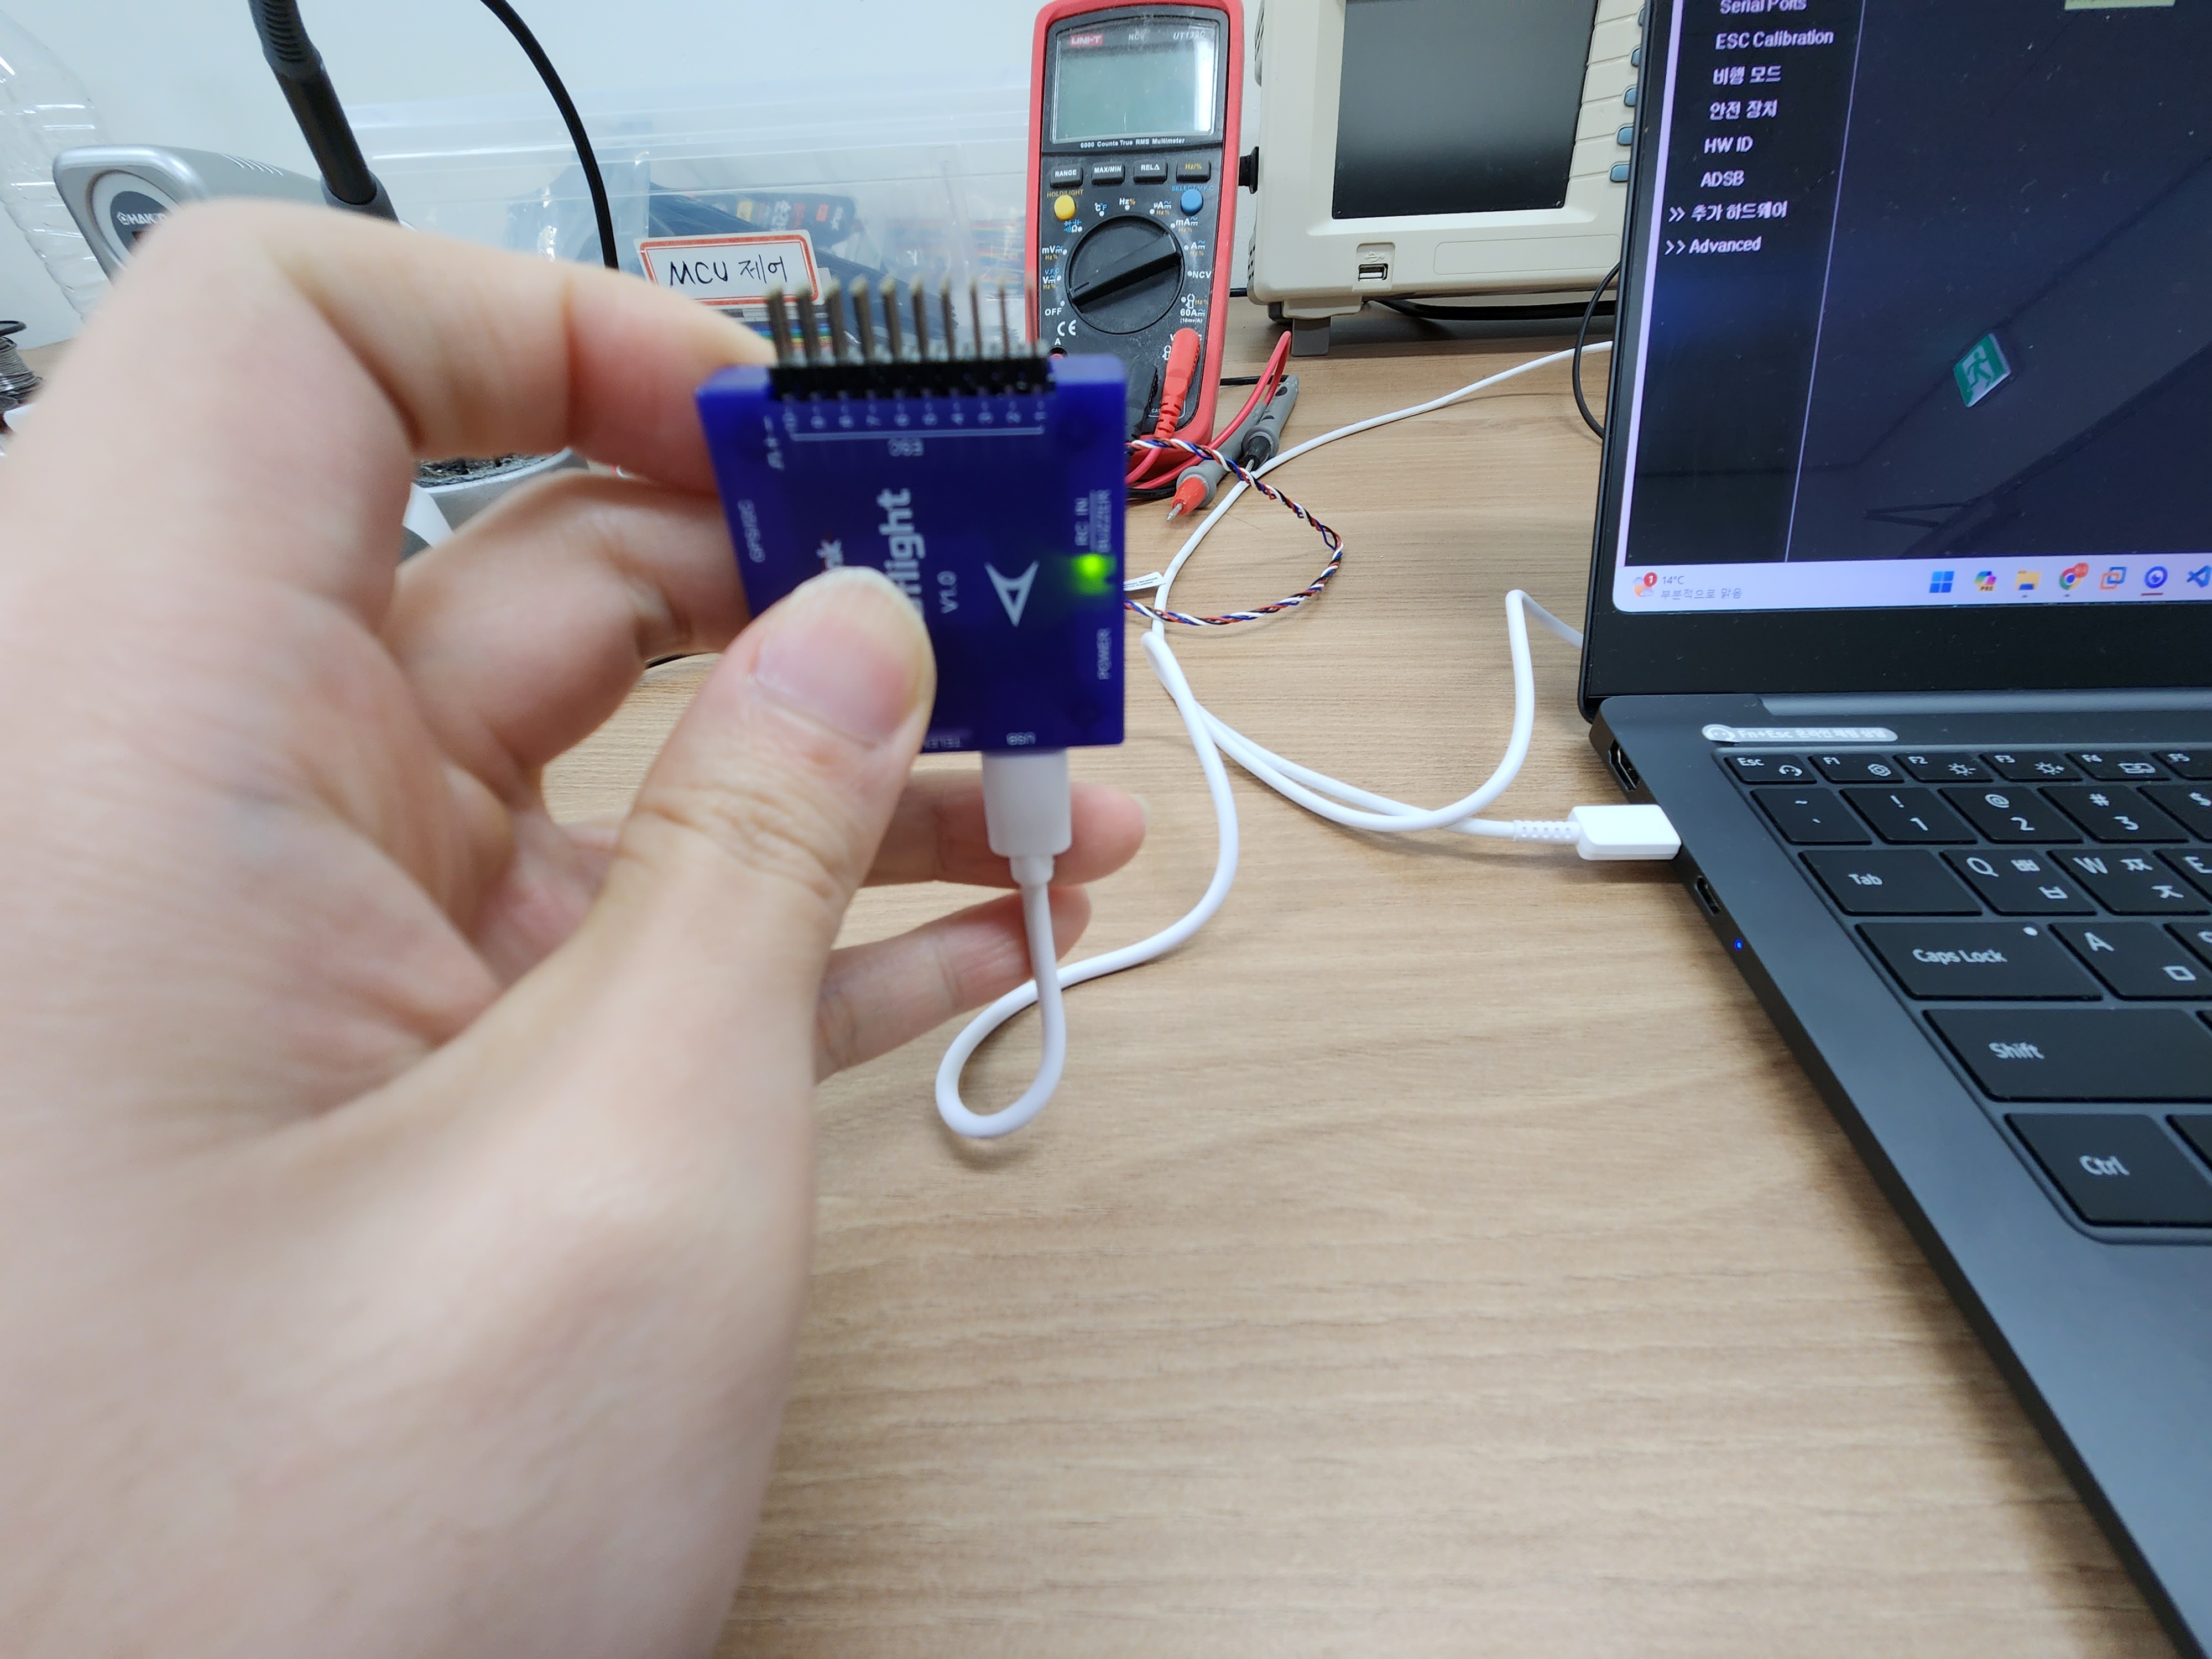
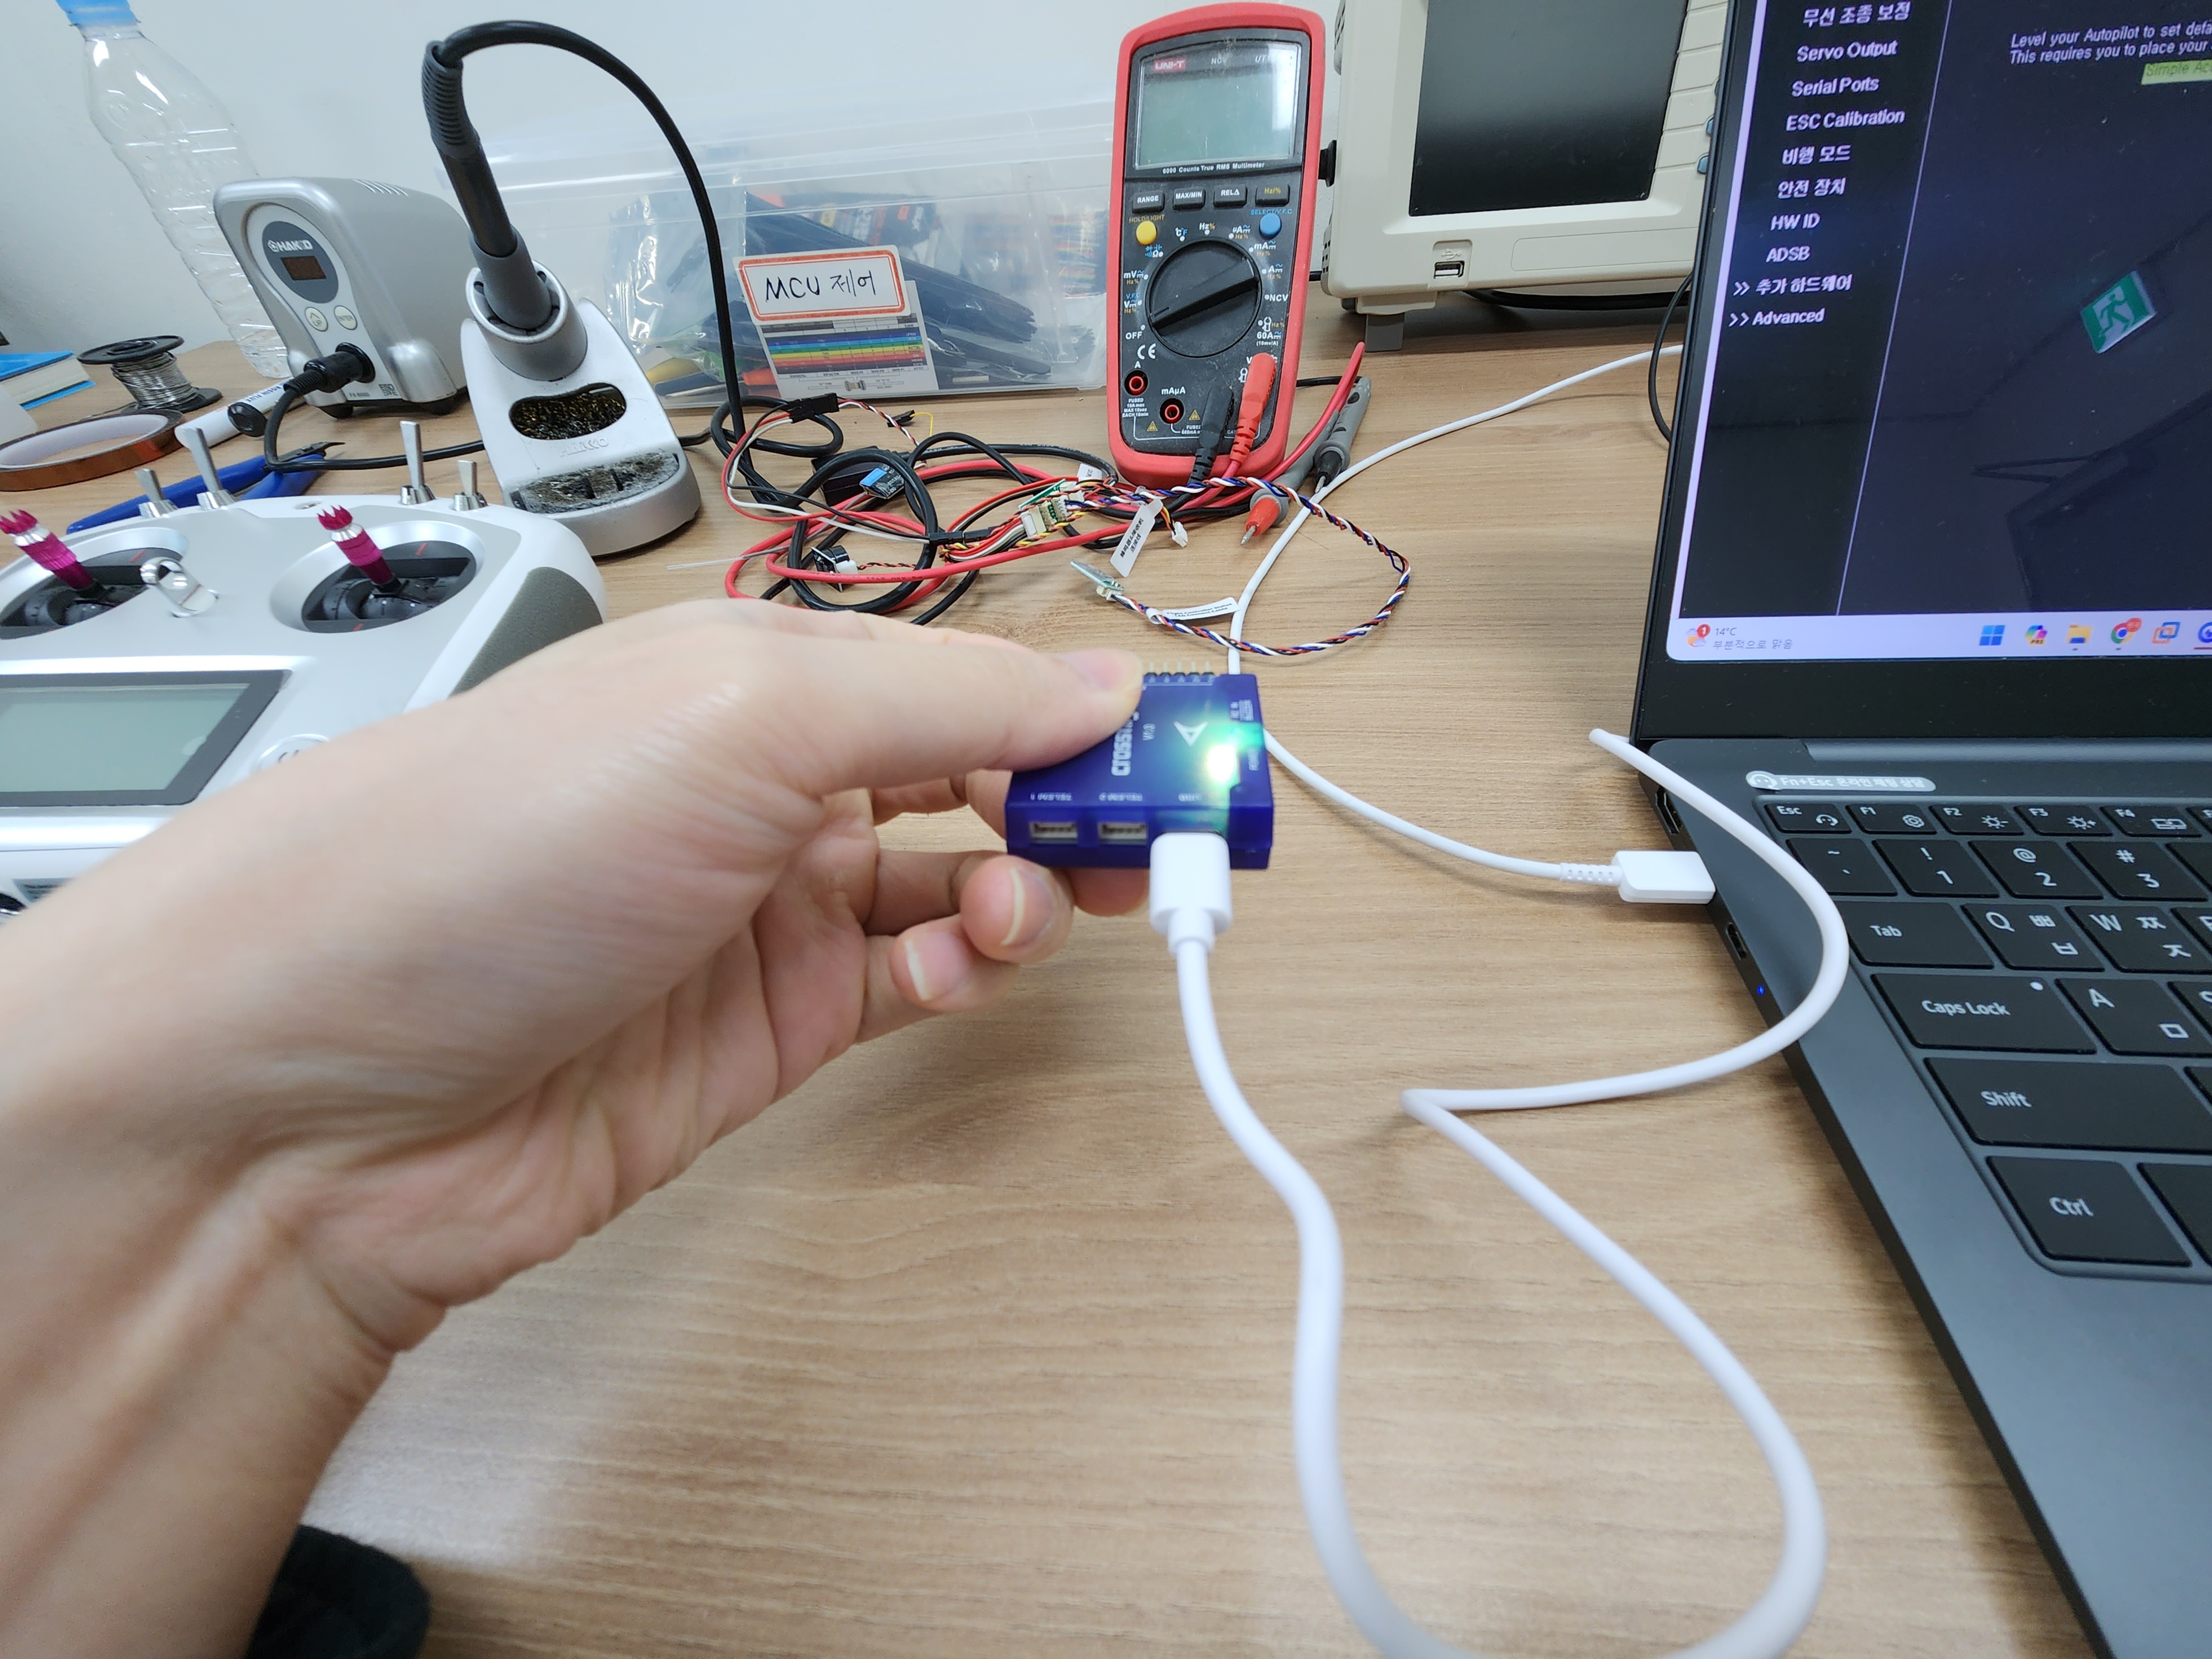
firmware update
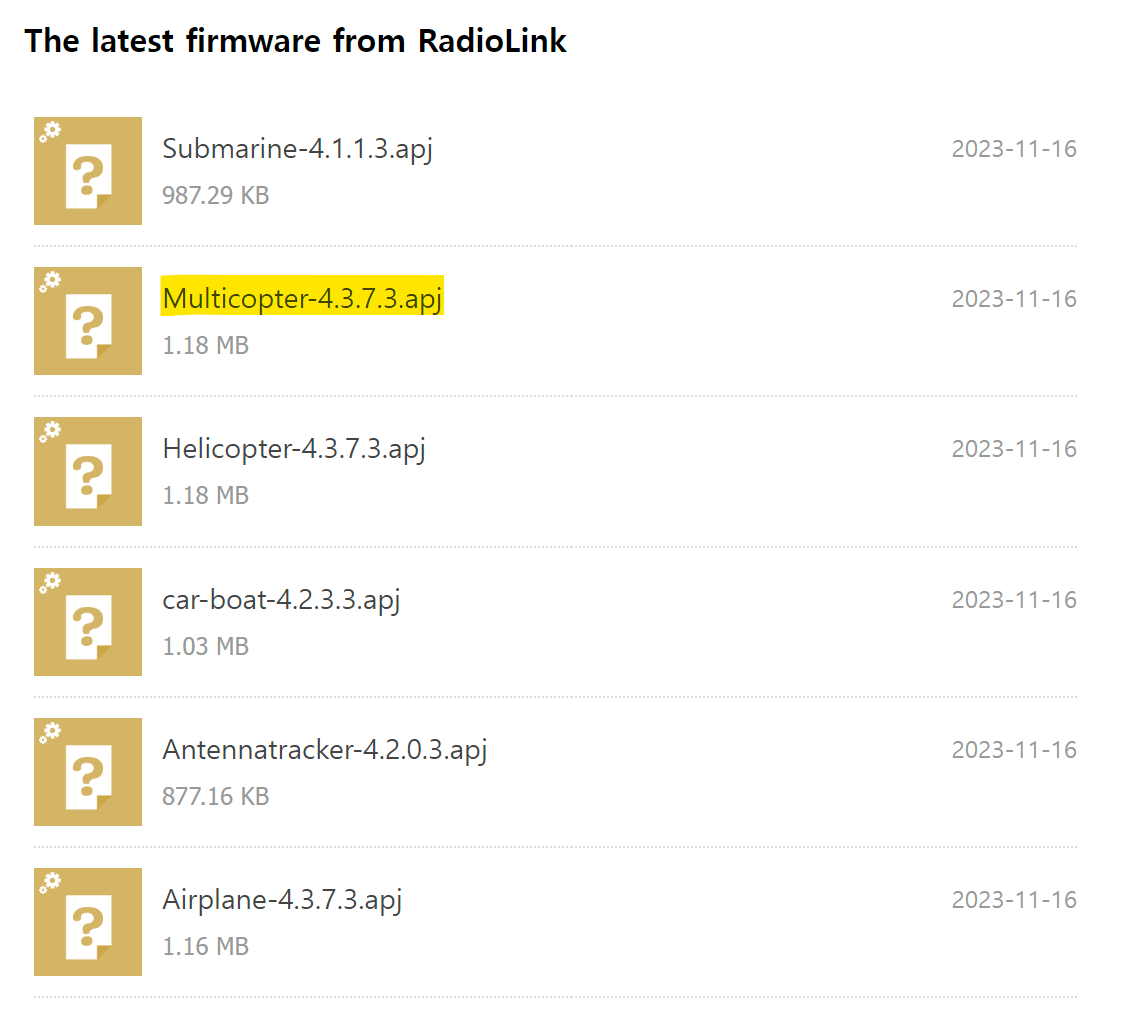
crossflight 전용 mission planner (radiolink mission planner) 를 사용해서 firmware 를 업데이트

multicopter-4.3.7.3.apj 를 다운로드
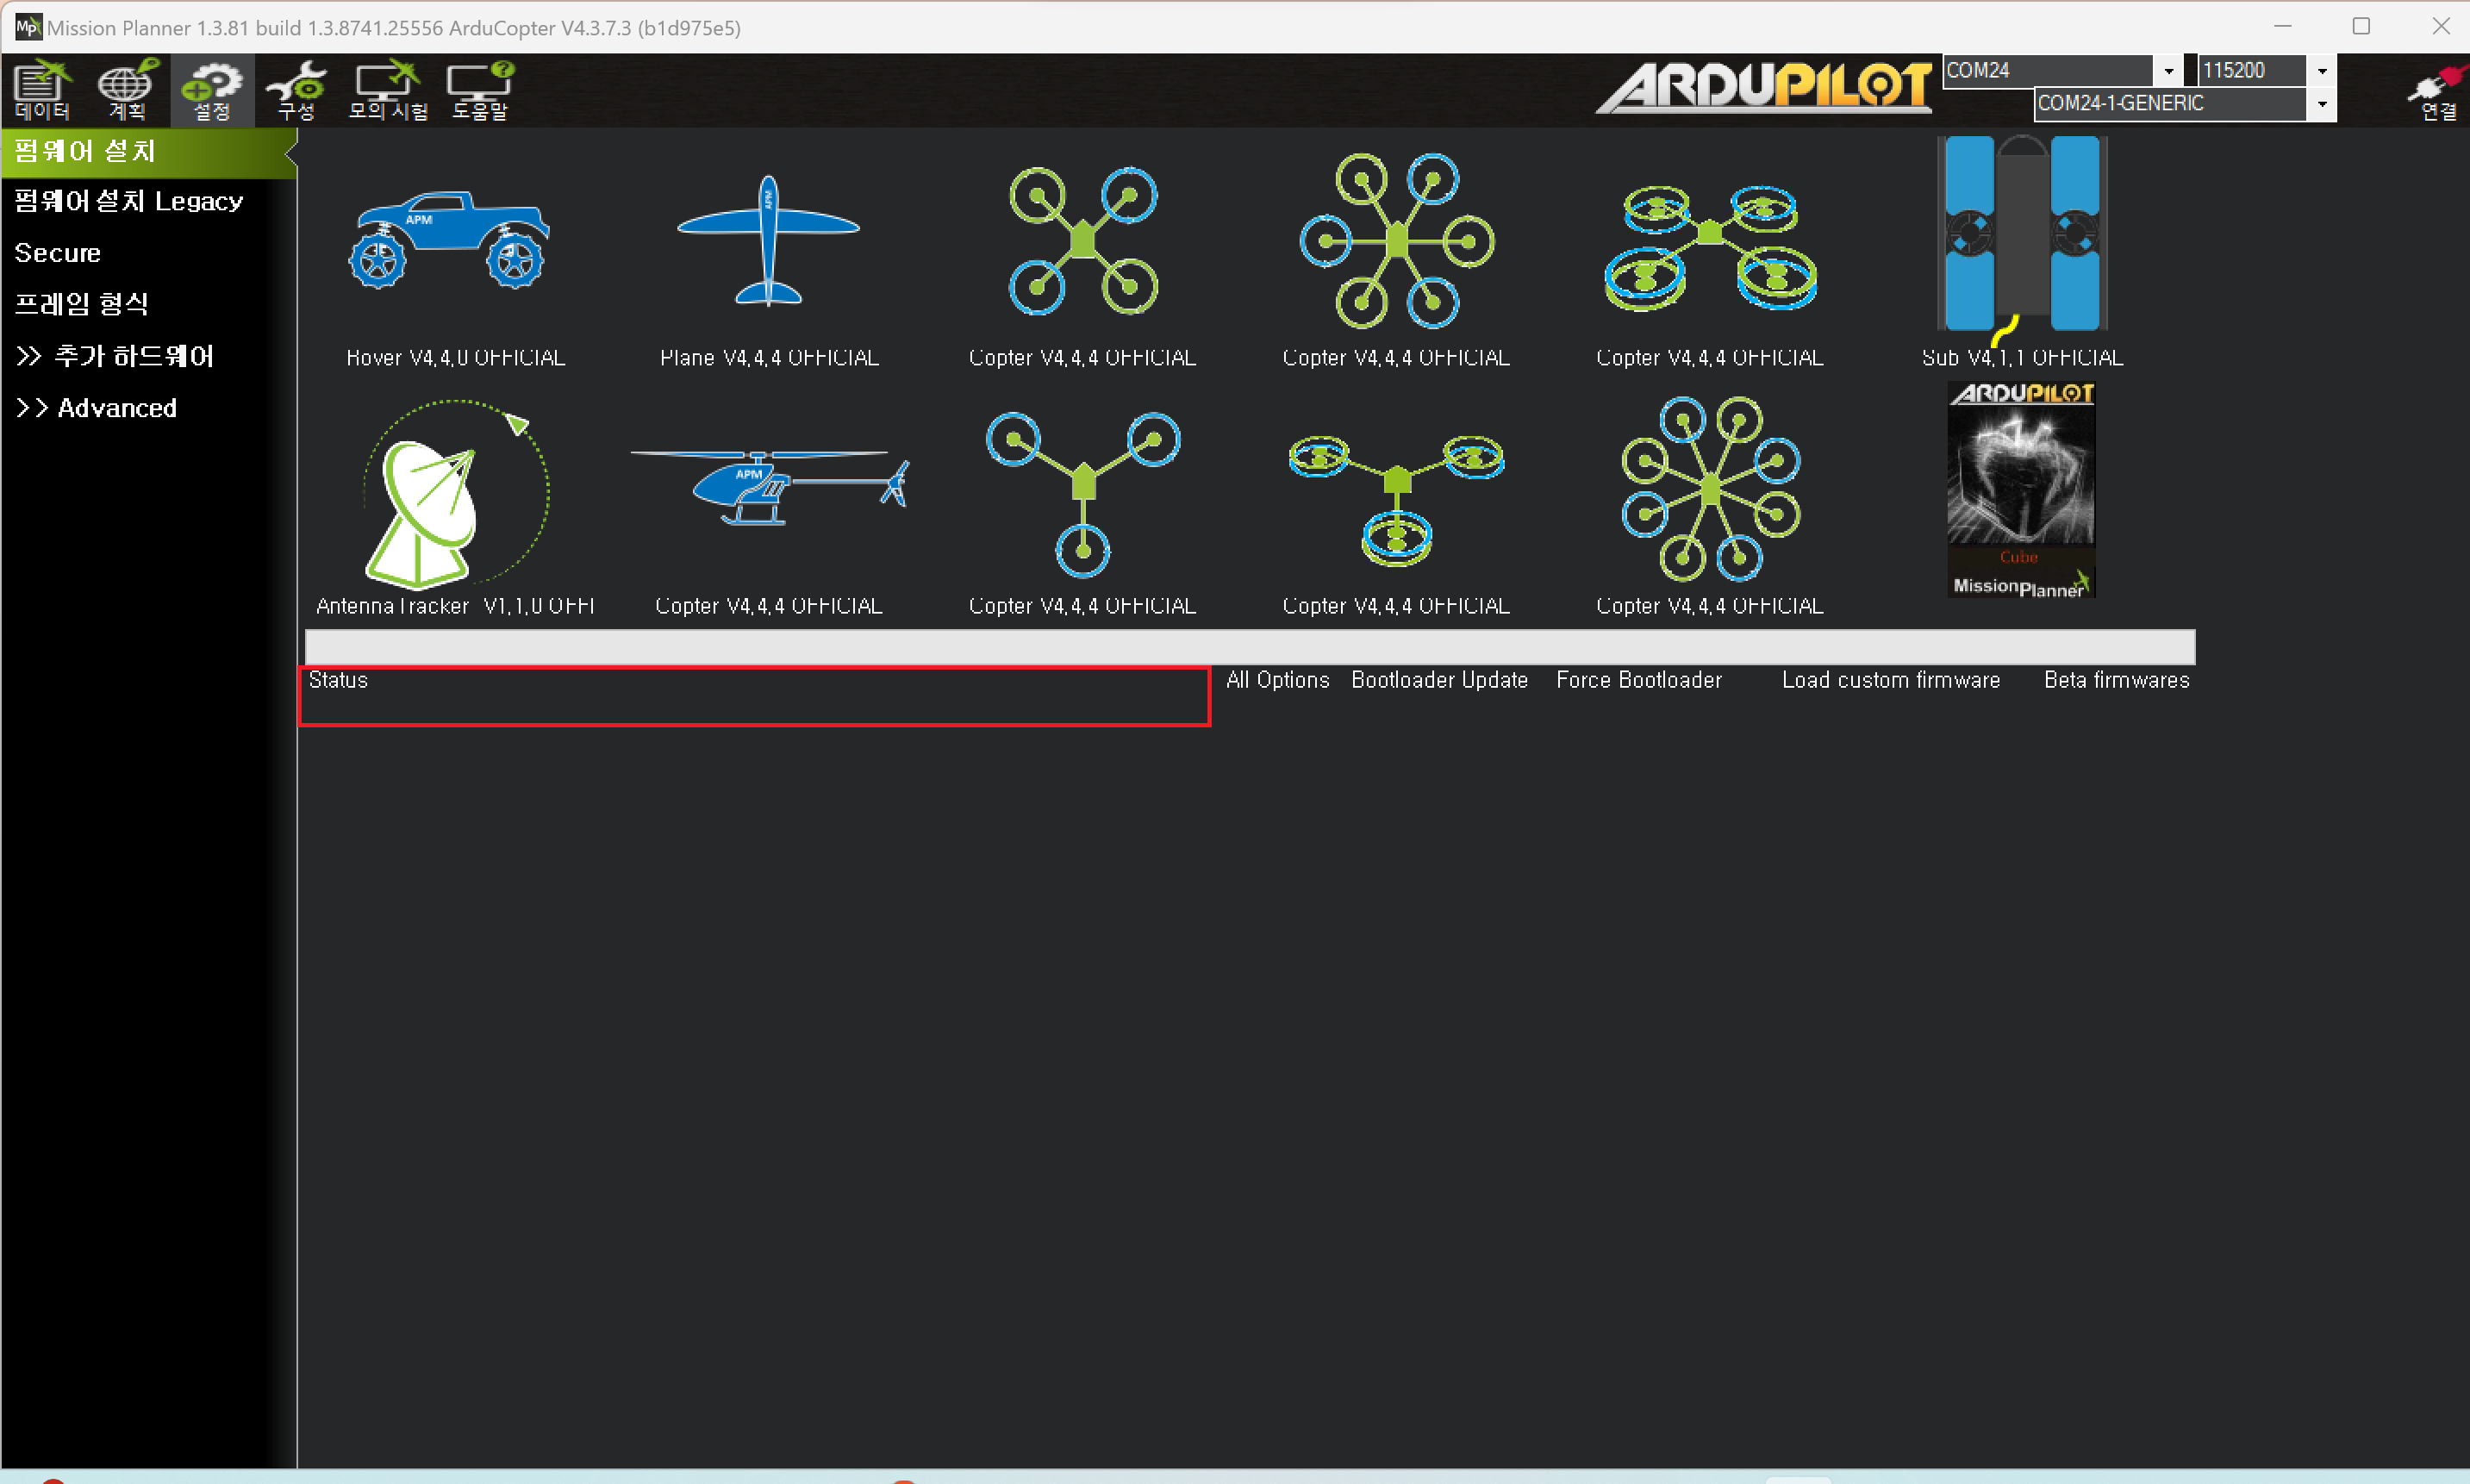
firmware 업데이트
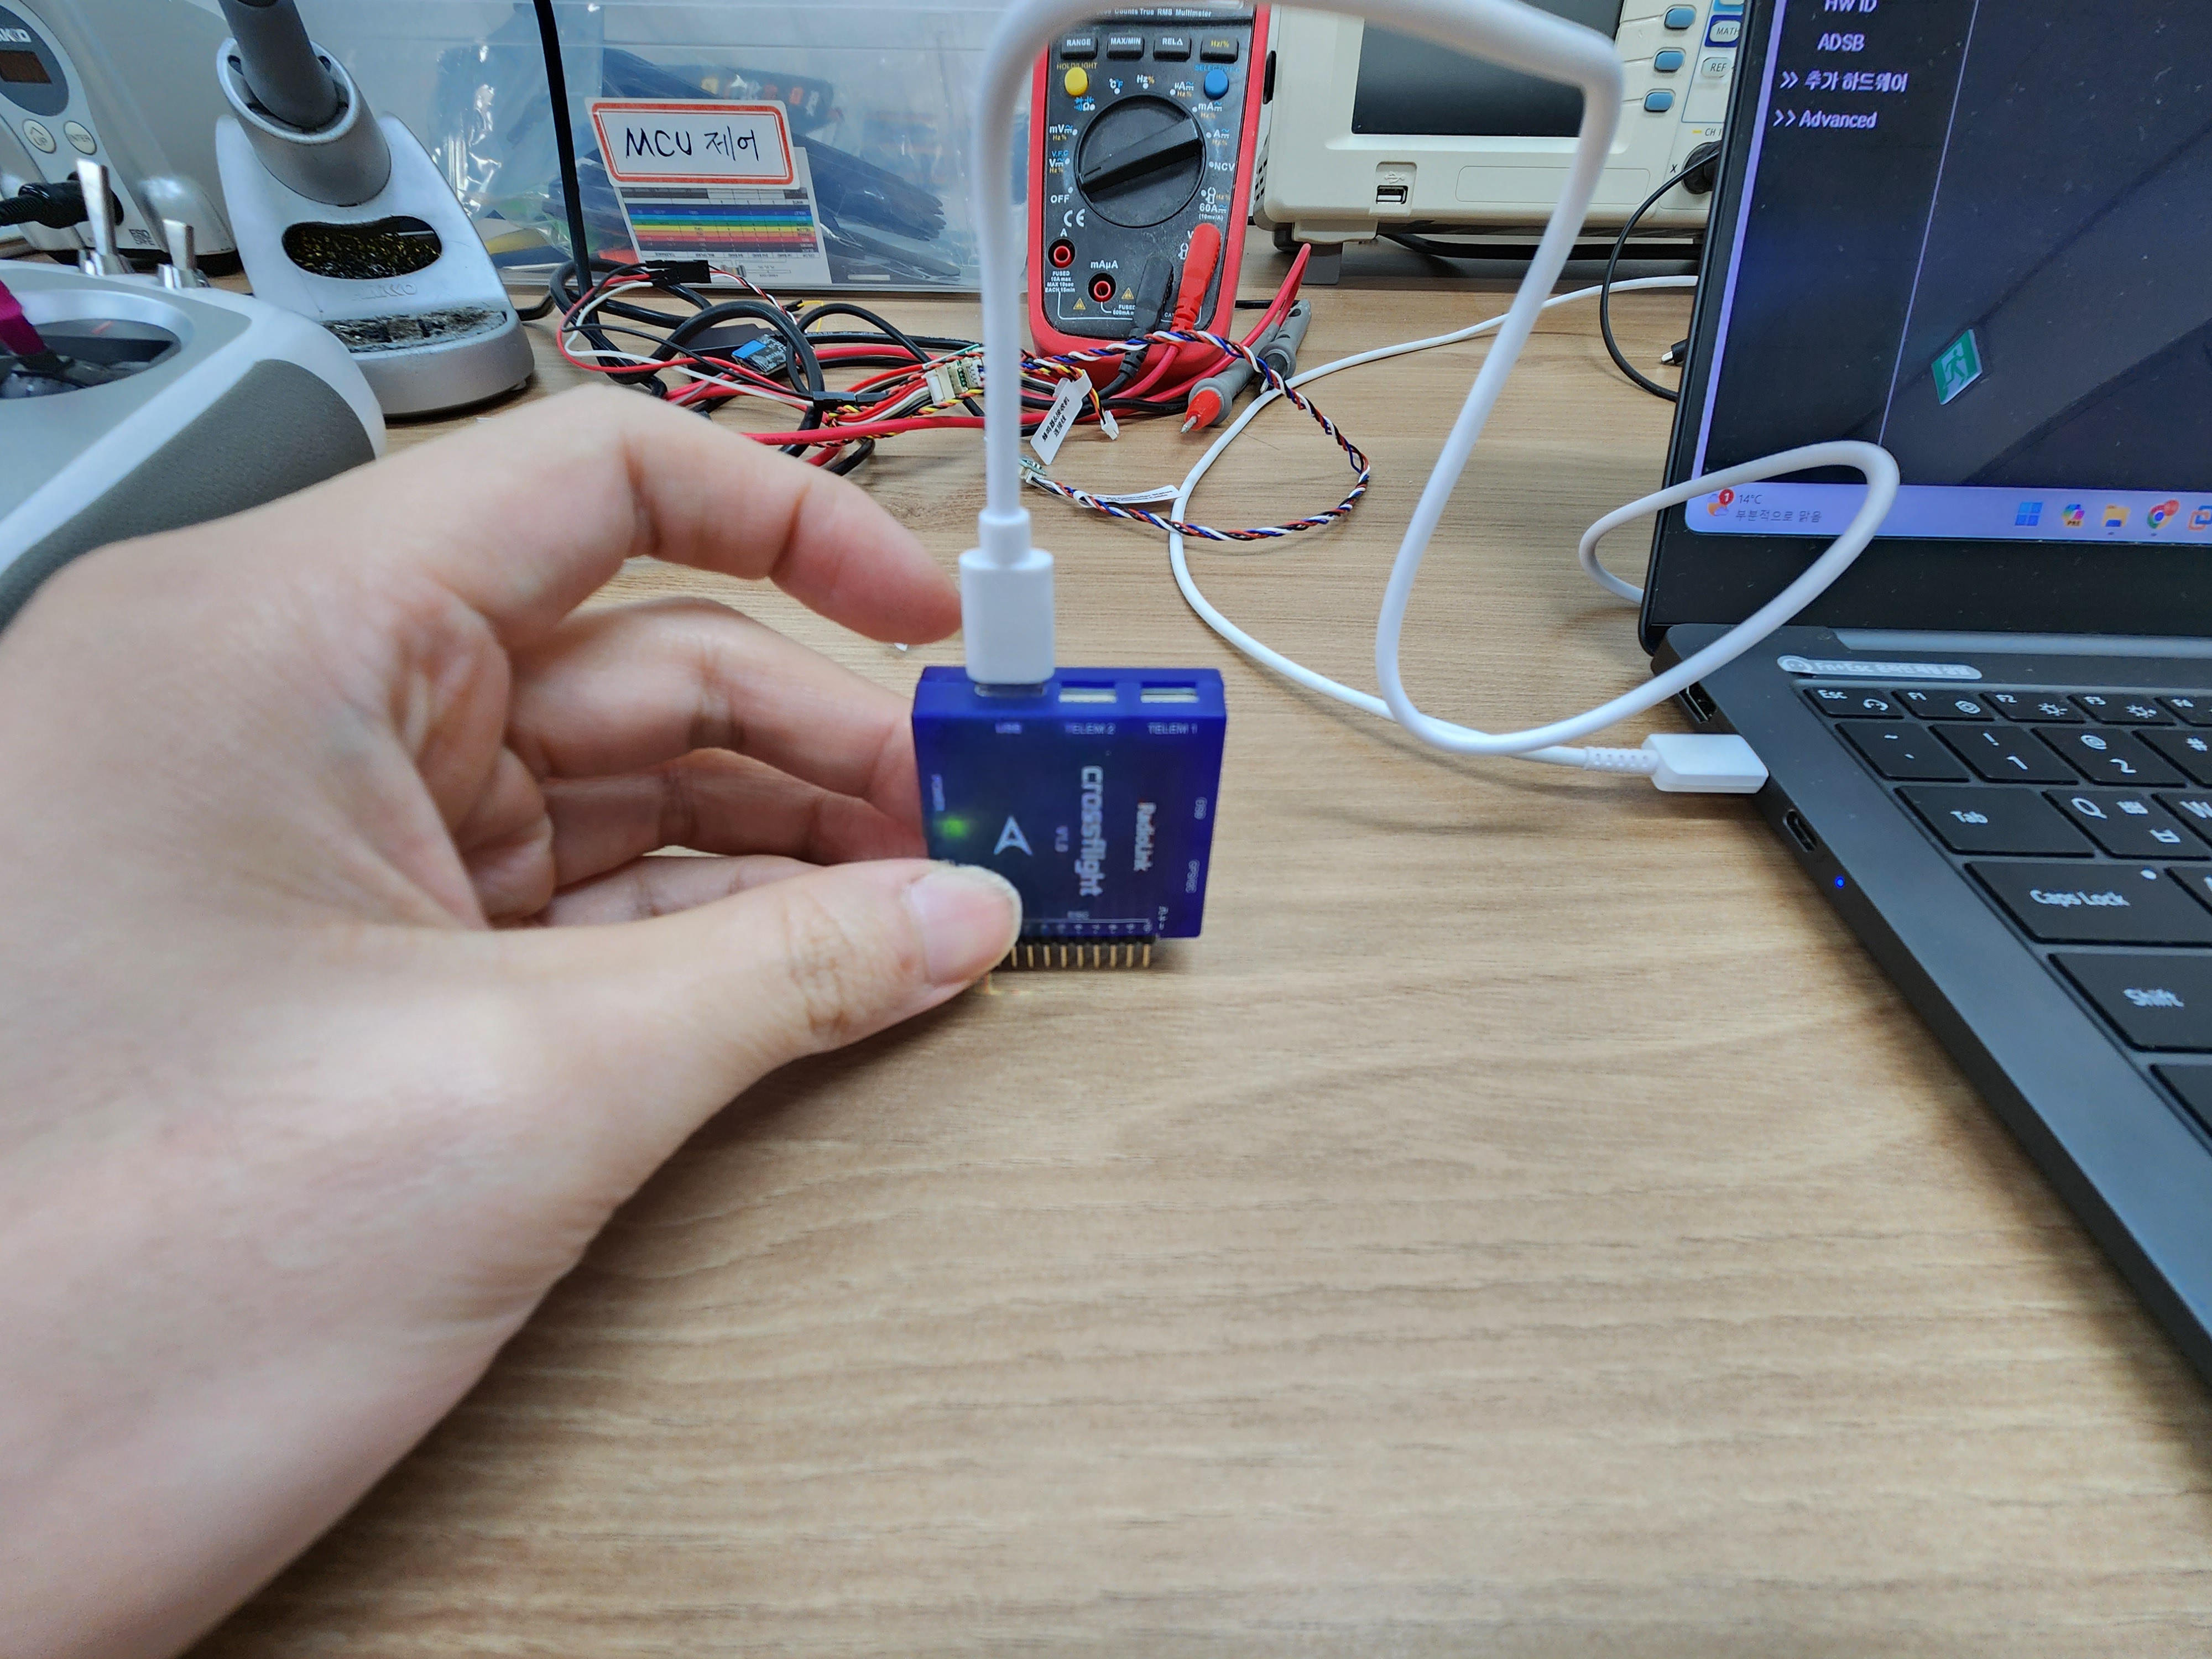
1) mission planner 를 실행하고 usb 연결, 우측 상단 disconnect 를 누름
2) 설정-펌웨어 설치로 이동
3) status 창에 board 정보가 보이지 않으면 usb 연결을 해제하고 다시 연결
4) status 창에 board 정보가 보이면, load custom firmware 로 firmware 업데이트
5) firmware 업데이트가 완료되면 우측 상단 connect 를 누름
- baudrate 115200

주의사항
window11 에 설치된 usb 드라이버가 WinUSB 가 아니라 다른 것 (ex. usbser) 이라면,
mission planner 에서 crossflight COM port 로 연결이 되지 않을수 있다.
이 경우 Zadig 를 사용해서, usb 드라이버를 WinUSB 로 변경해주어야 한다.
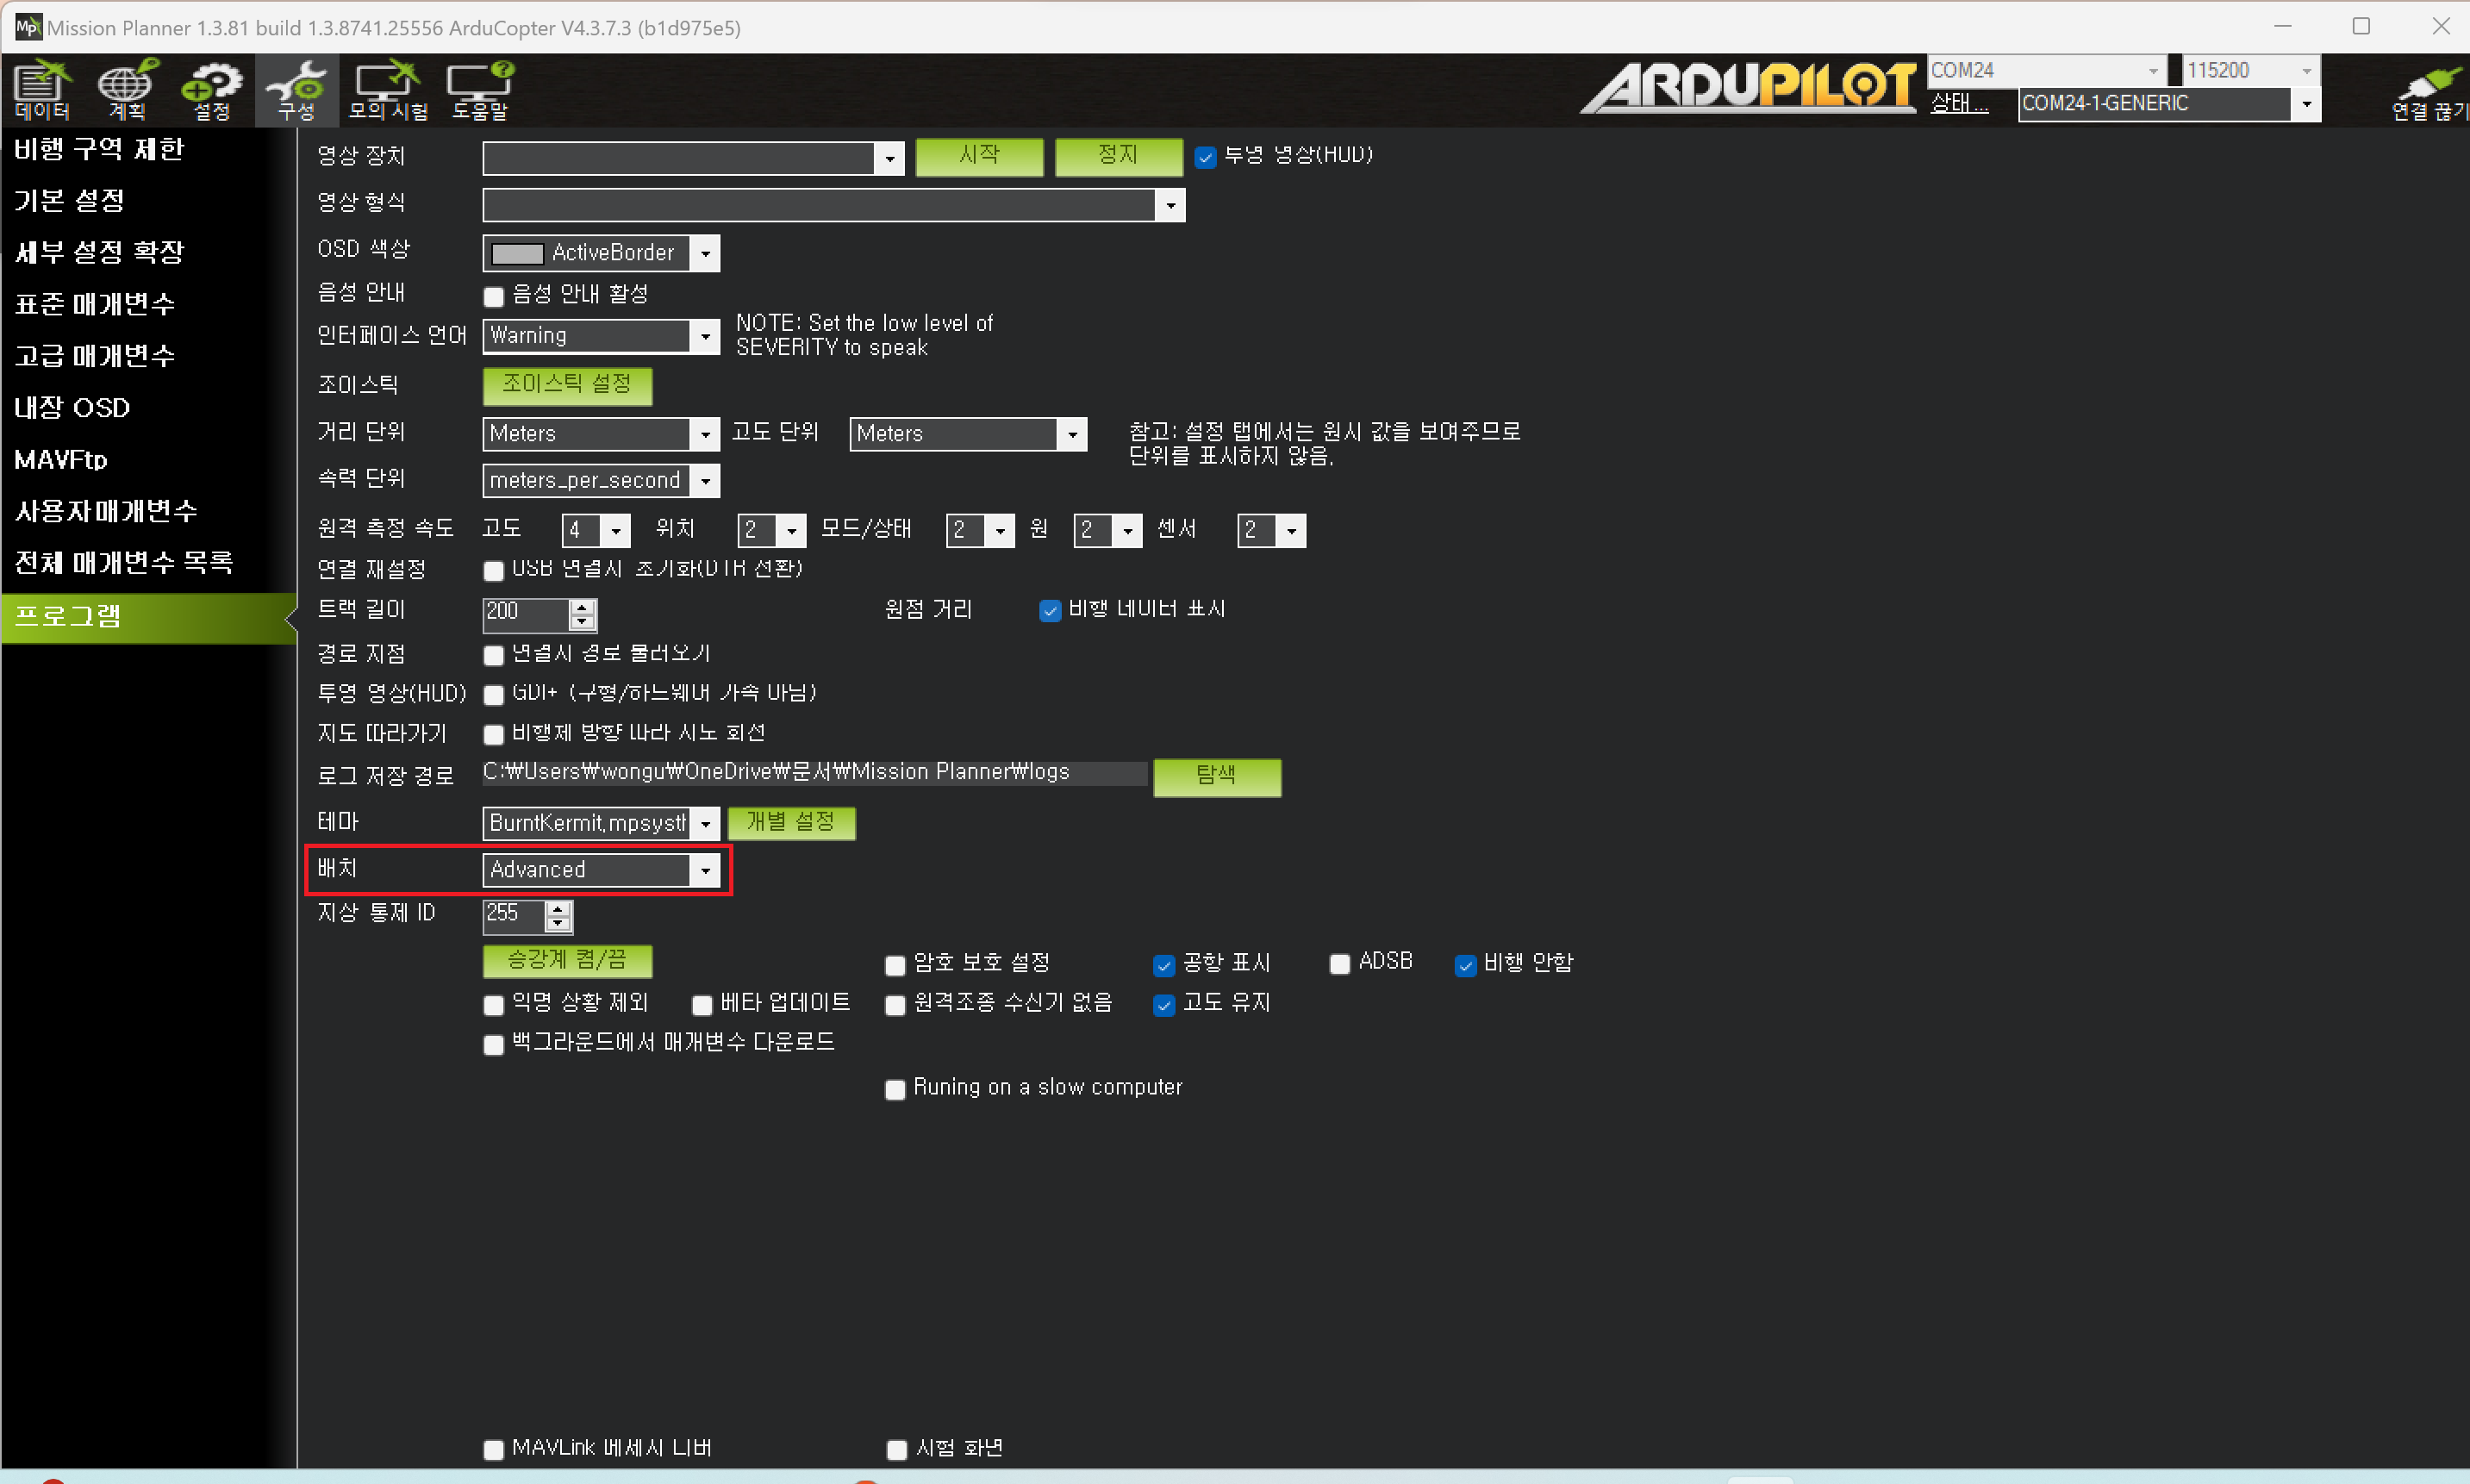
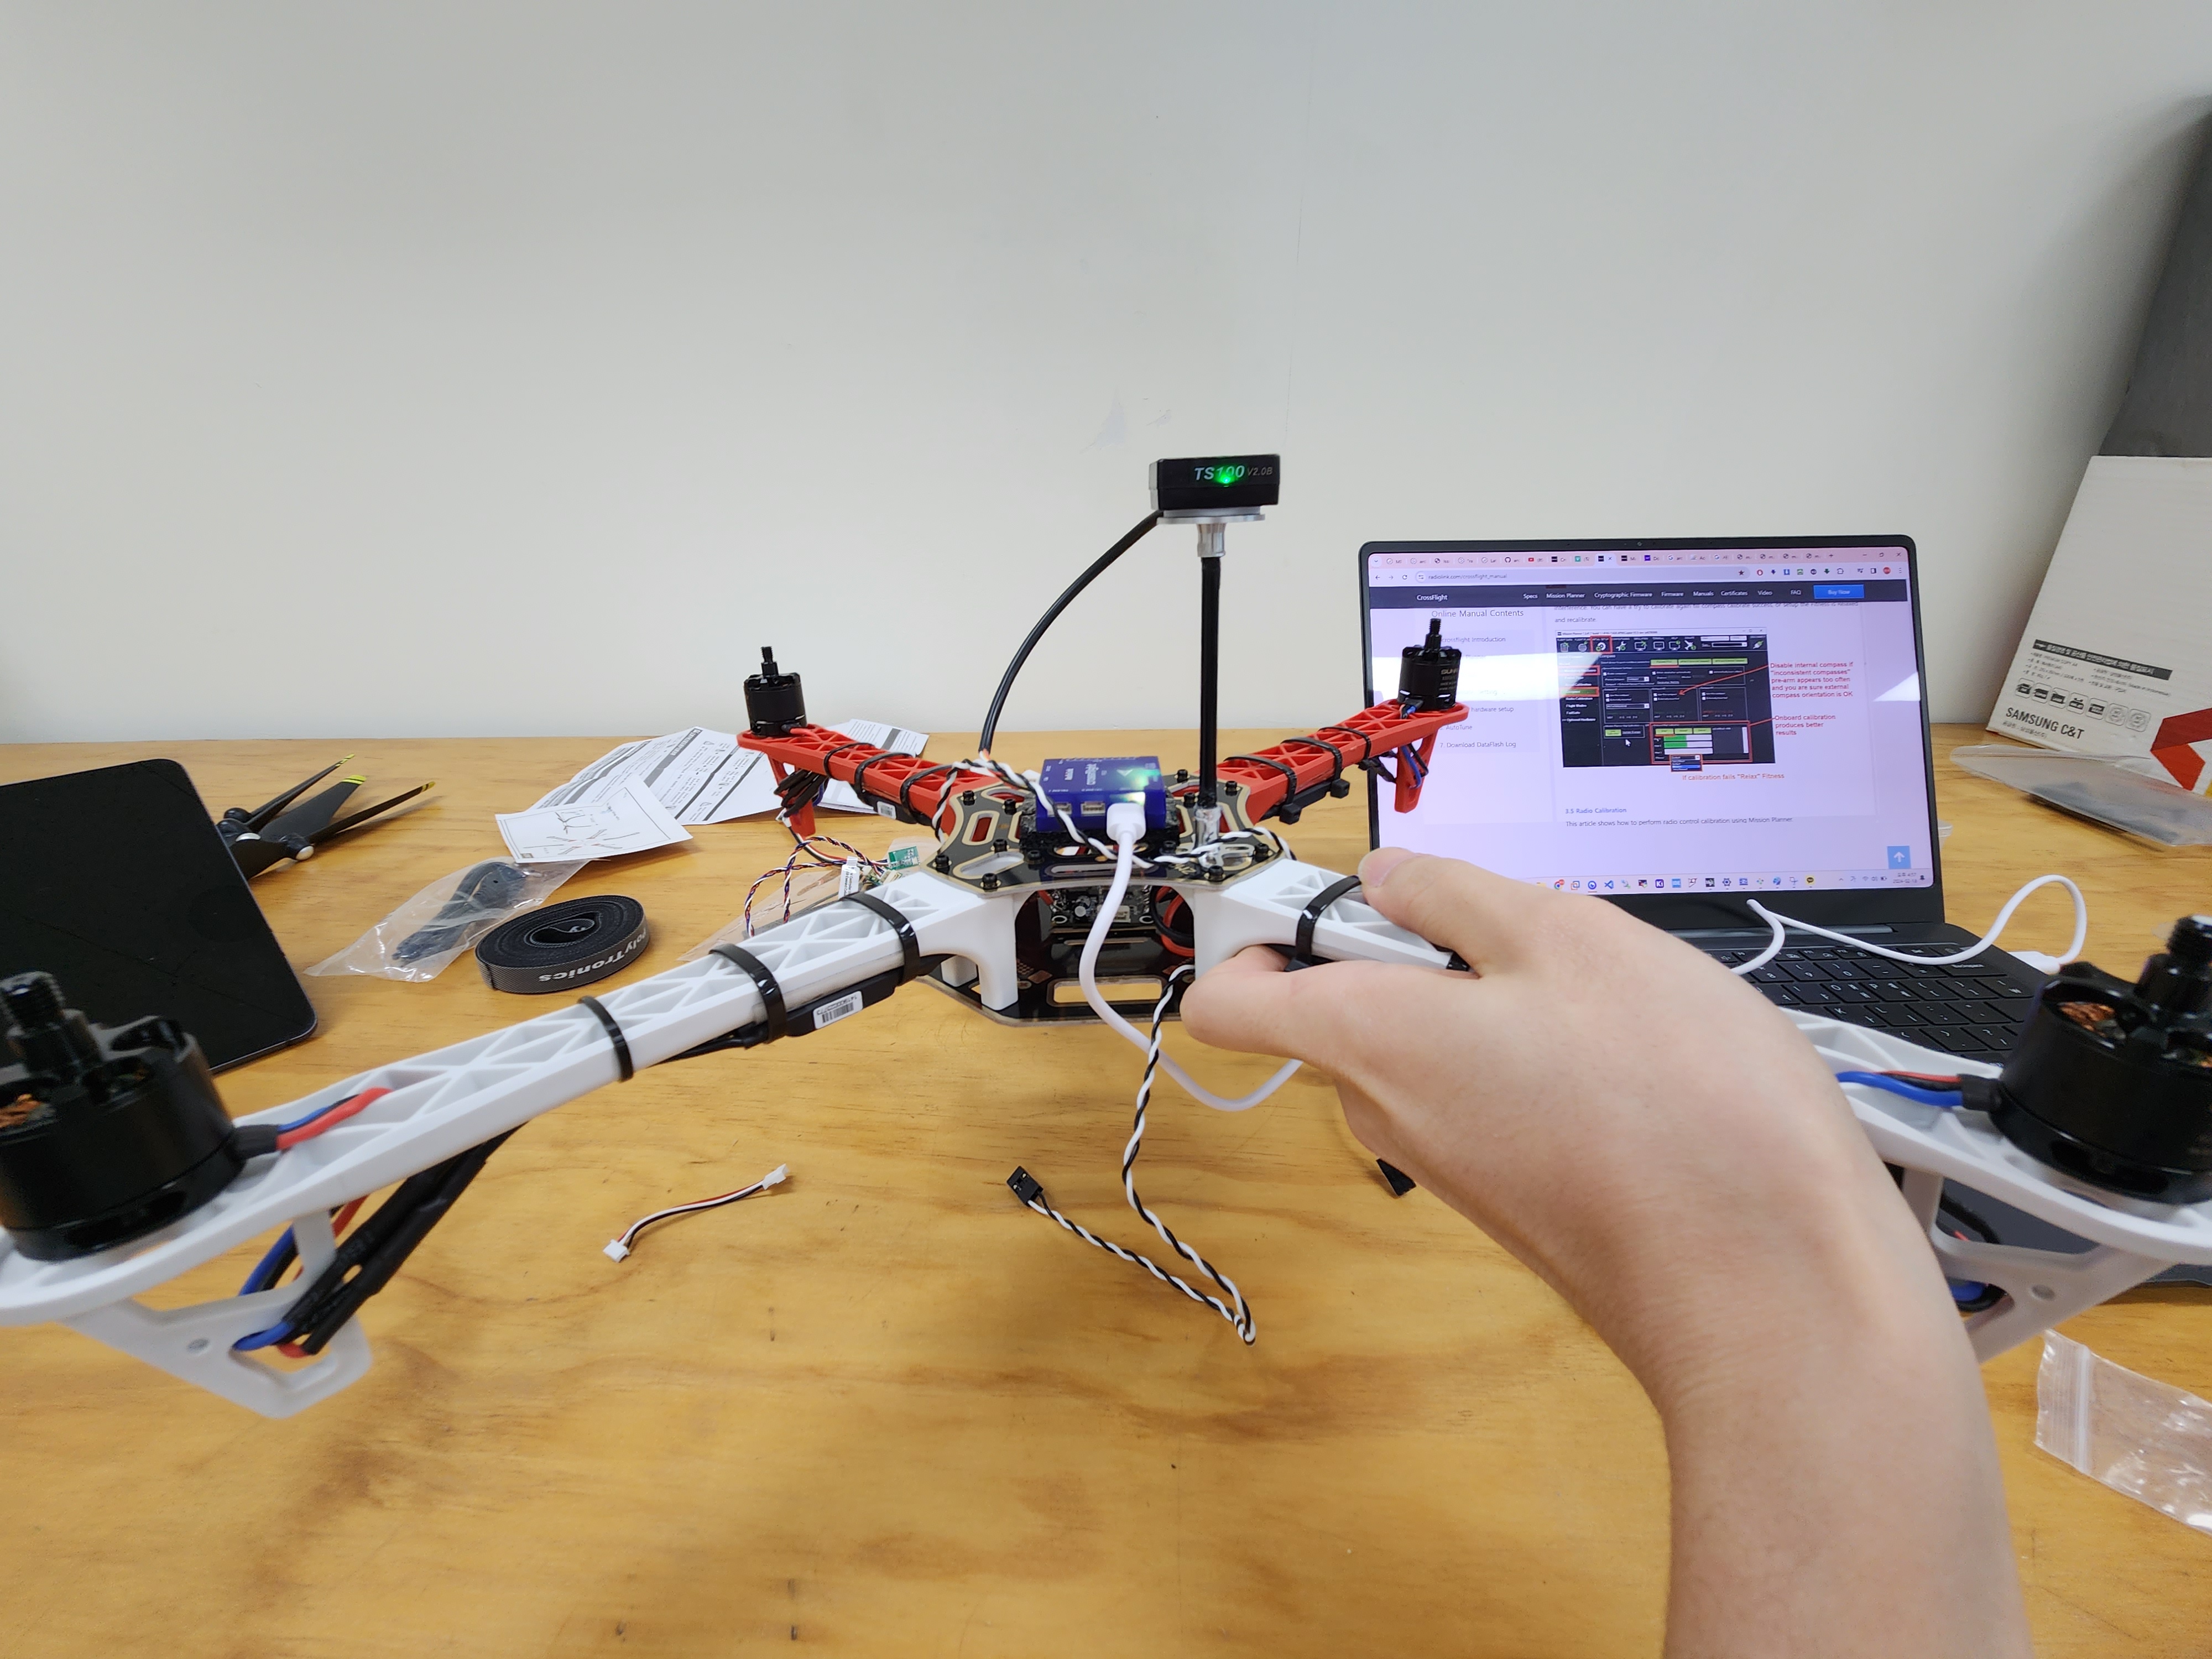
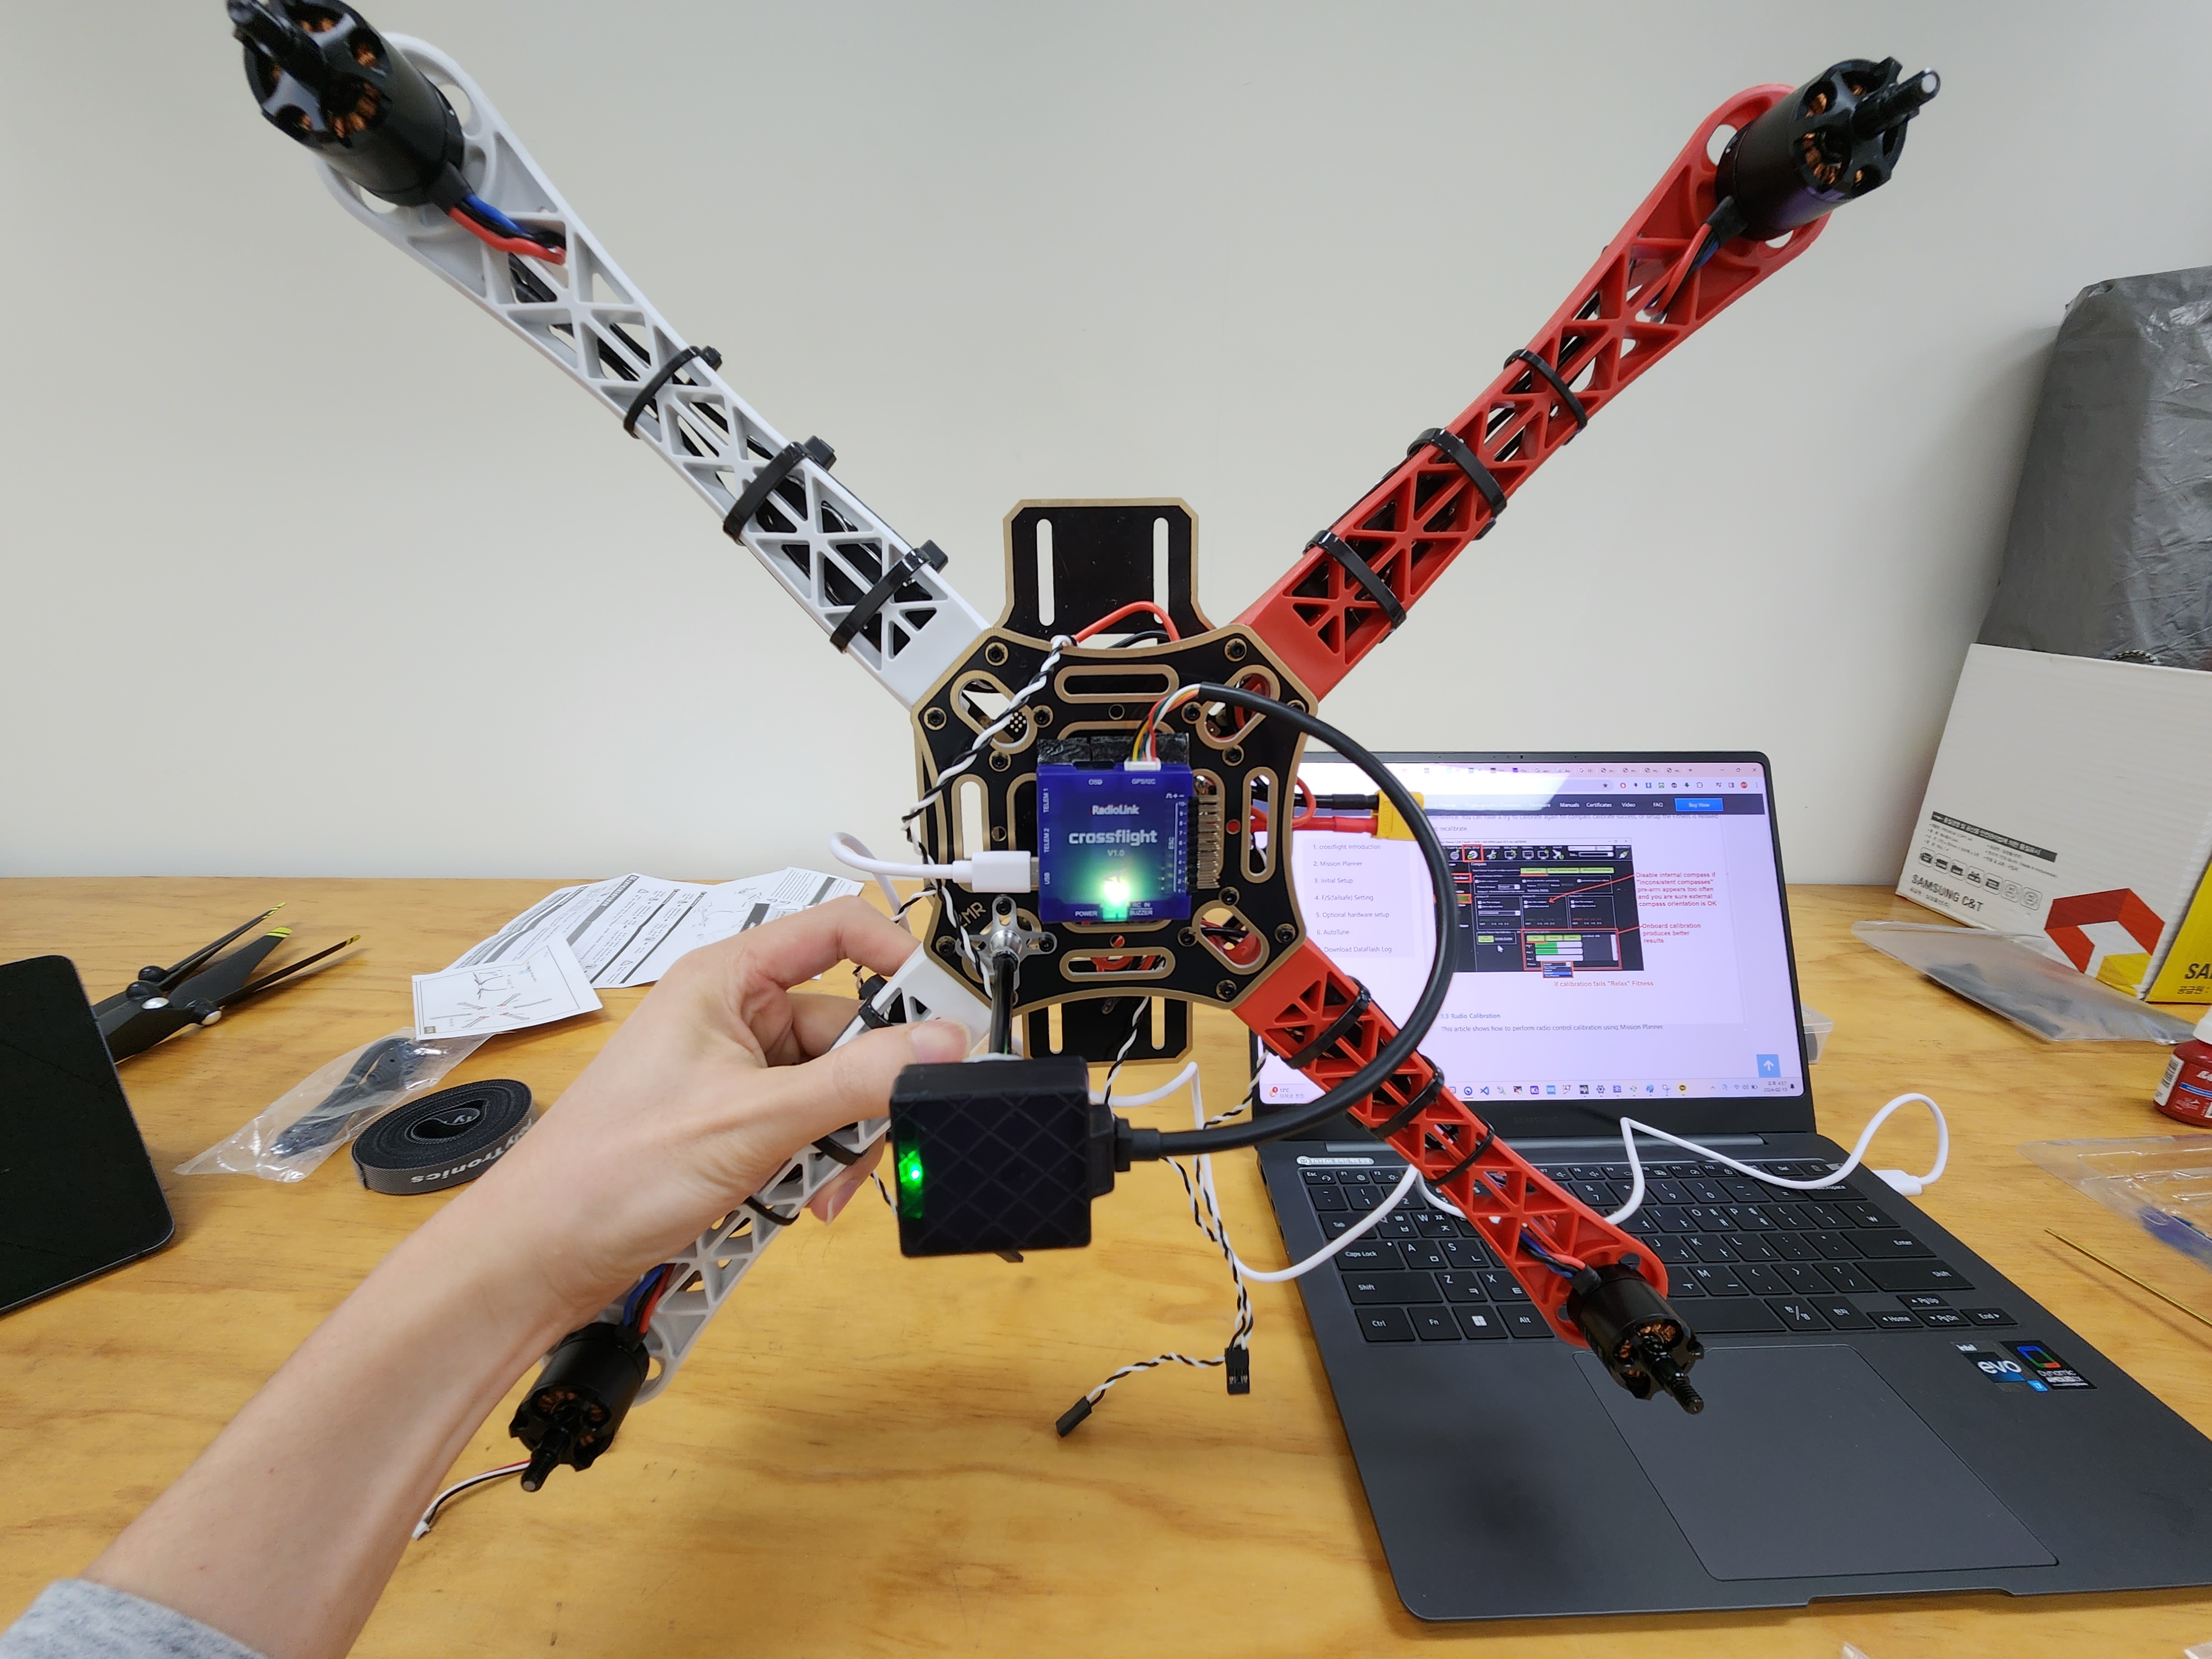
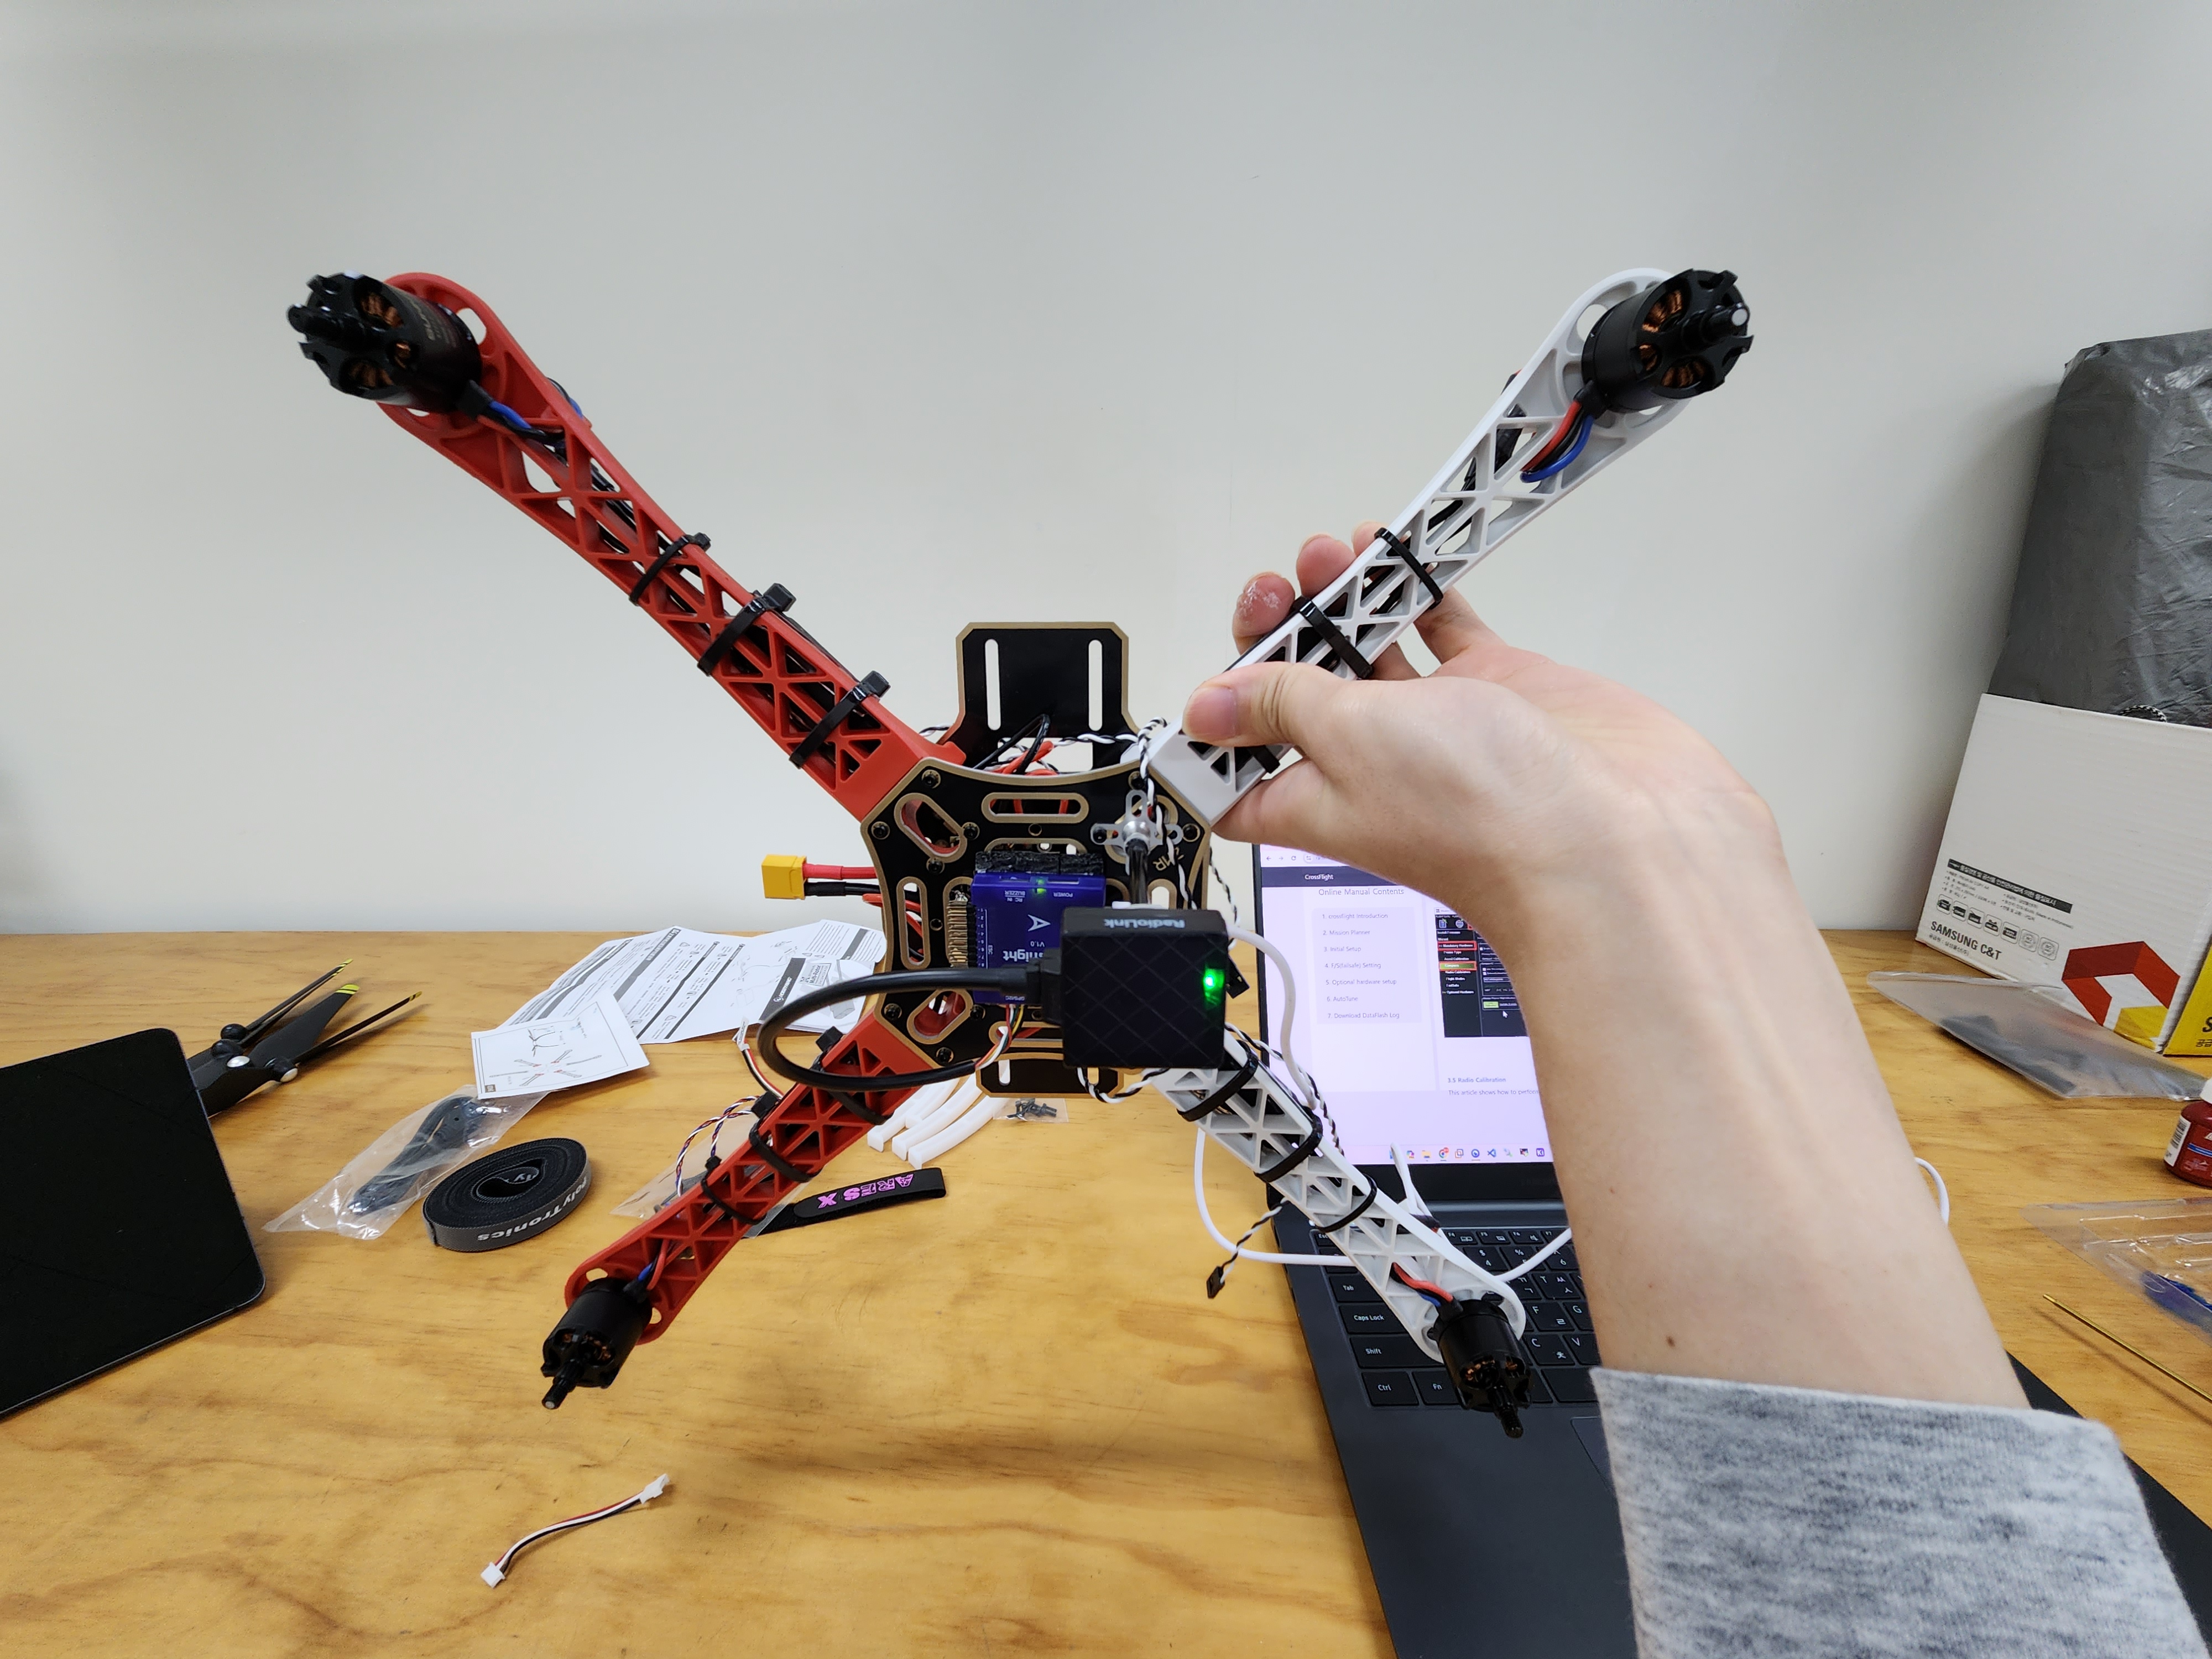
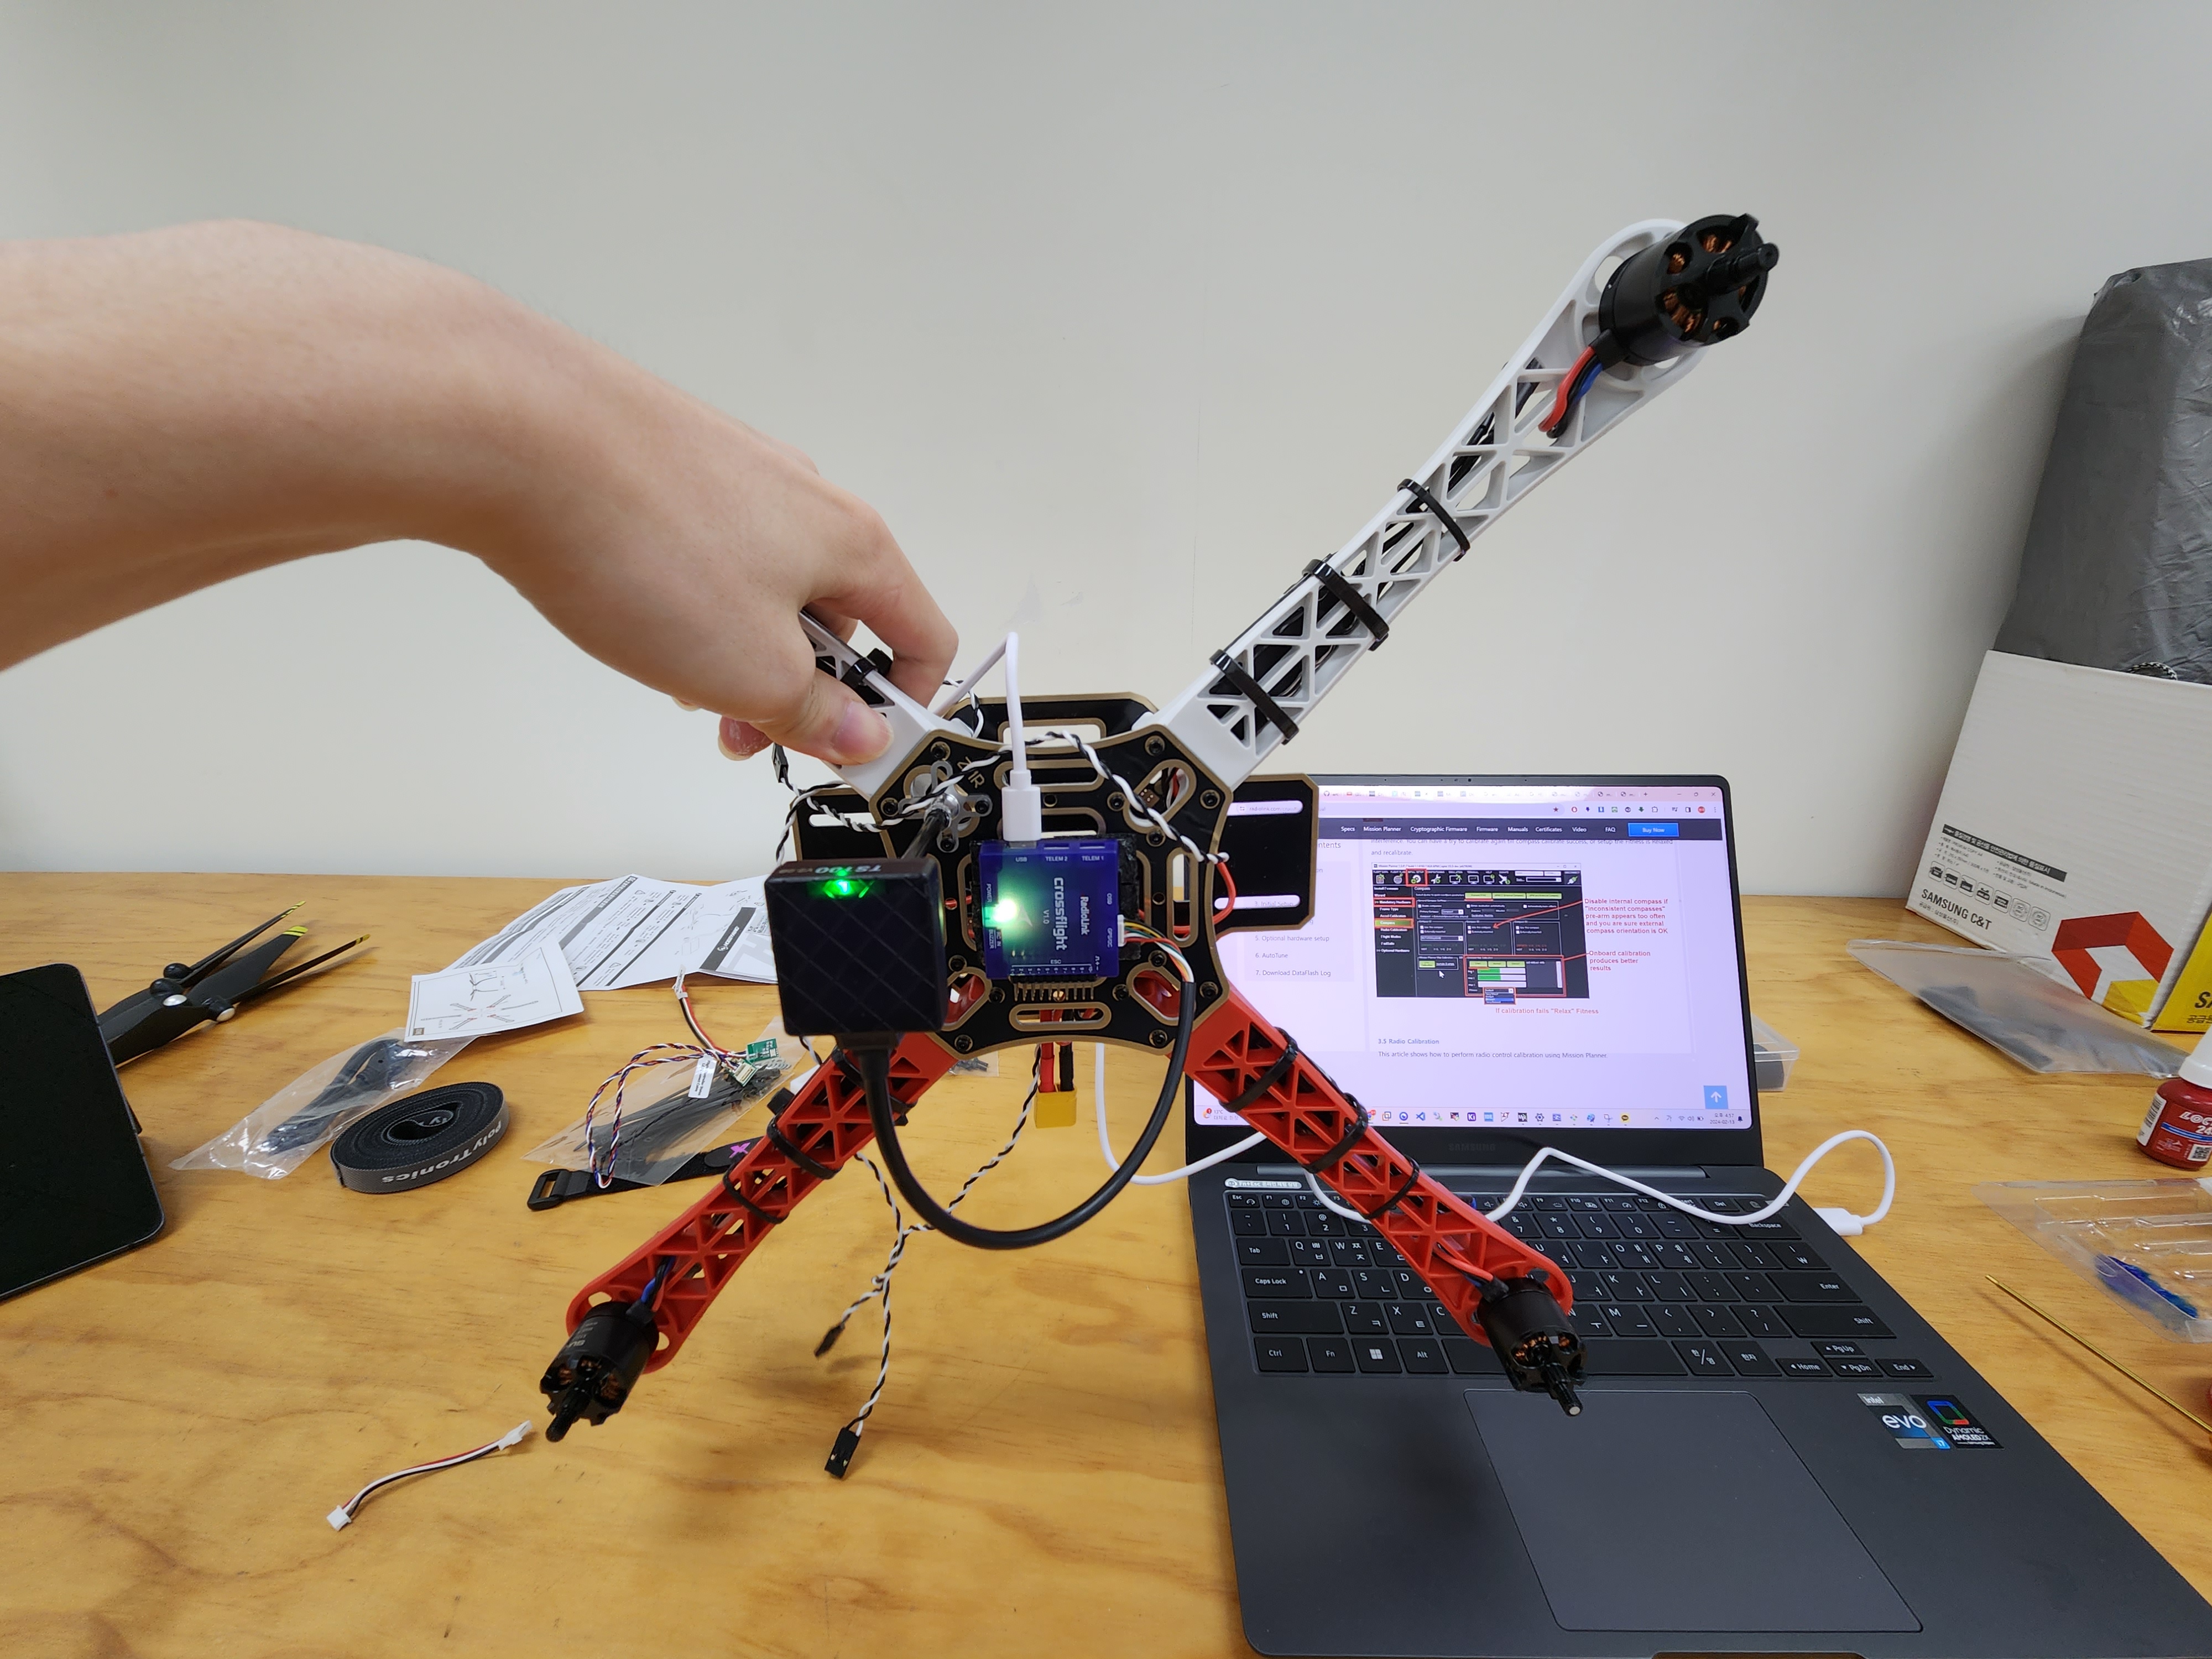
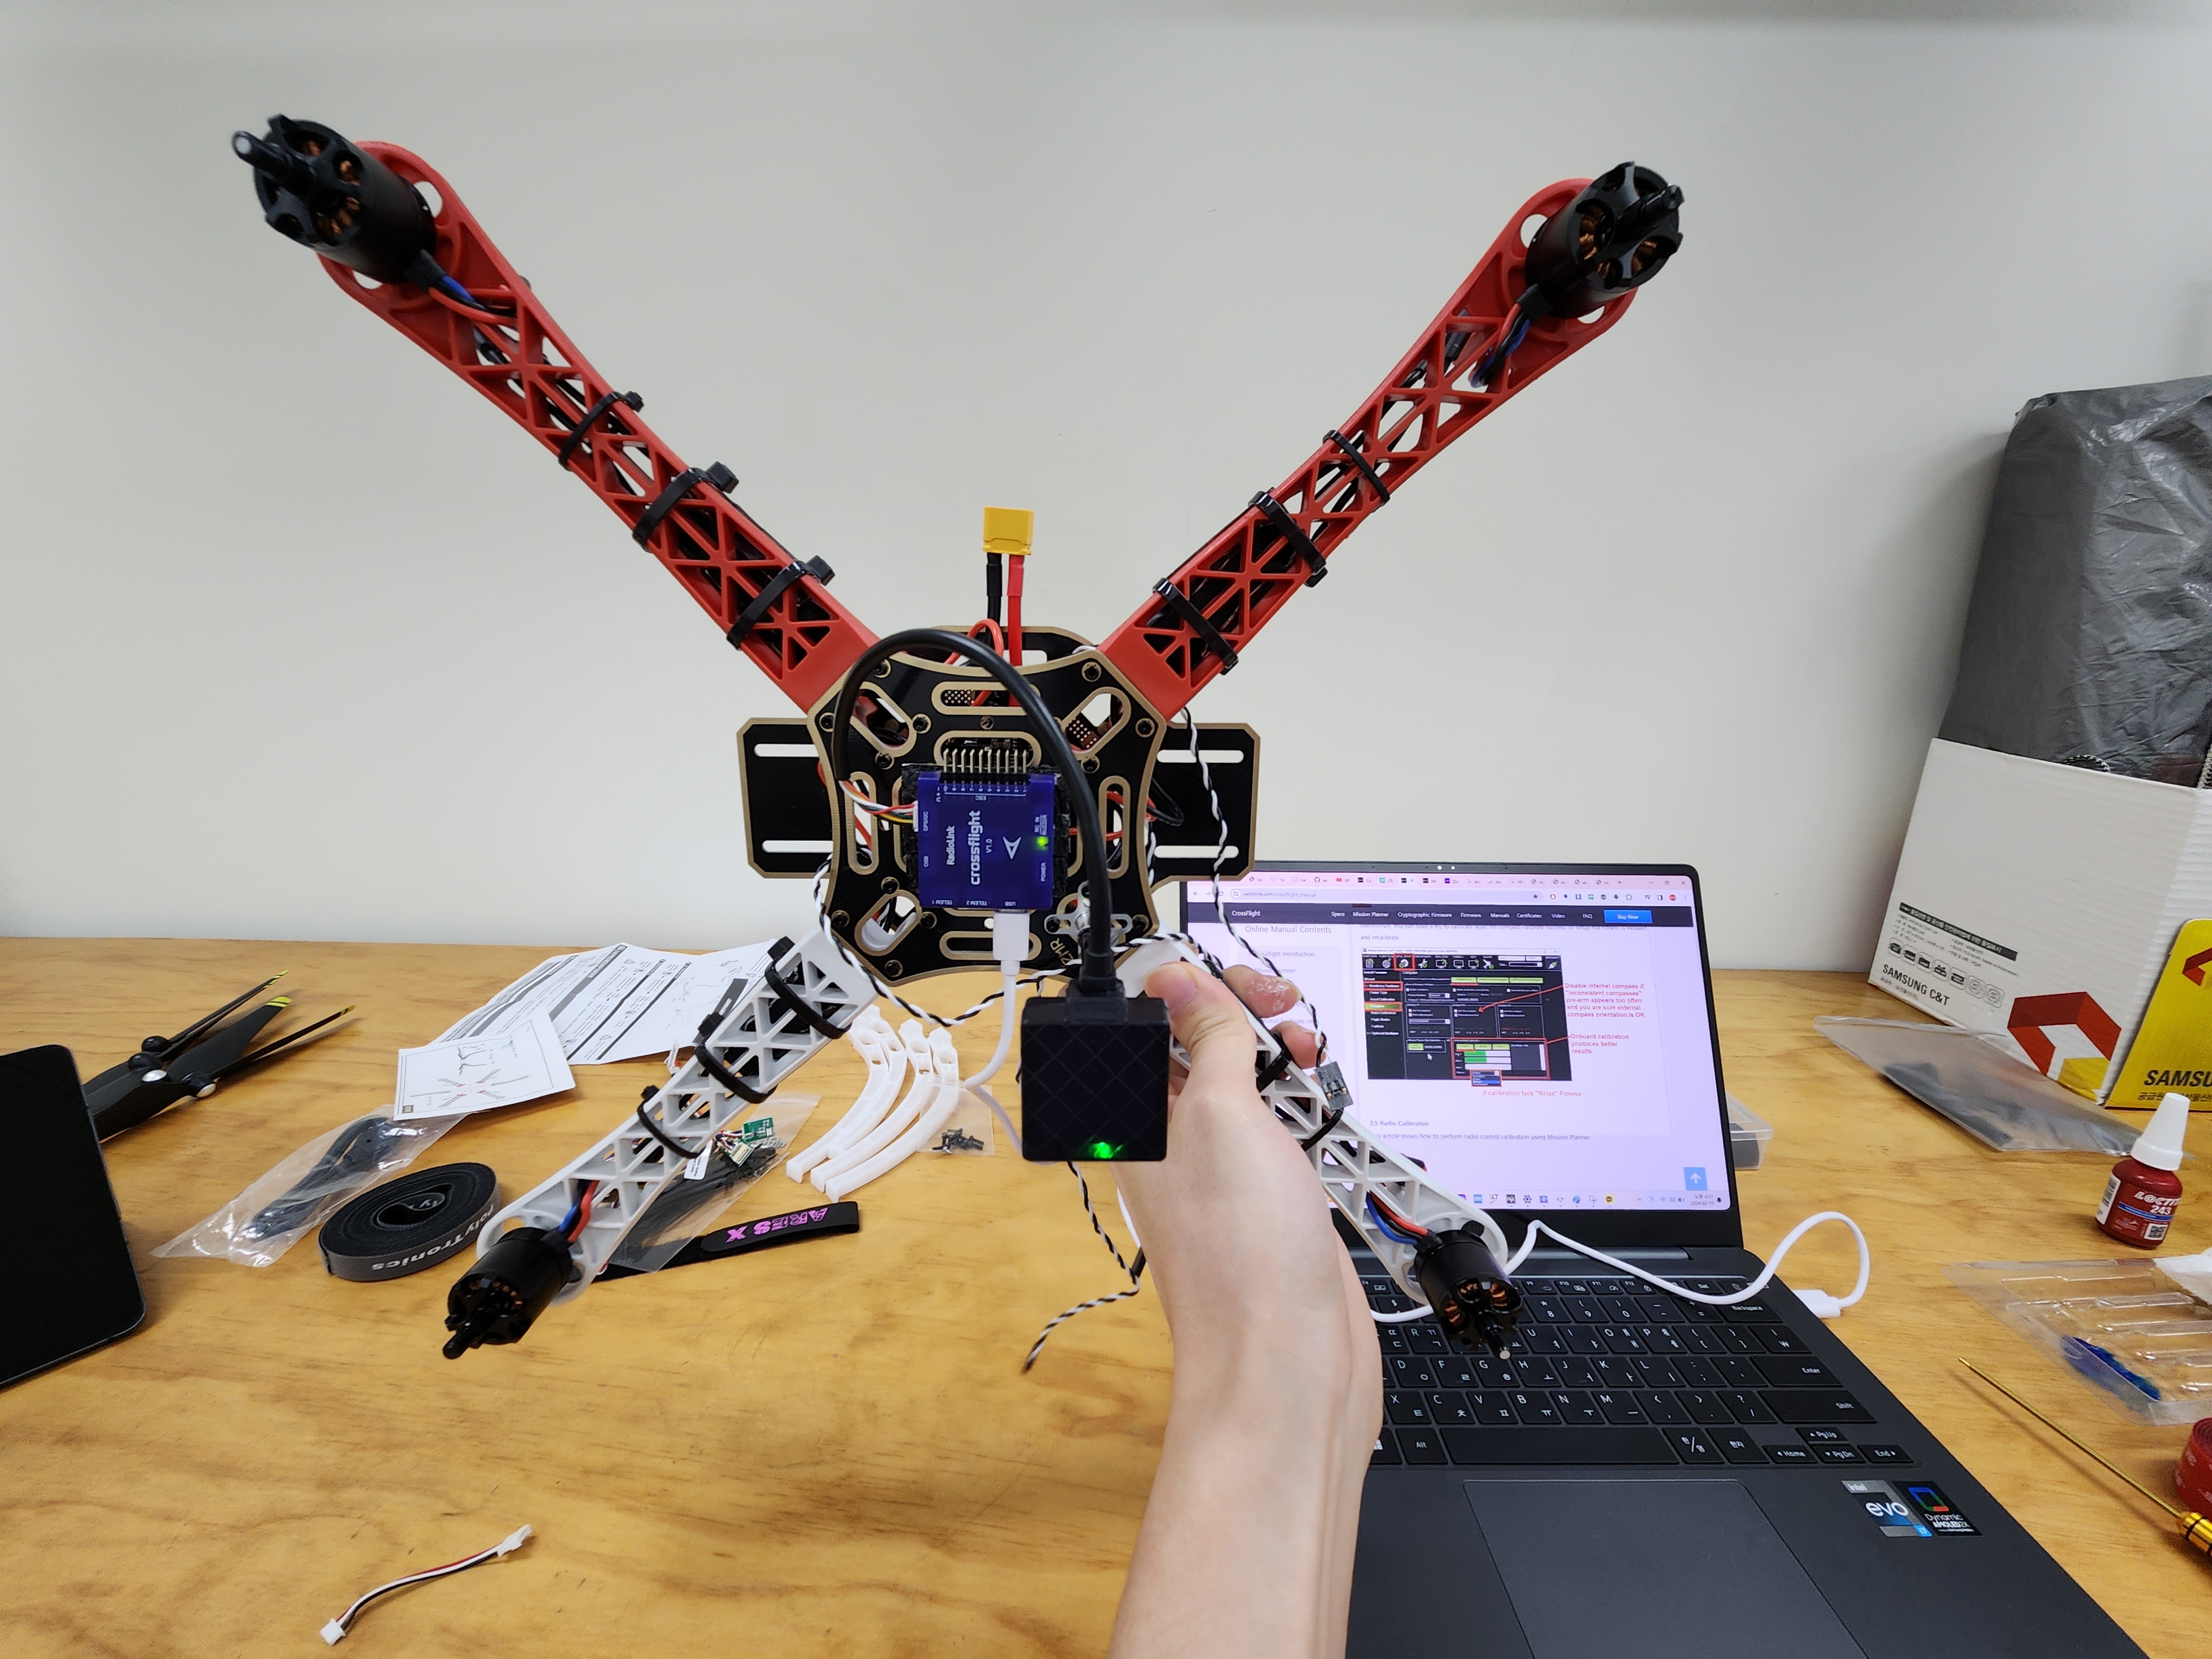
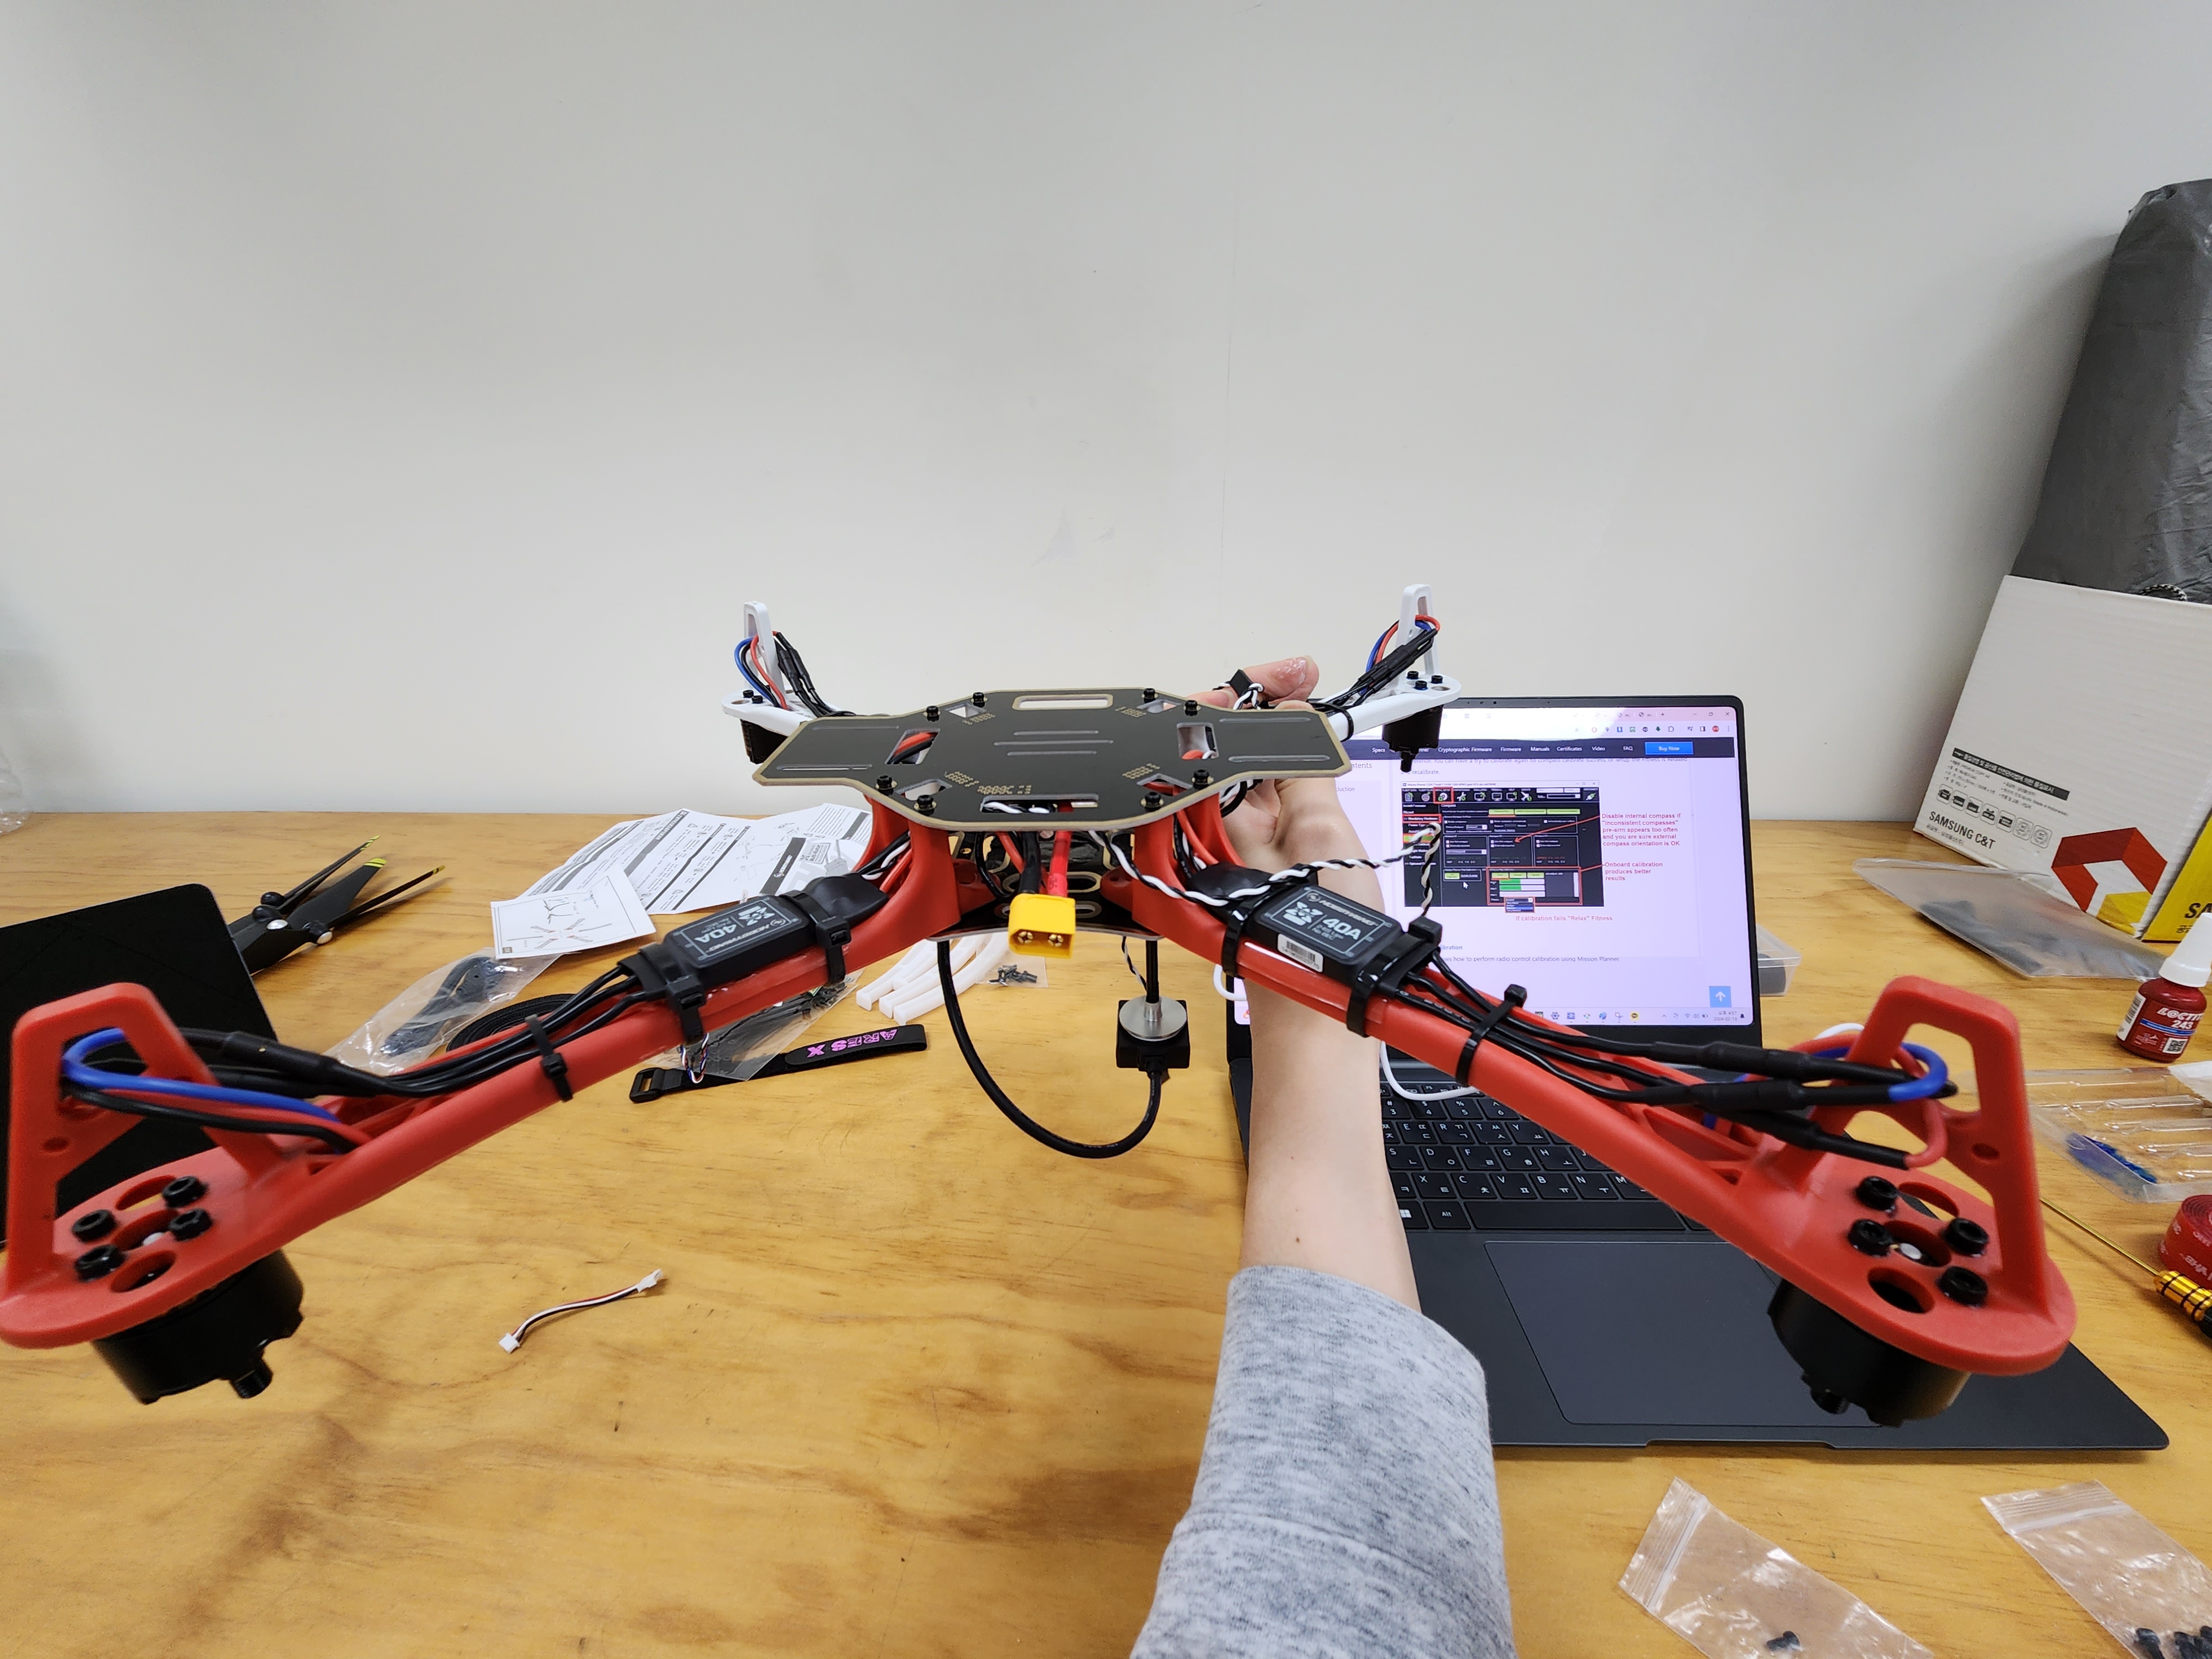
배치
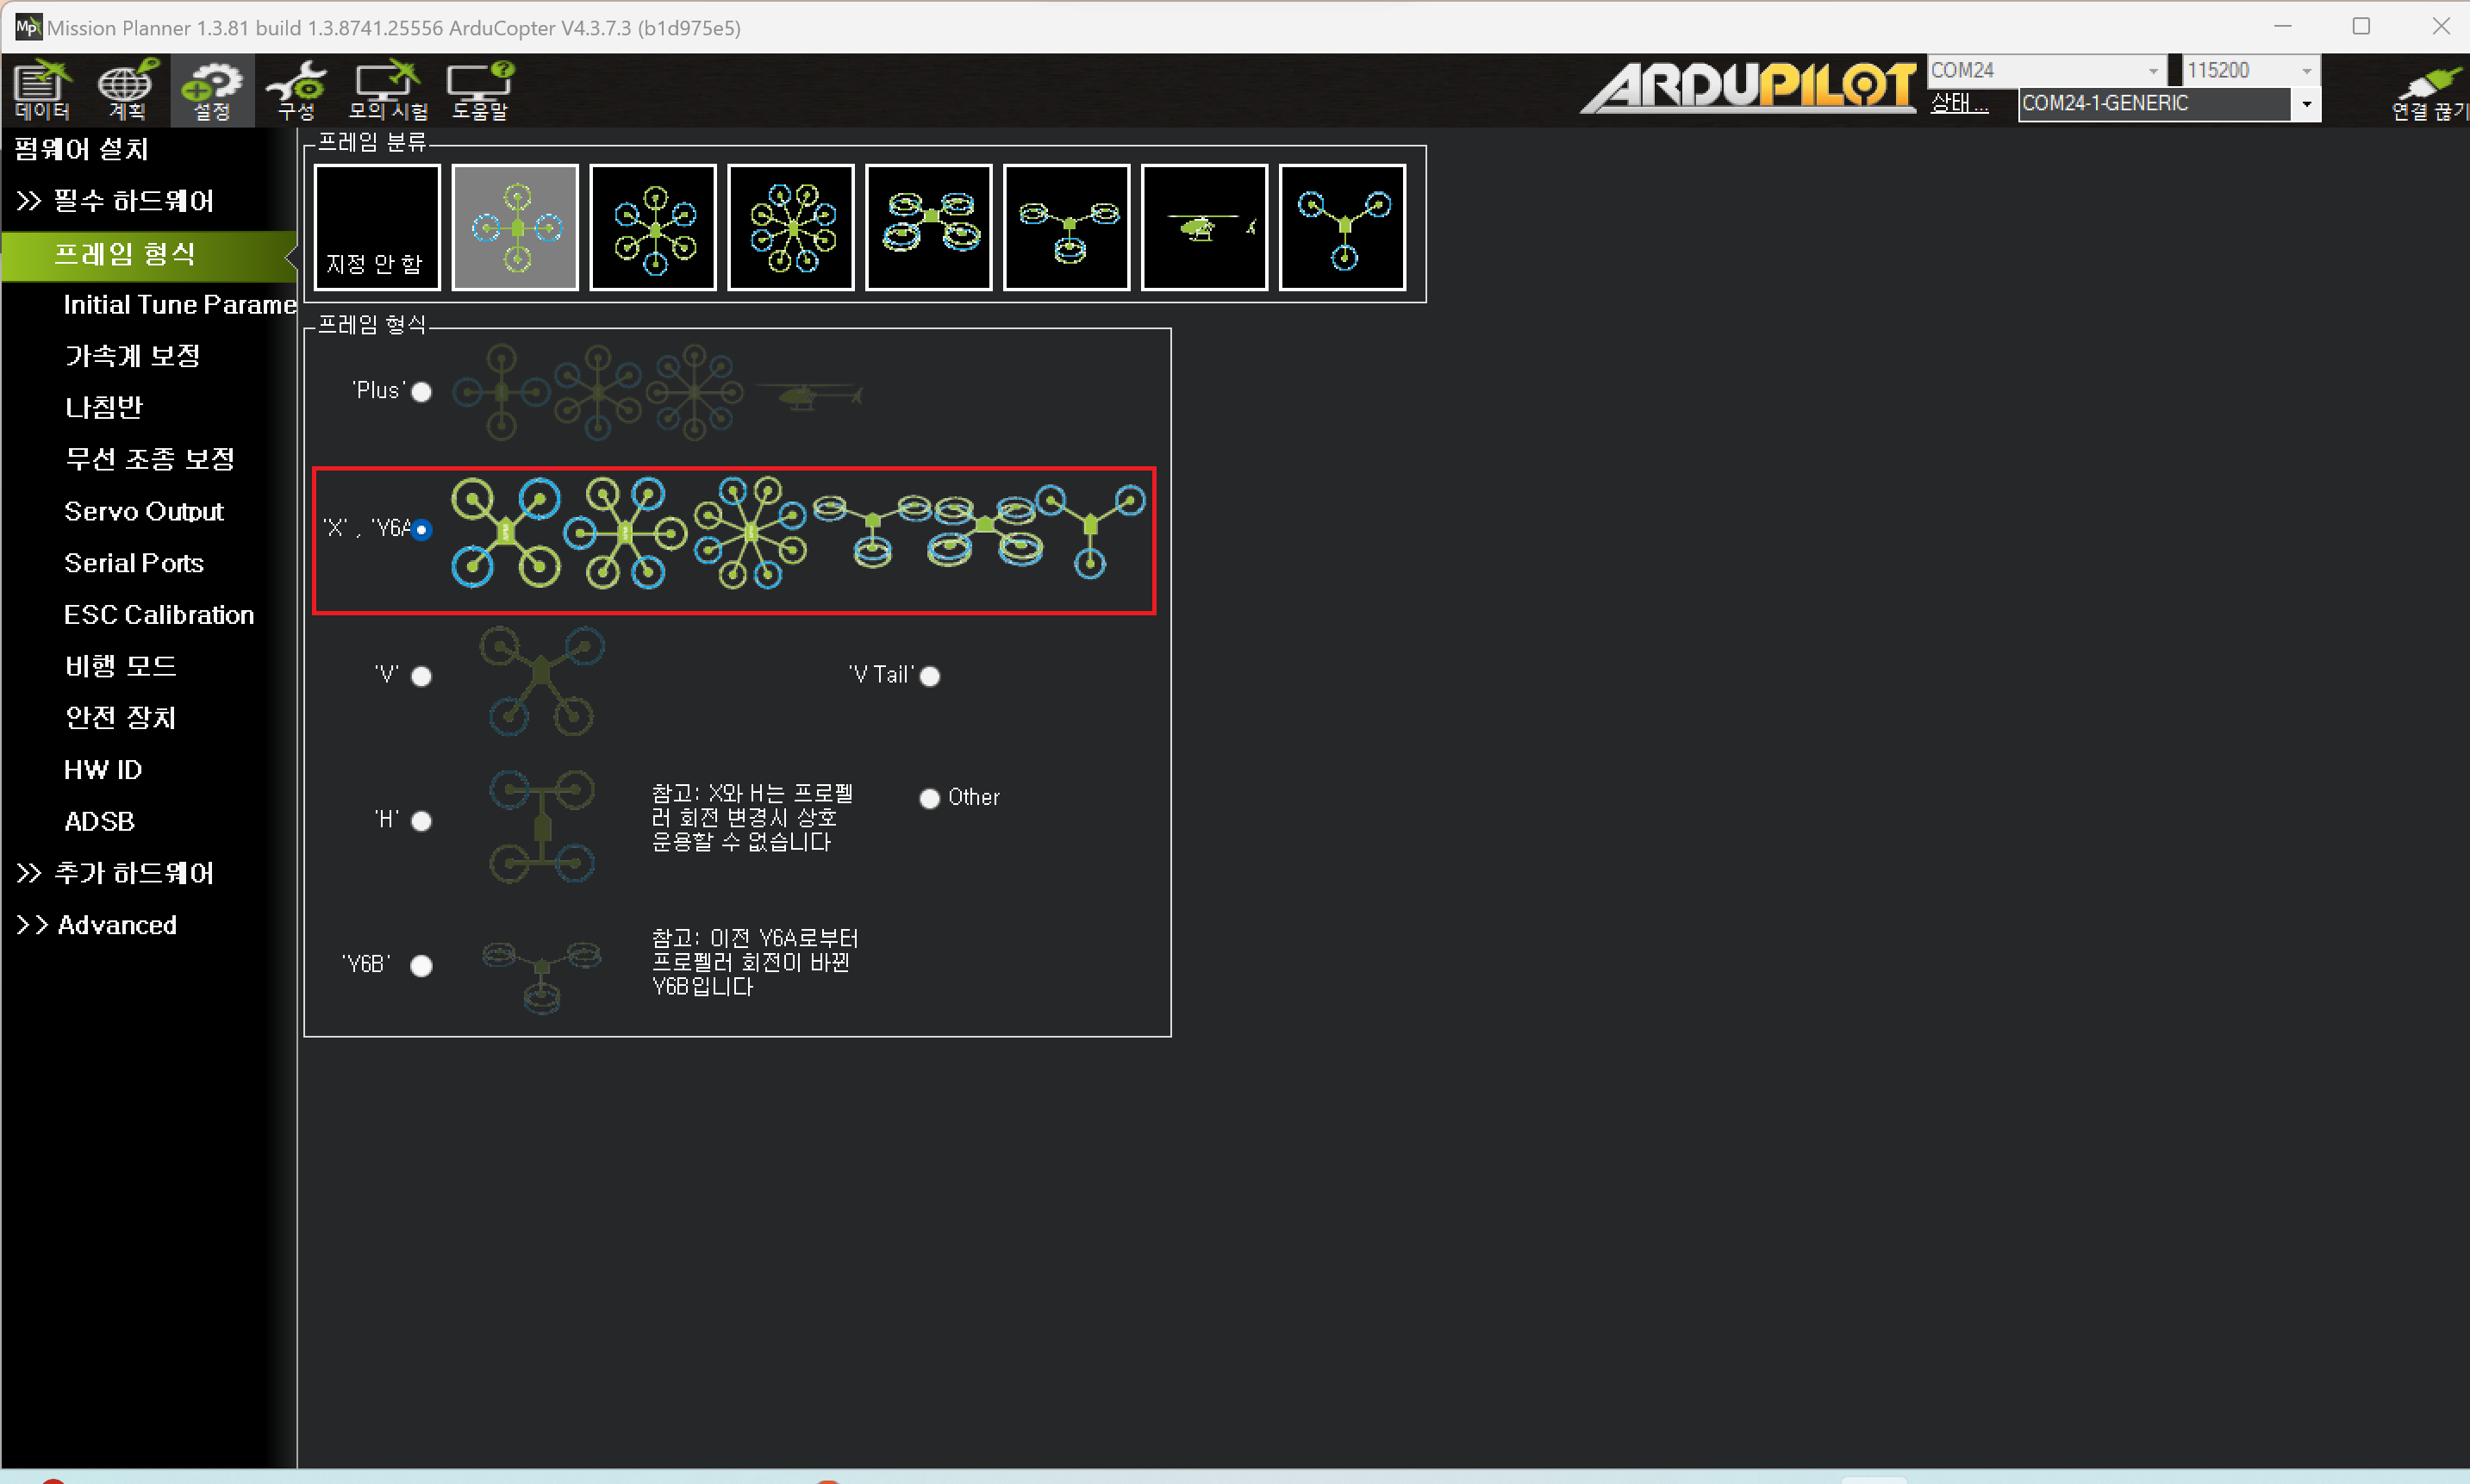
프레임 형식
가속계 보정
- 6개 각도로 수행
level
left
right
nose down
nose up
back
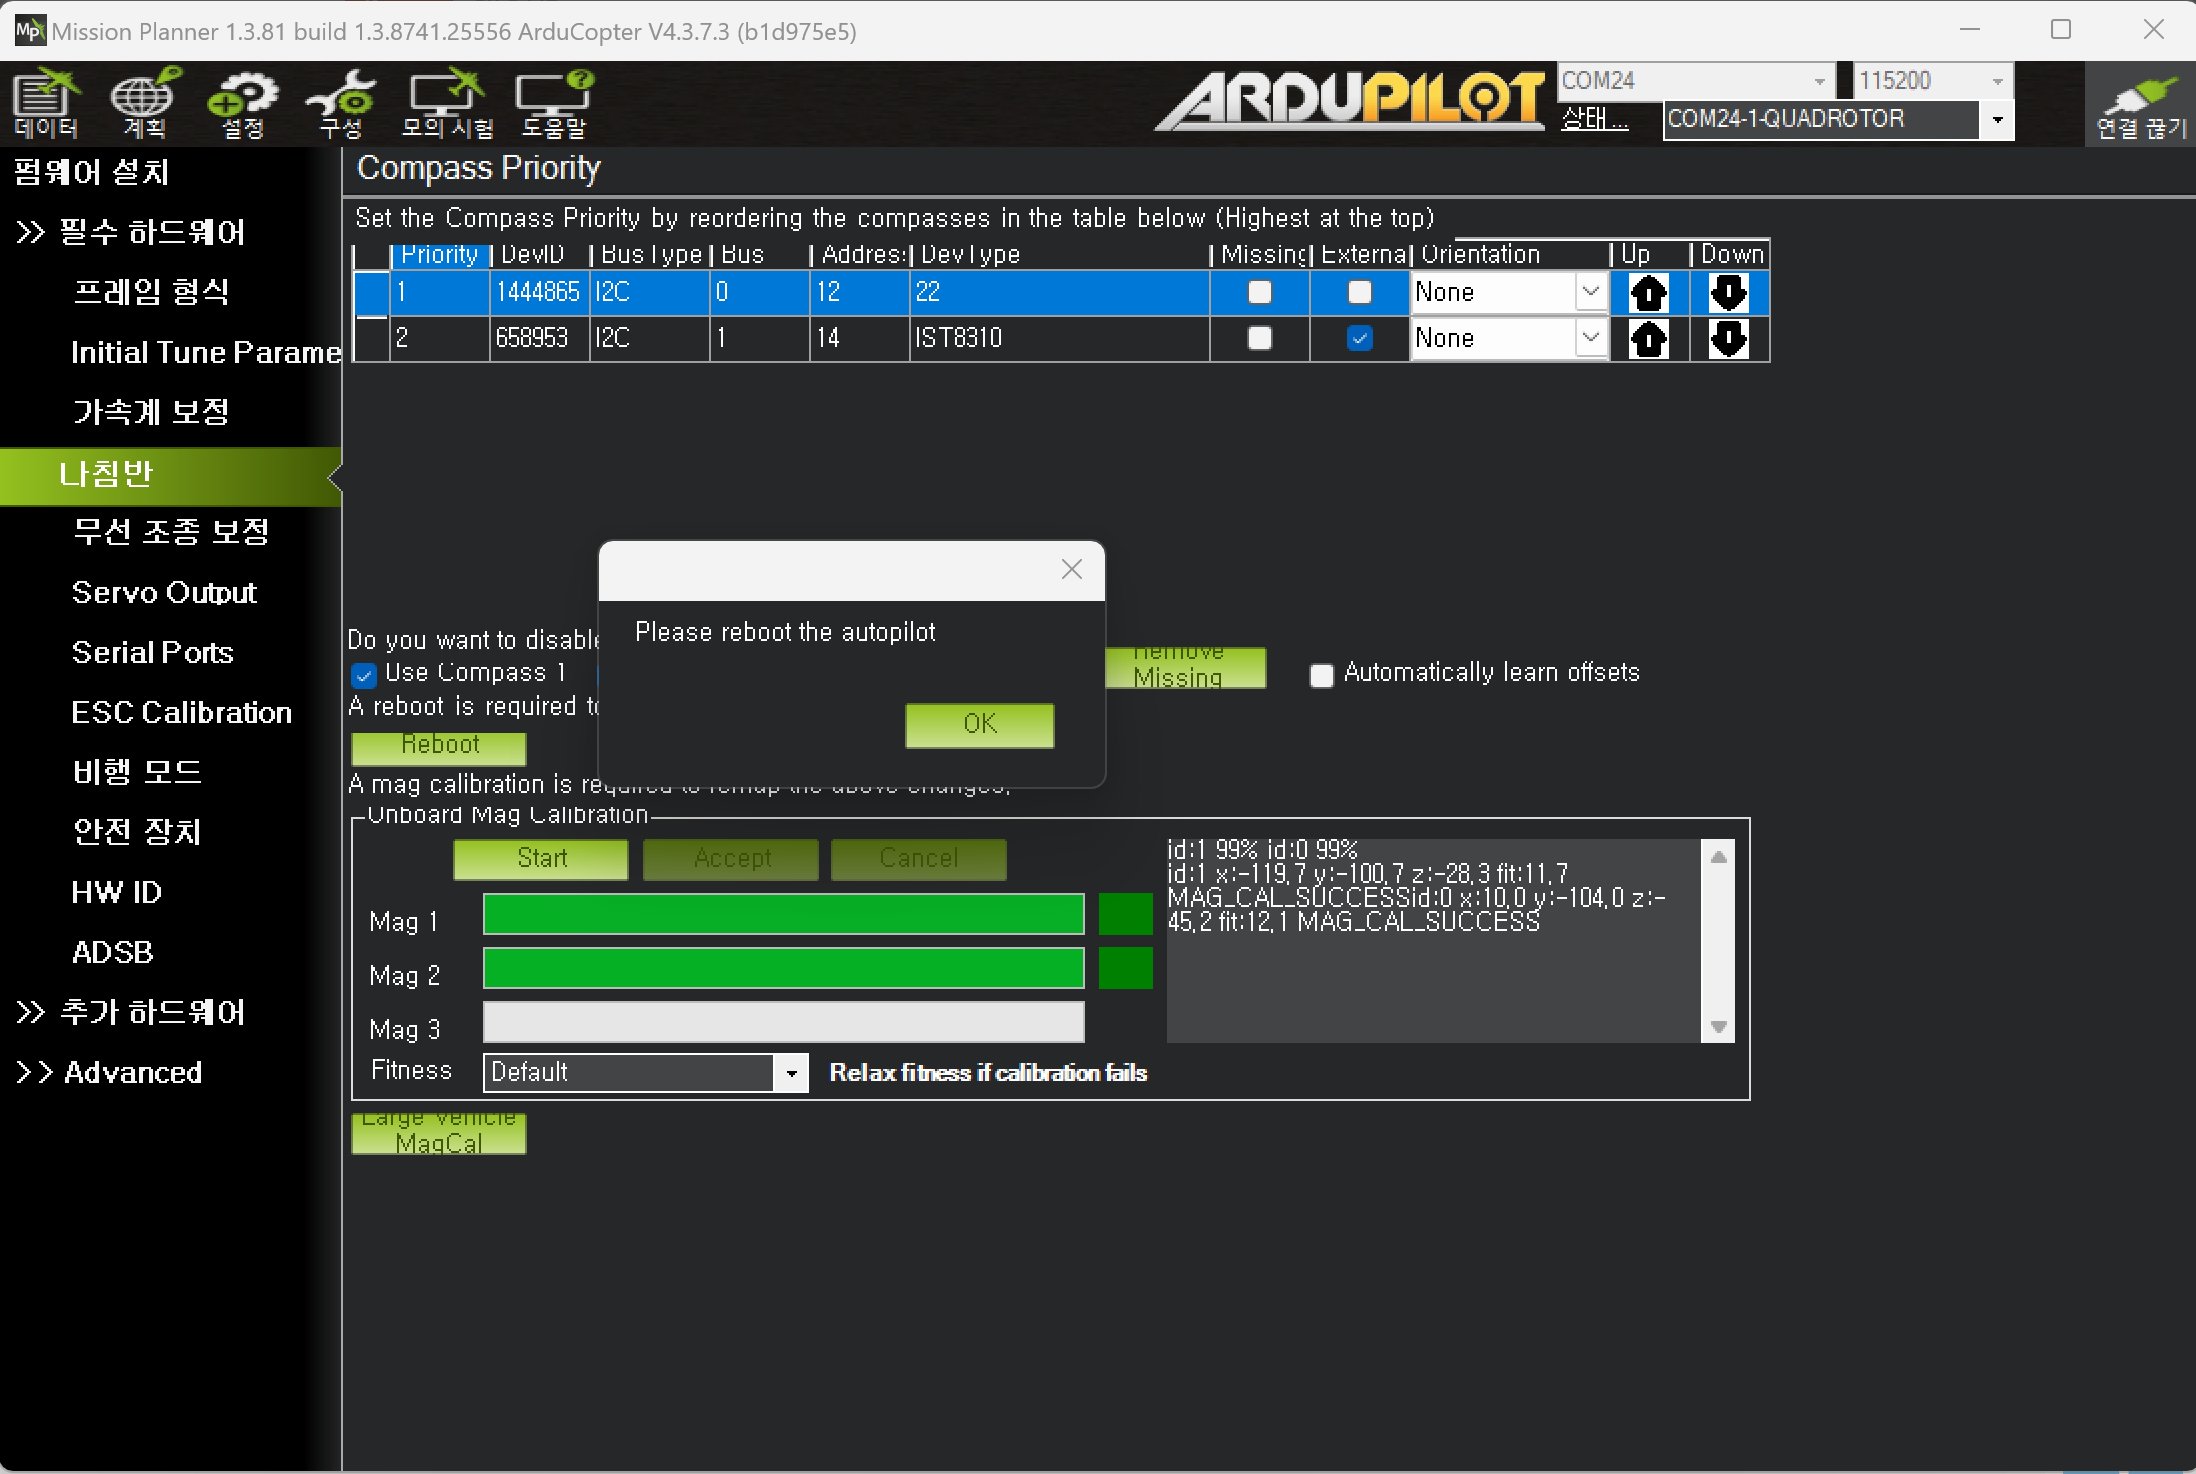
나침반
-
6개 각도로 반복수행, 100% 체우면 연결끊고 재연결
-
100% 확인
rx binding
rtx (송신기) 의 전원을 켜고 system - rx bind 메뉴 진입
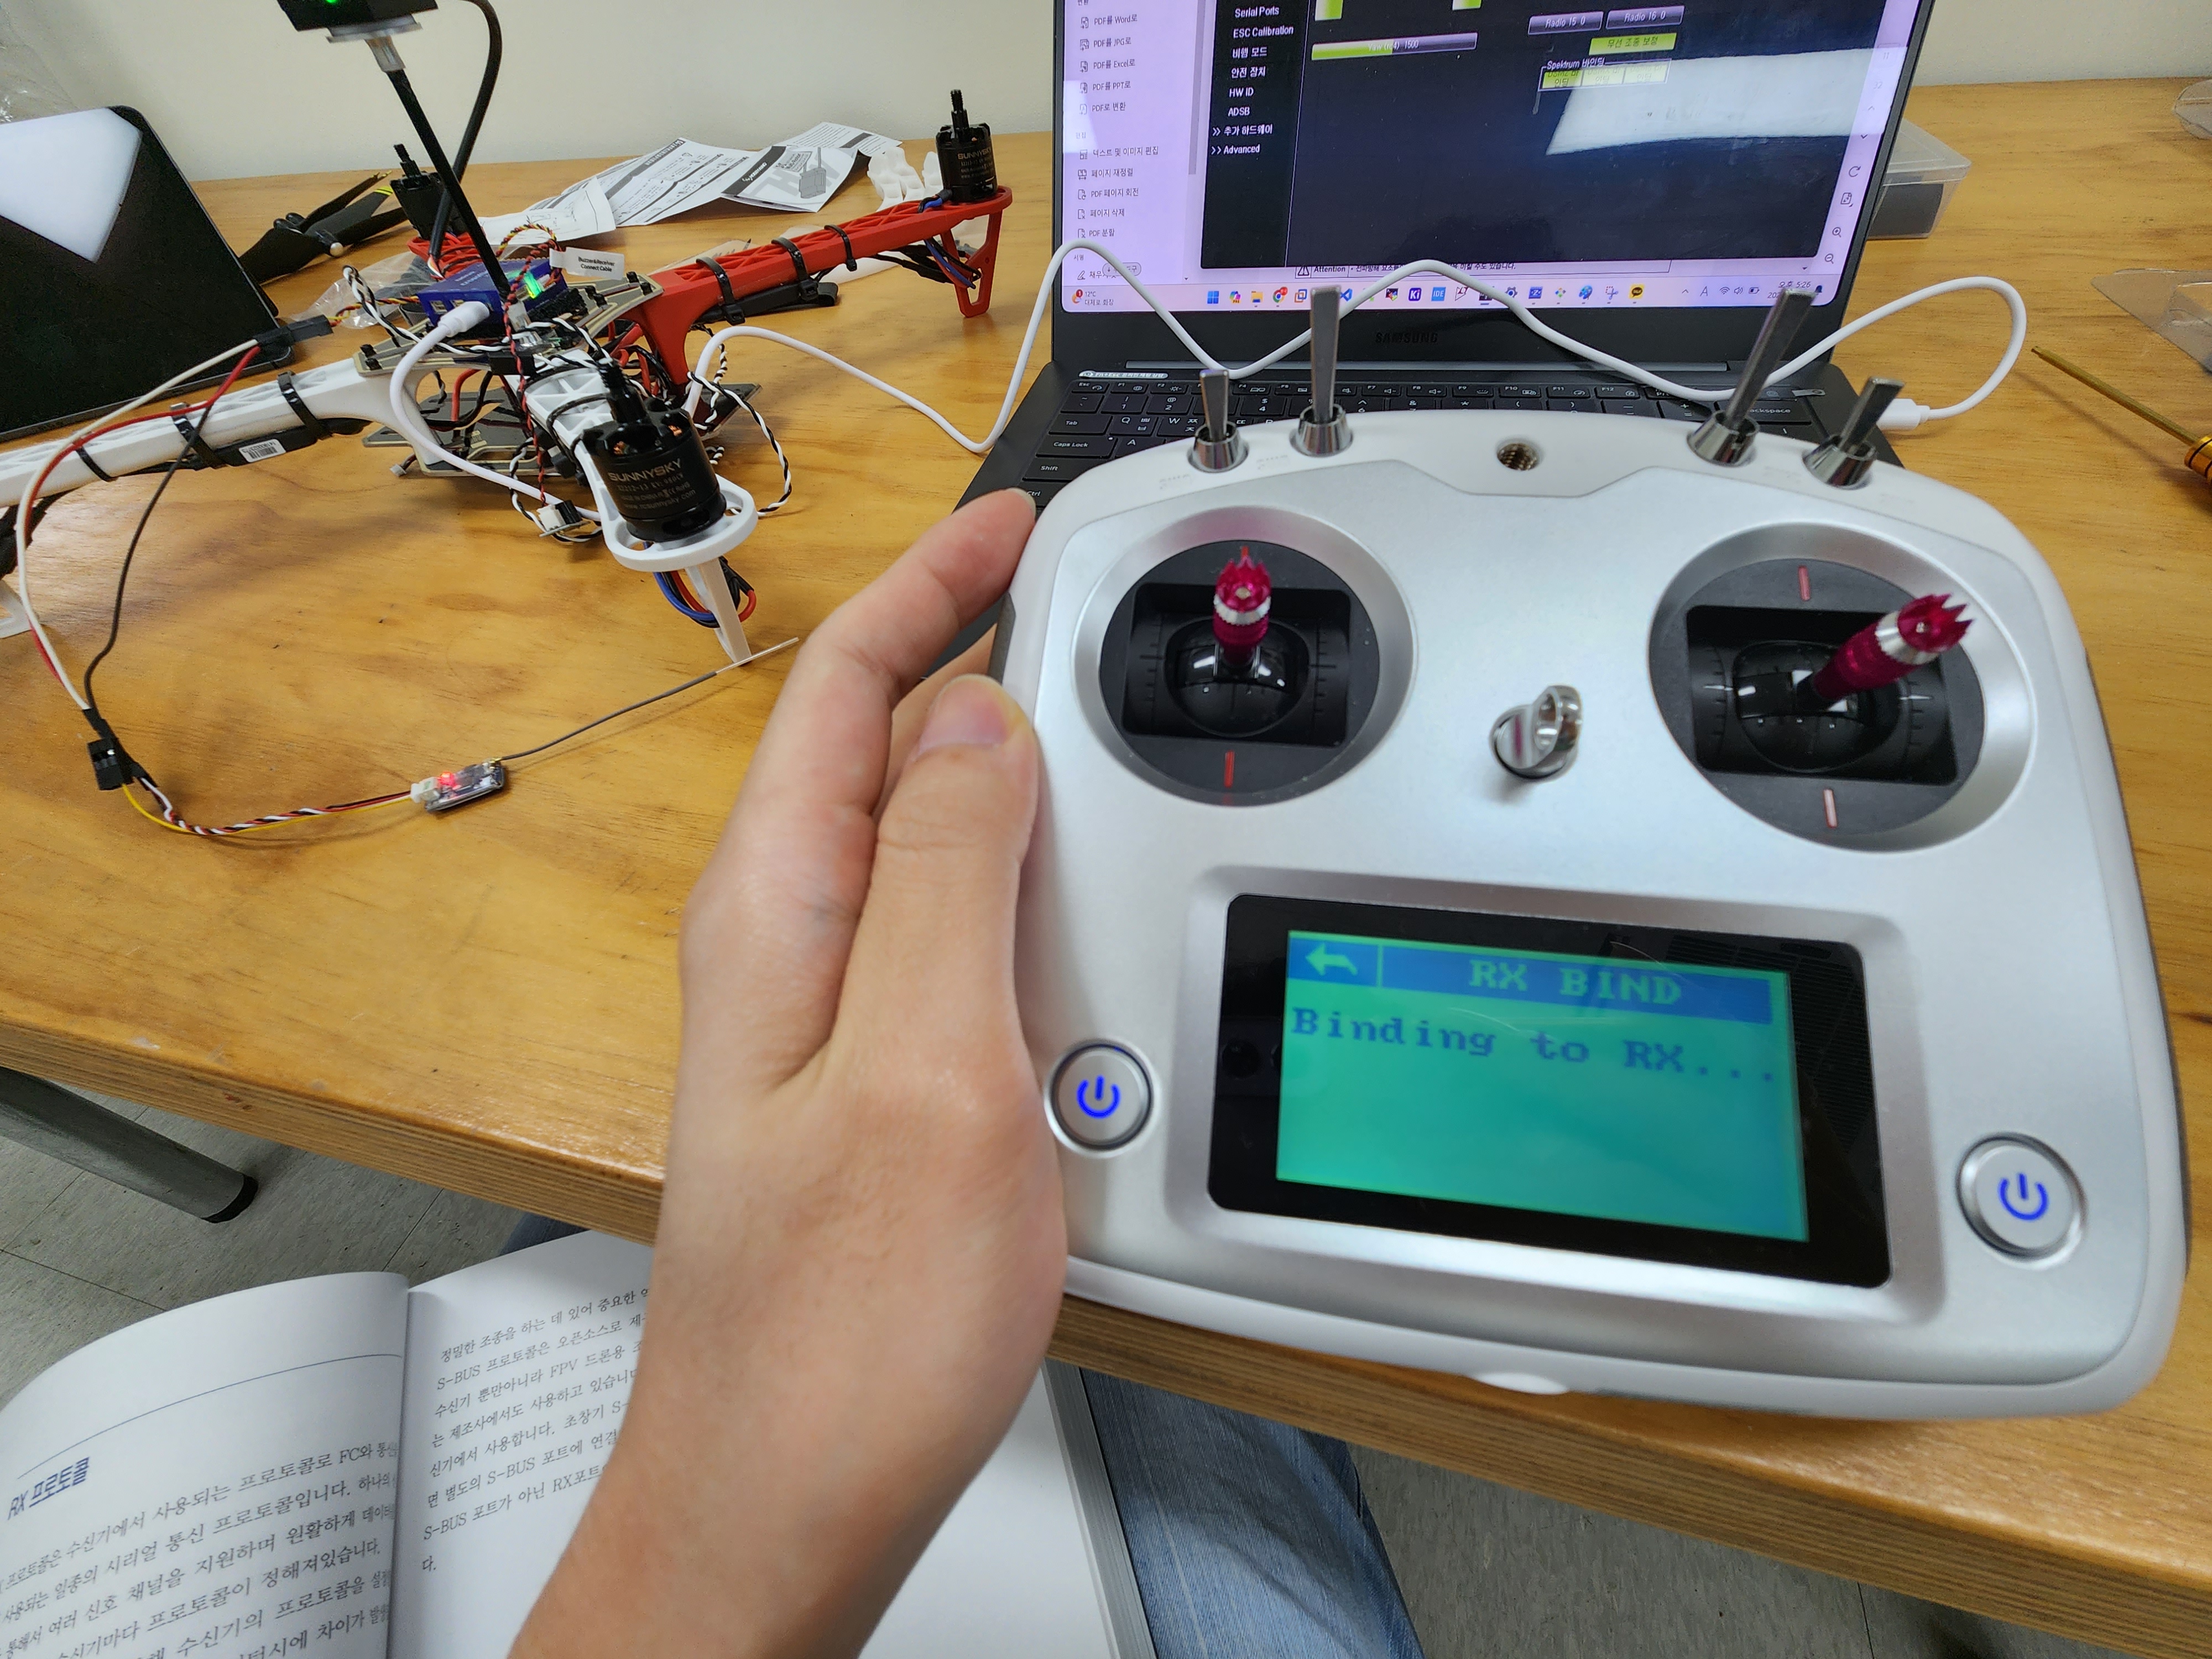
rx (수신기) 의 램프가 점멸하고 삐리릭 (3음절) 음이 났다면, rx bind 메뉴에서 나오면 됨
rx 램프가 멈춰있으면 rx bind 완료, 실제로 신호가 잡히는지 mission planner 안에서 확인
쓰로틀(t) 체크
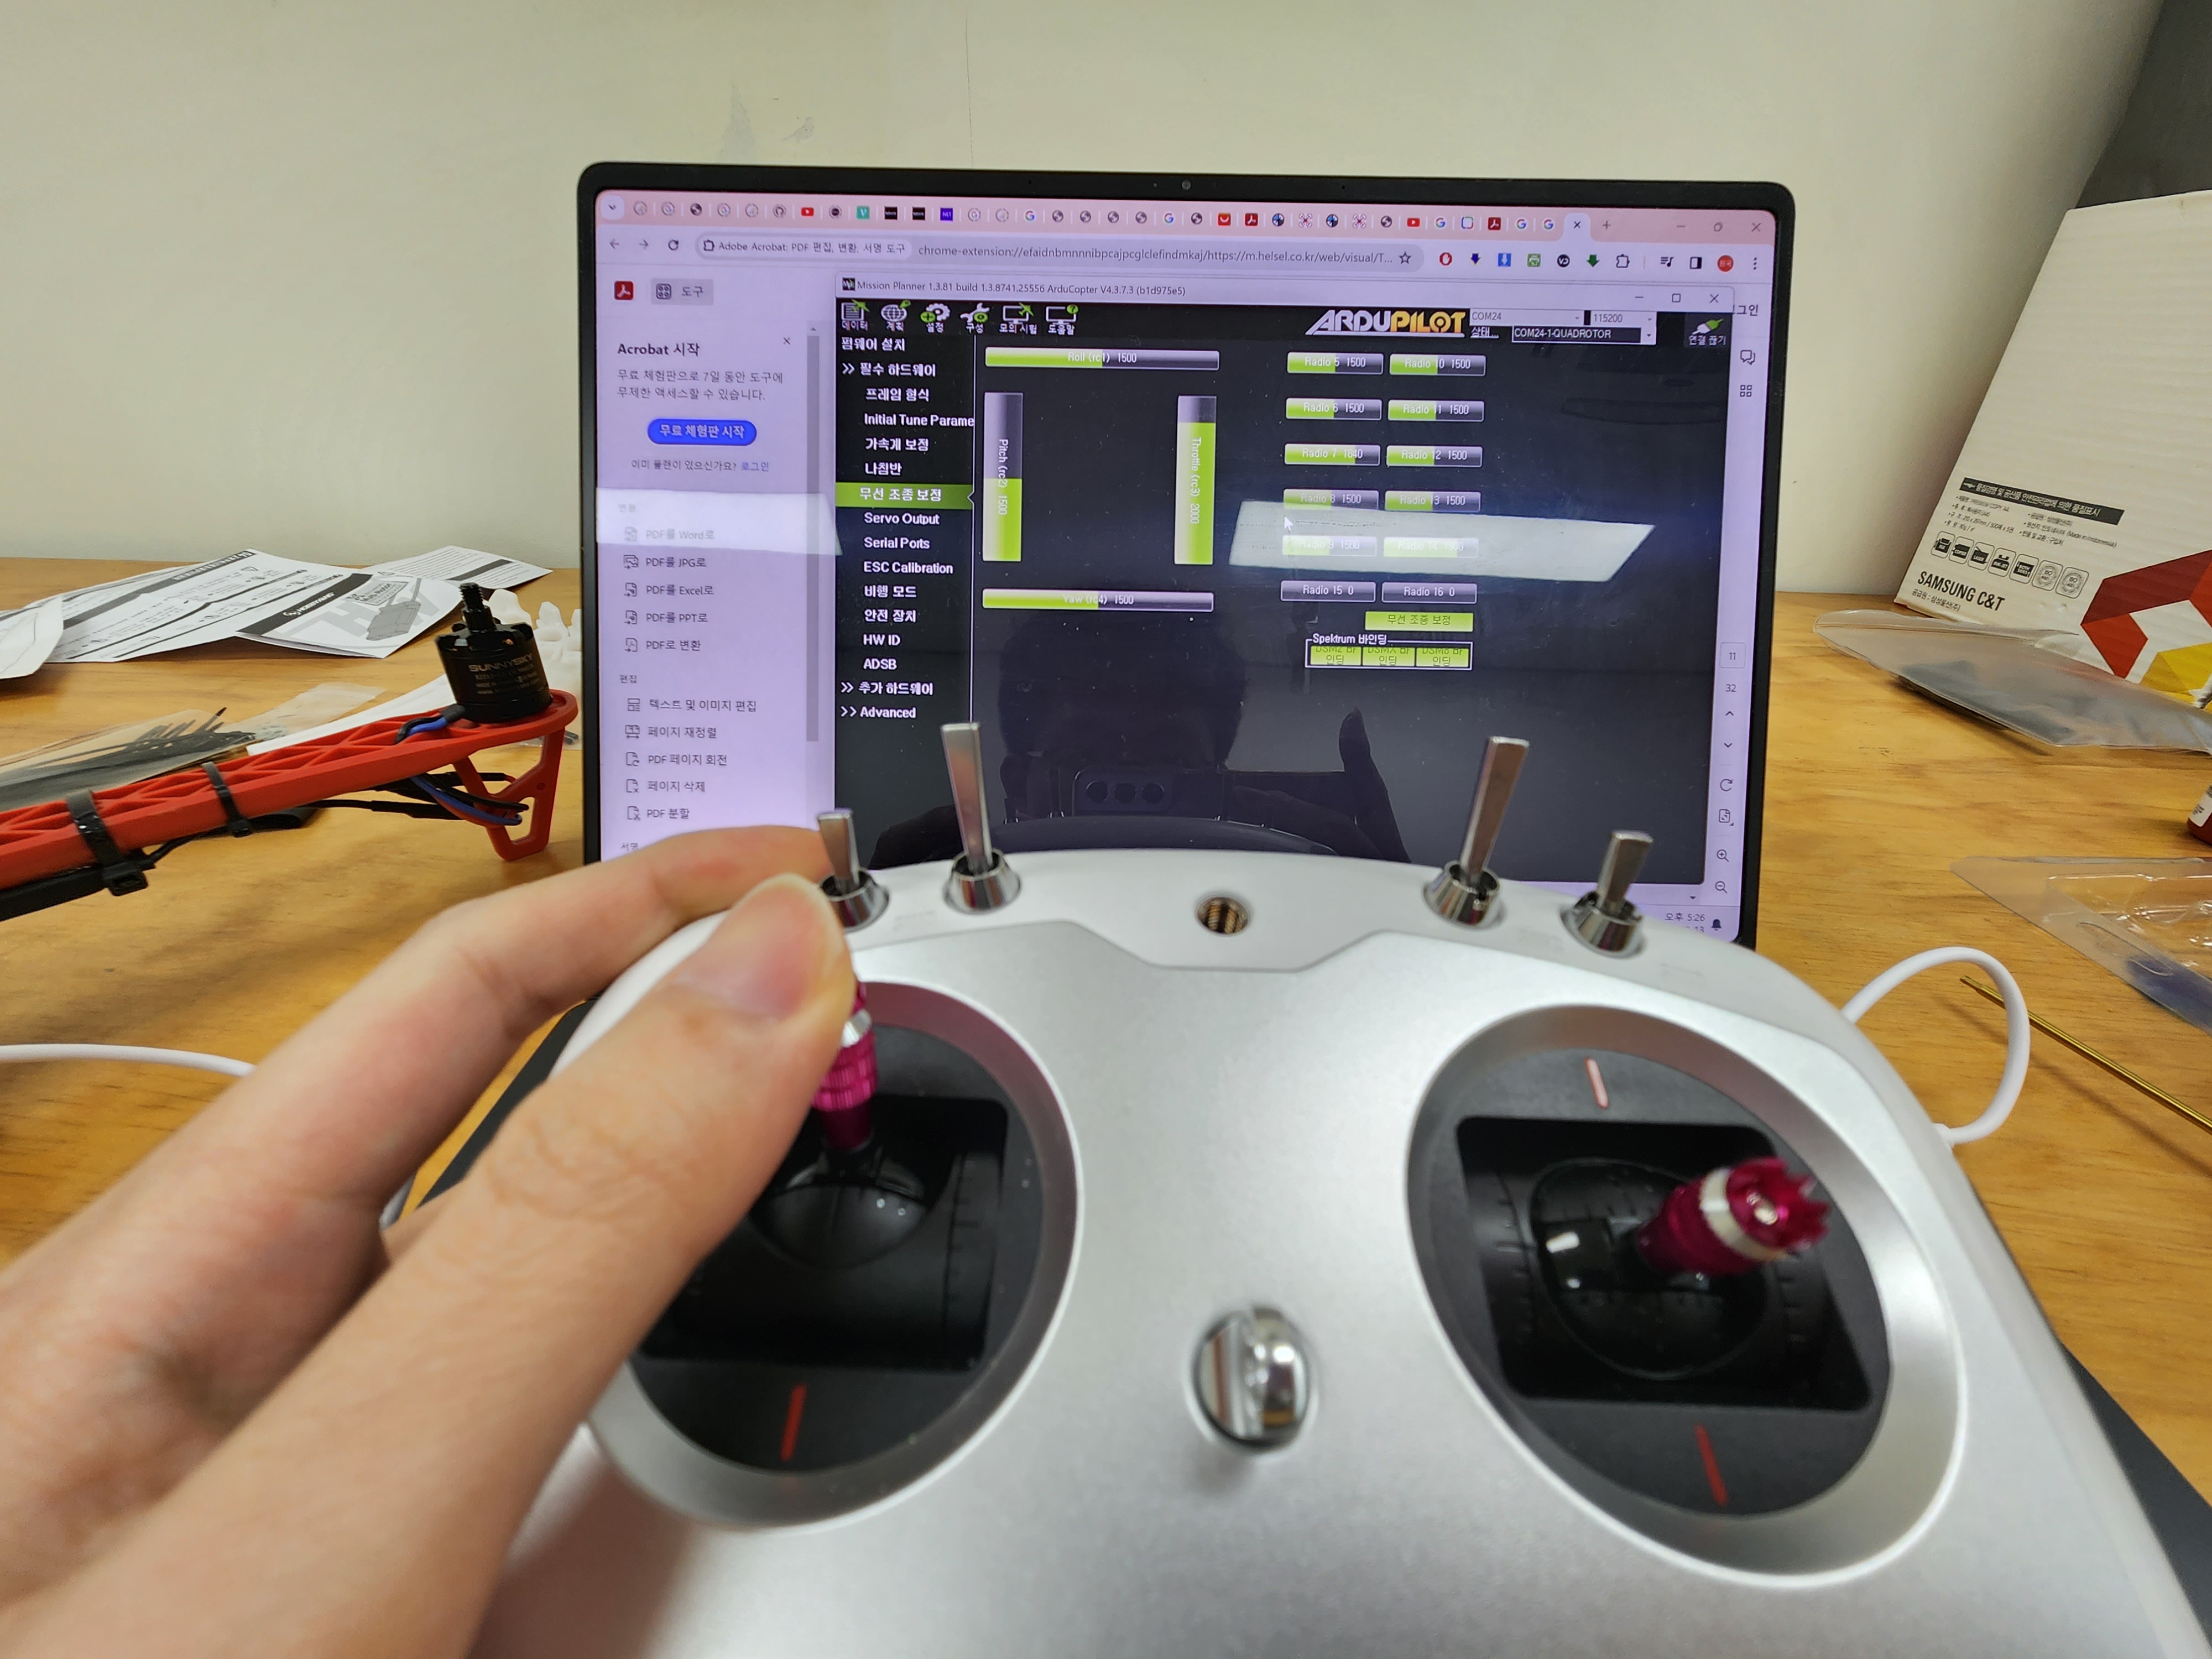
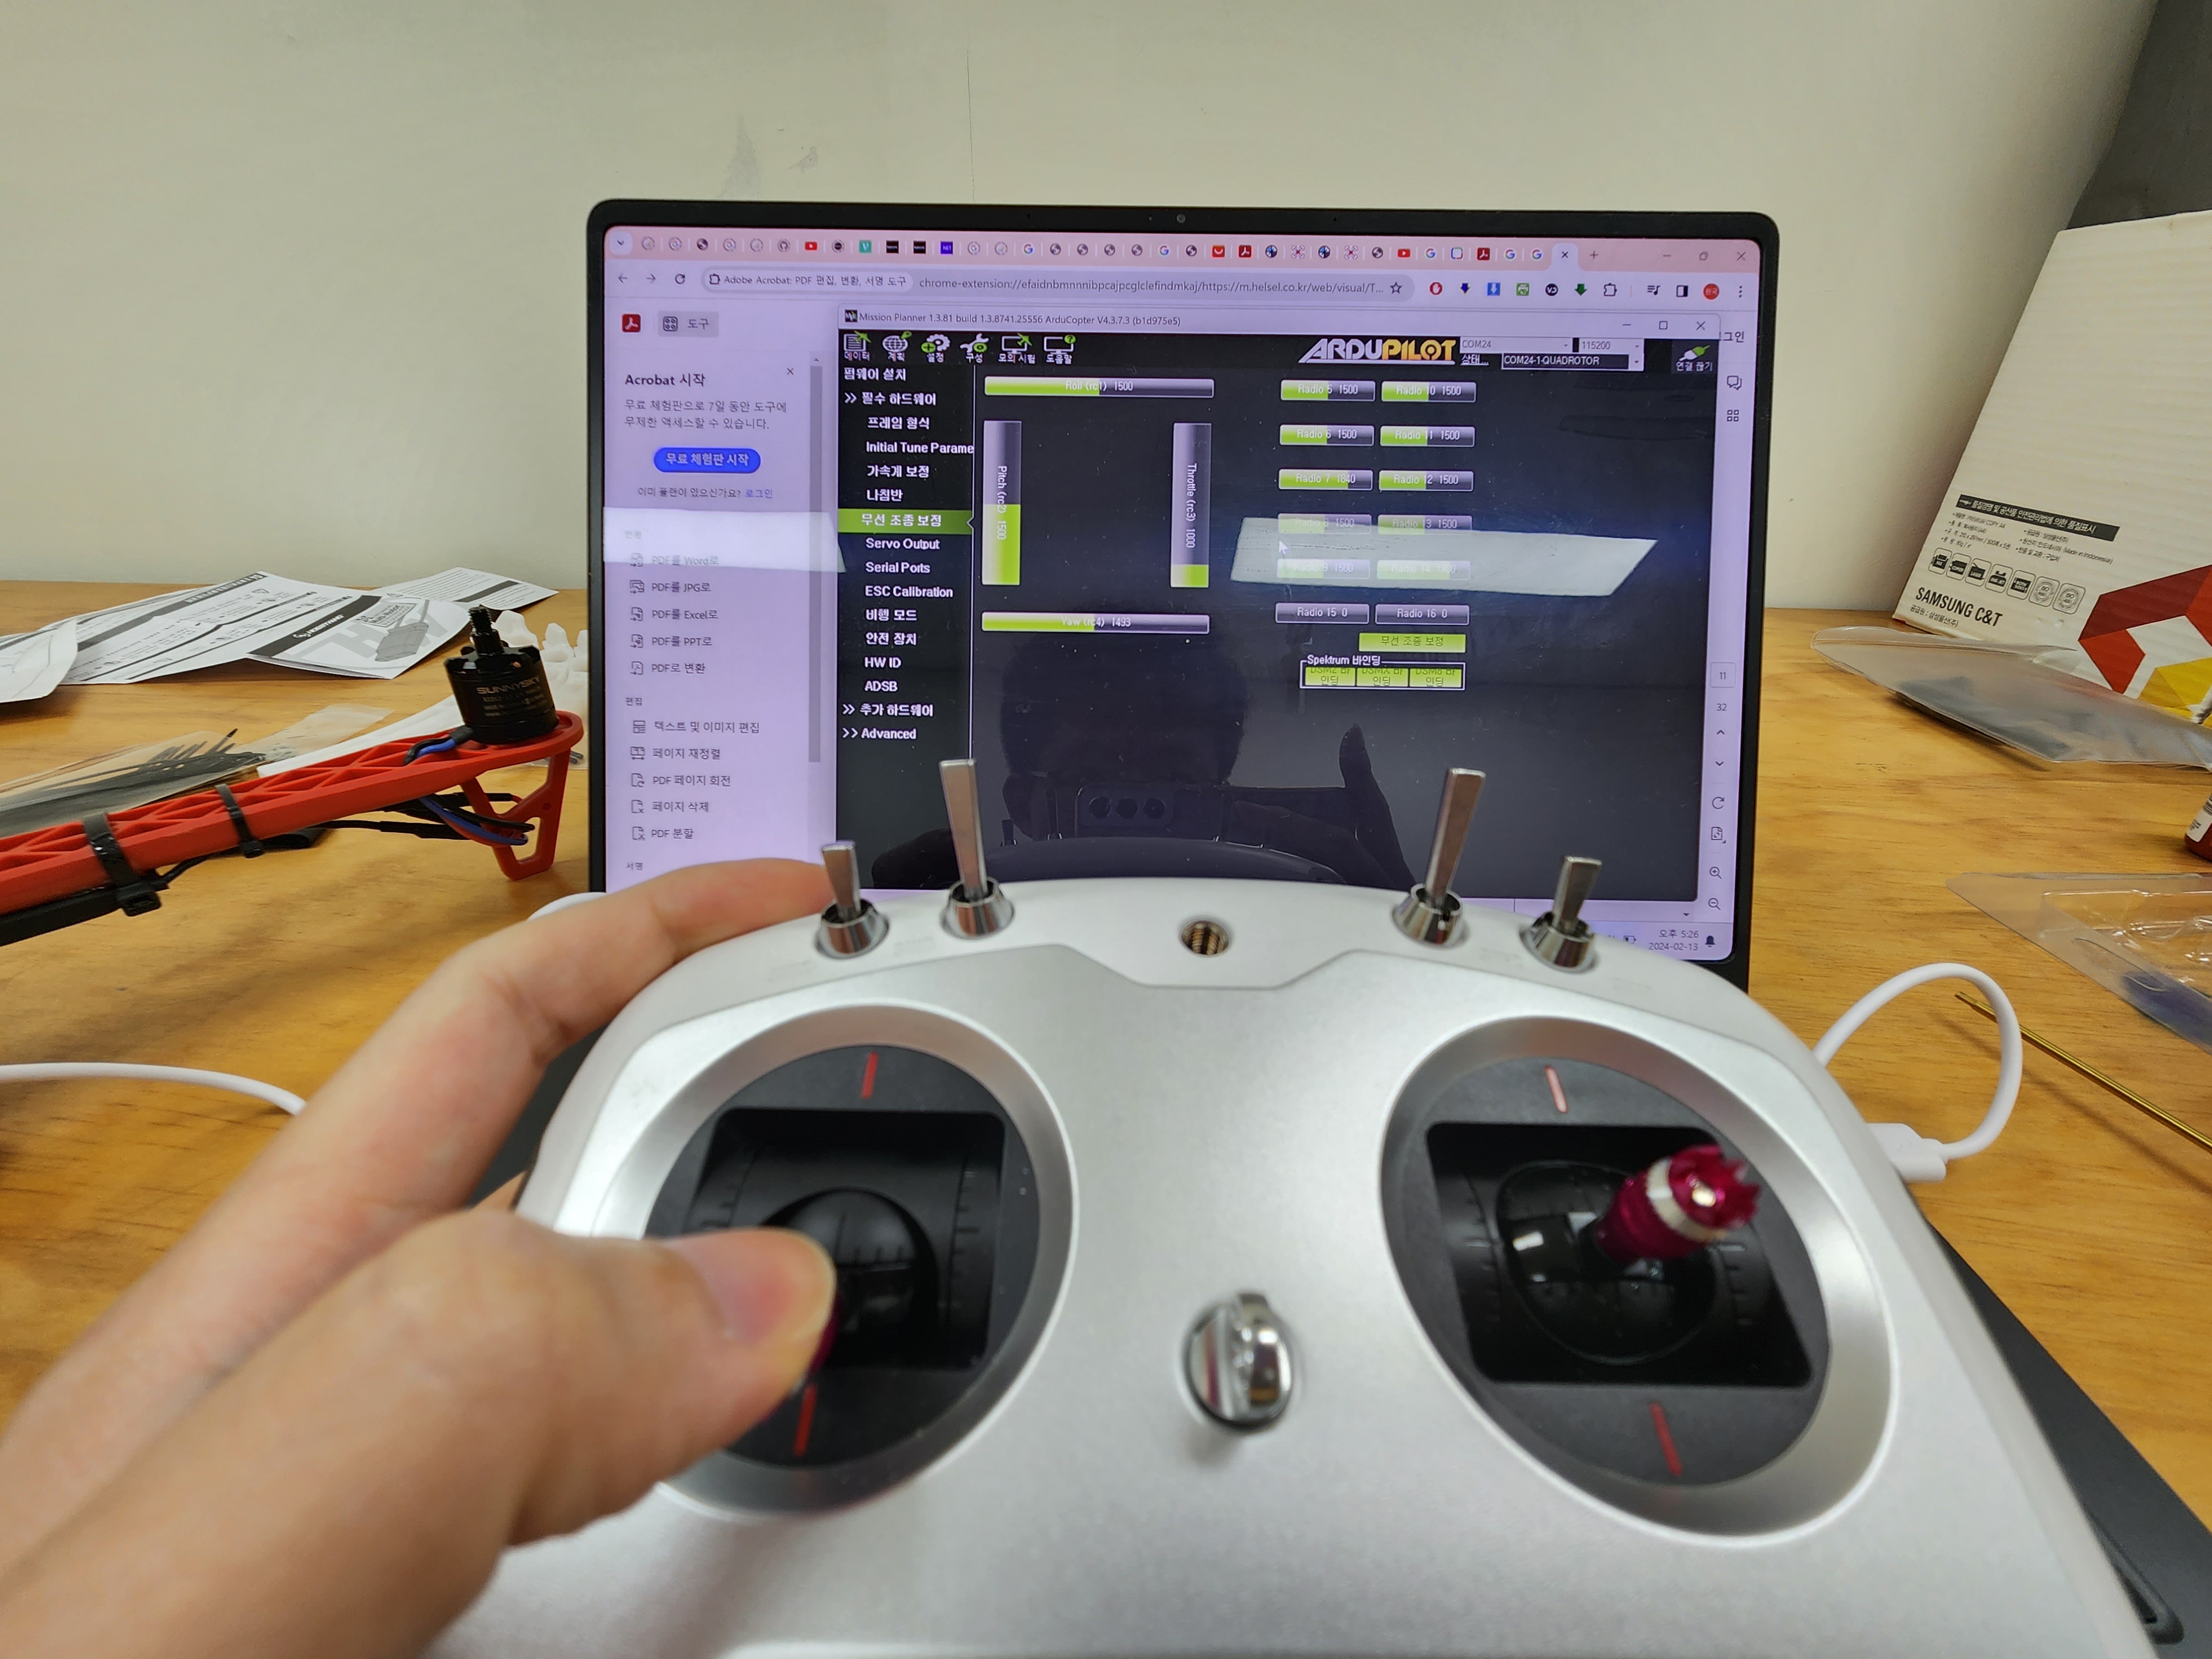
러더(r) 체크
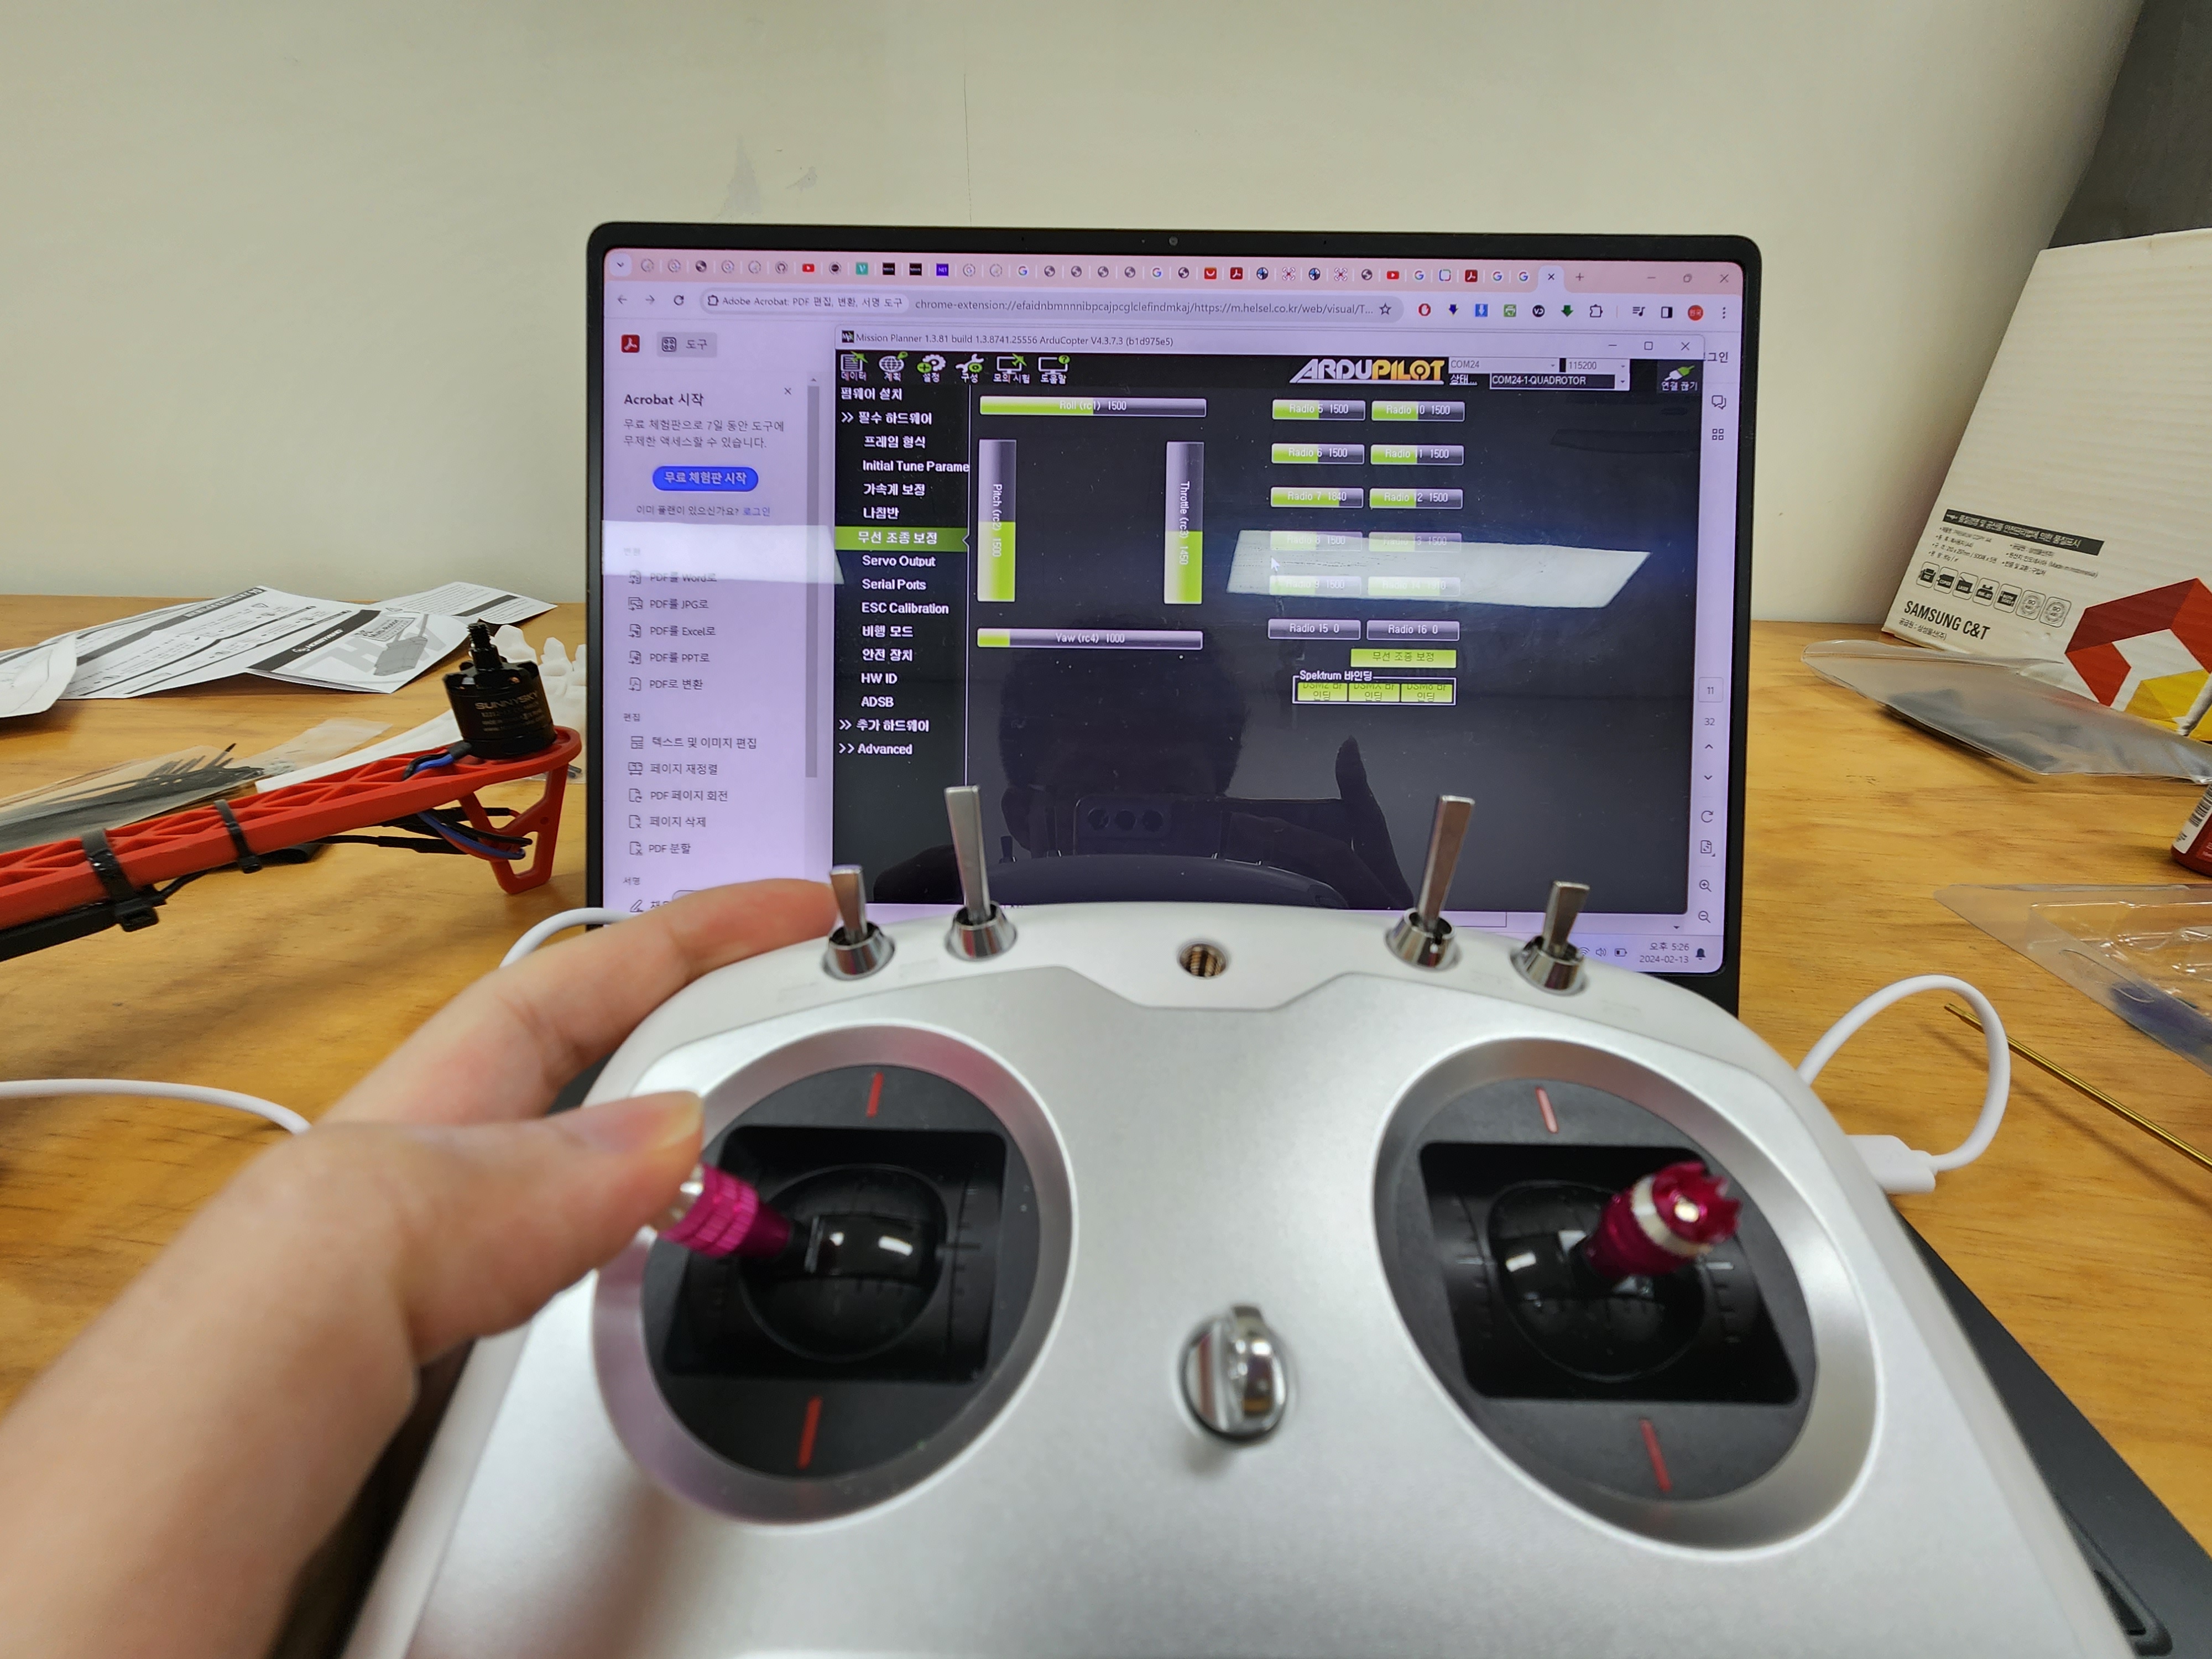
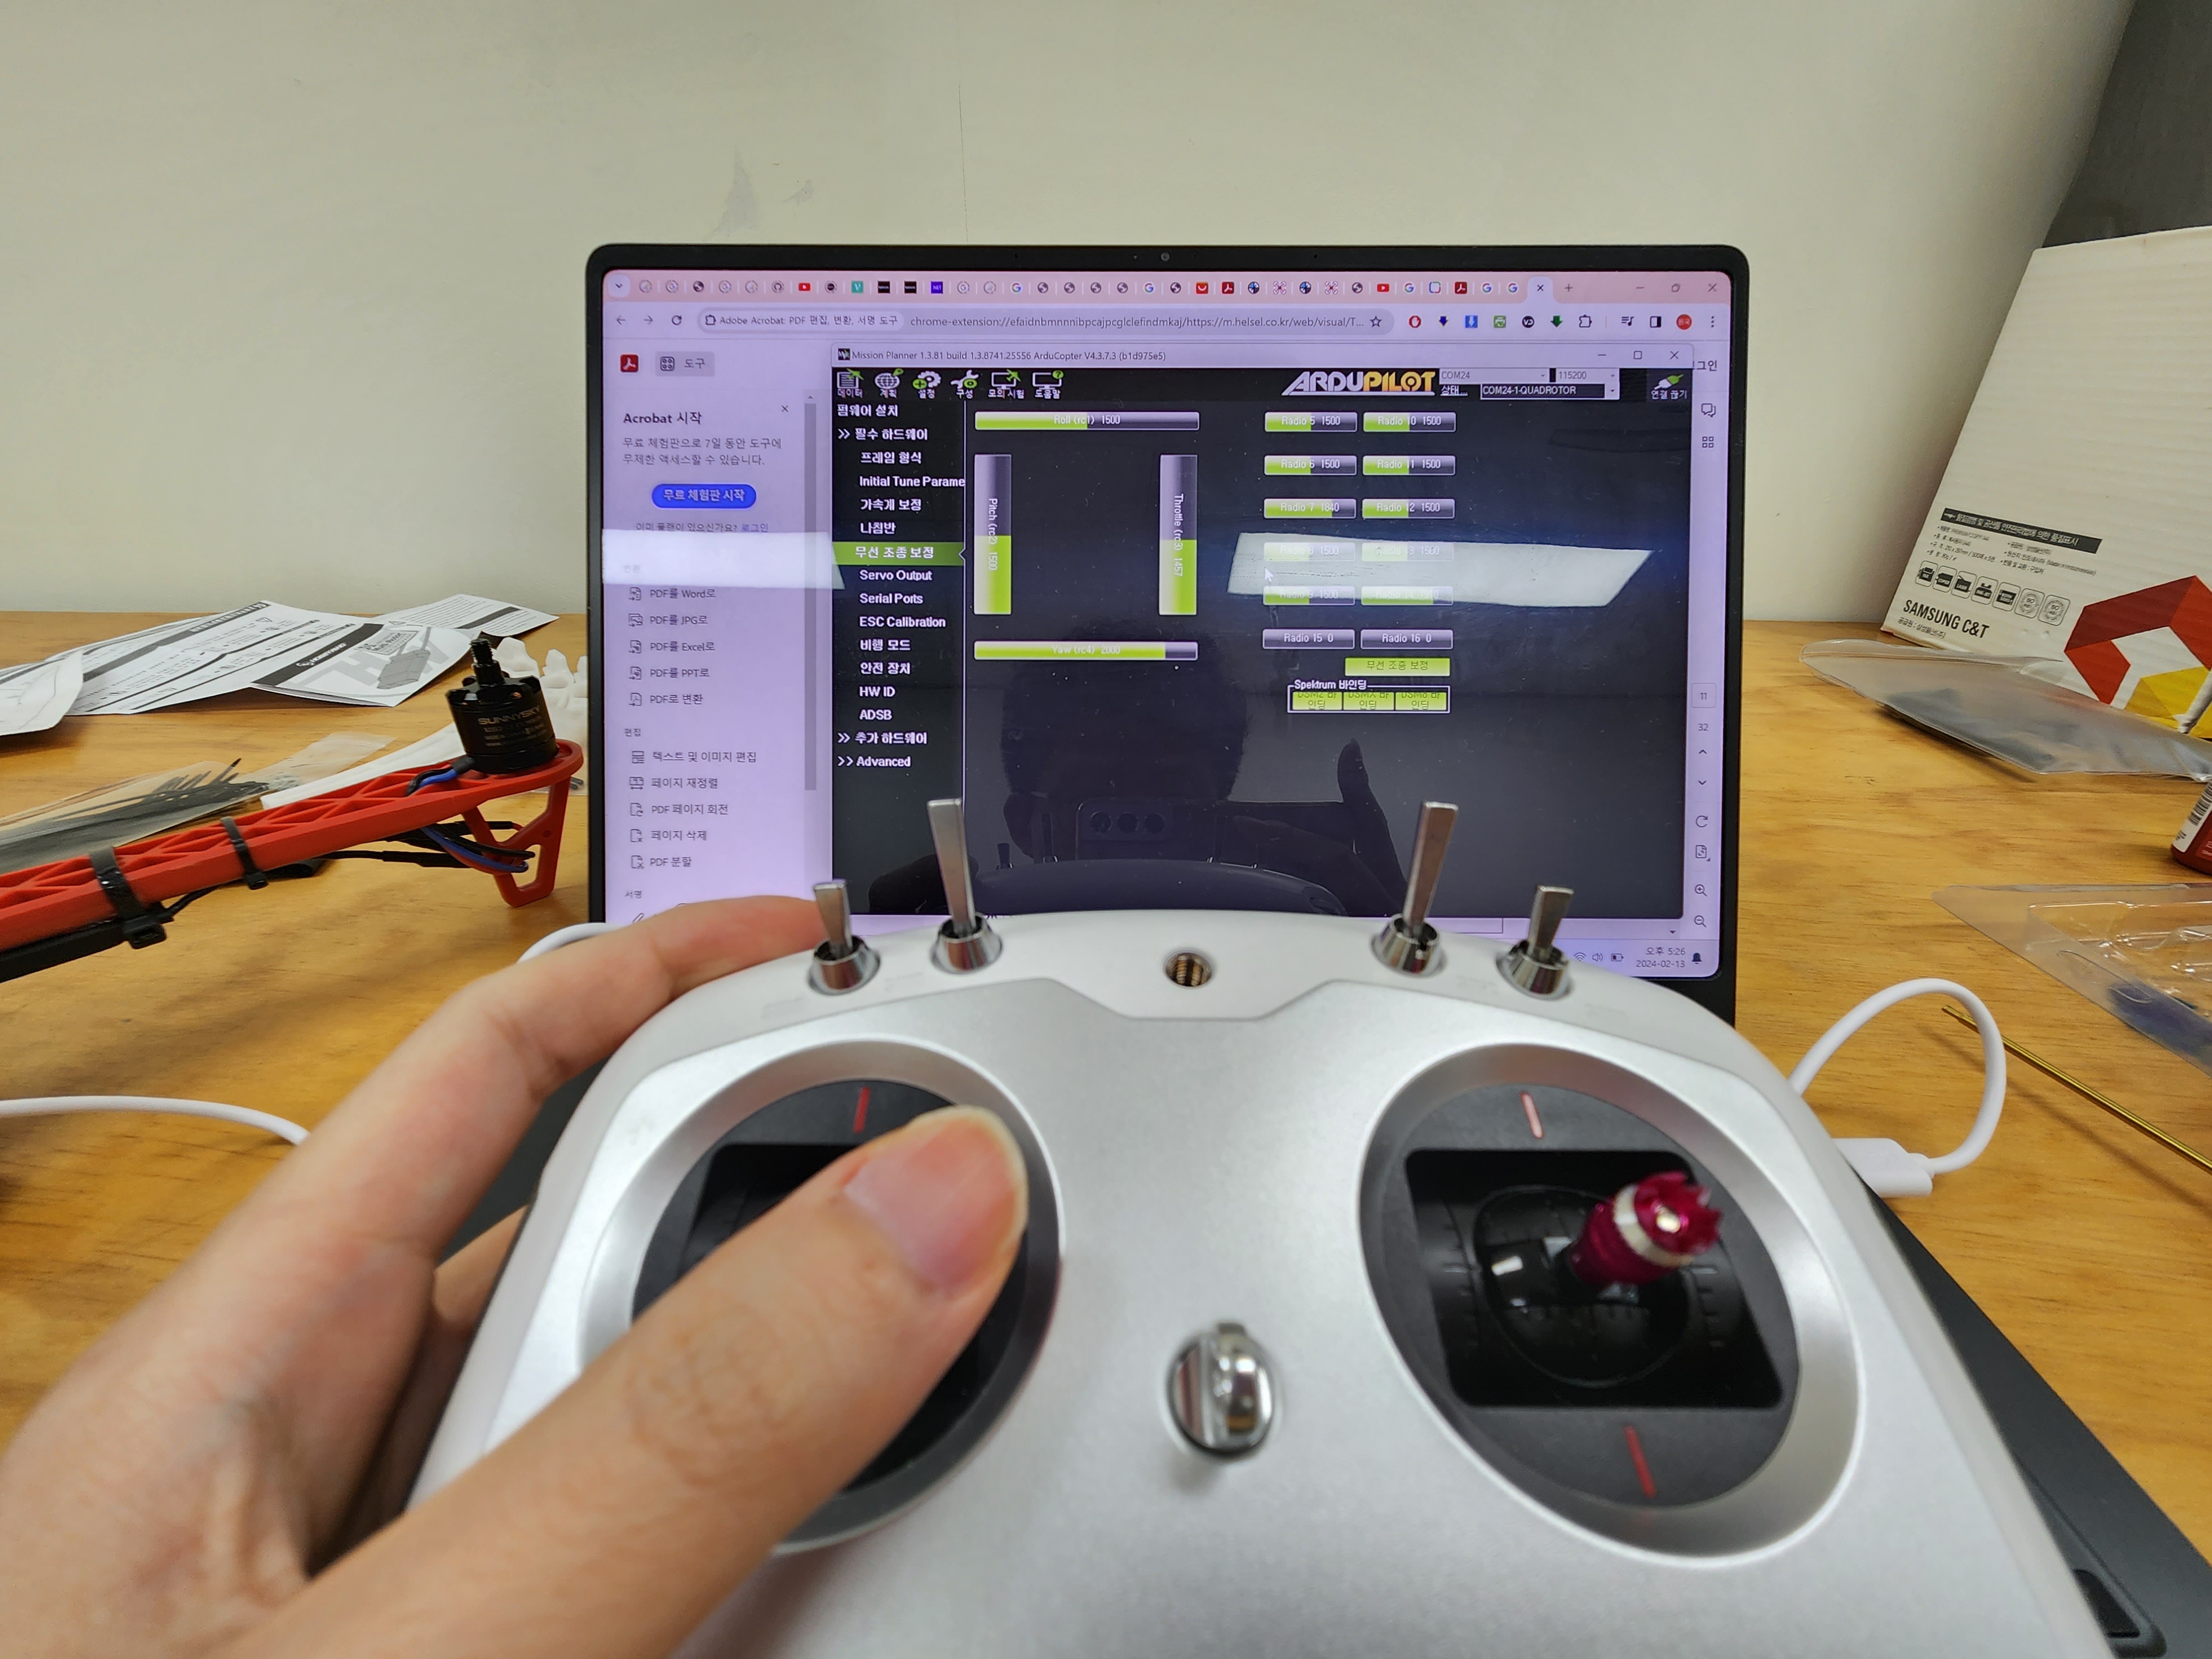
엘리베이터(e) 체크
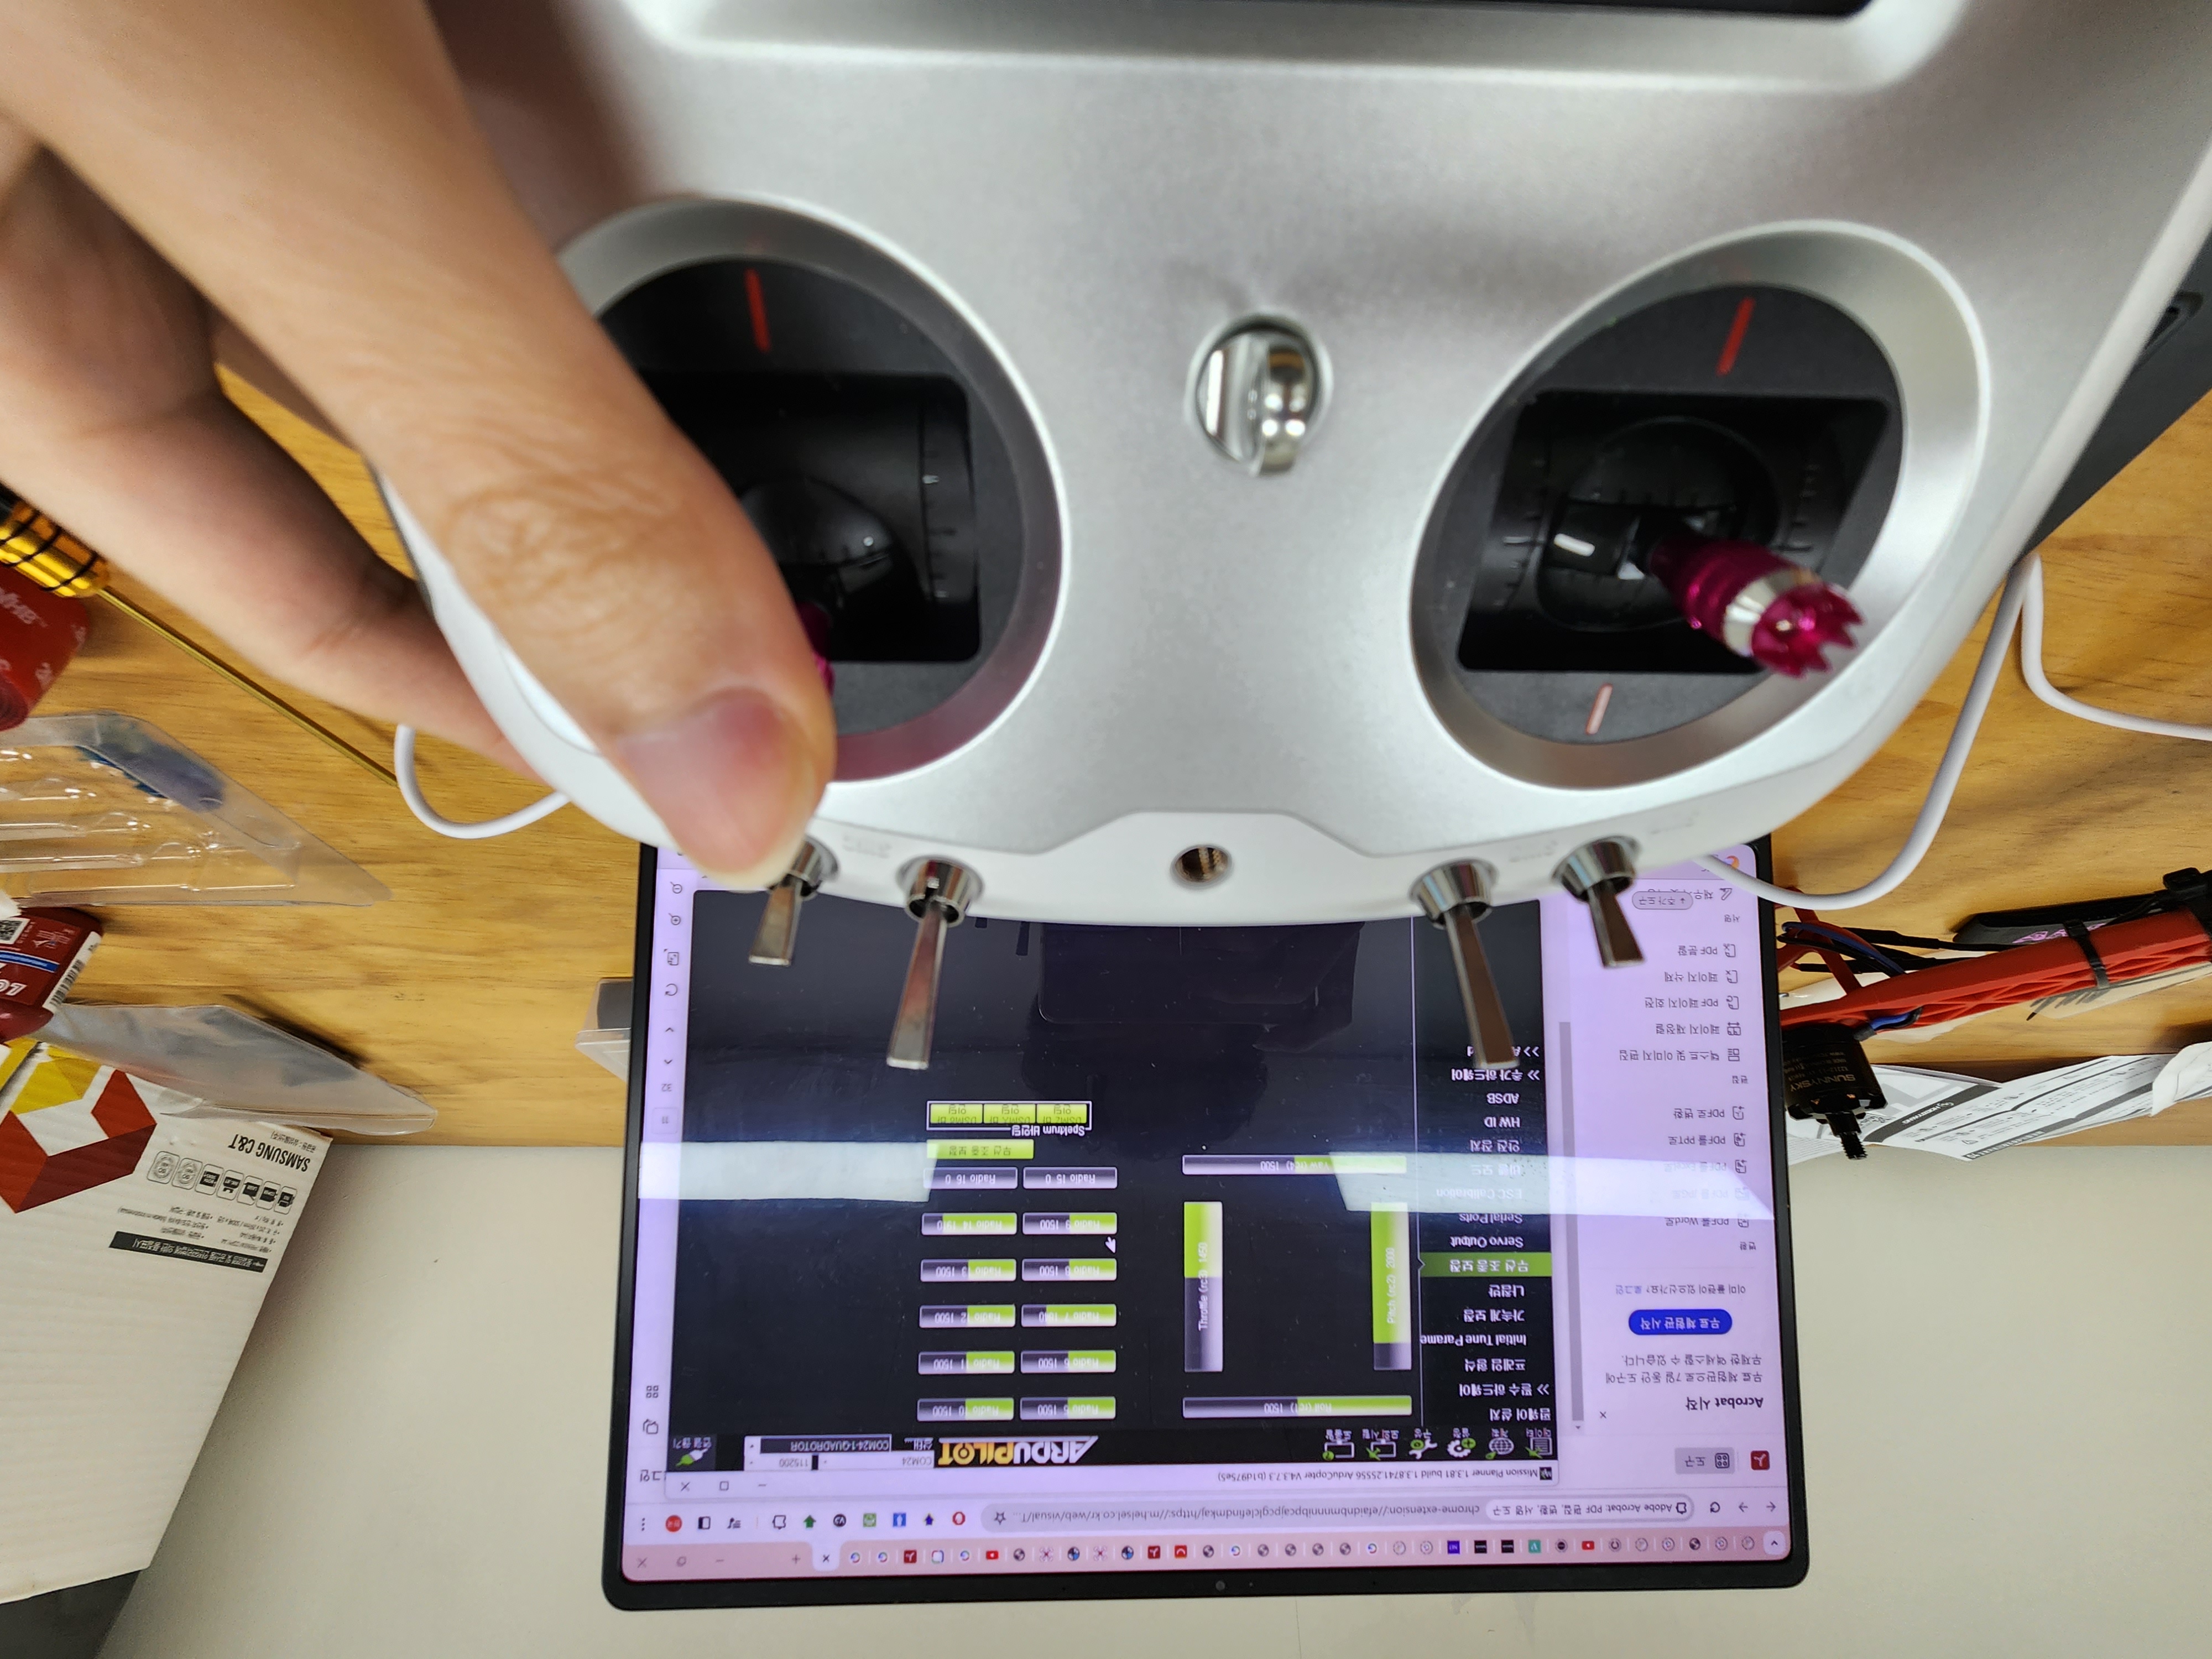

에일러론(a) 체크
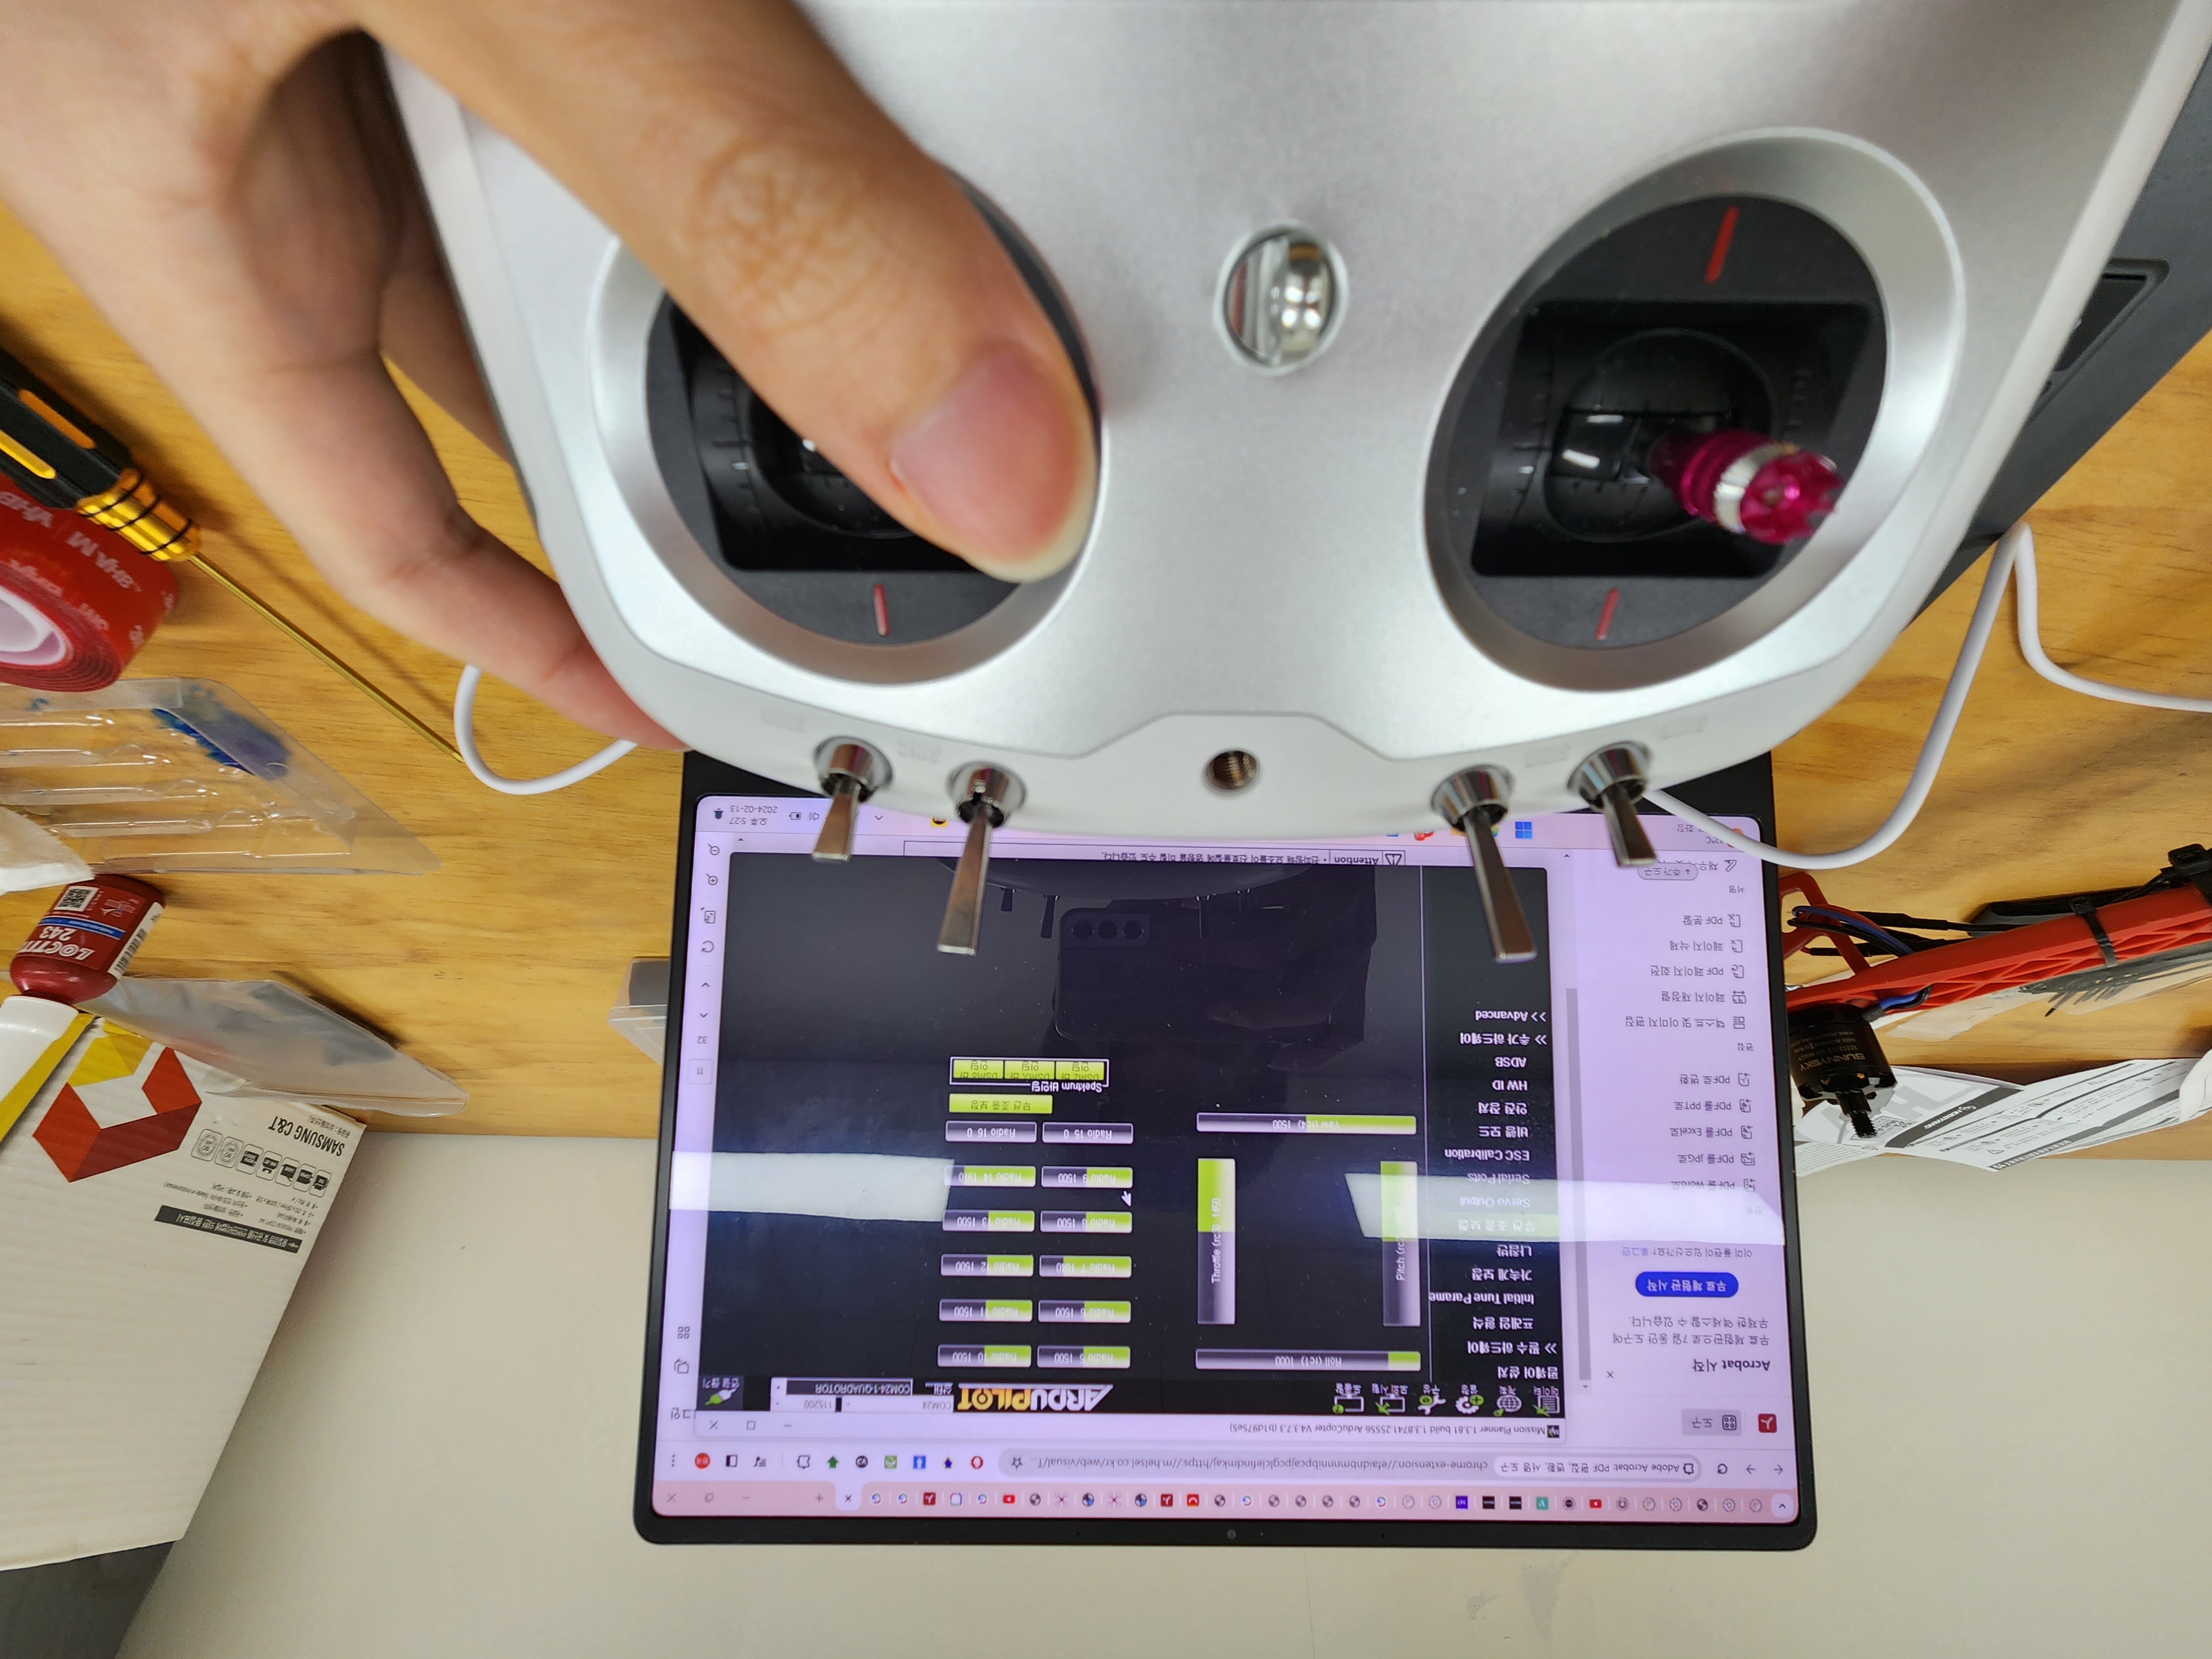
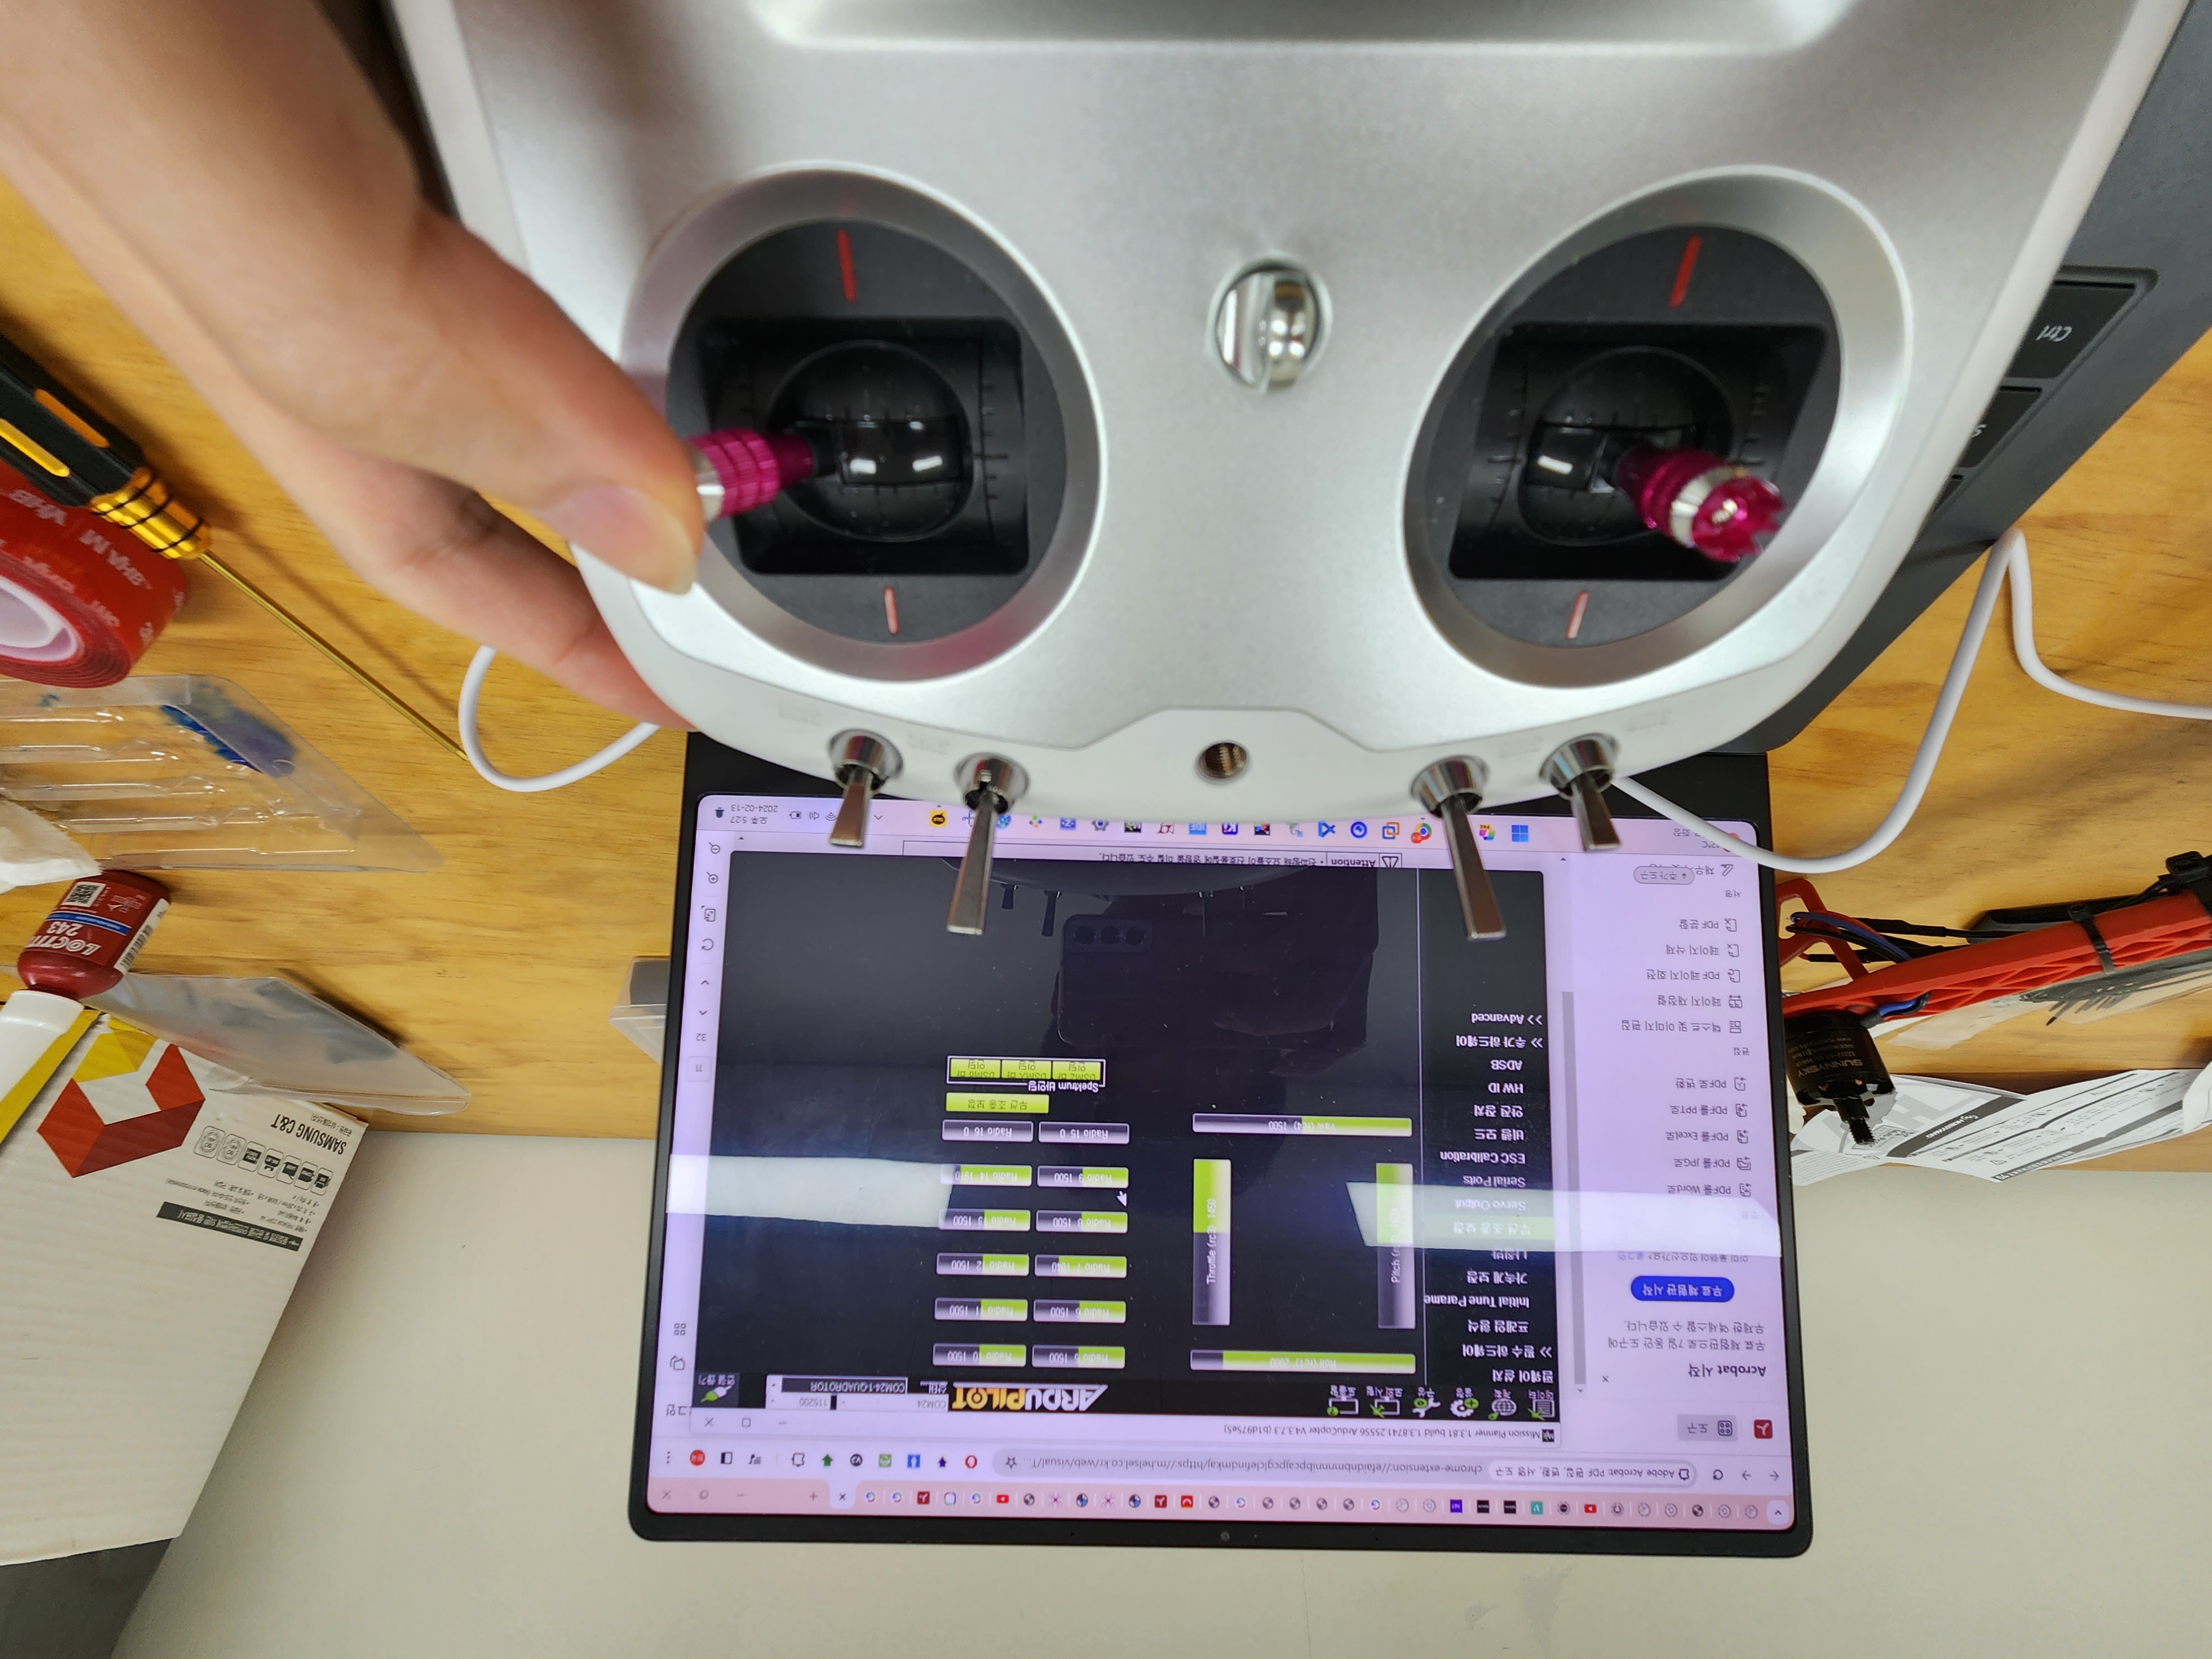
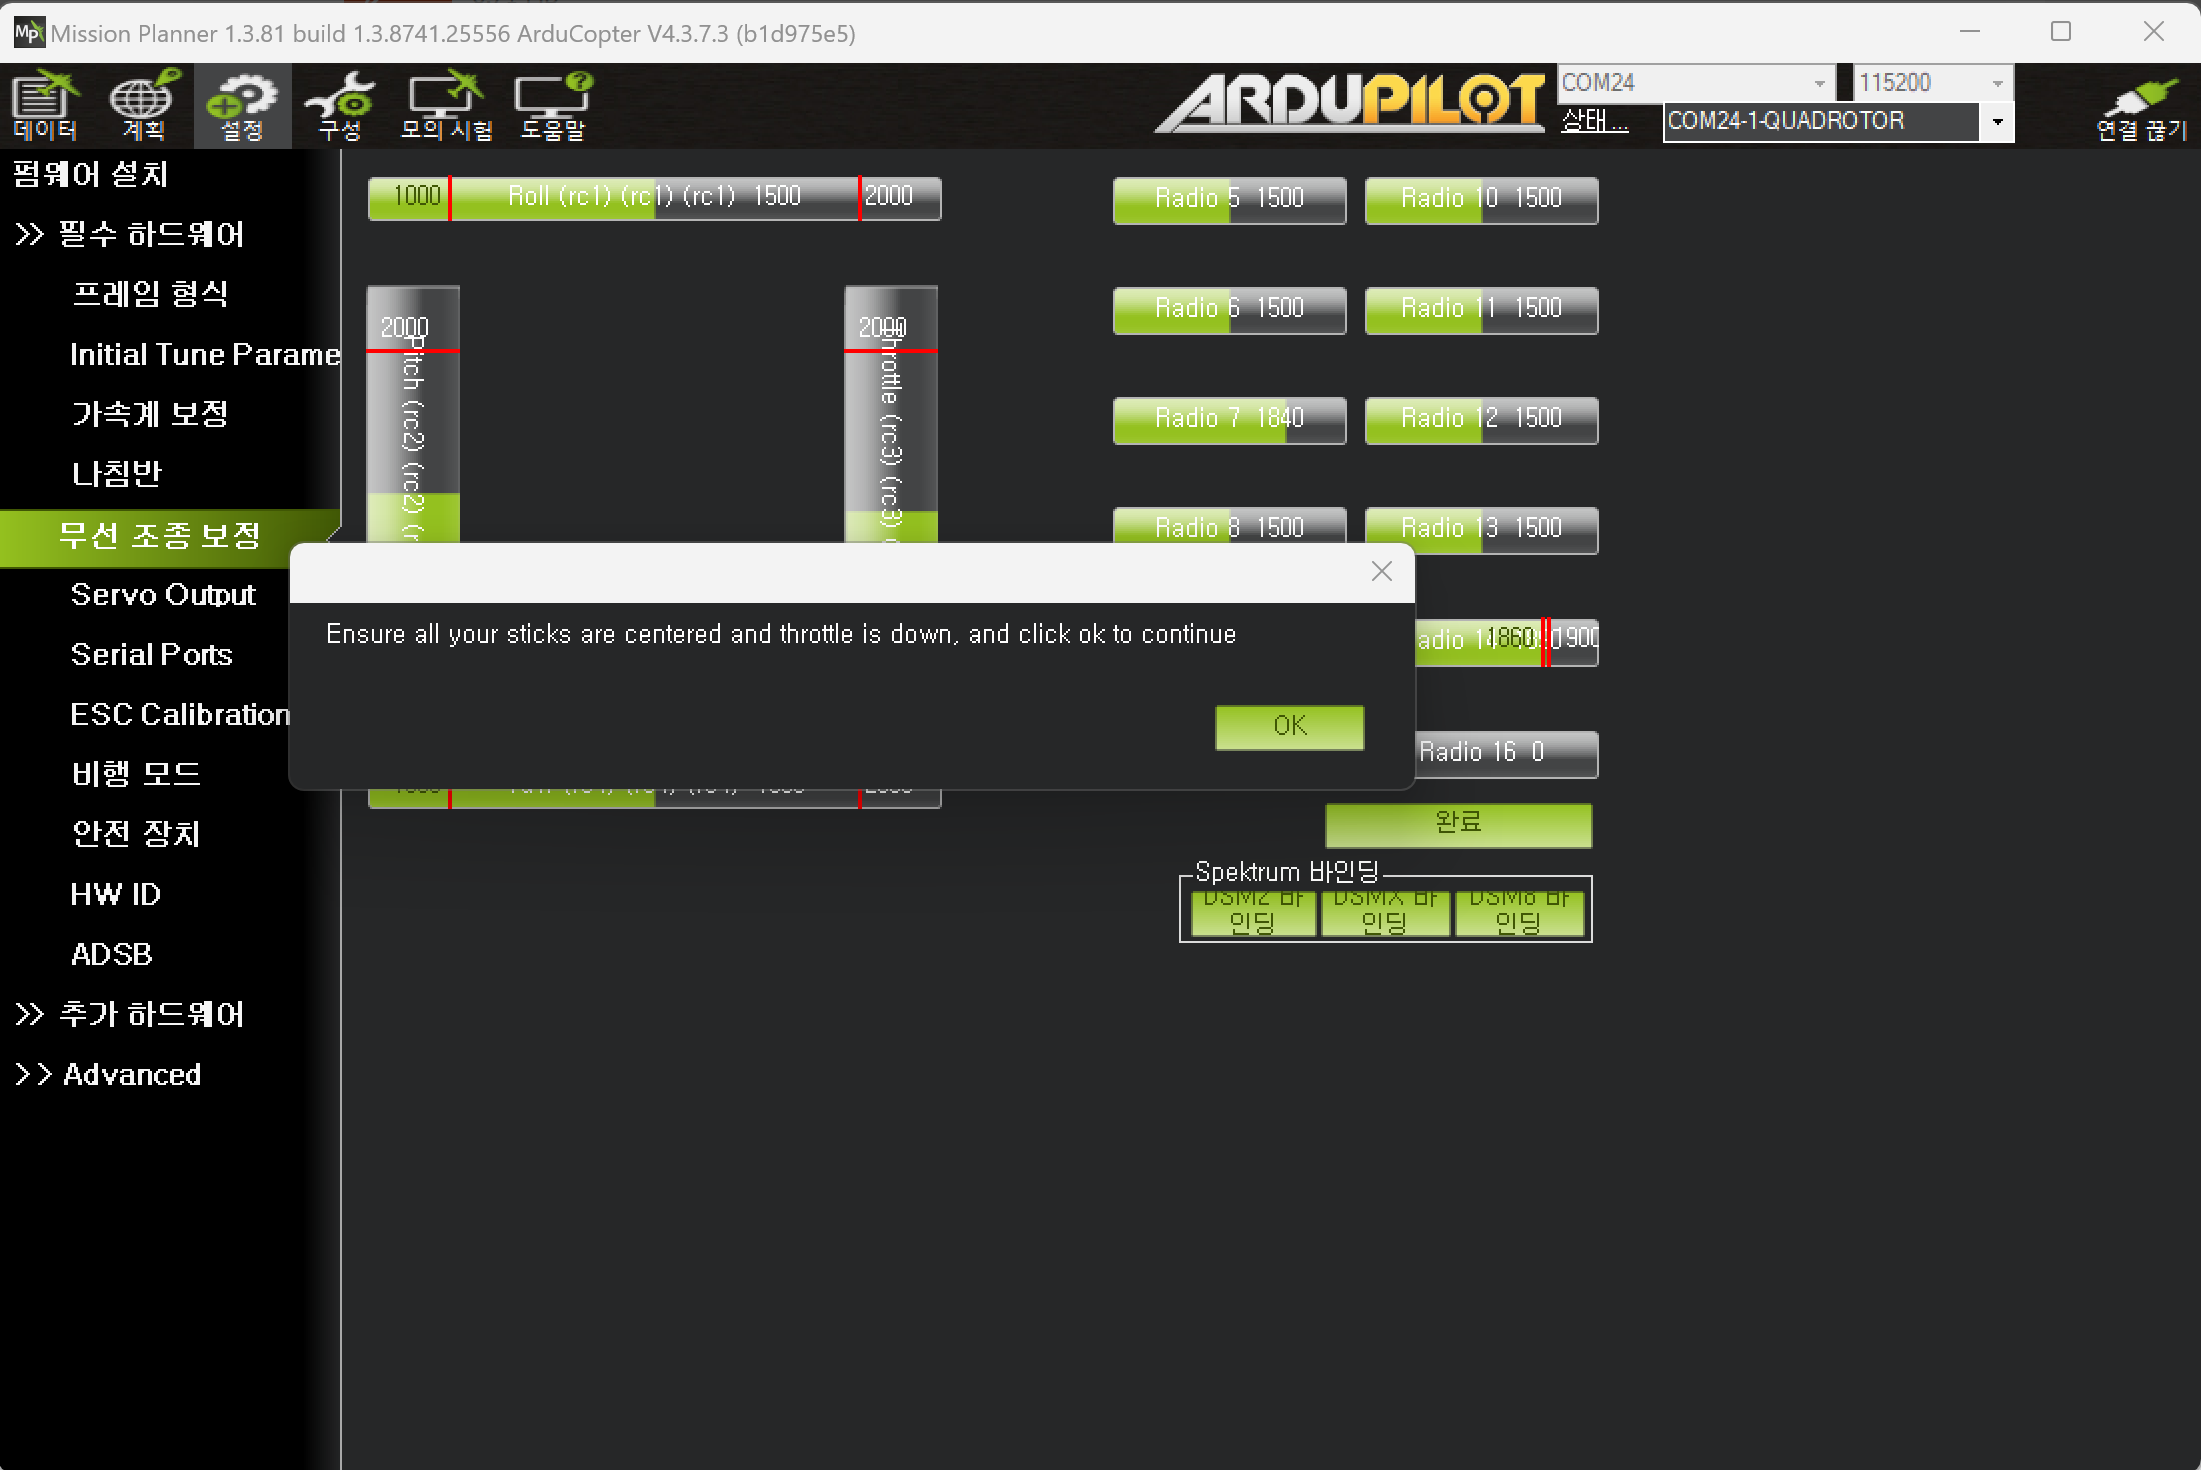
무선조종 보정
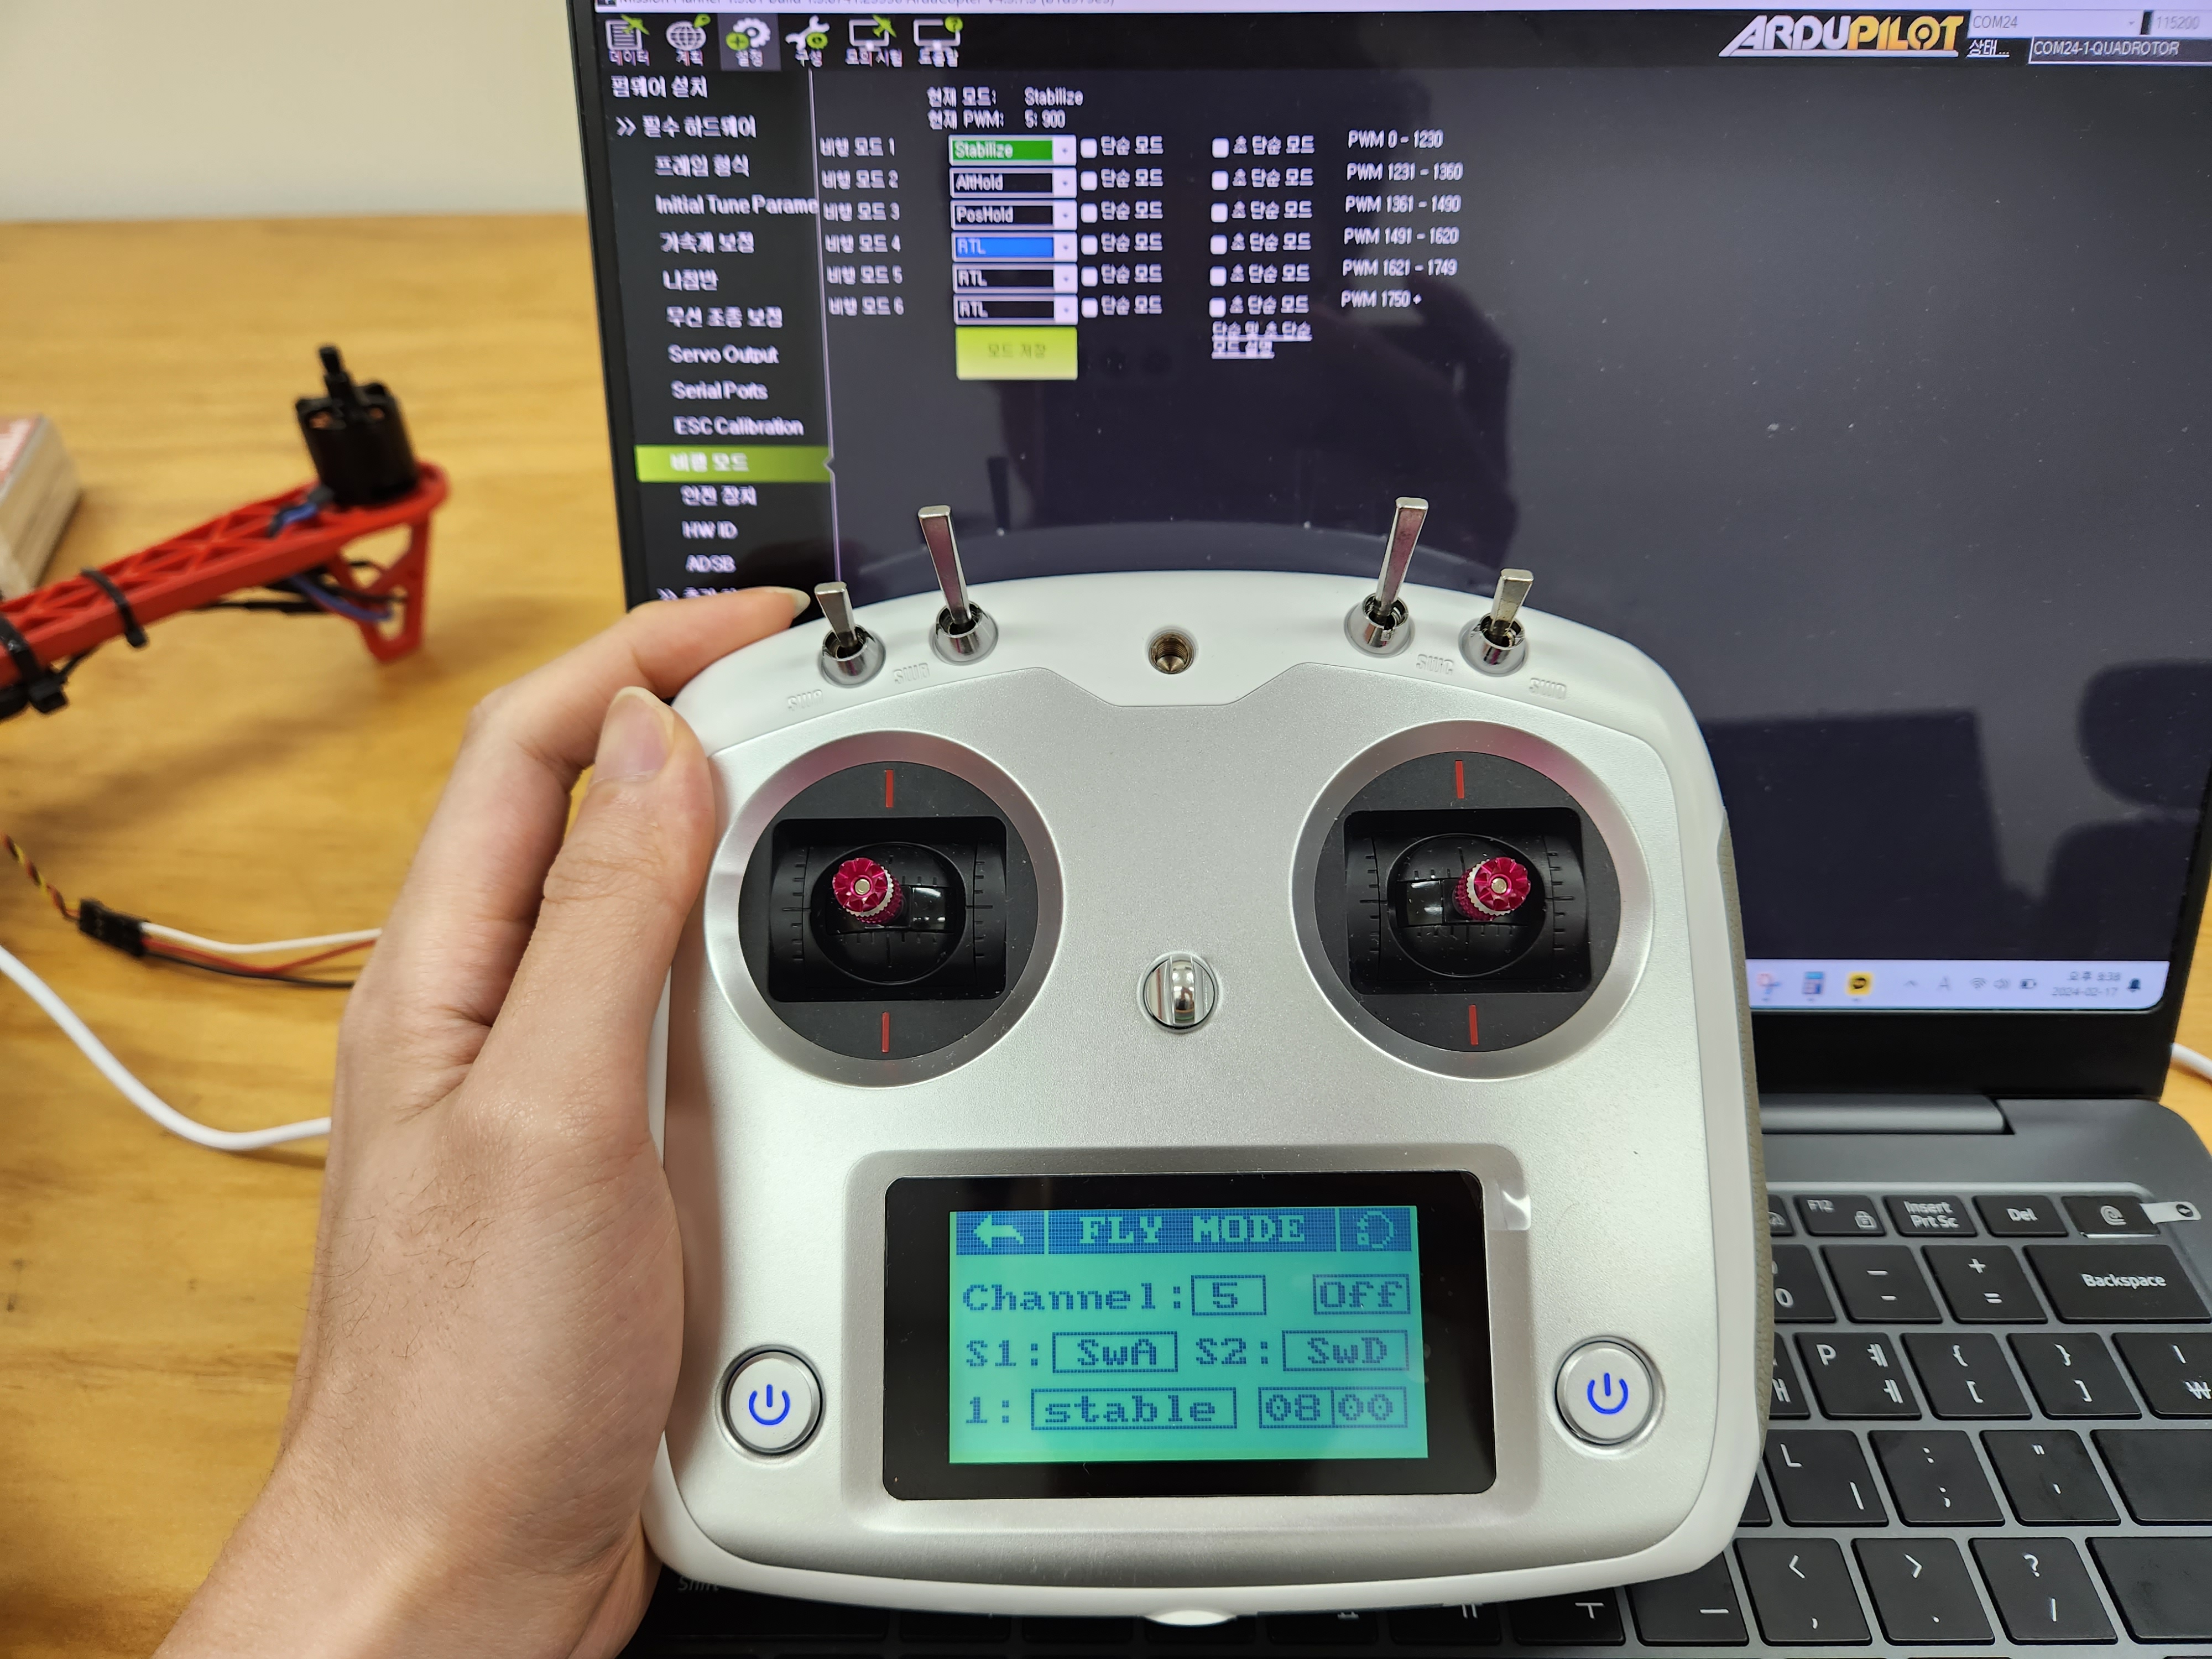
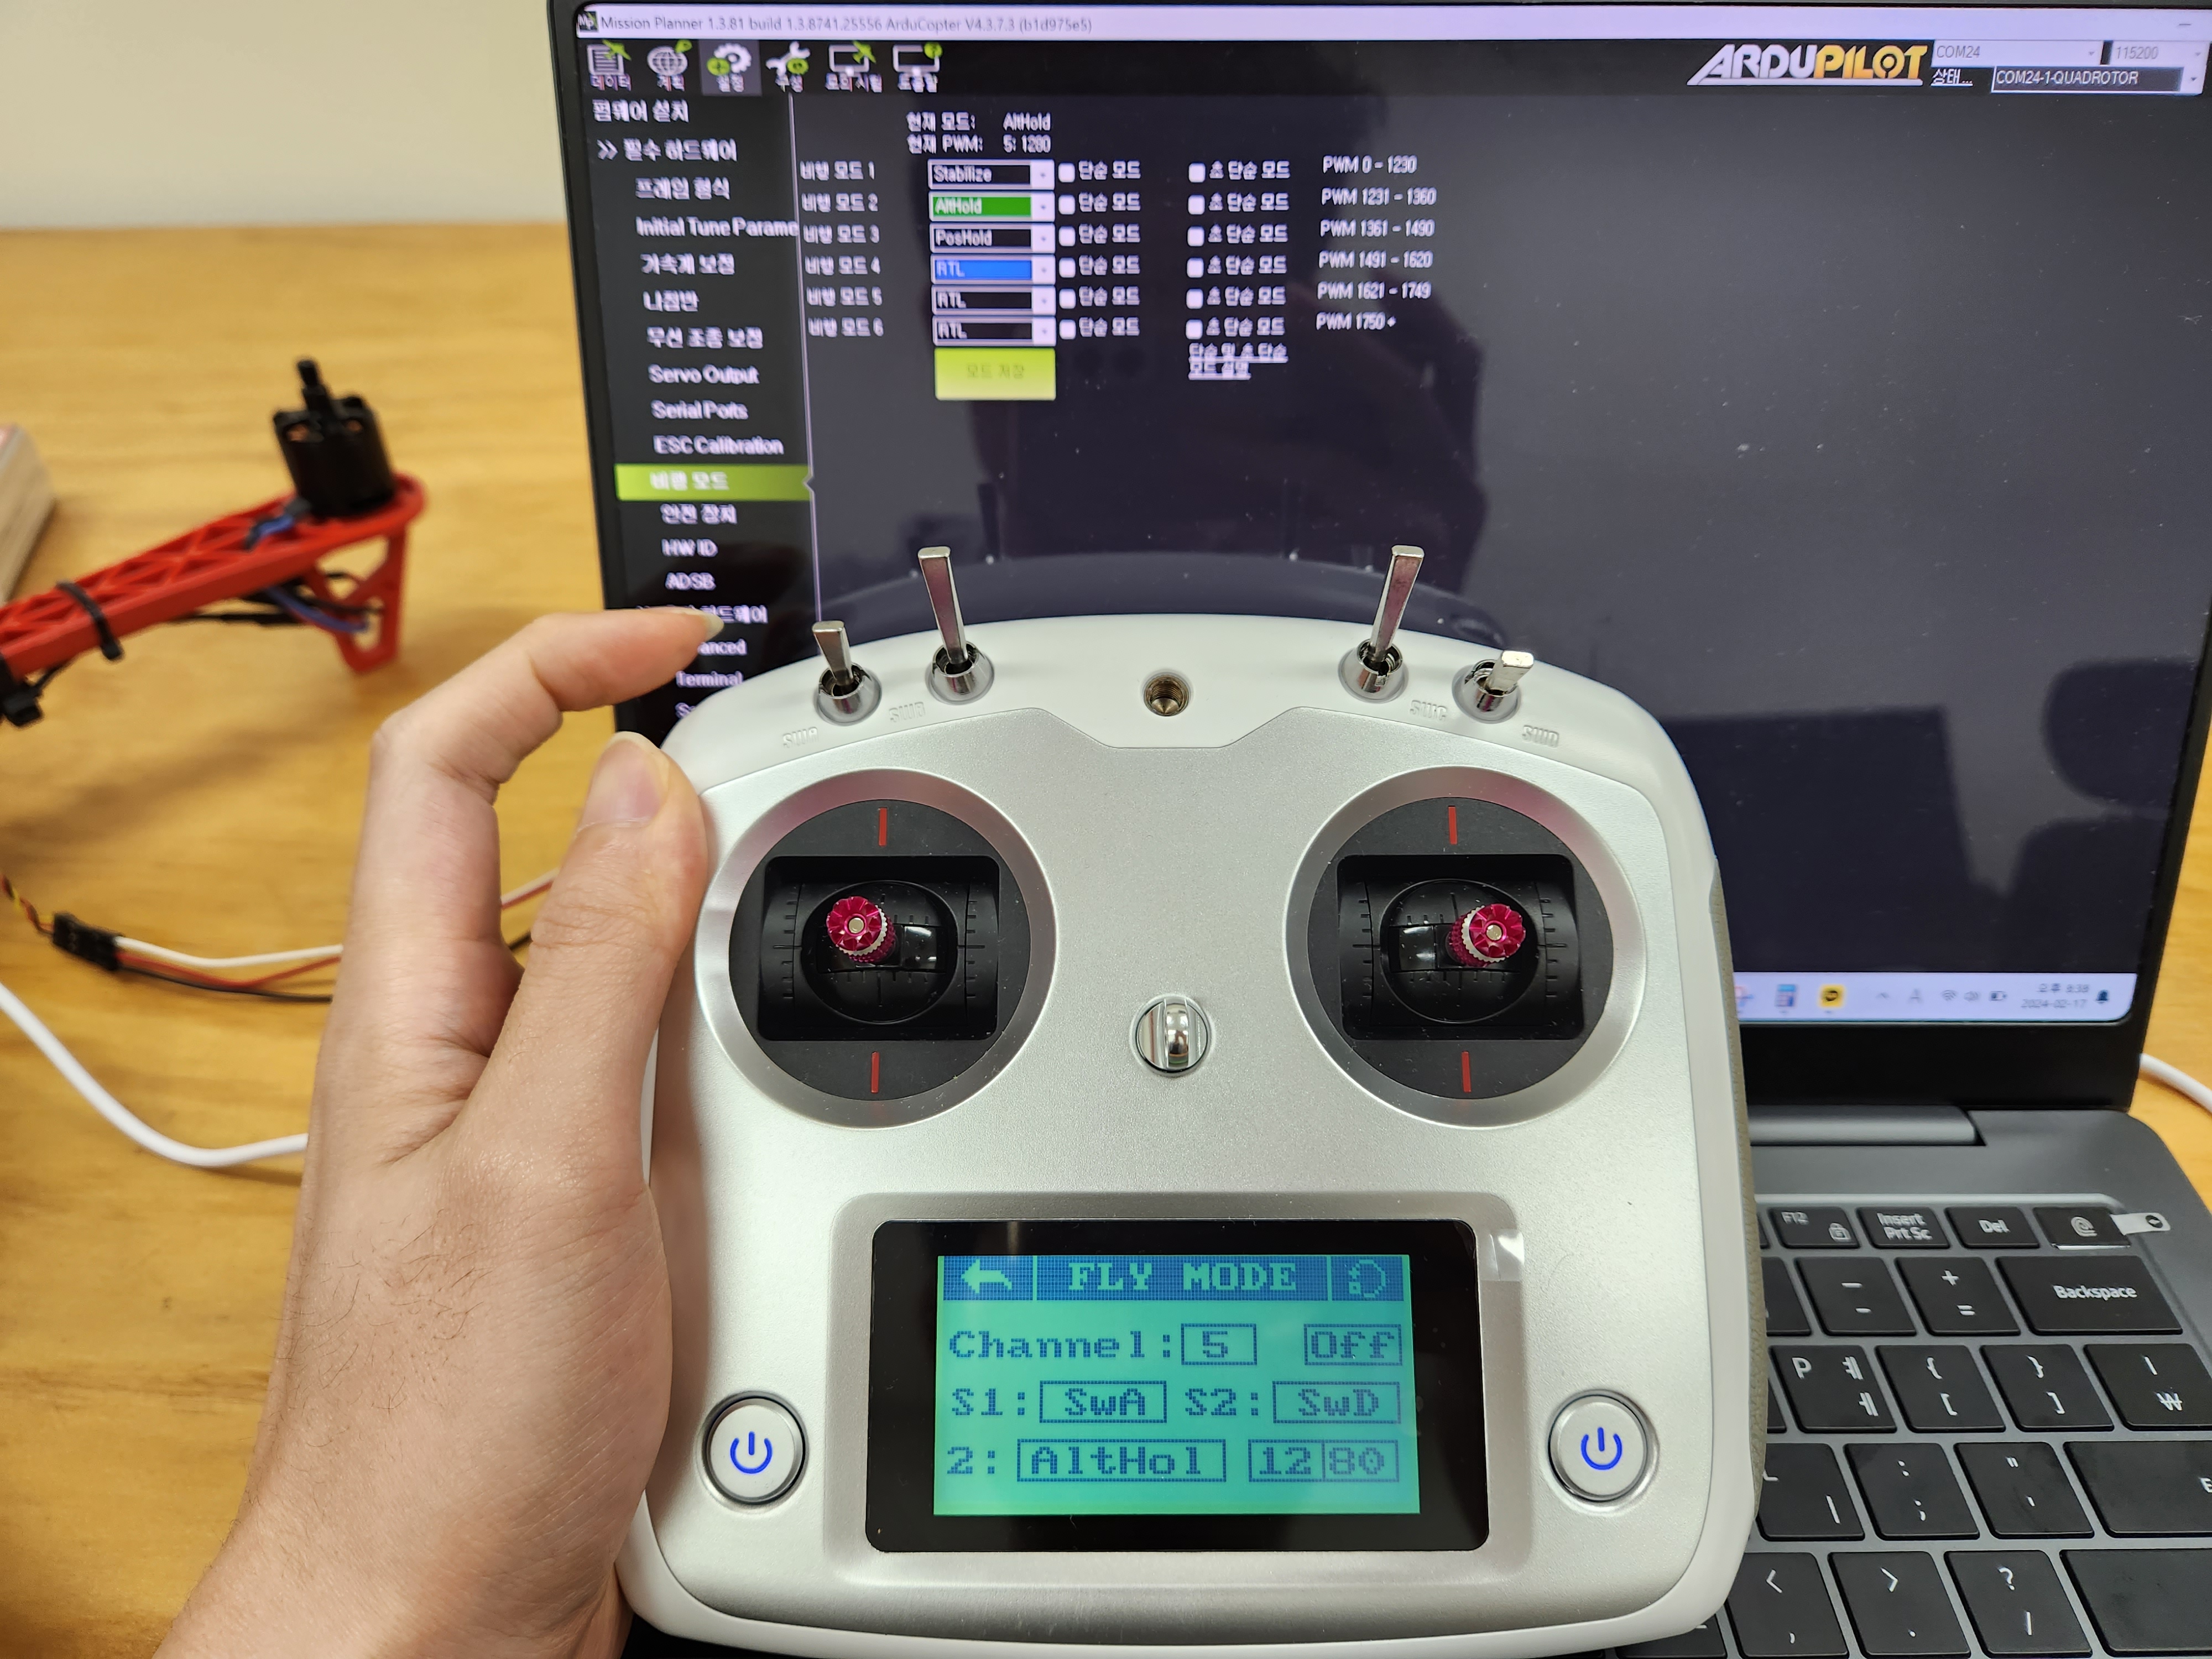
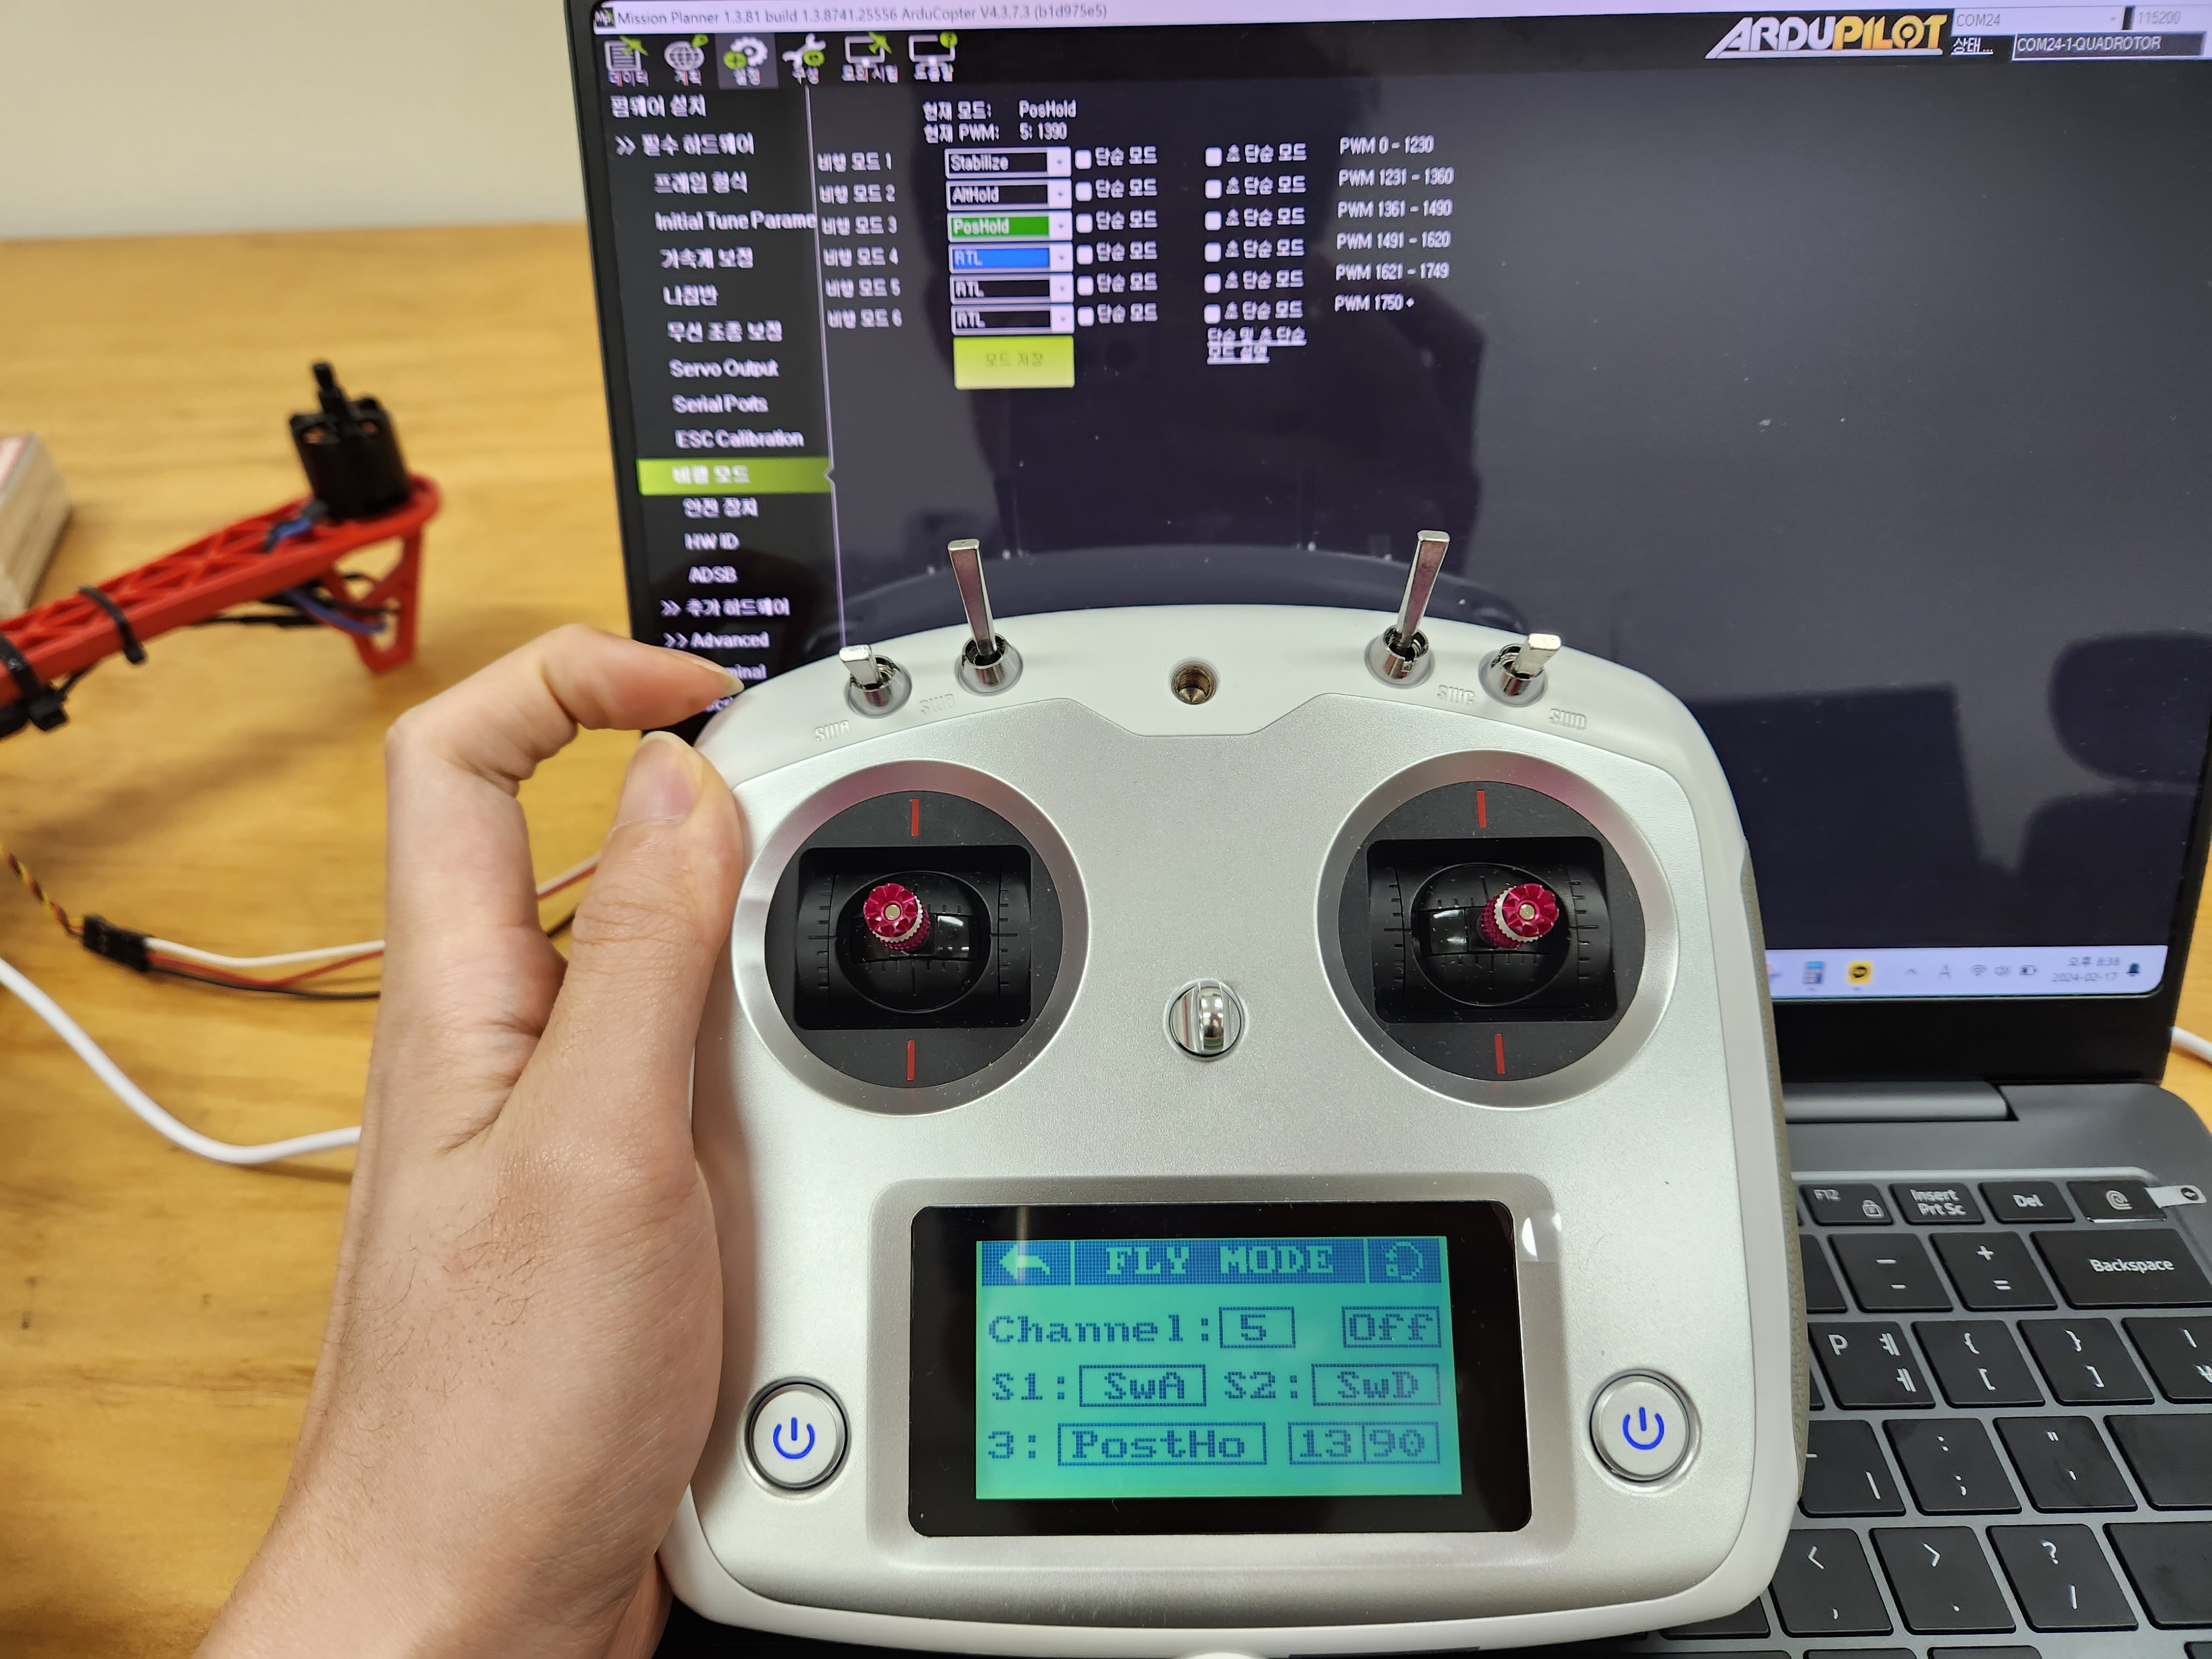
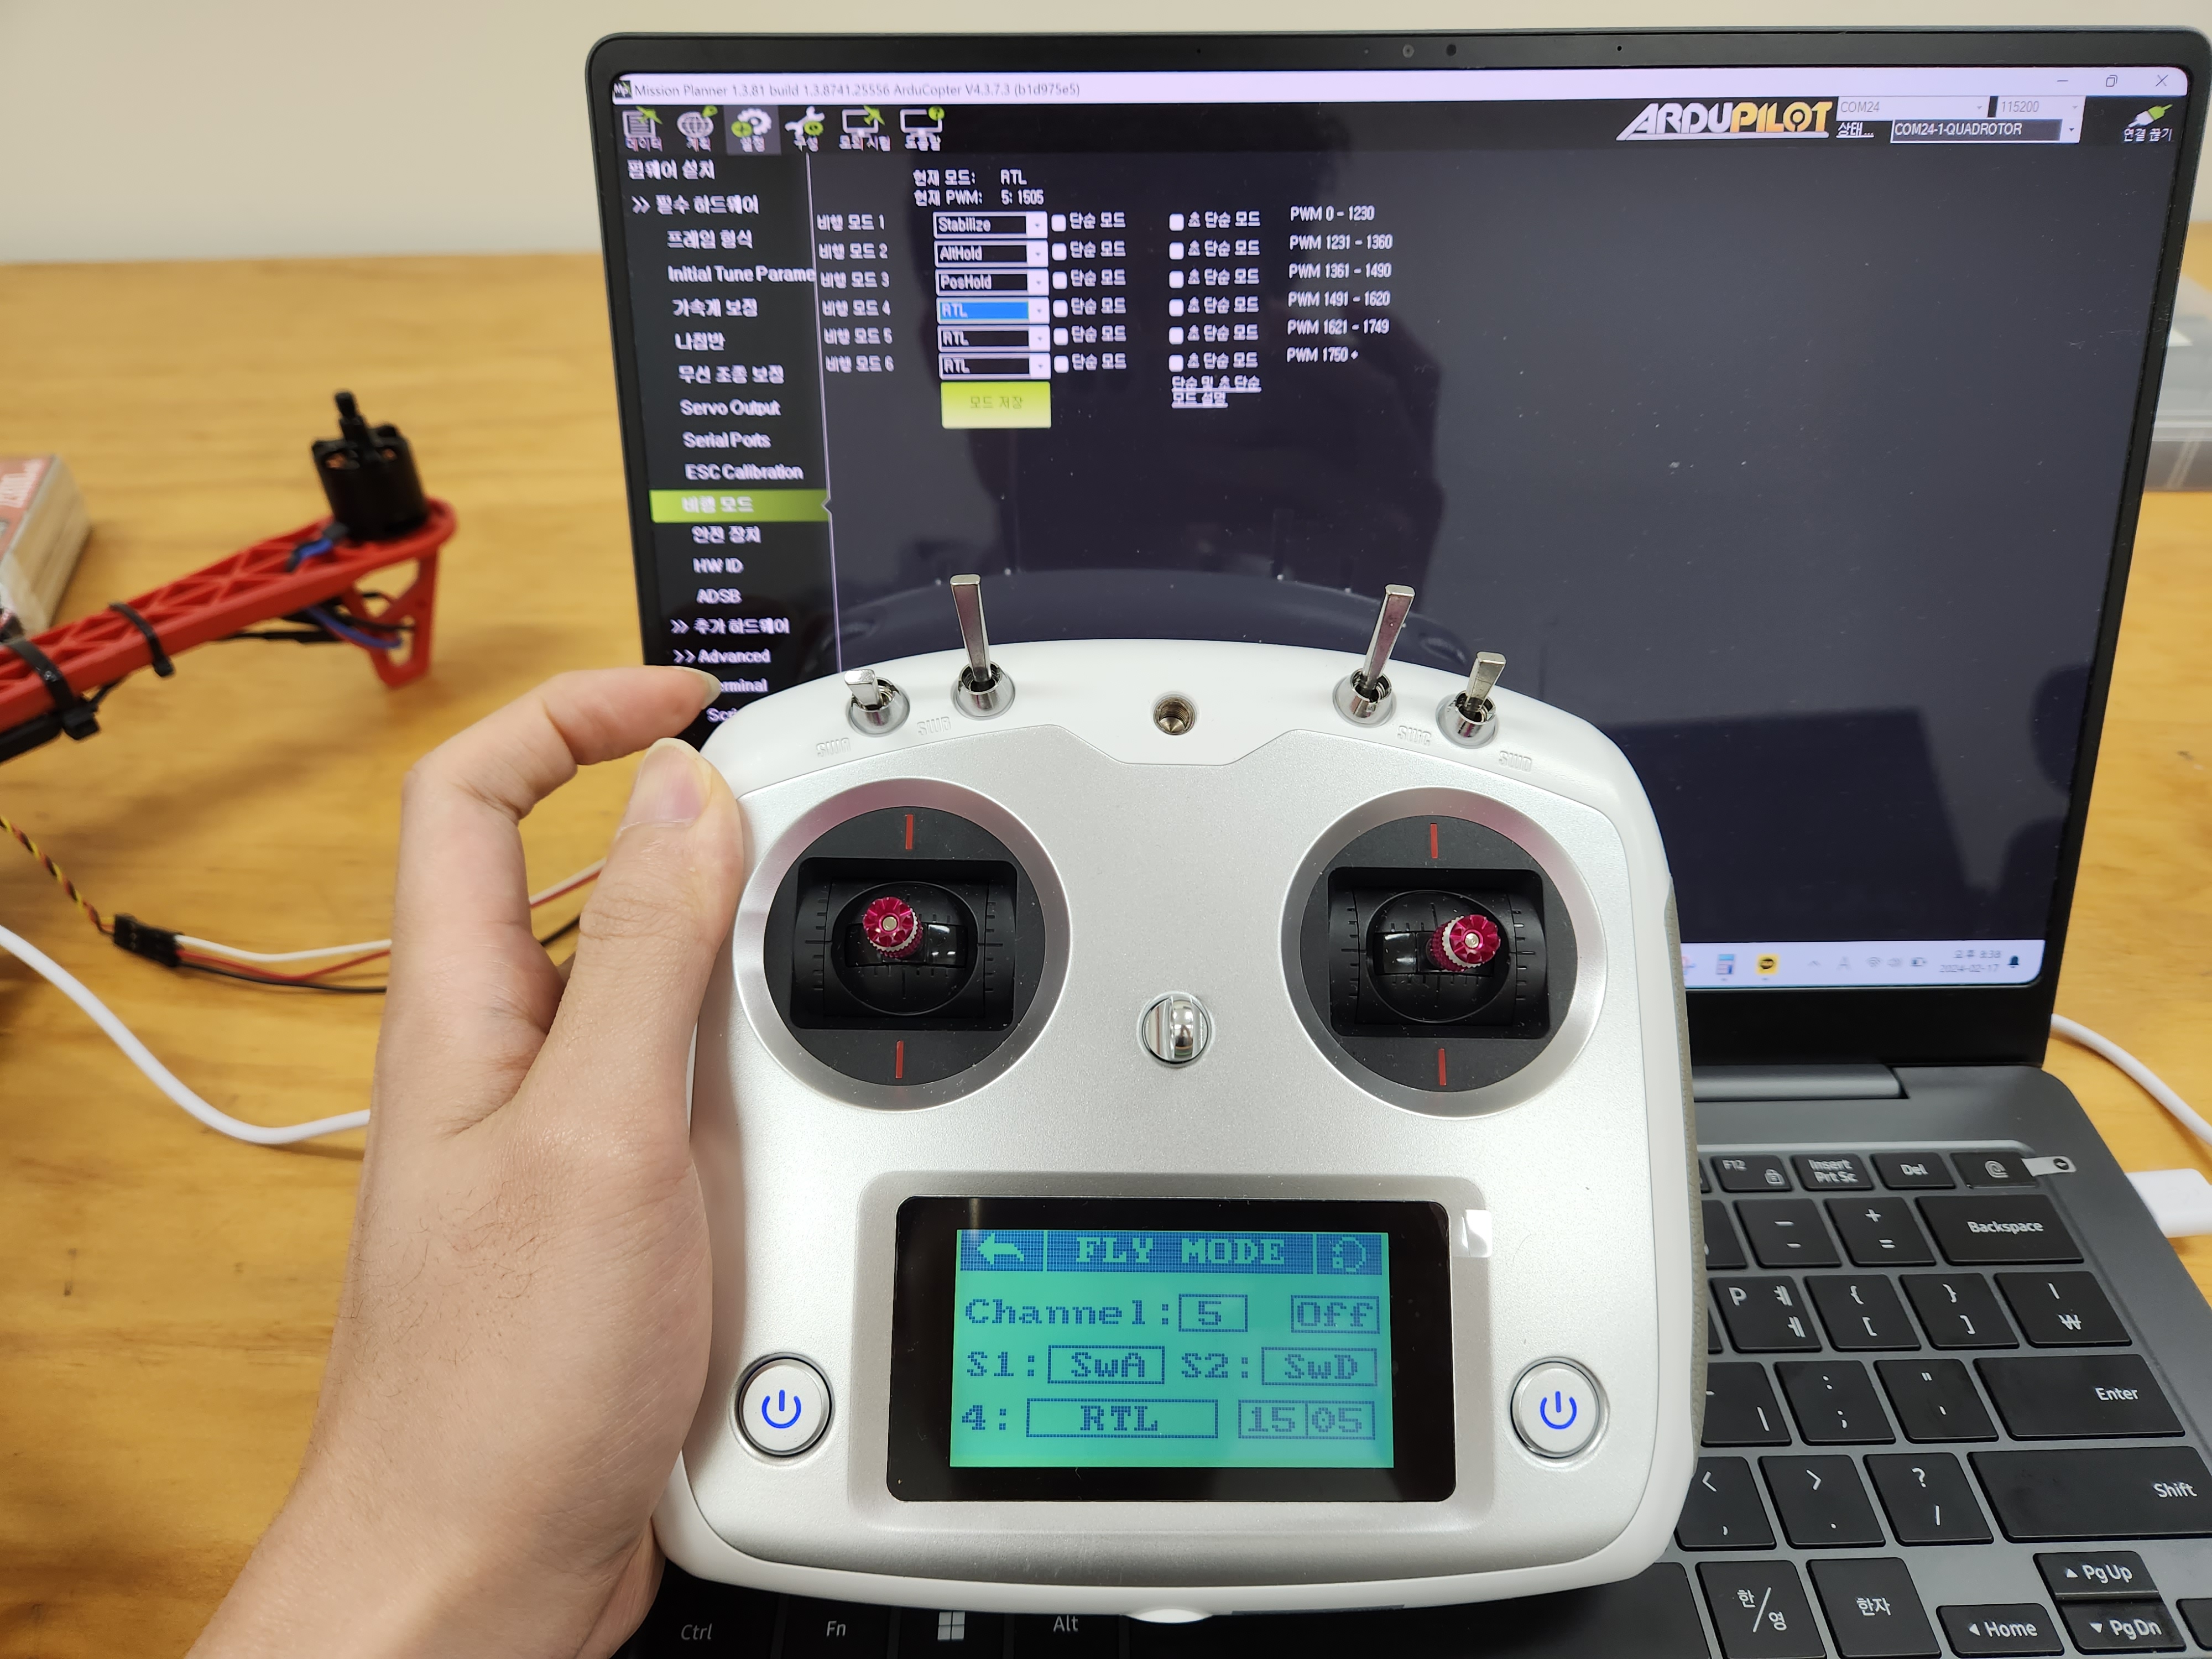
비행모드
flight mode 1(stabilize, PWM 1500)
- 연습시엔 flight mode 2(alt hold) 모드 추천
- 그외에 RTL(Return to Launch) 모드 등이 있는듯 함
led 의미
- (참고용)
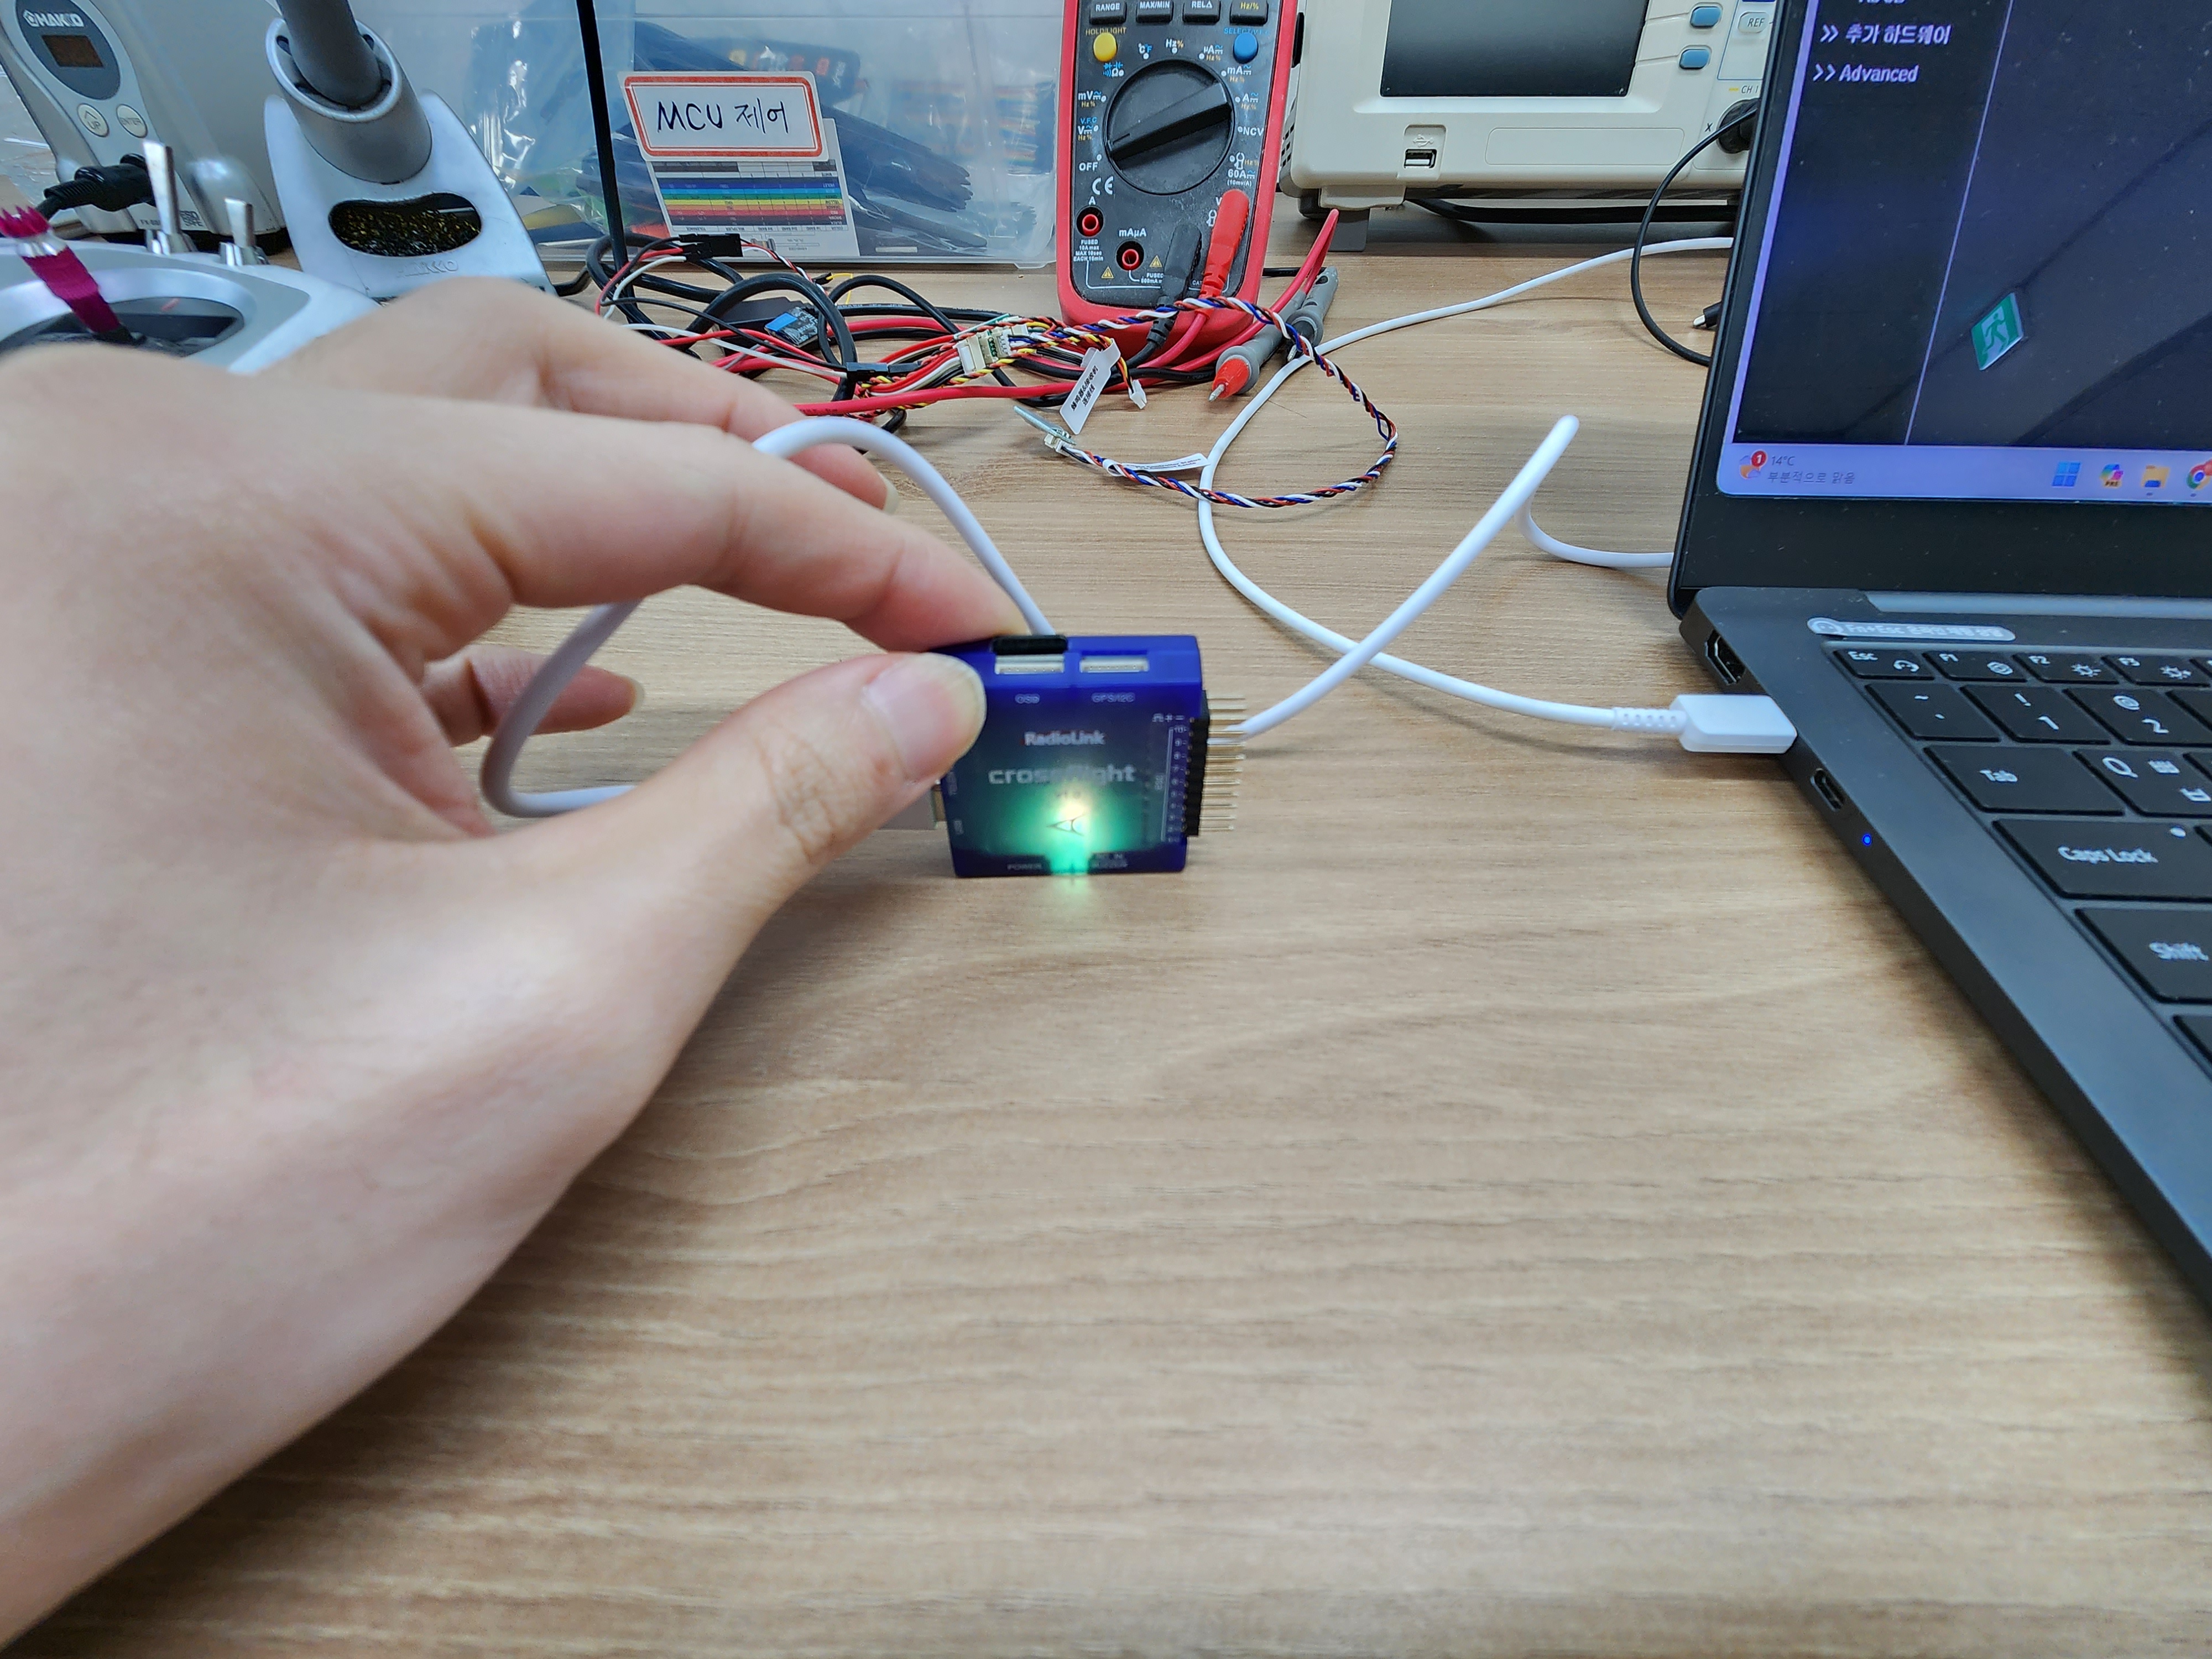
- blue and red flashing : Initializing
- yellow flashing twice : Error, Arming rejected
- blue flashing : Stablize, can be armed. Failed to RTL or PosHold
- green flashing : GPS locked, can be armed and take off, RTL
- green on + a long d sound : Armed and ready to take off
- yellow flashing : Transmitter failsafe activated
- yellow flashing + repeated sound : Battery failsafe activated
- yellow flashing + high/high/low sound : GPS data error or GPS failsafe activated
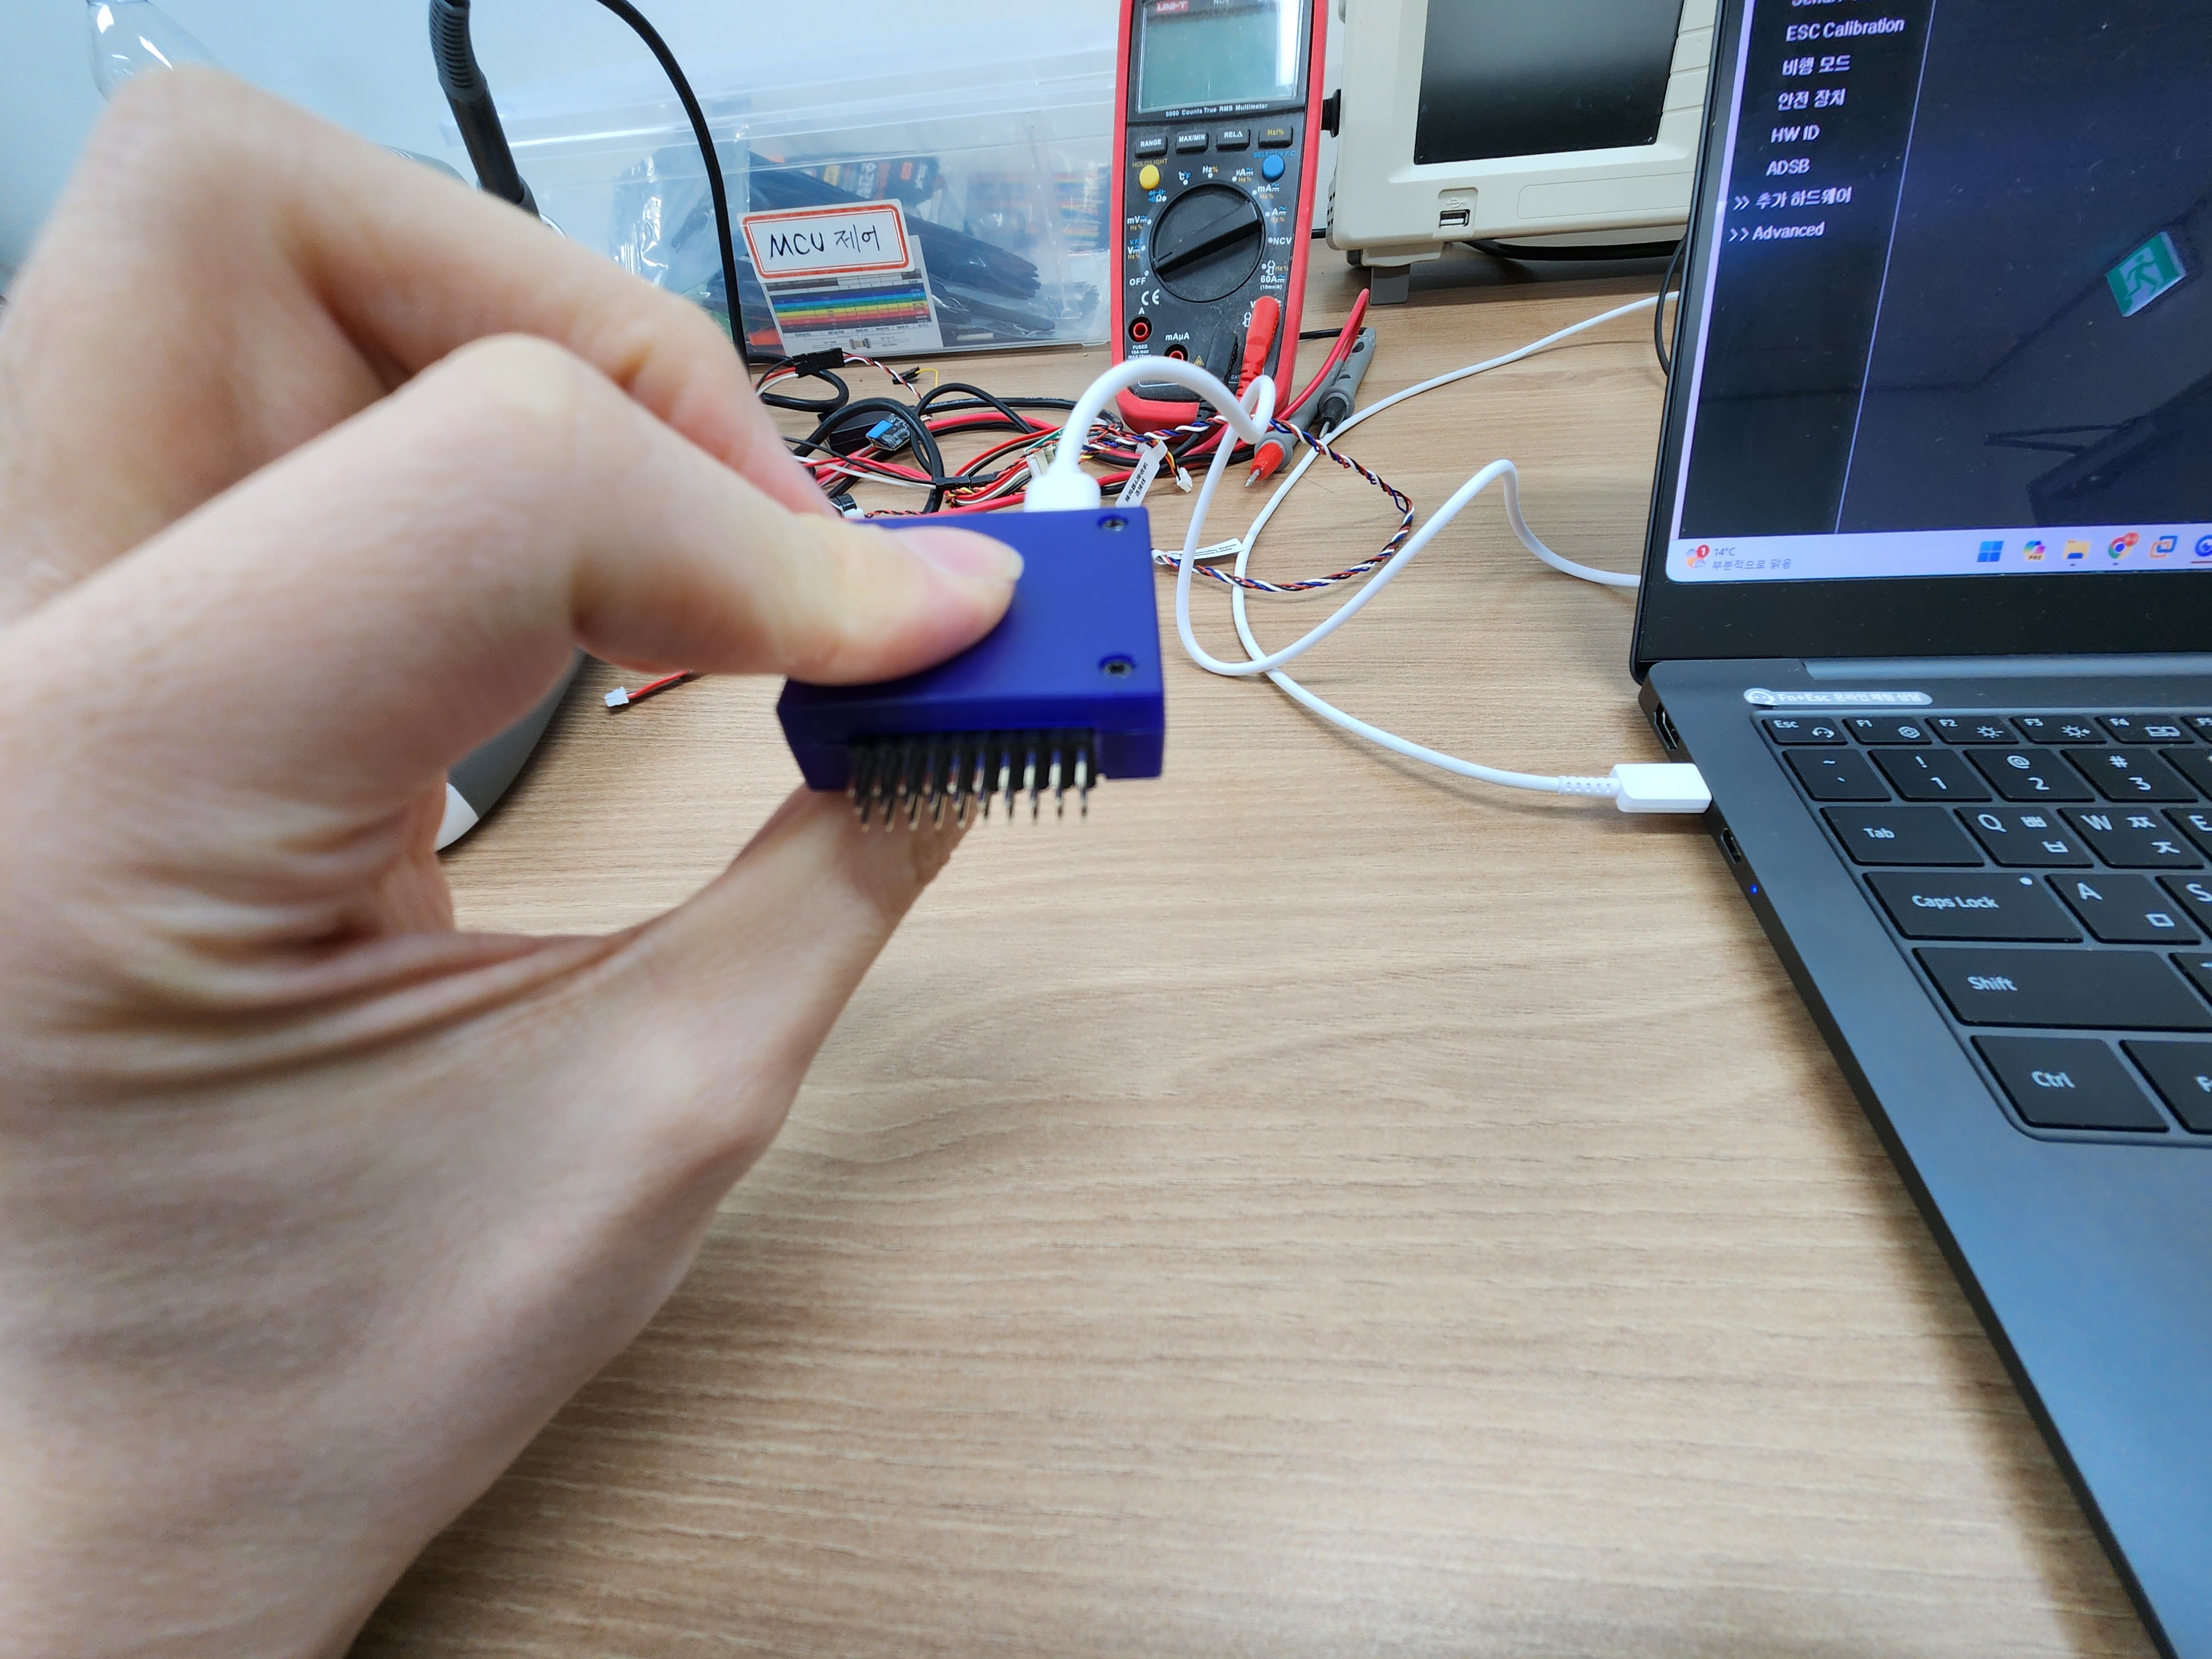
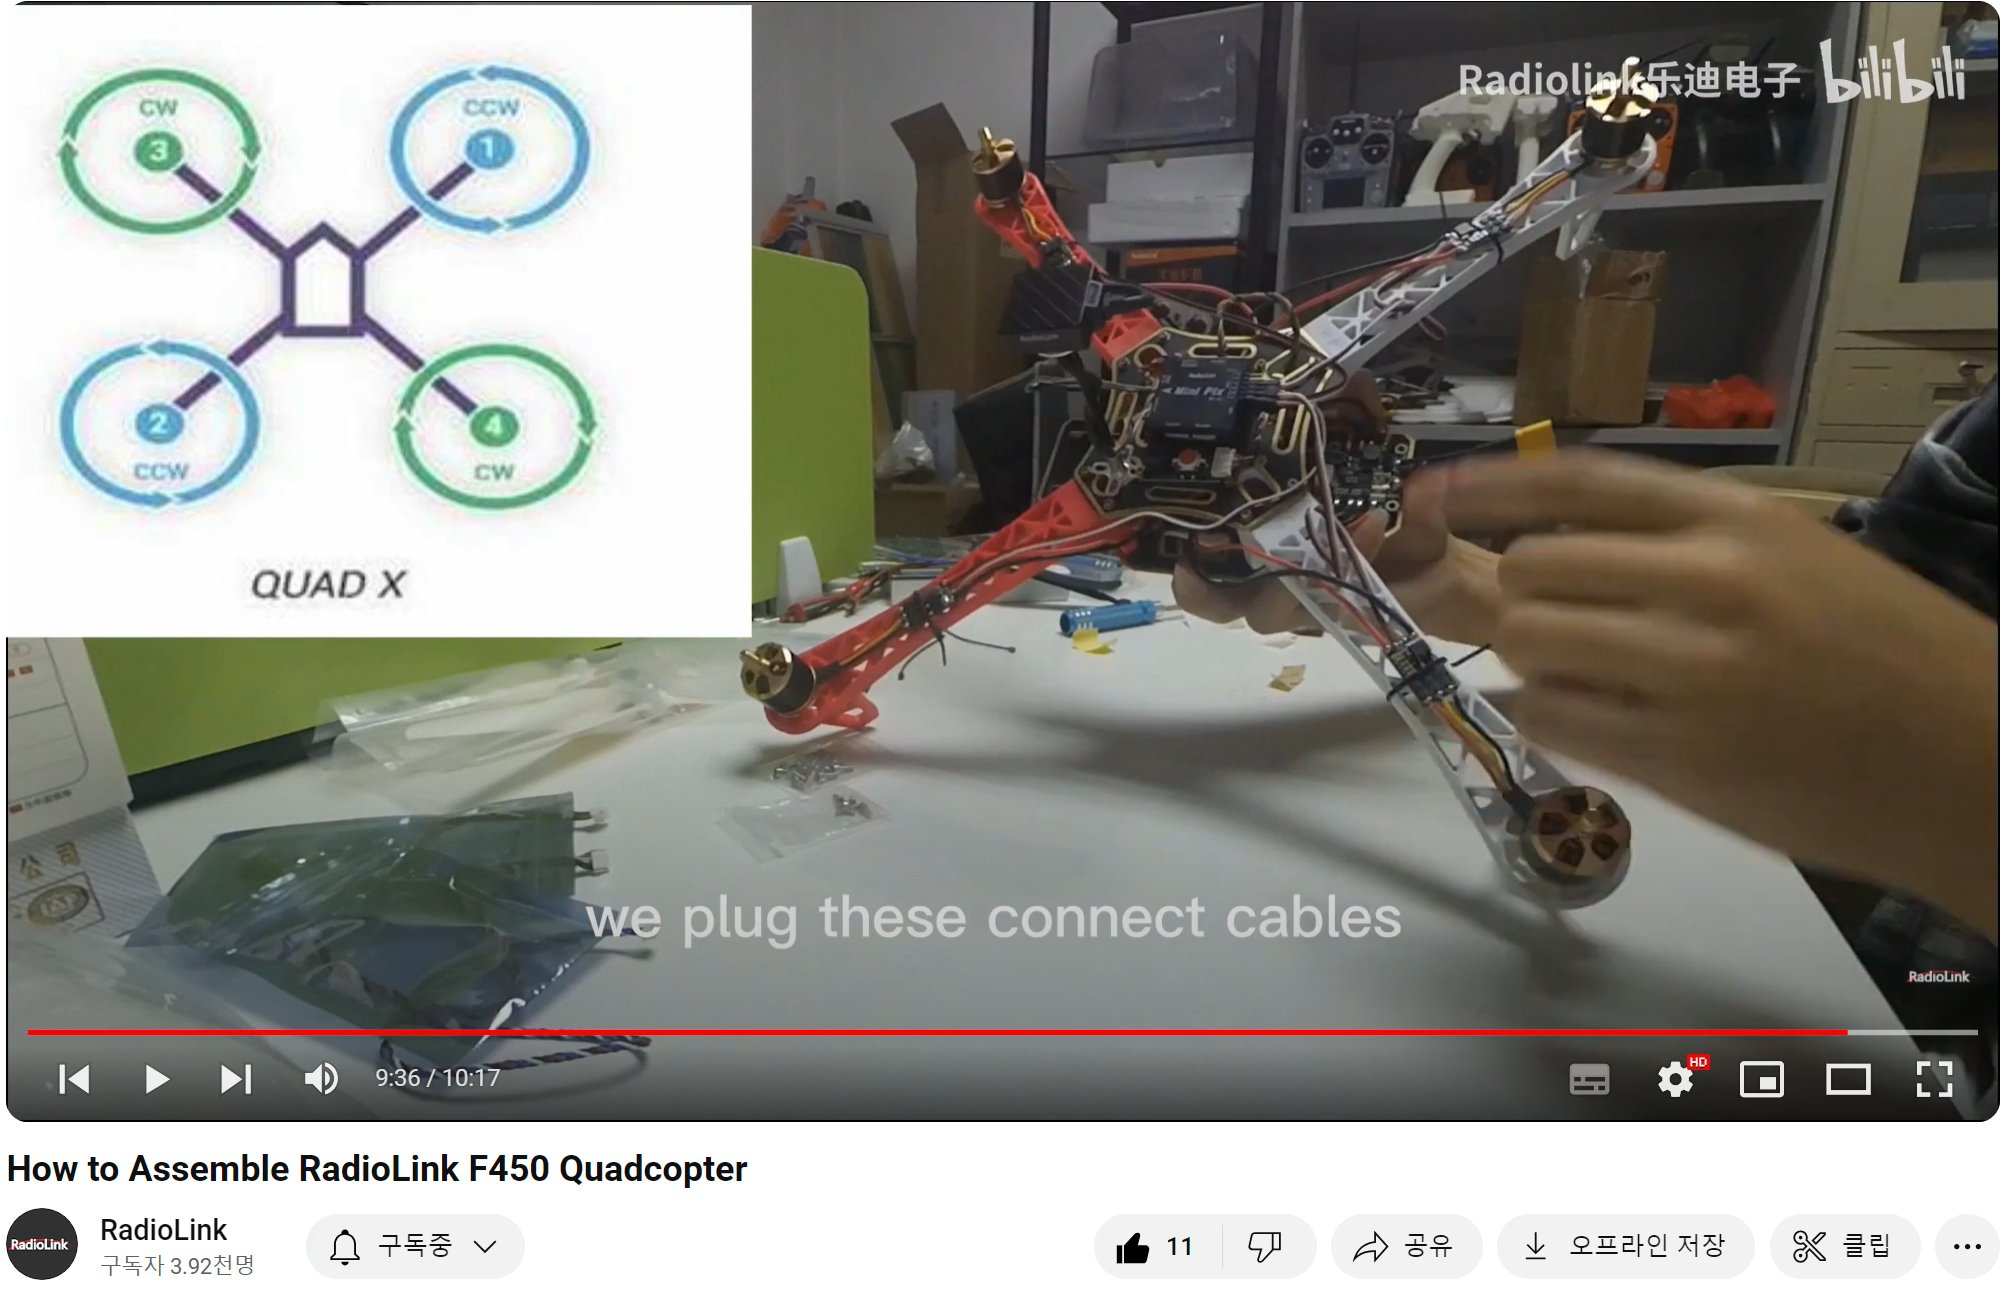
esc 를 fc 에 연결
프로펠러 위치에 맞게 fc 채널 1 2 3 4 에 연결
smoke stopper 체크
li-po battery 와 power module 사이에 smoke stopper 를 연결
- 정상적인 경우, 정상 beep
esc calibration
throttle max 로 유지한 체로 li-po battery 체결, red-yellow-blue 가 반복되는게 보이면
li-po battery 탈착 후 다시 체결, beep 음이 길게 들리면 esc calibration 모드에 진입한것
throttle 을 min 으로 유지, "3초 후" beep 음이 들리면 esc calibration 완료
이제 throttle 을 살짝 올리면 motor 가 도는게 확인됨
throttle 을 min 으로 유지한체로 li-po battery 탈착
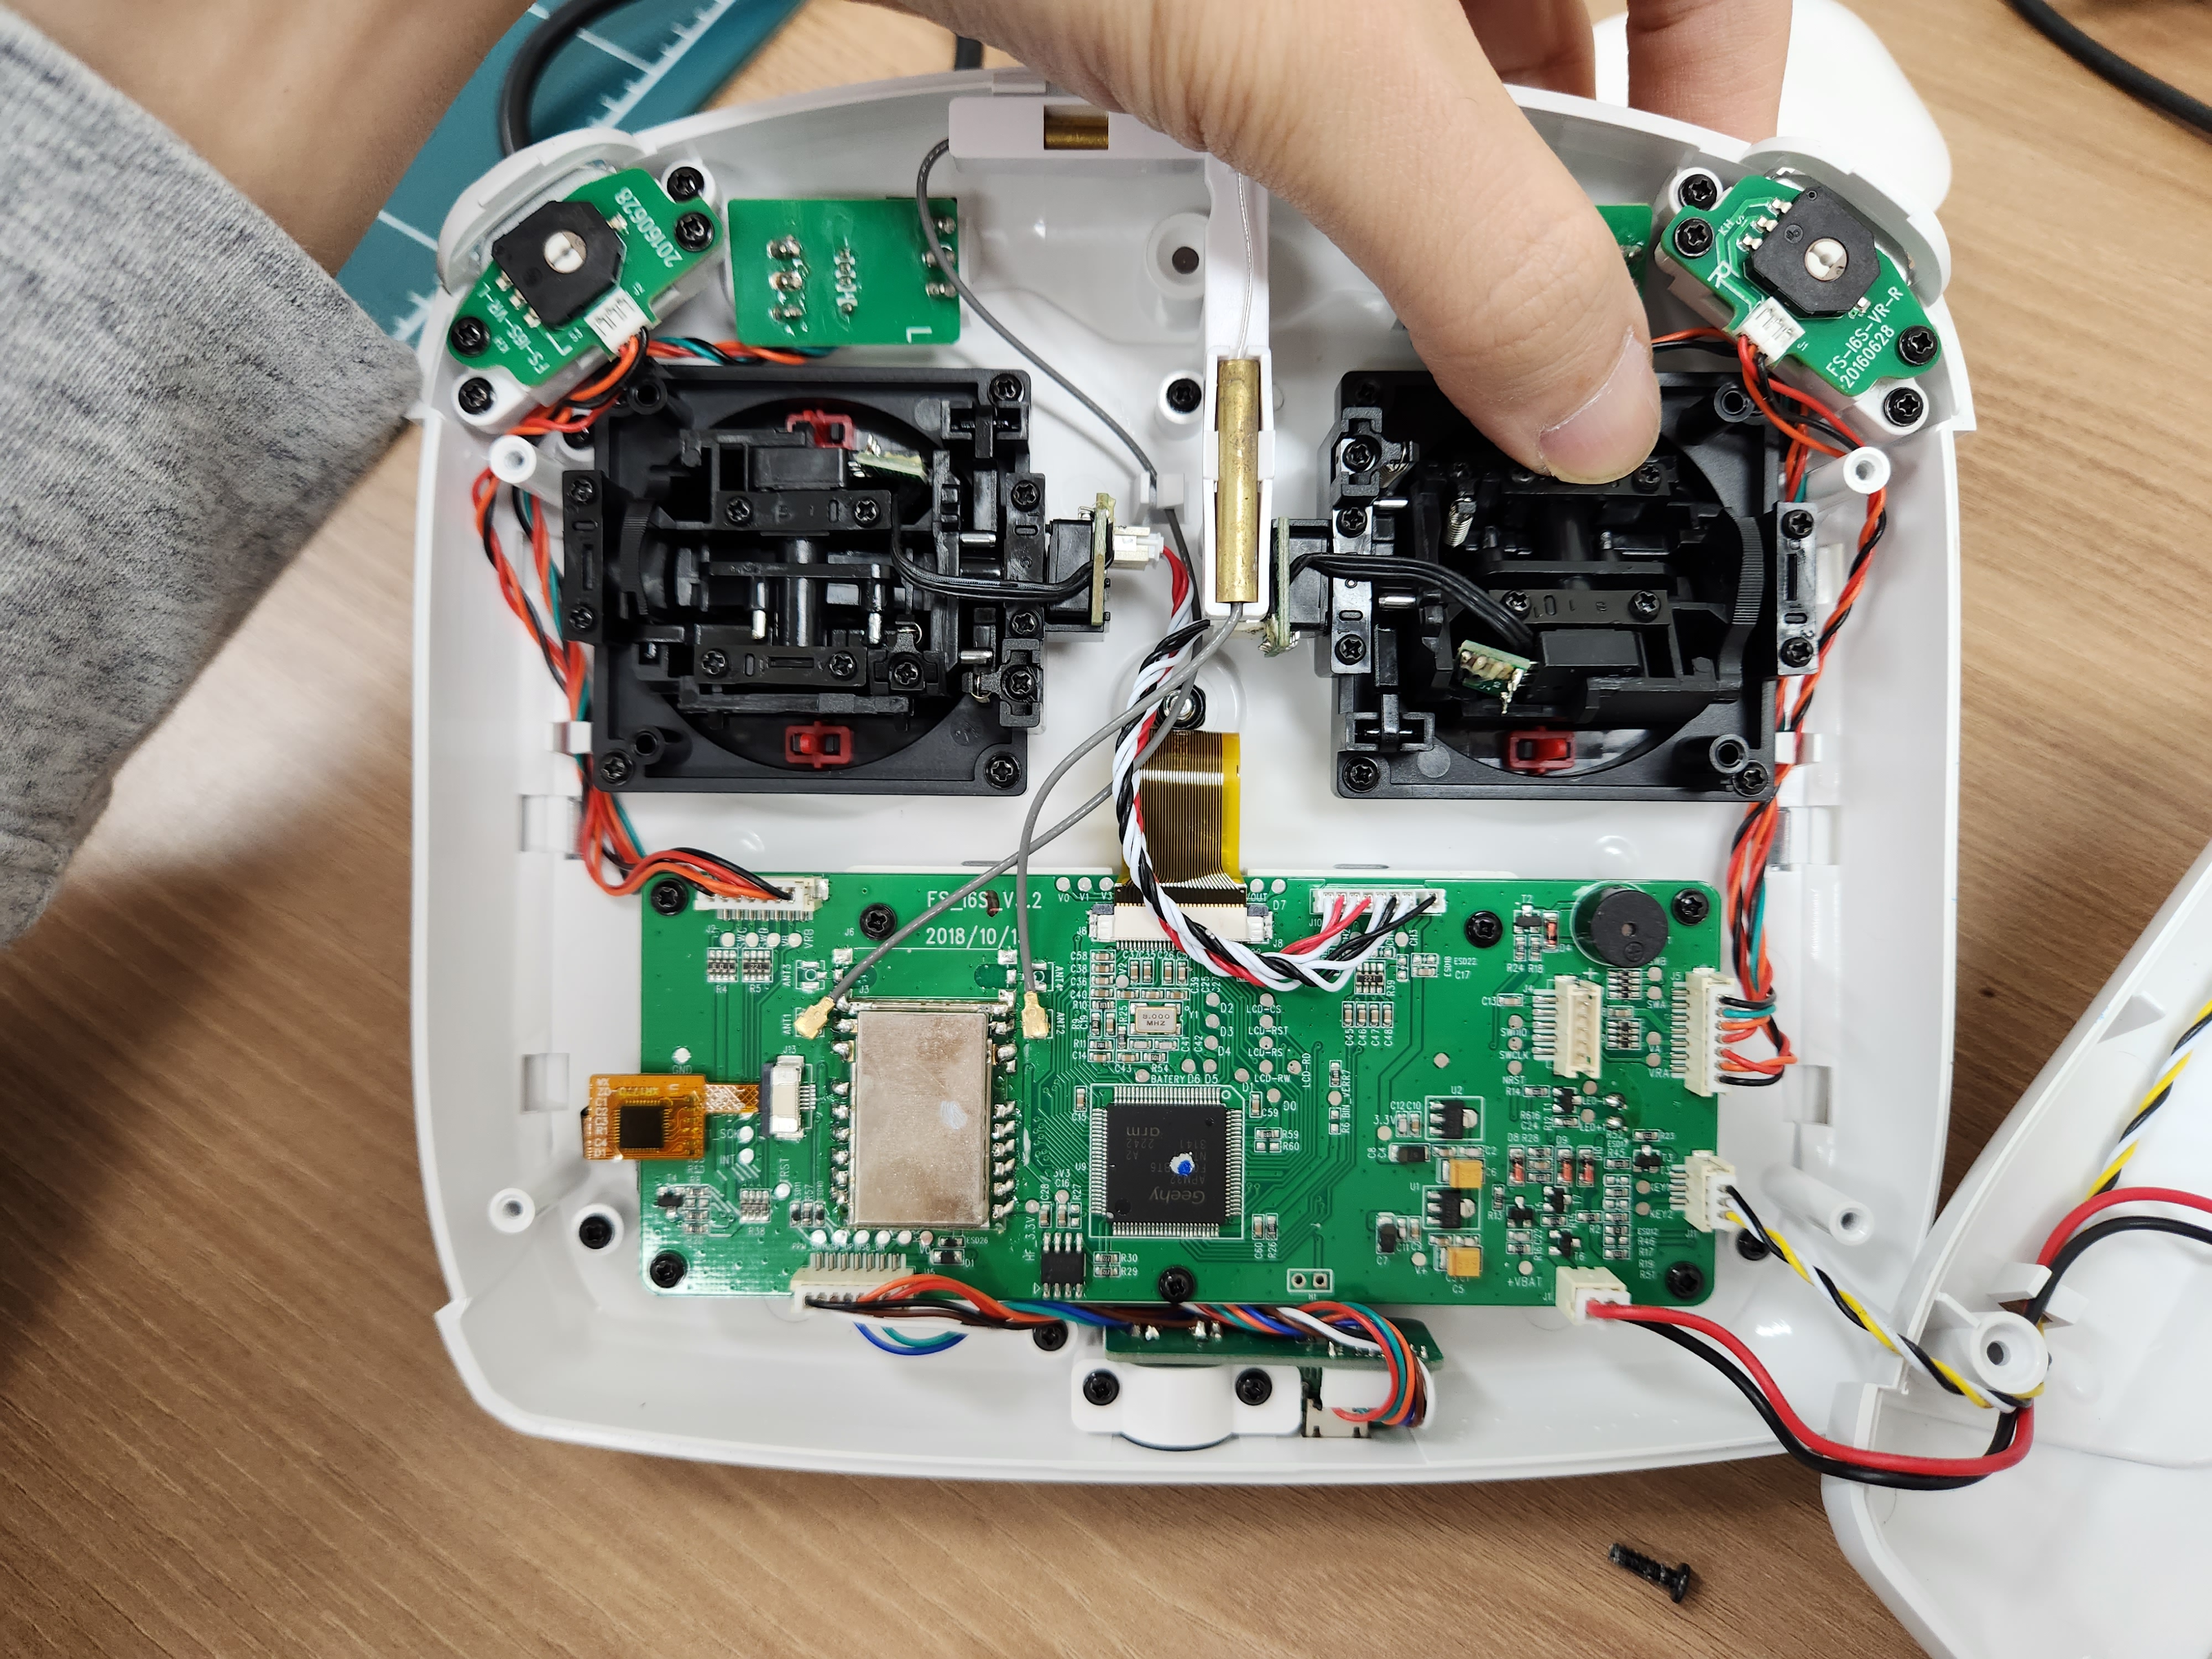
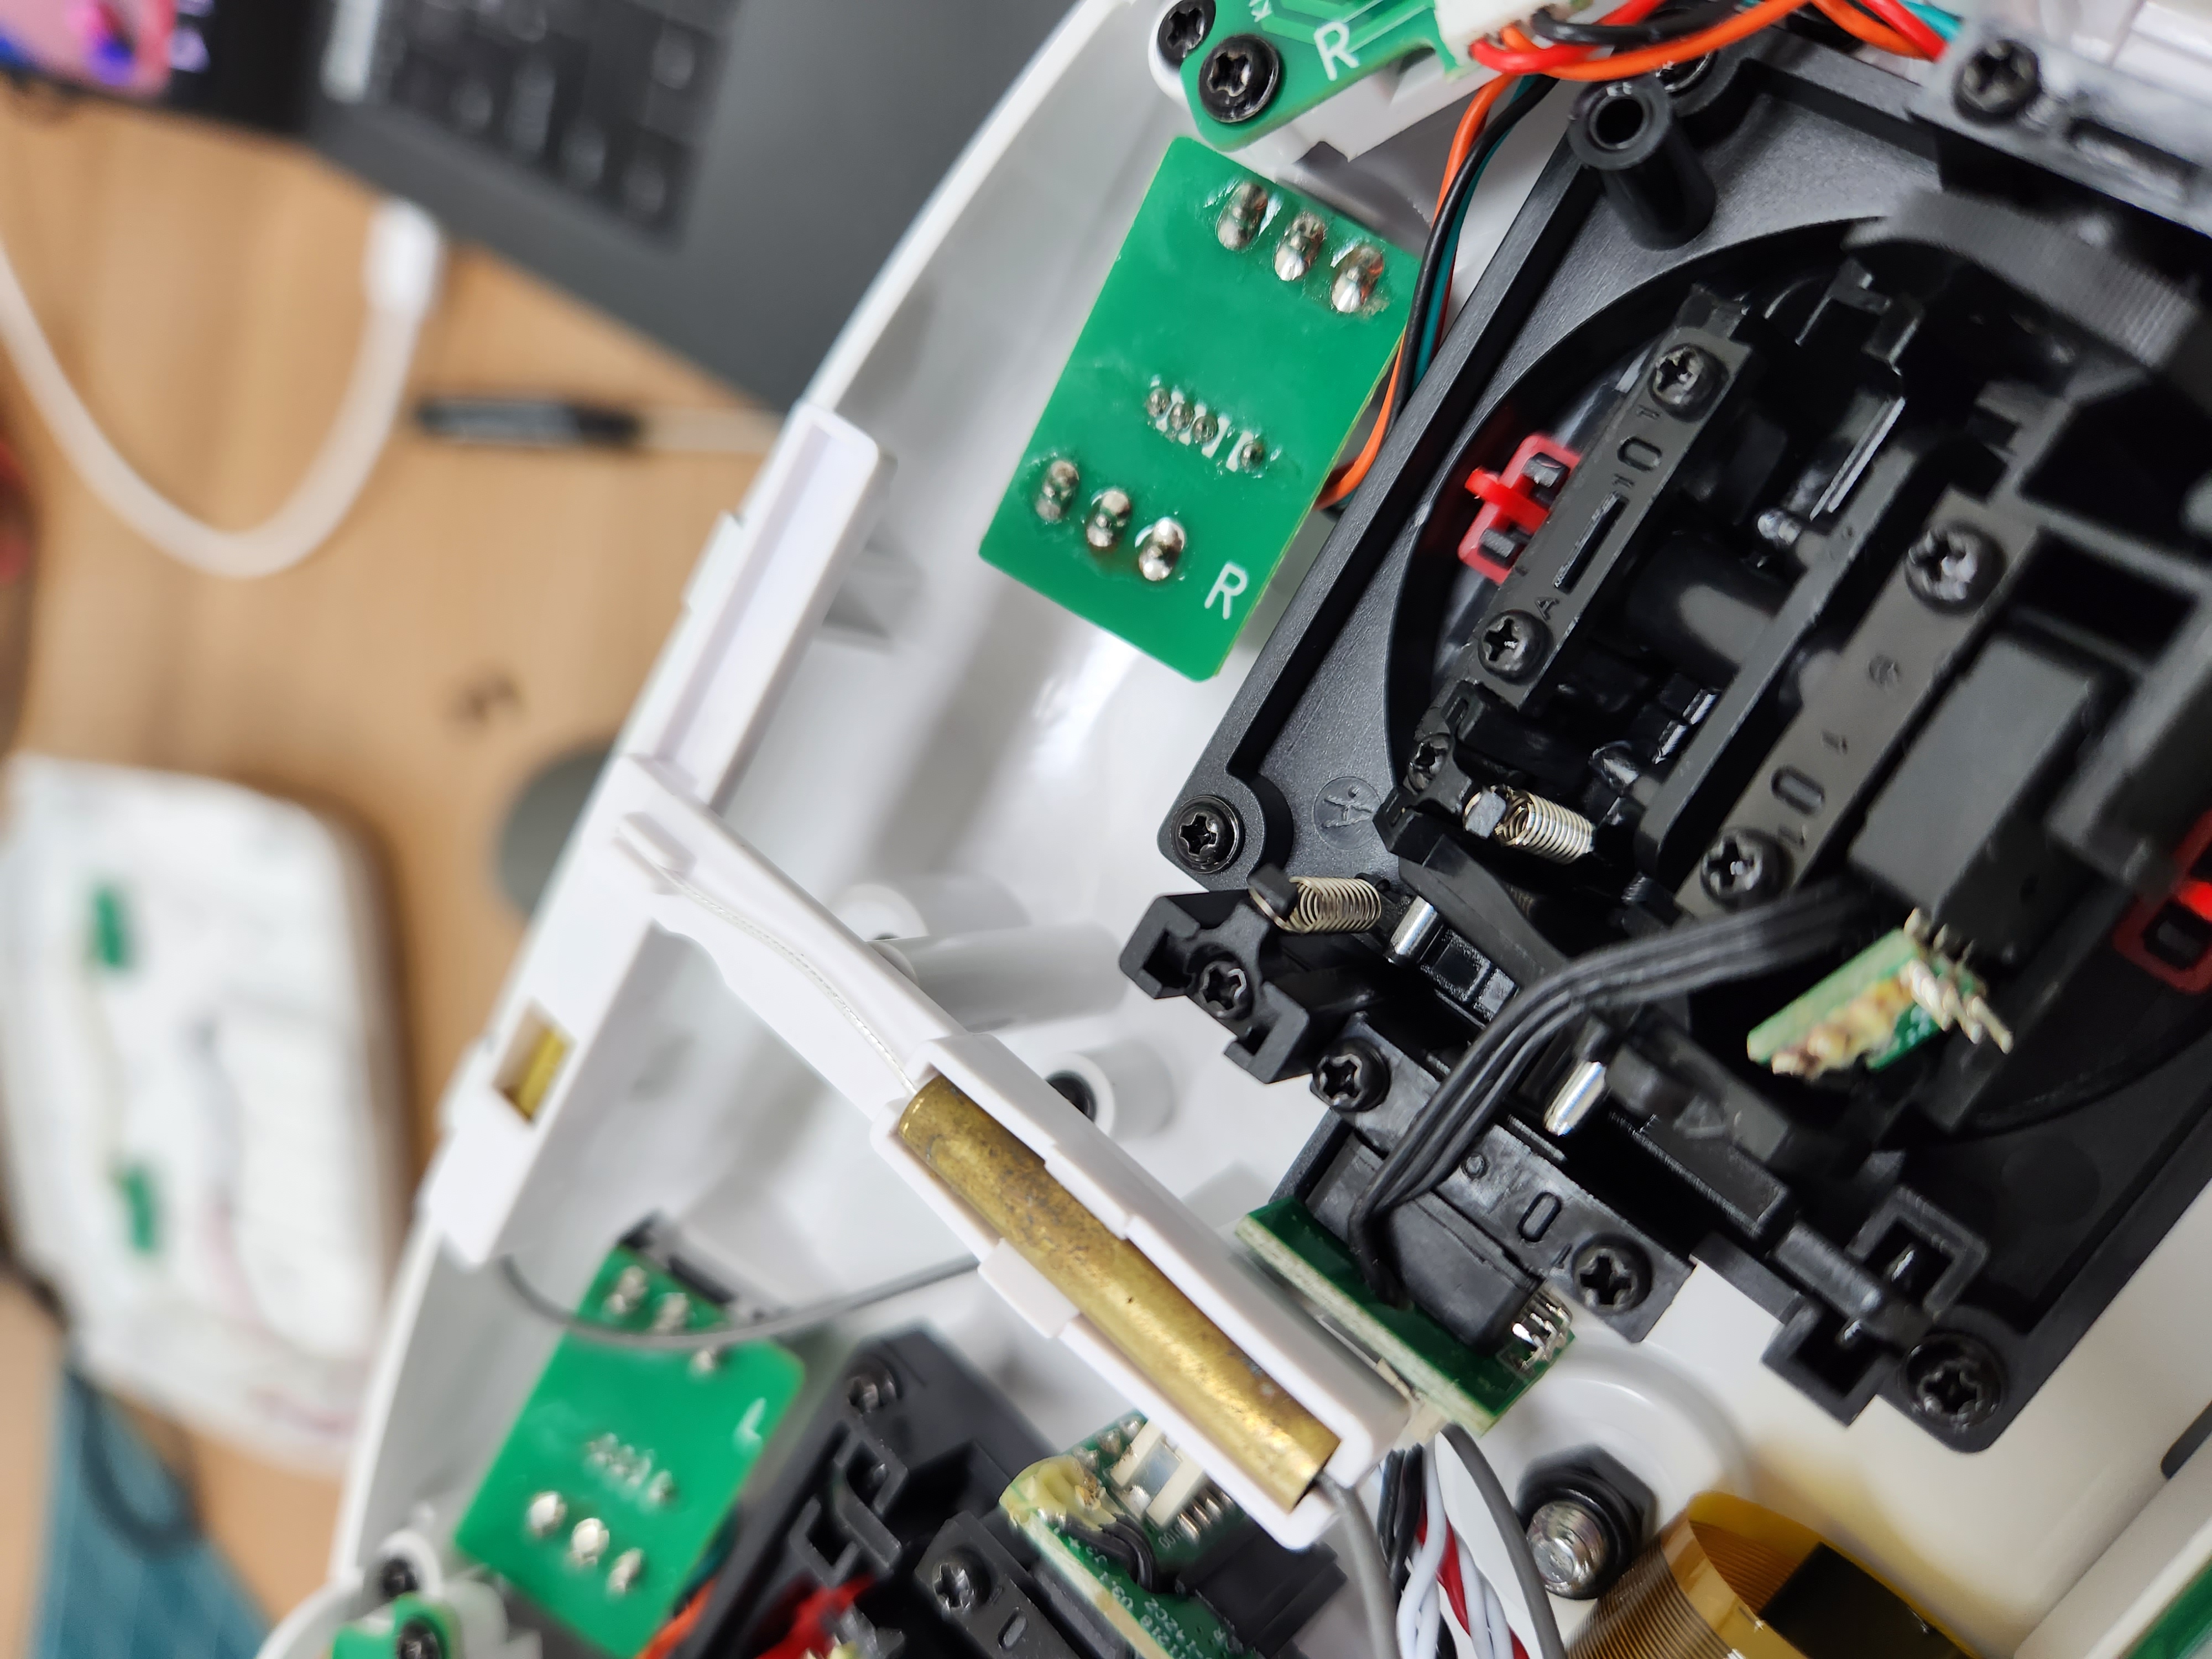
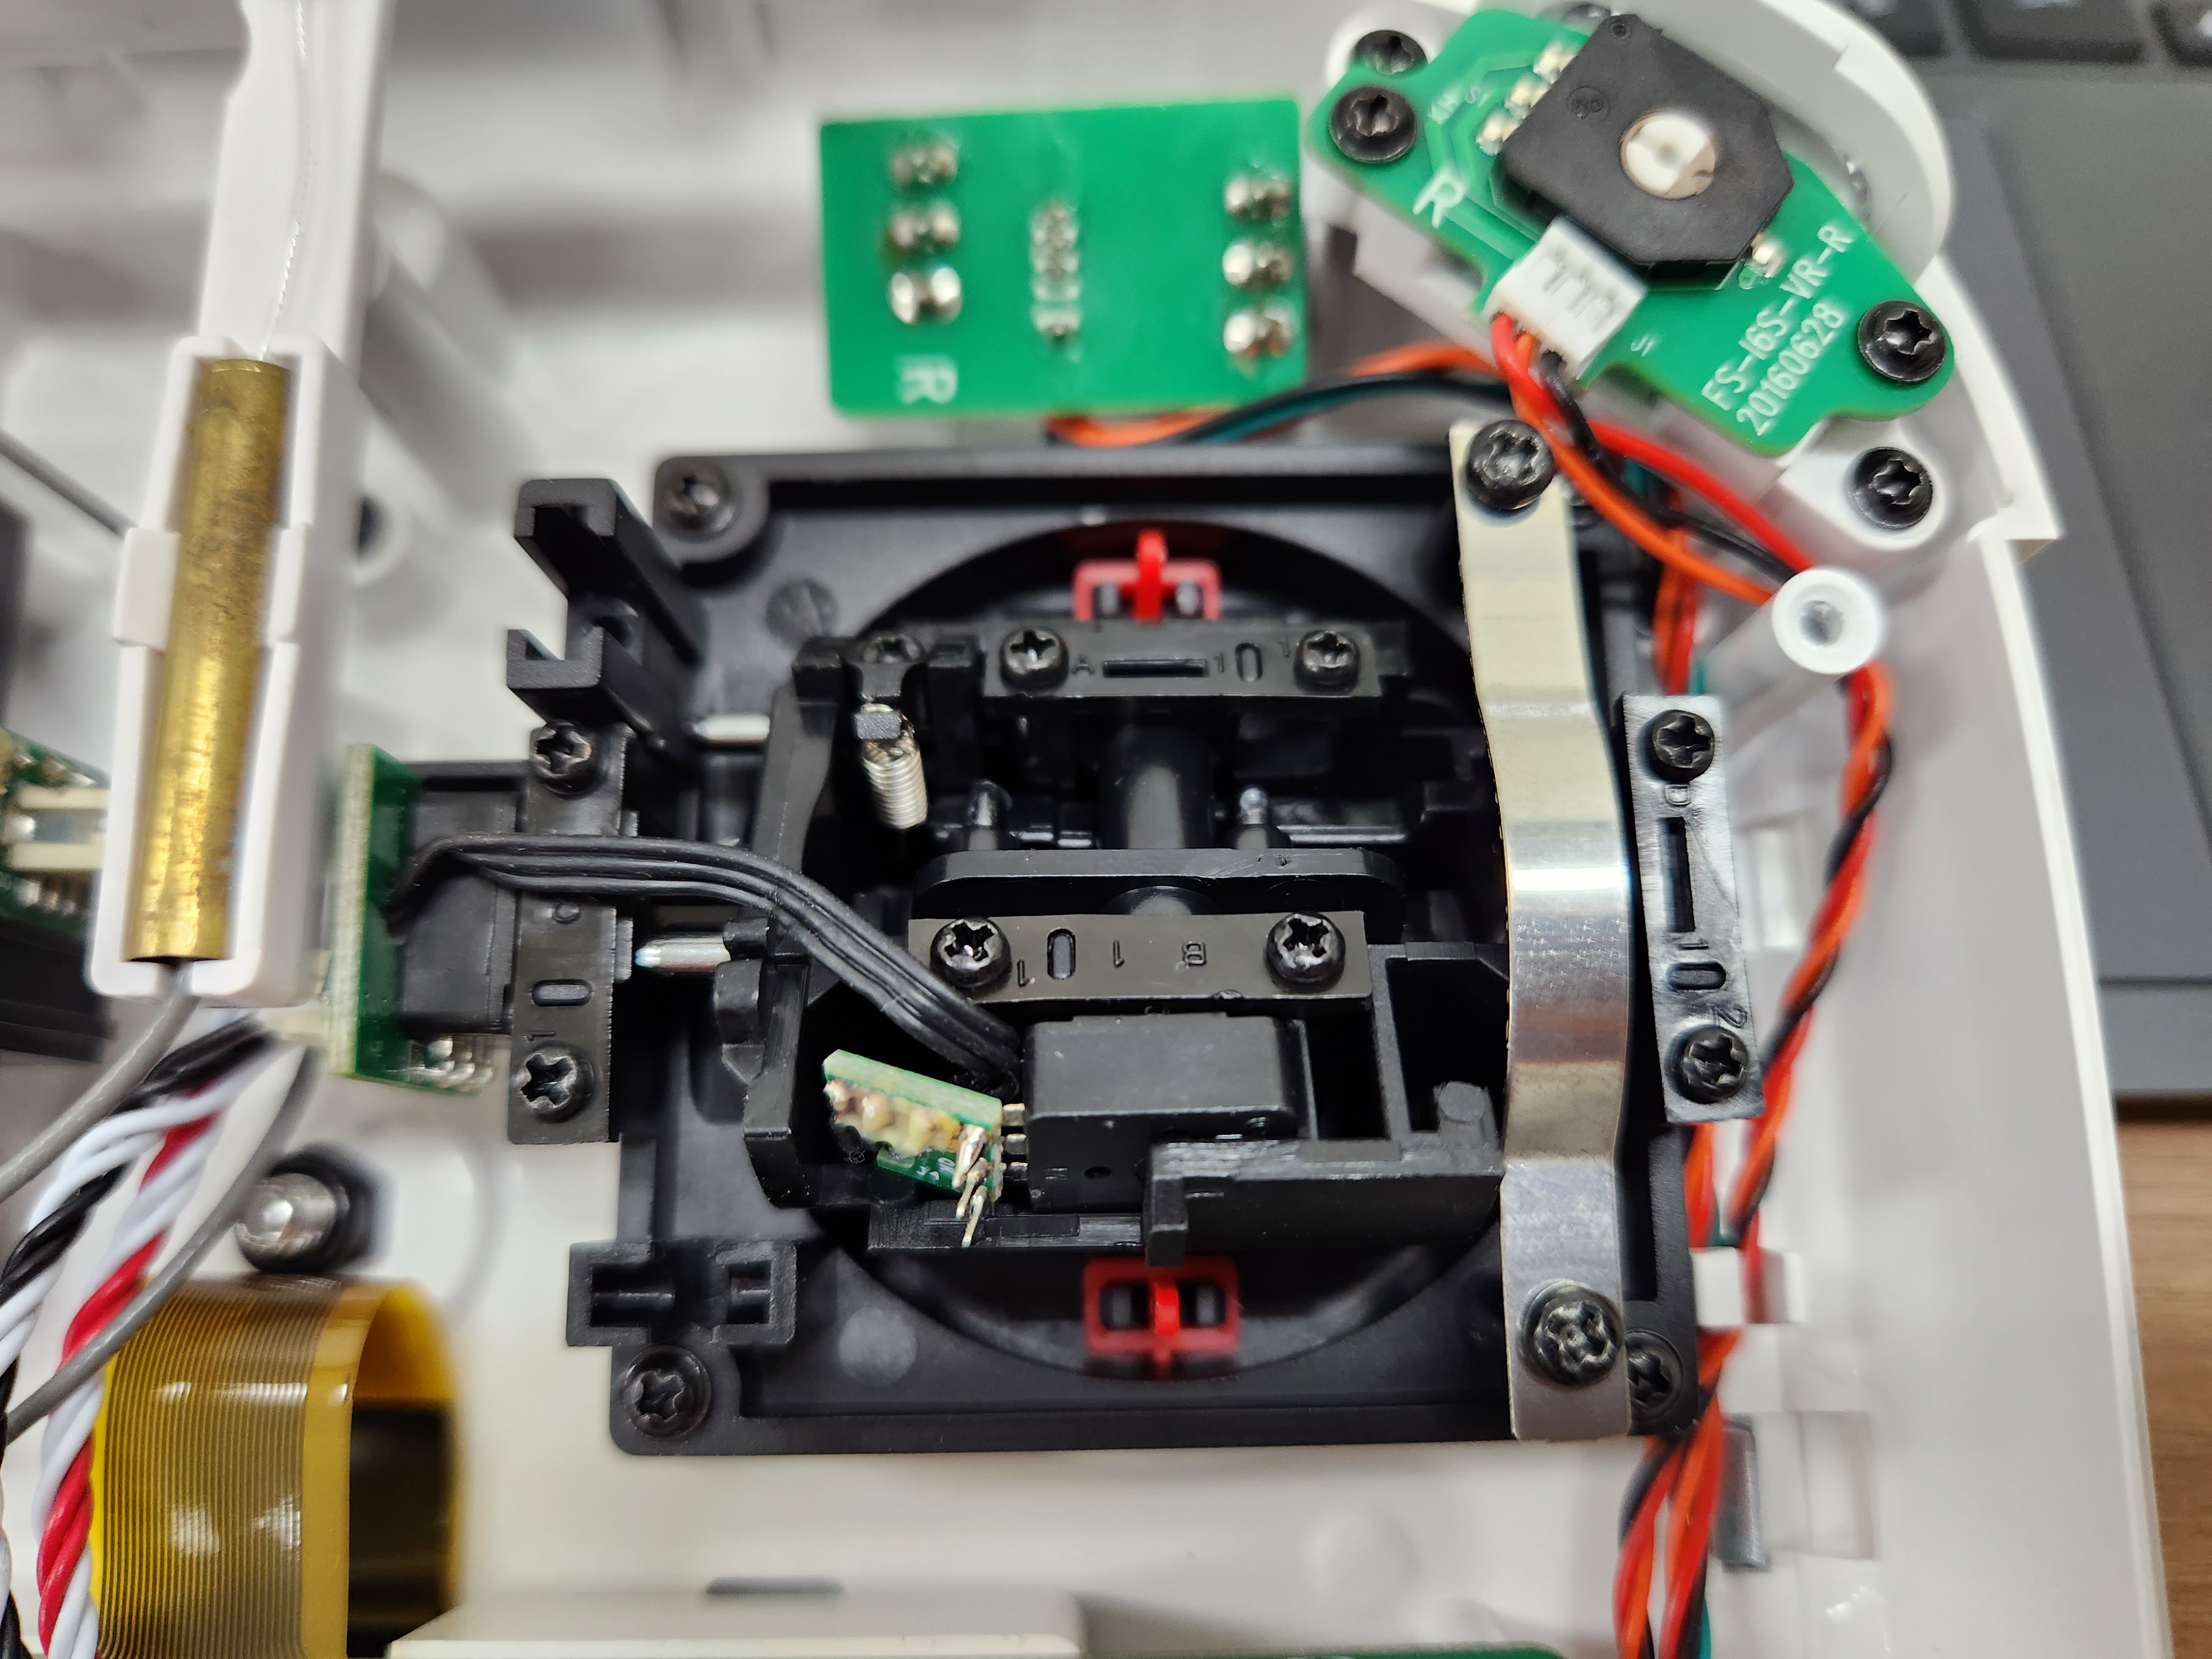
Removing the throttle spring
st10 10채널 조종기는 내부에 throttle 스프링이 있어서, arming 이 되자마자 모터가 도는 문제가 있다.
아래 링크를 참고하여 스프링 제거
mission planner setting 수정
실내에서 동작시킬 예정이므로, gps 를 포함해 몇몇 설정들을 disable 해야만 arming 이 성공하게 된다.
설정파일 : https://drive.google.com/file/d/1LLYDZOWi9_-hmr-zHdhuTQXD1EVVDCie/view?usp=sharing
arming the motor
다음 순서로 진행
1) transmitter 전원 on --> li-po 배터리 결착 --> flight mode 1 인지 체크
2) holding the throttle down, and rudder right for 5 seconds
- 15초는 넘지않게 수행 (autotrim feature)
- arming 성공시 red 되고 motor 가 돌기시작
3) holding the throttle down, and rudder left for 2 seconds
- green flashing
- https://youtu.be/TQBhw0E3awg
4) flight mode 1인지 체크 --> li-po 배터리 탈착 --> transmittor 전원 off
모터방향 체크
앞선 "esc 를 fc 에 연결" 항목에서 설정한 데로 실제 도는지 확인
- 아닌 경우, 3개 선중에 2개 선을 임의로 선택해 cross 시키면 모터 방향이 반대로 변경됨
- 모터에 테이프를 붙여서 확인하면 편리

PID test jig (예정)
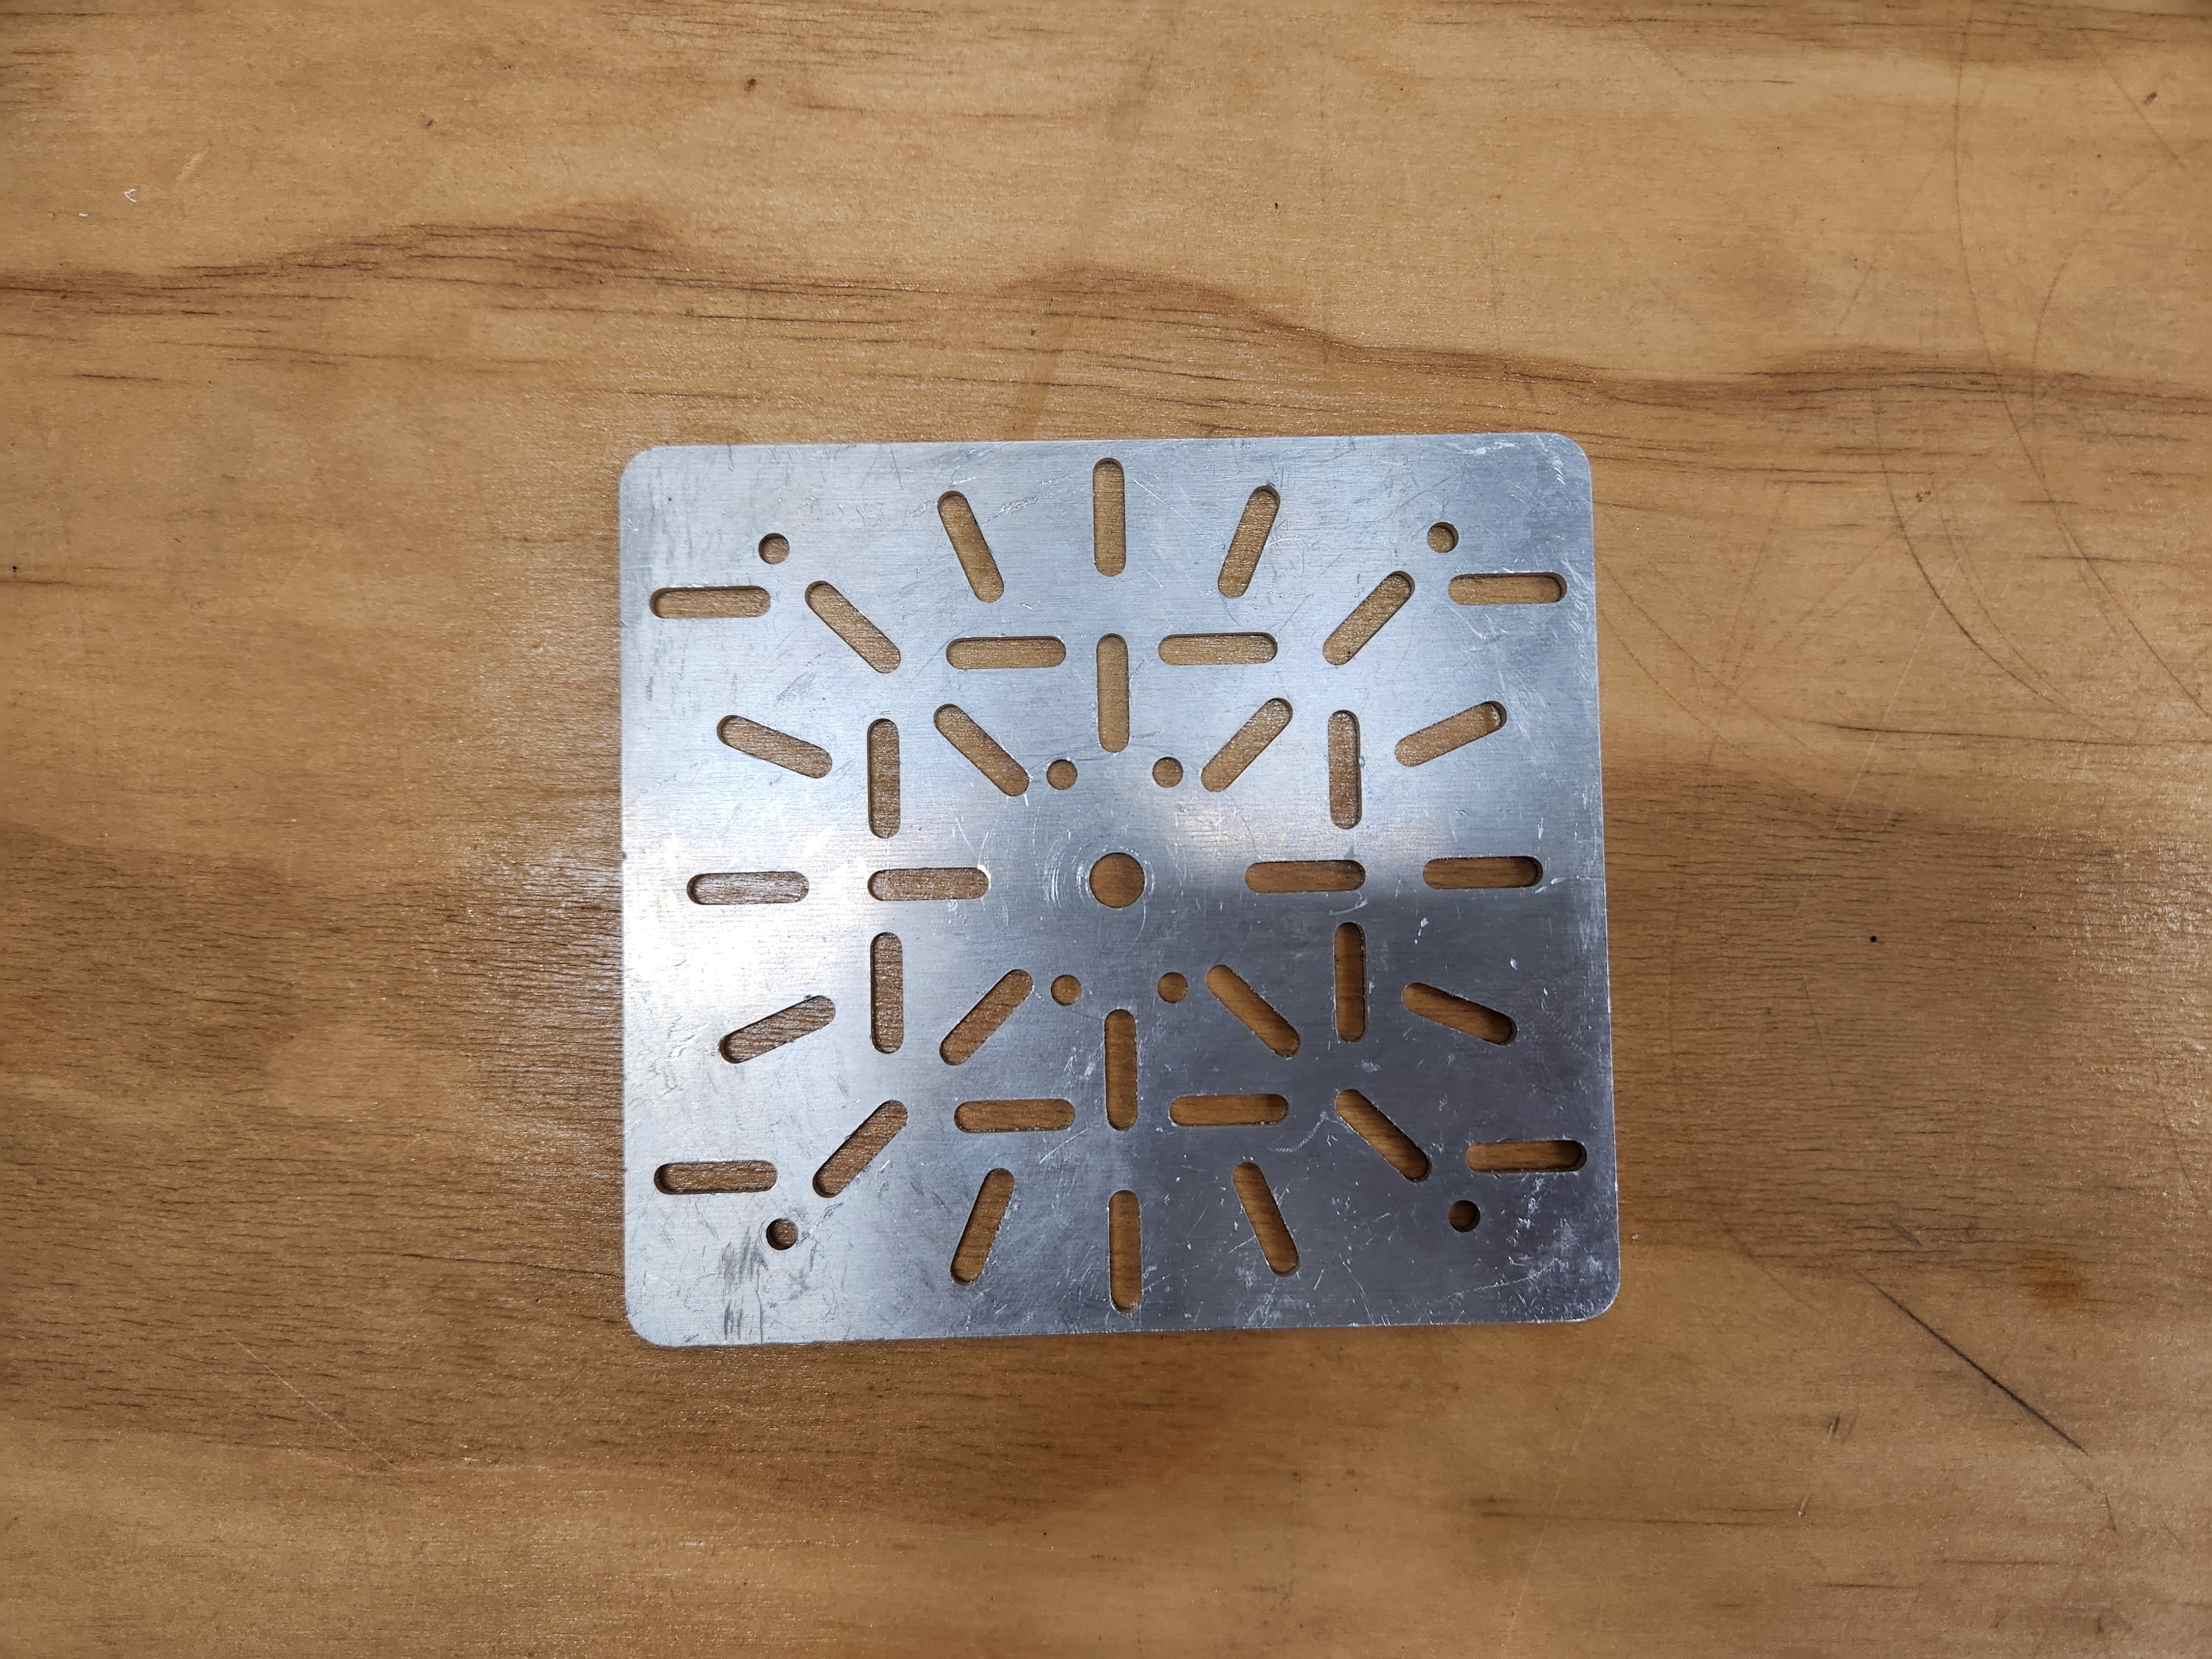
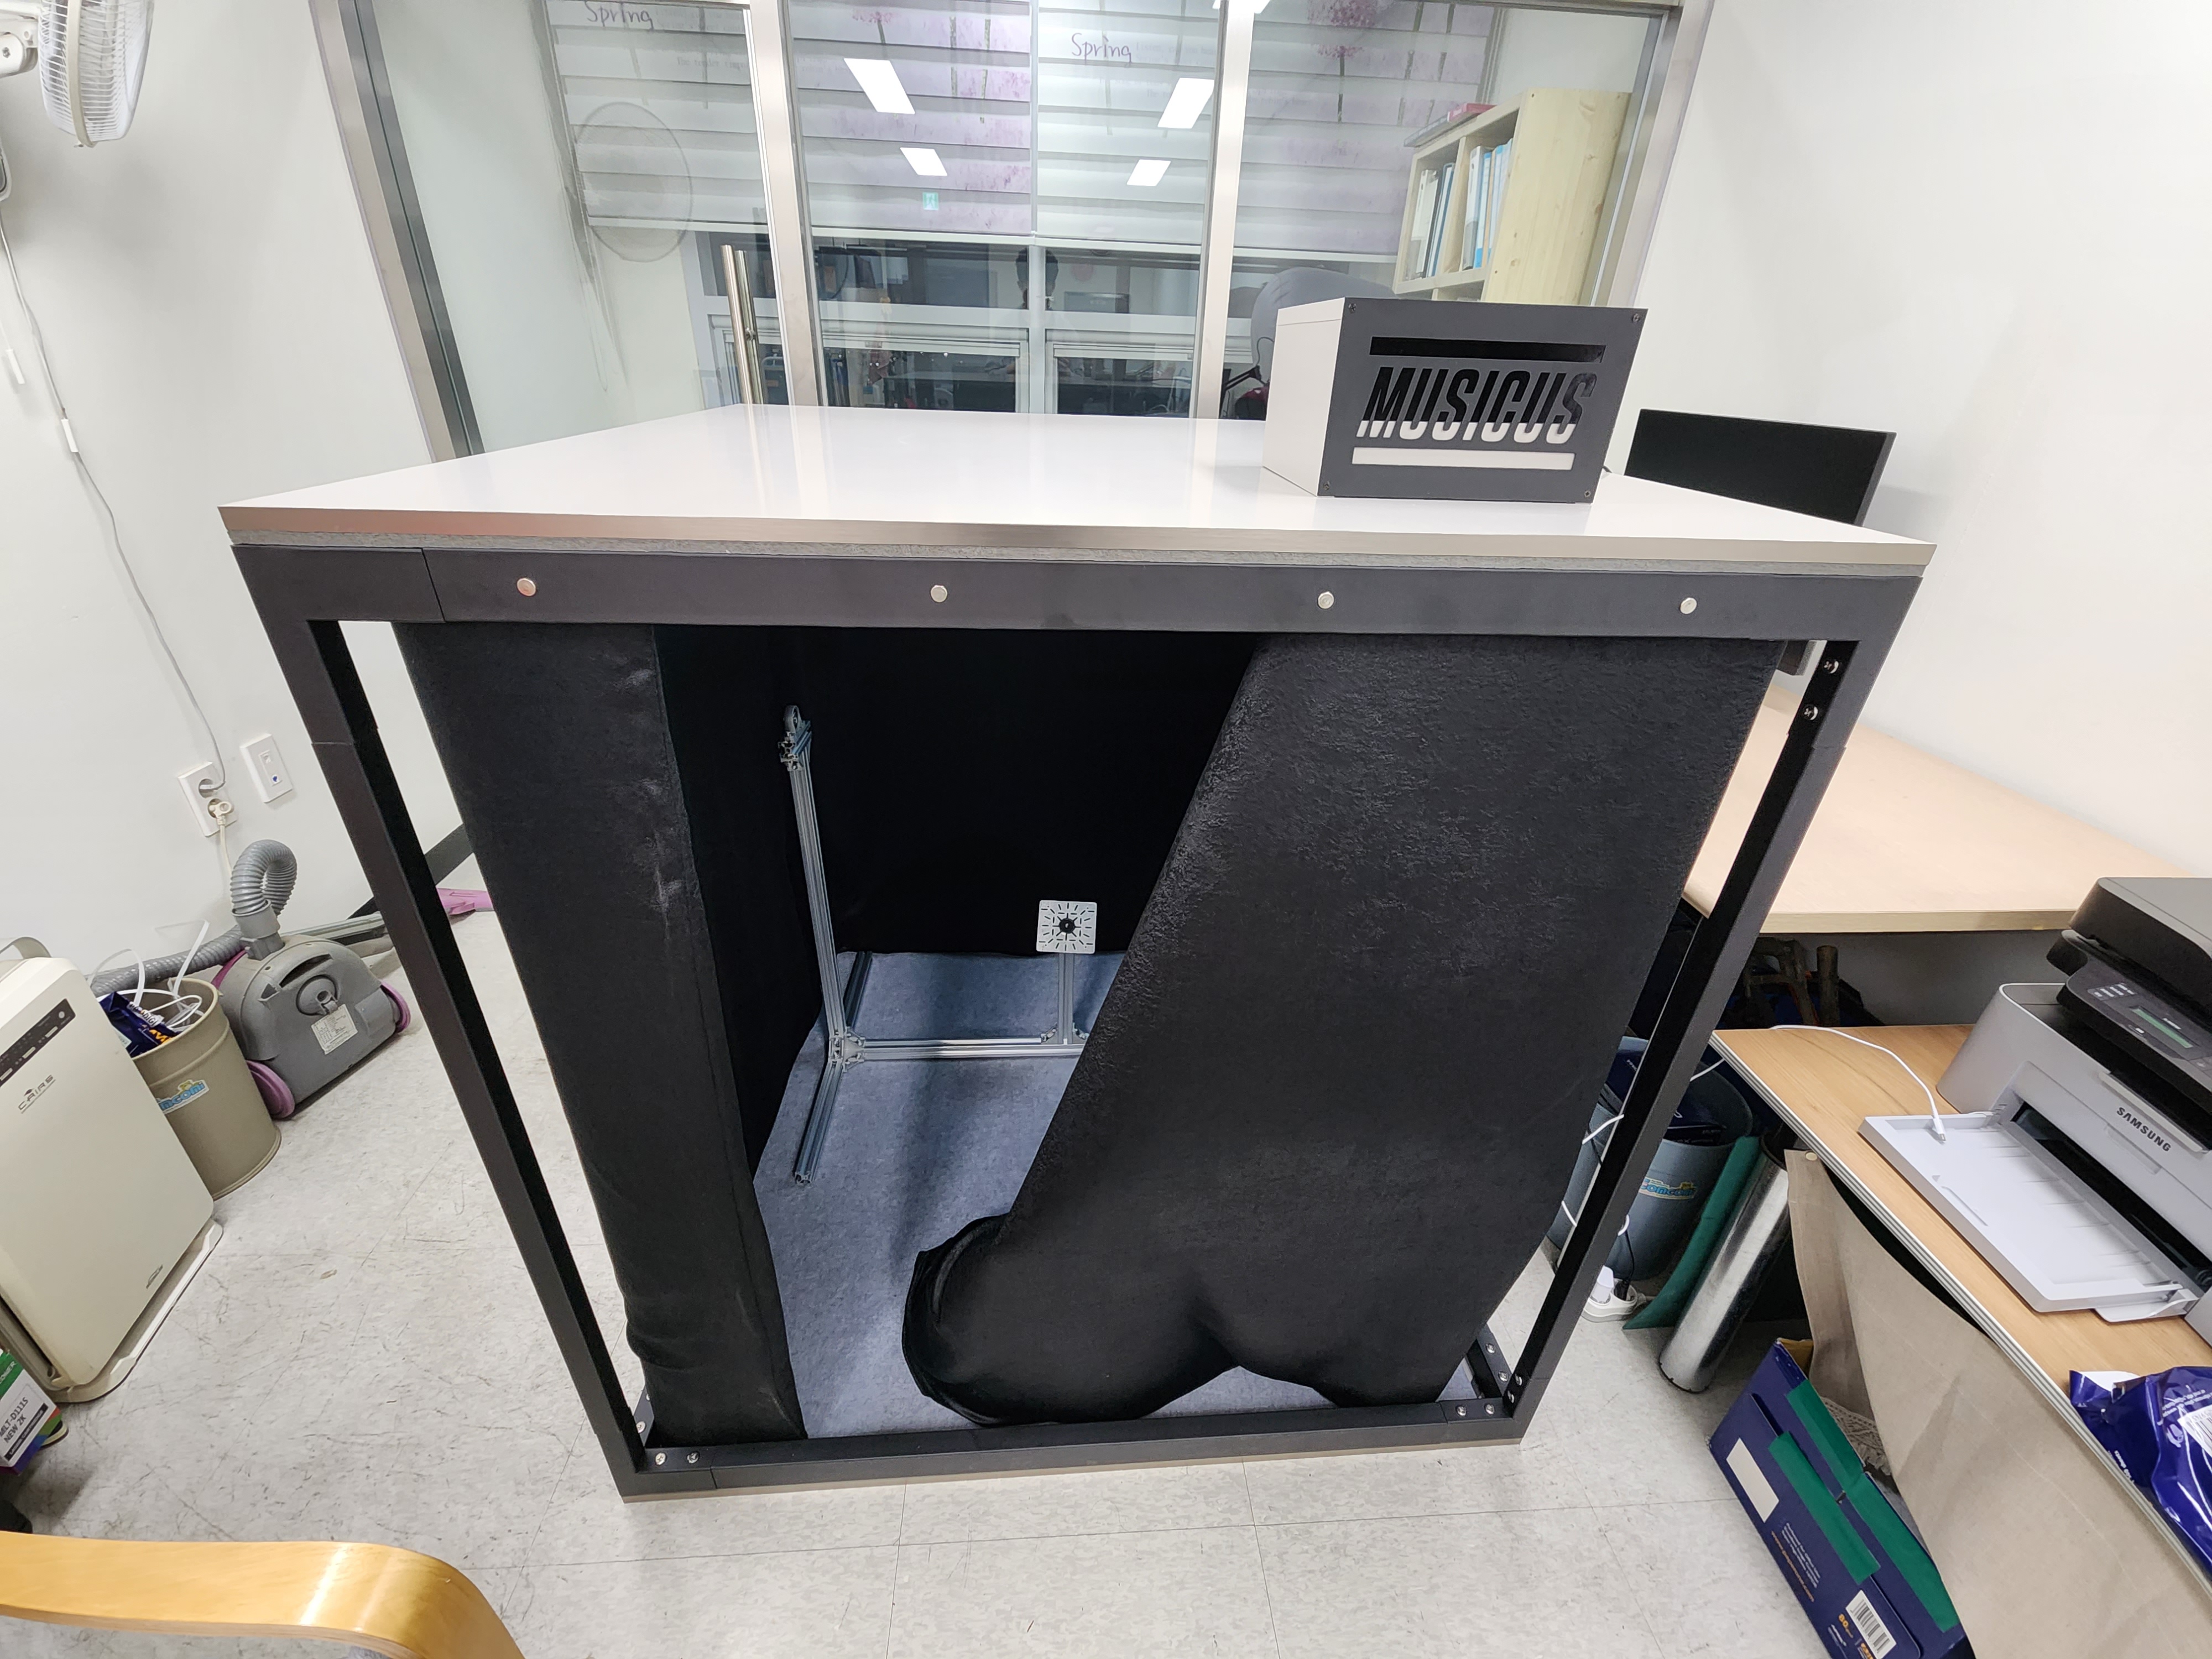
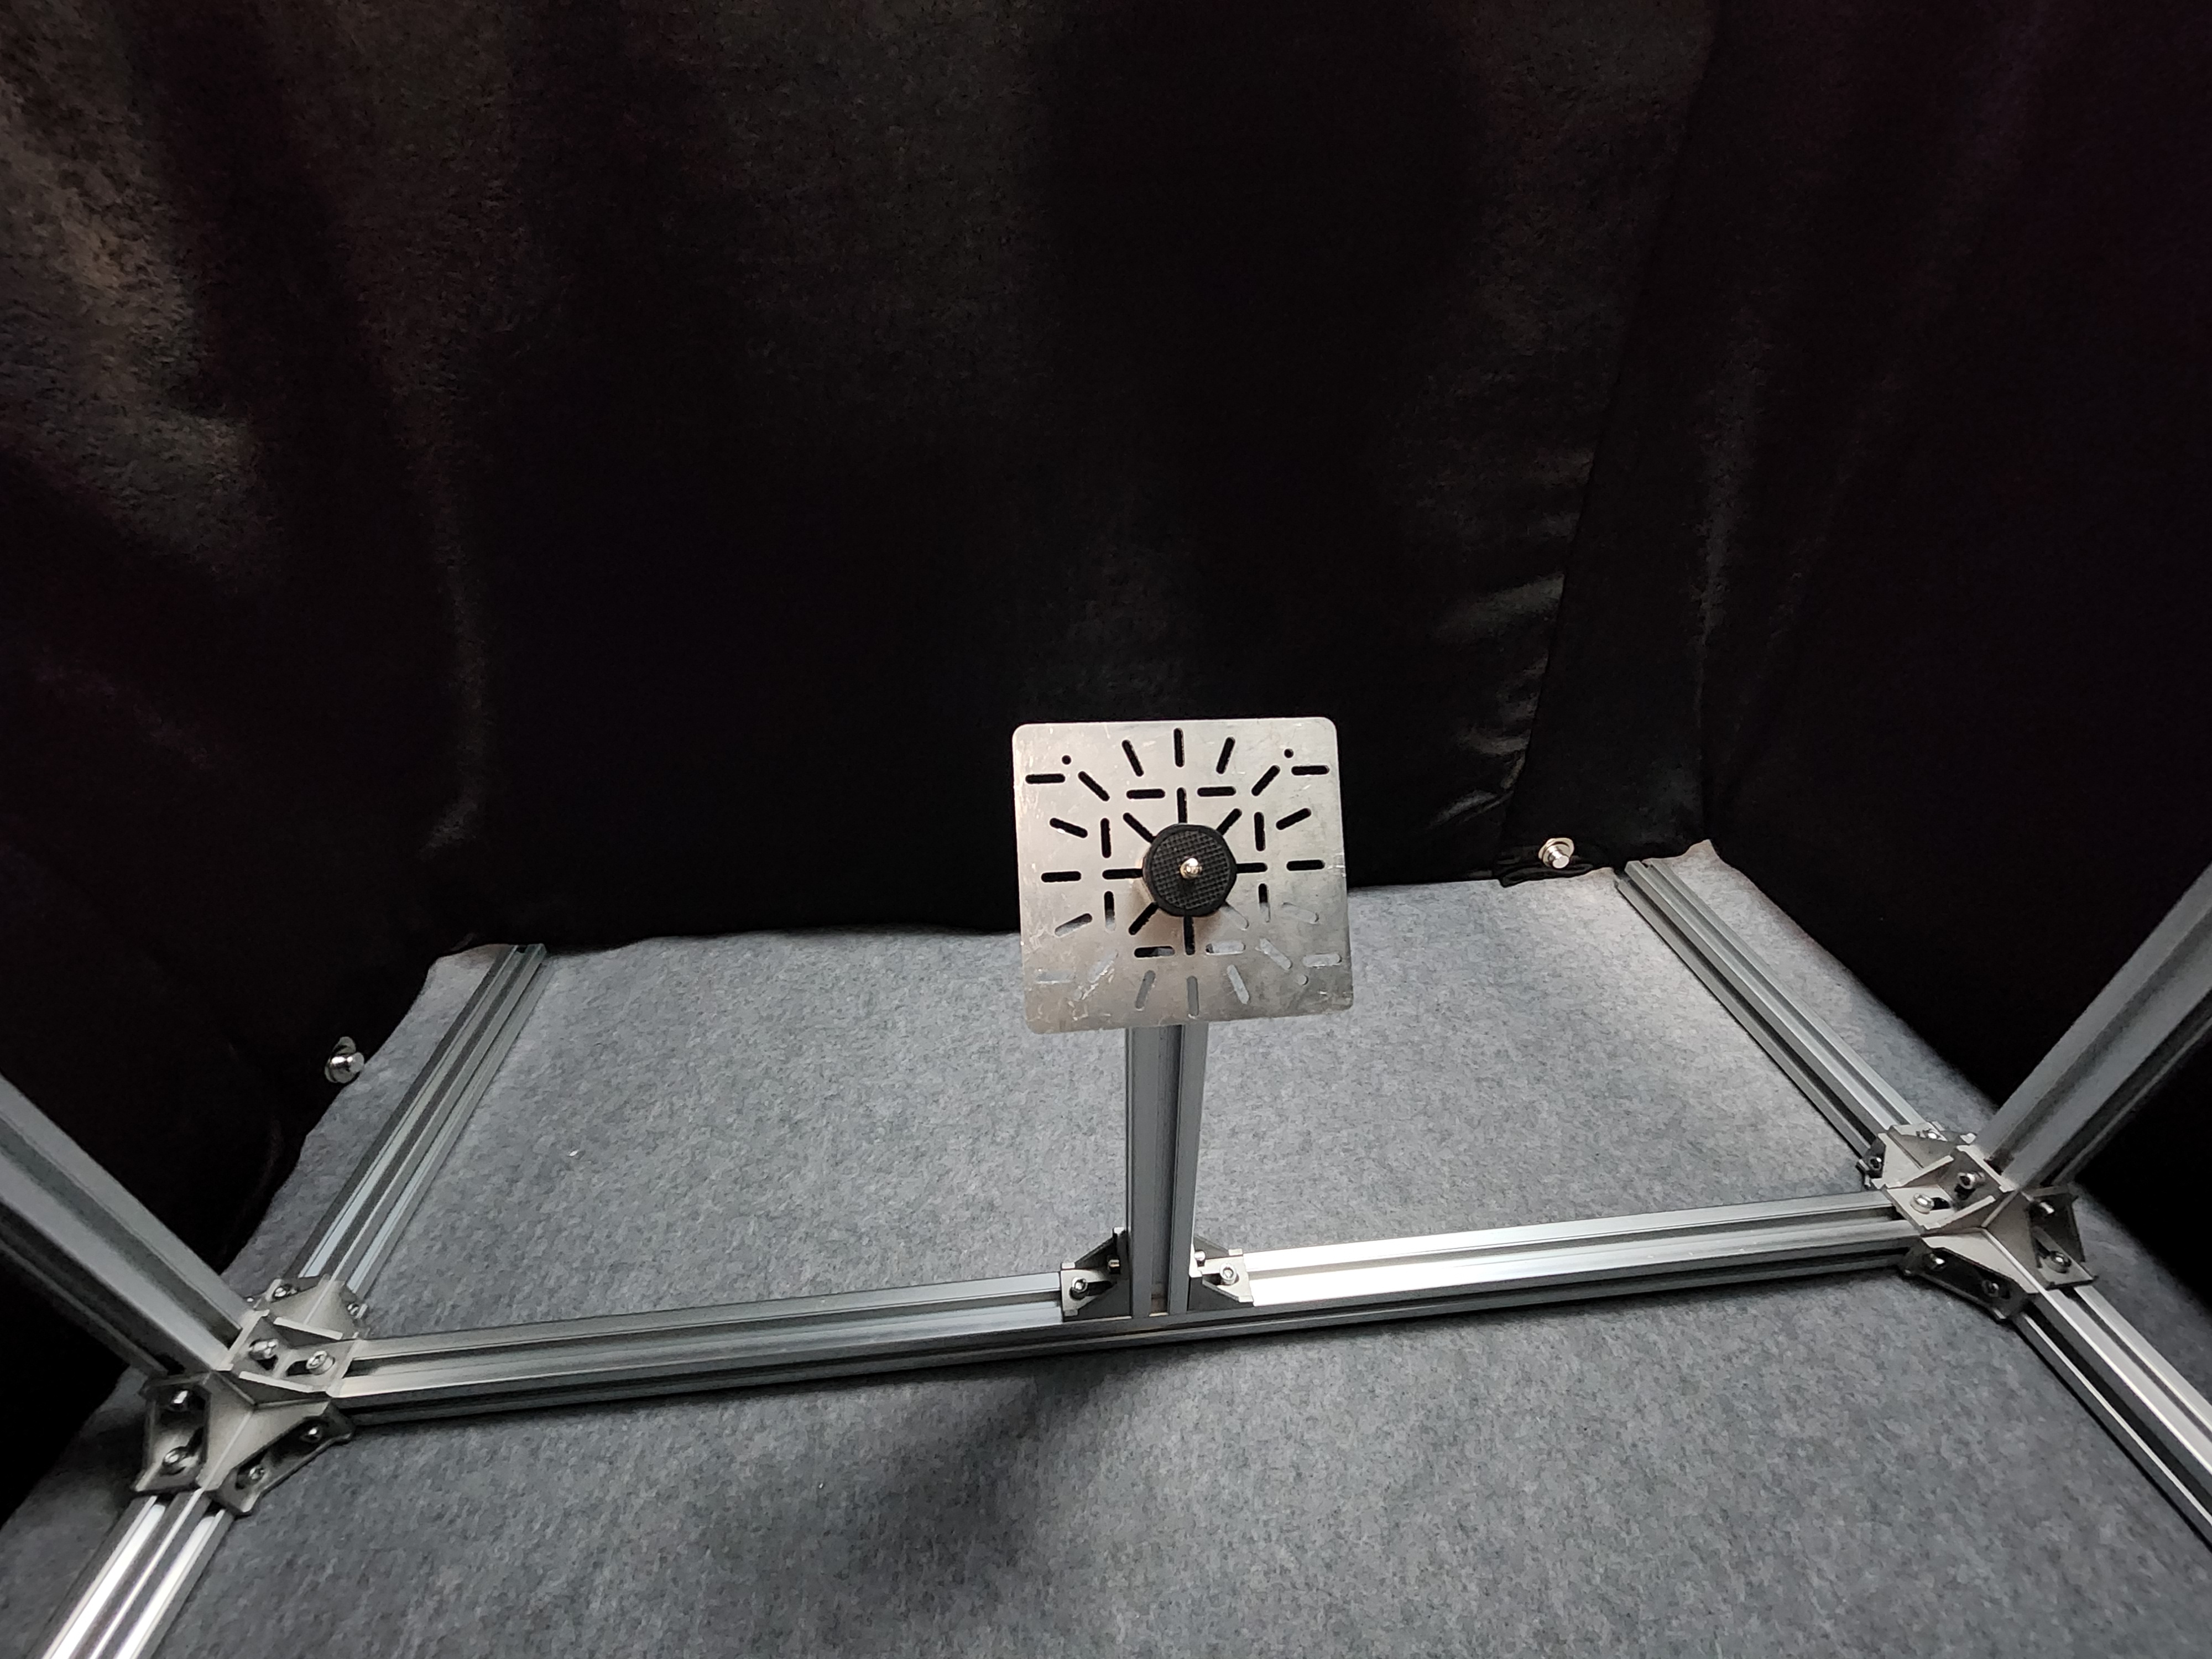

PID test jig 에 있던 mount adapter 가 f450 프레임에 맞지 않아서,
별도 설계가 필요 (2mm 금속)