Pipeline 만들기
pipeline의 시나리오는 다음과 같습니다.
- git checkout
- gcc hello.c; ./a.out > index.html
- docker build image
- docker push image
- docker run image
New Item에서 Pipeline을 만들어 줍니다.
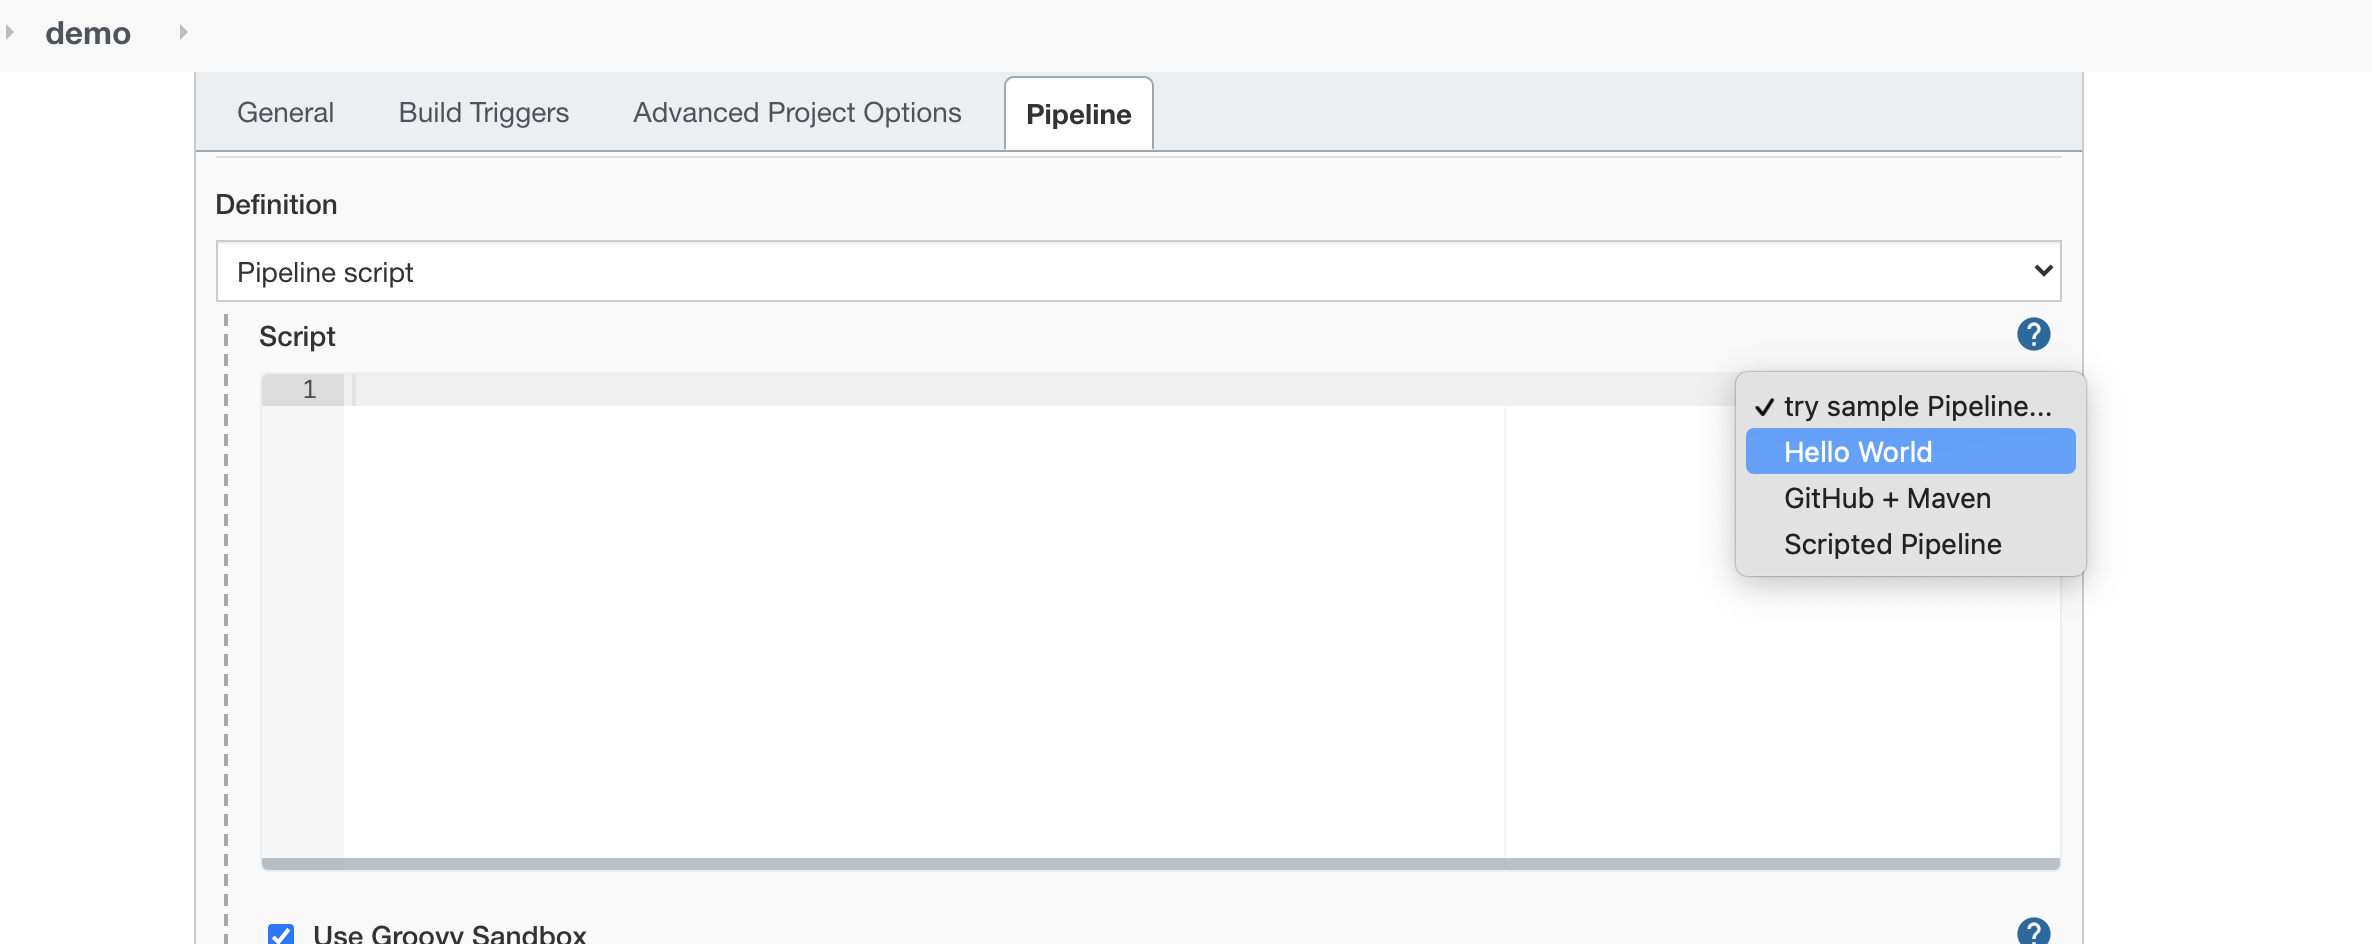
스크립트는 http://3.37.87.174:8080/job/demo/pipeline-syntax/ 를 참고할 수 있습니다.
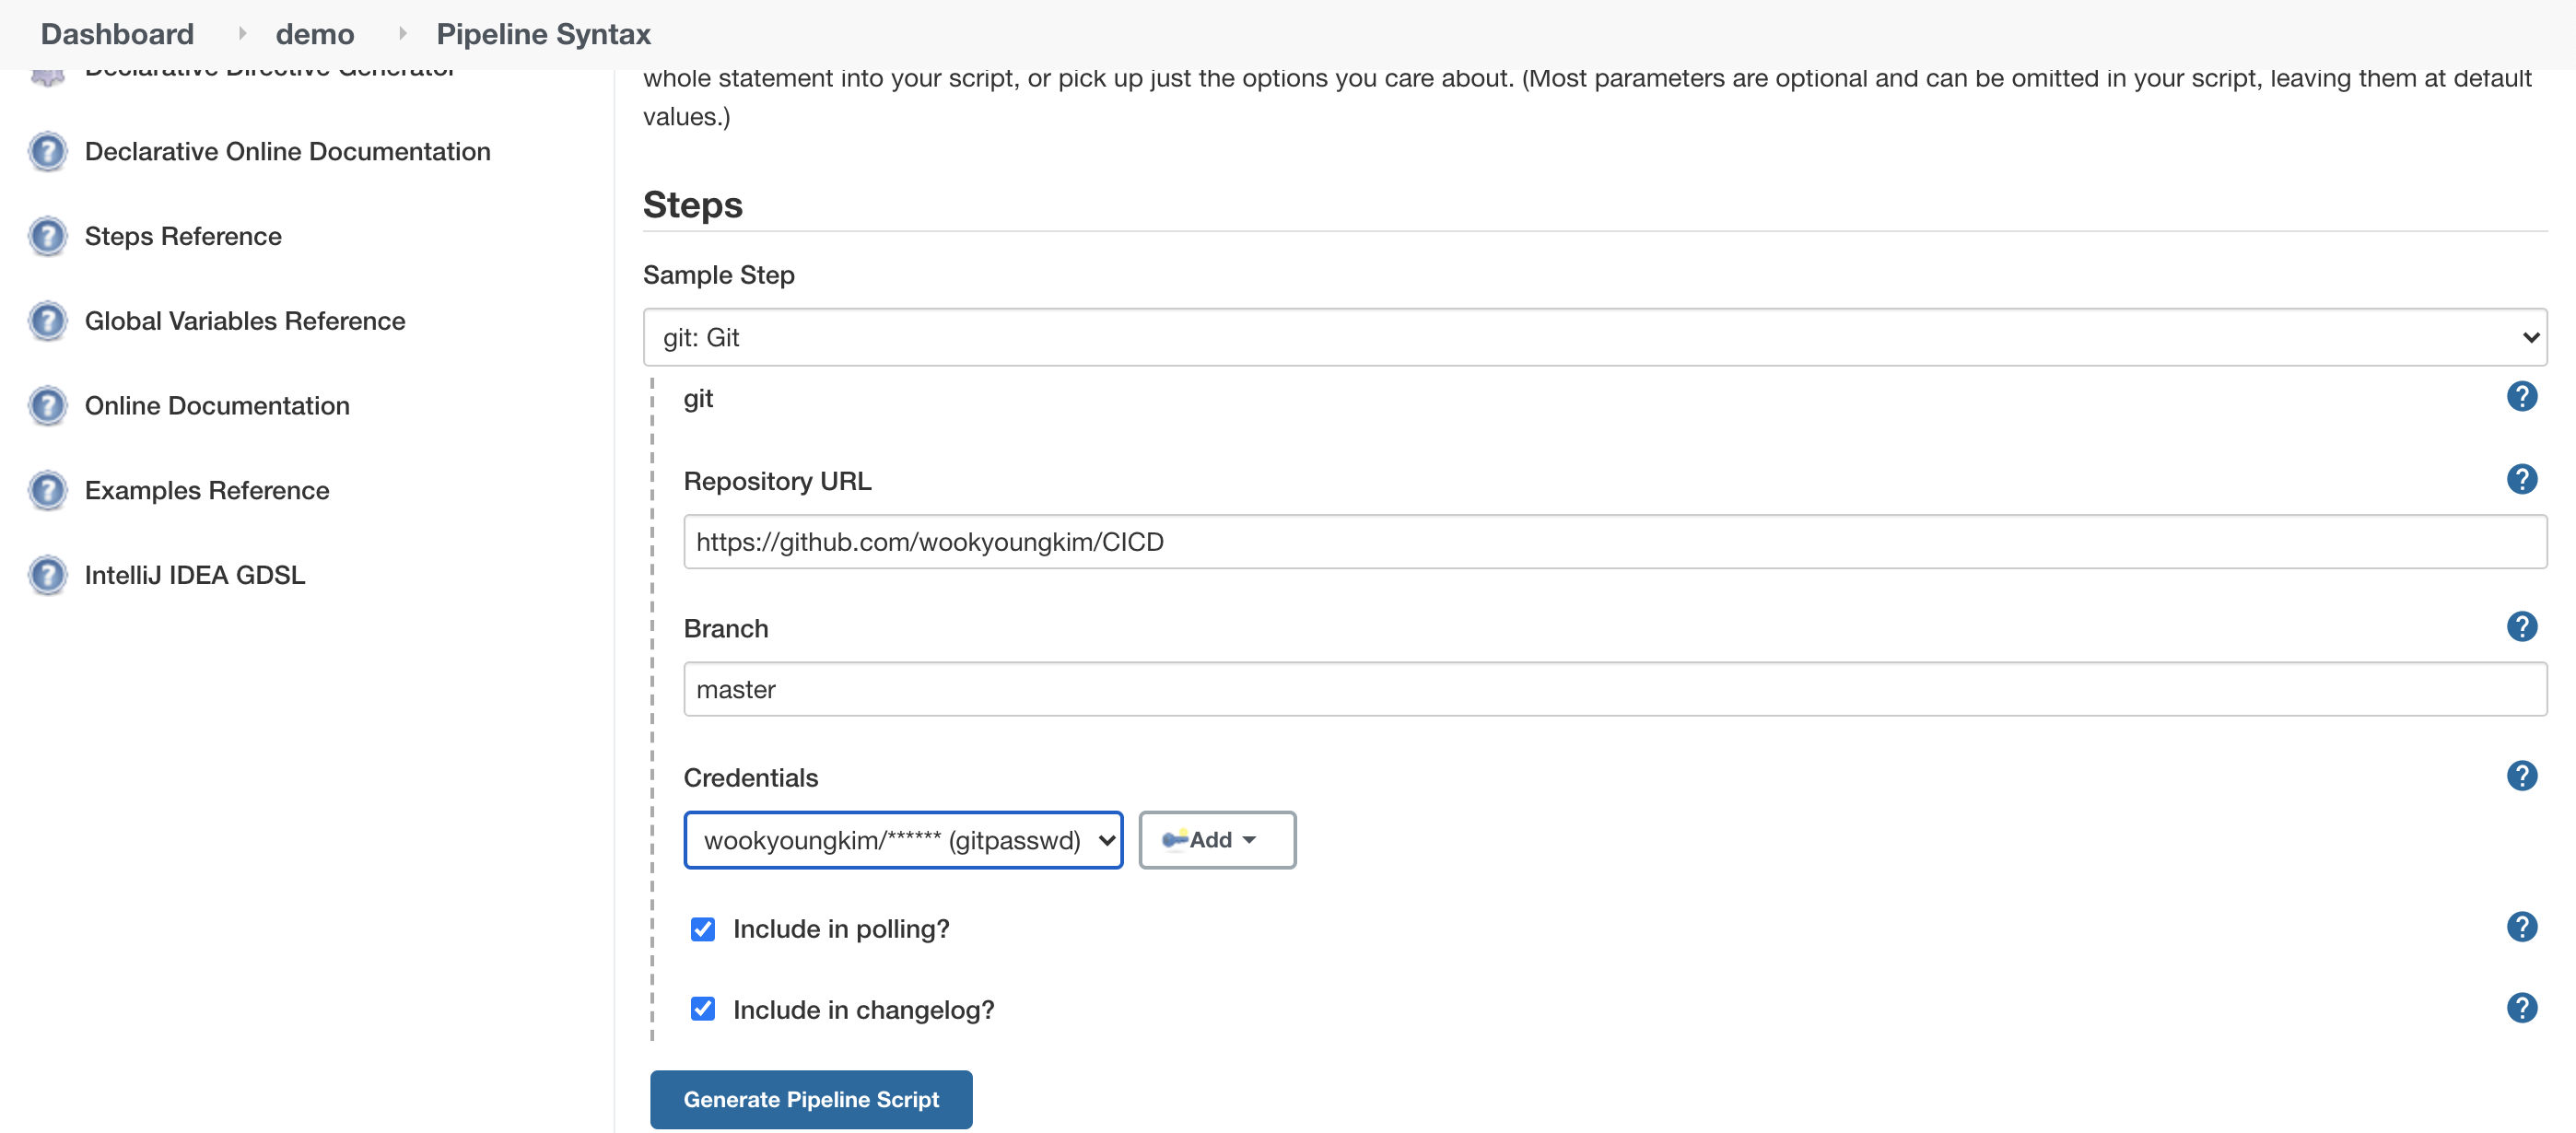
credentials는 public repo라 없어도 되지만 한번 설정해보았습니다. 연결하려는 github의 계정정보를 입력하면 됩니다.
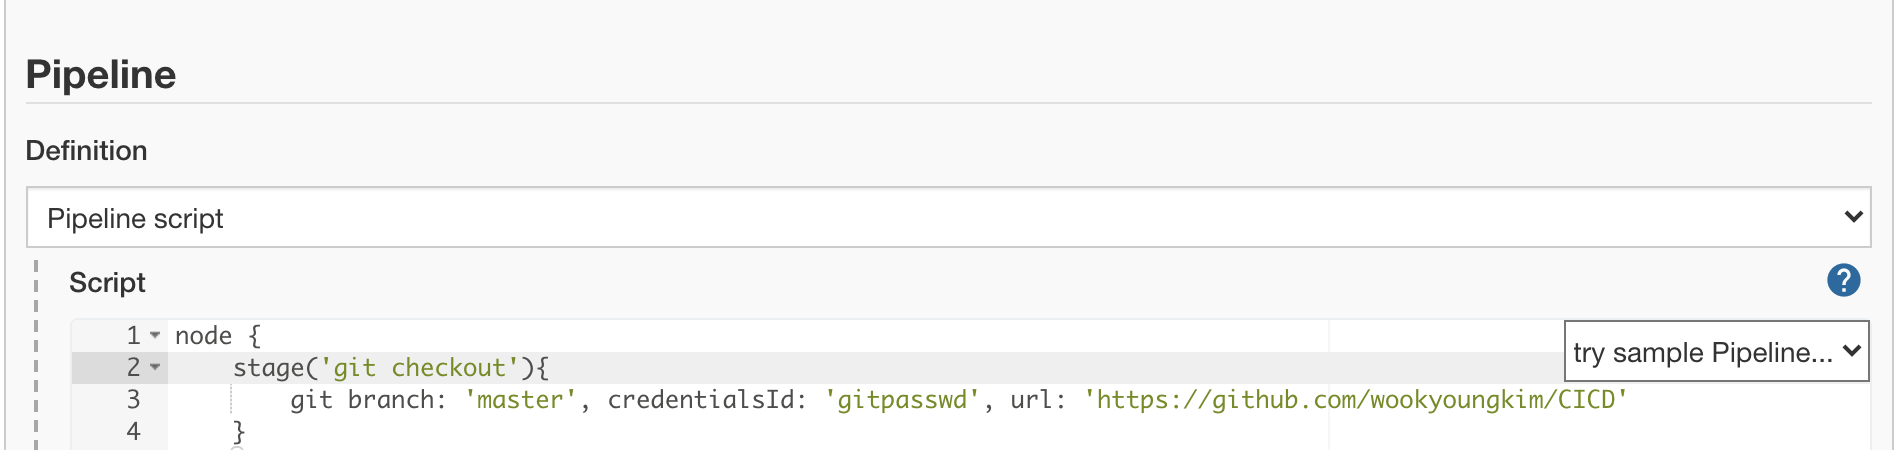
여기서 만든 pipeline script를 checkout stage에 추가해줍니다.
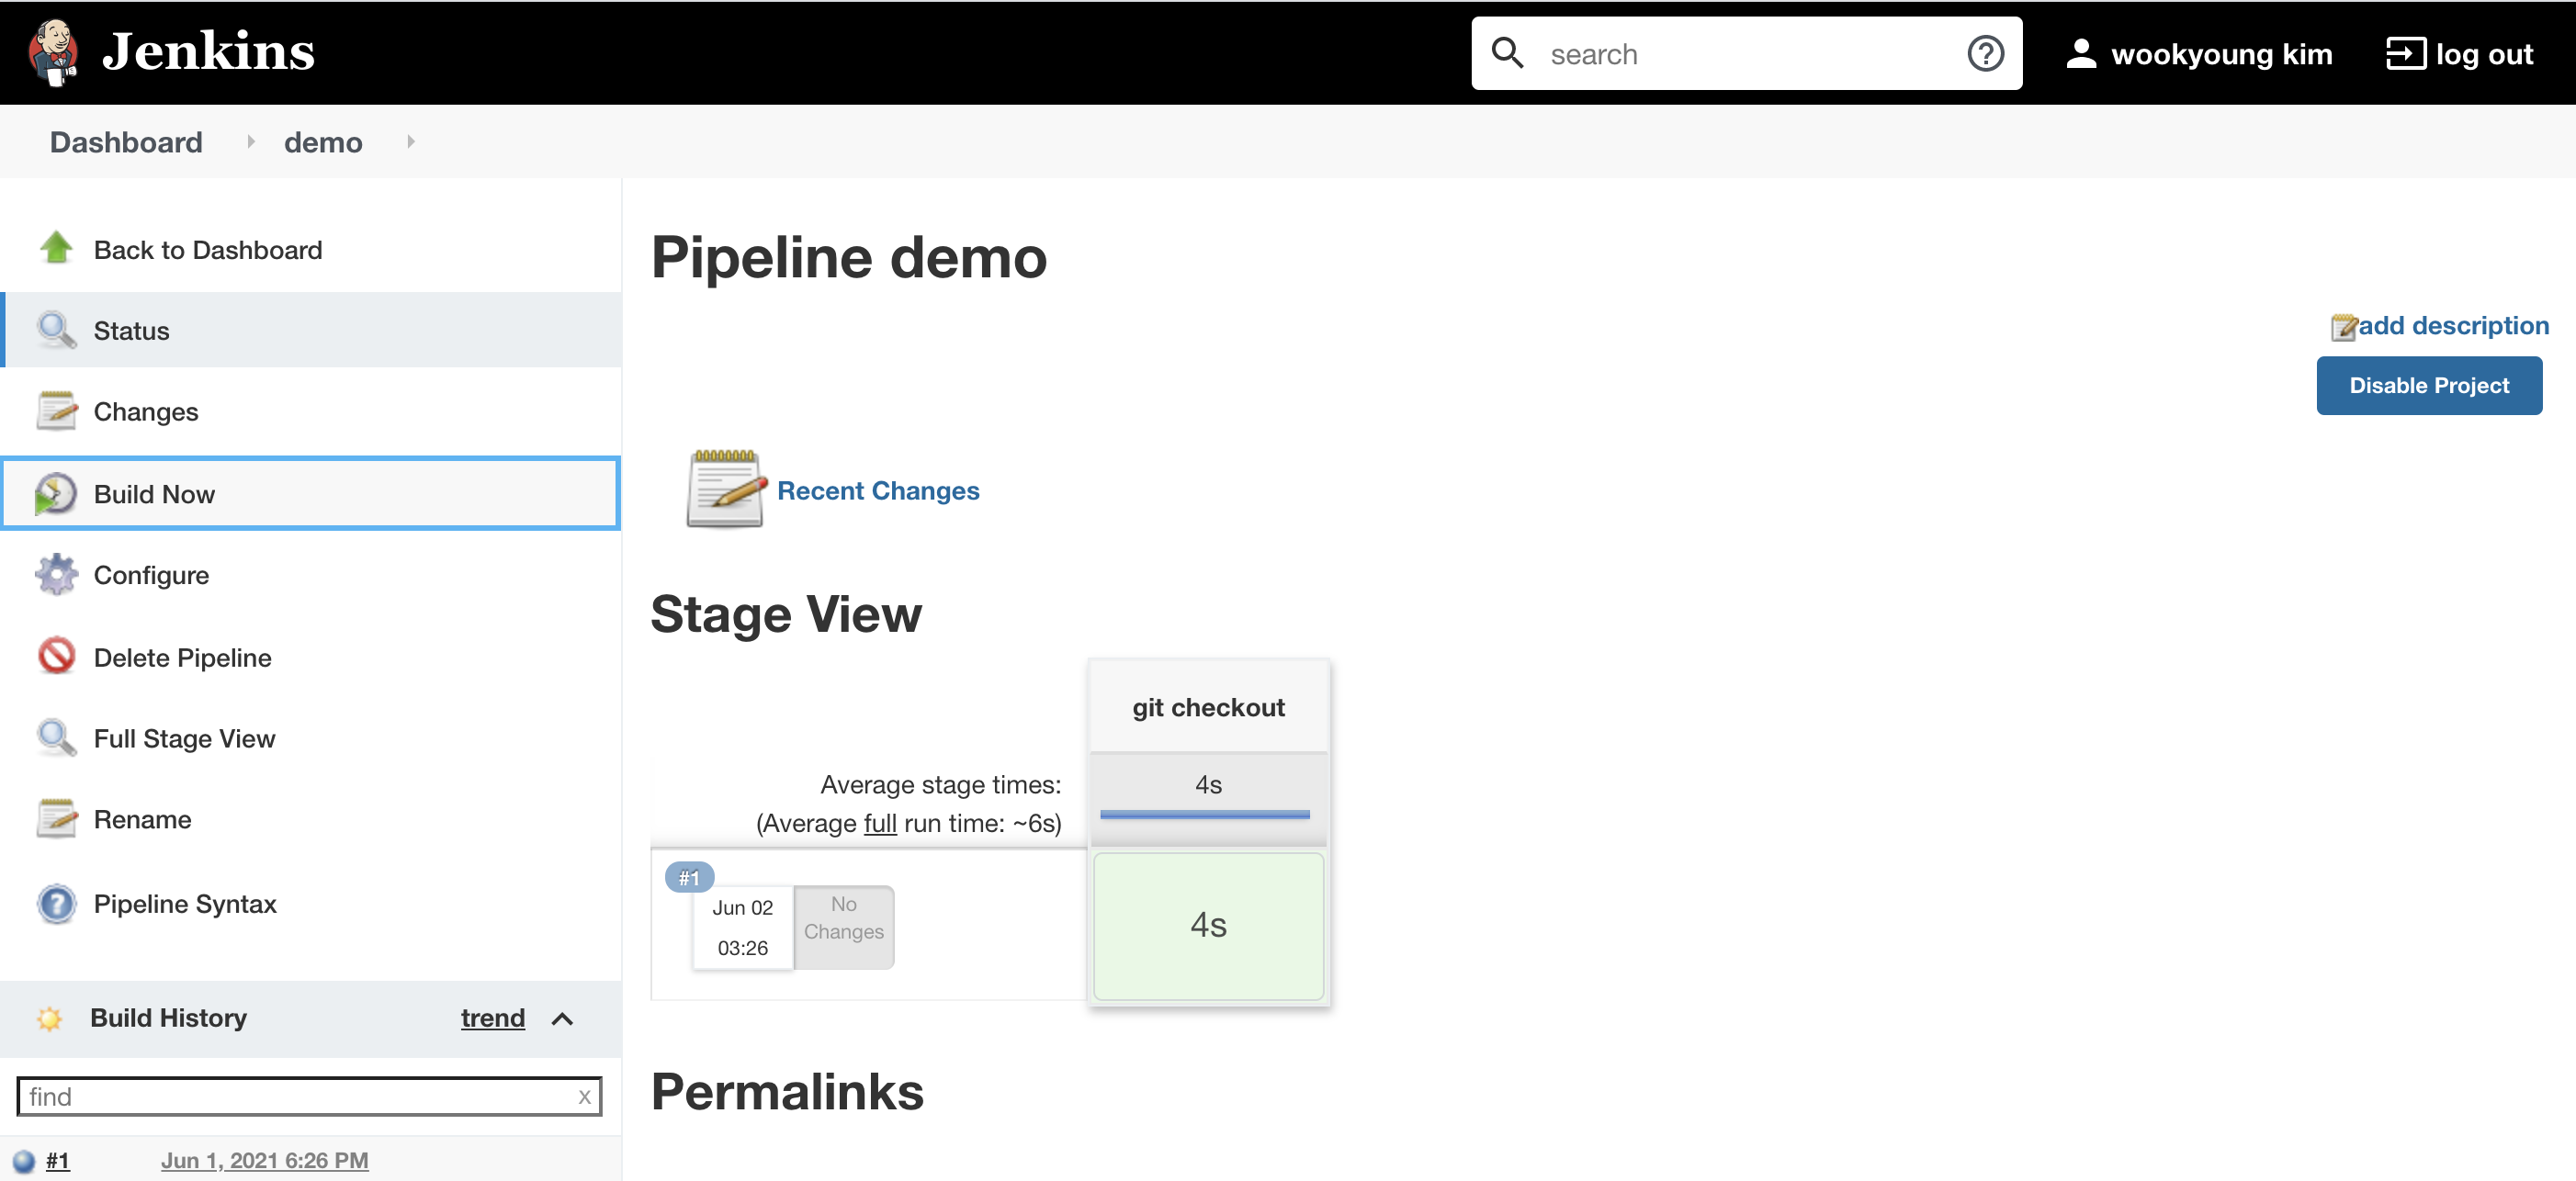
master instance에서 확인했을때 맞게 checkout됐음을 알 수 있습니다.

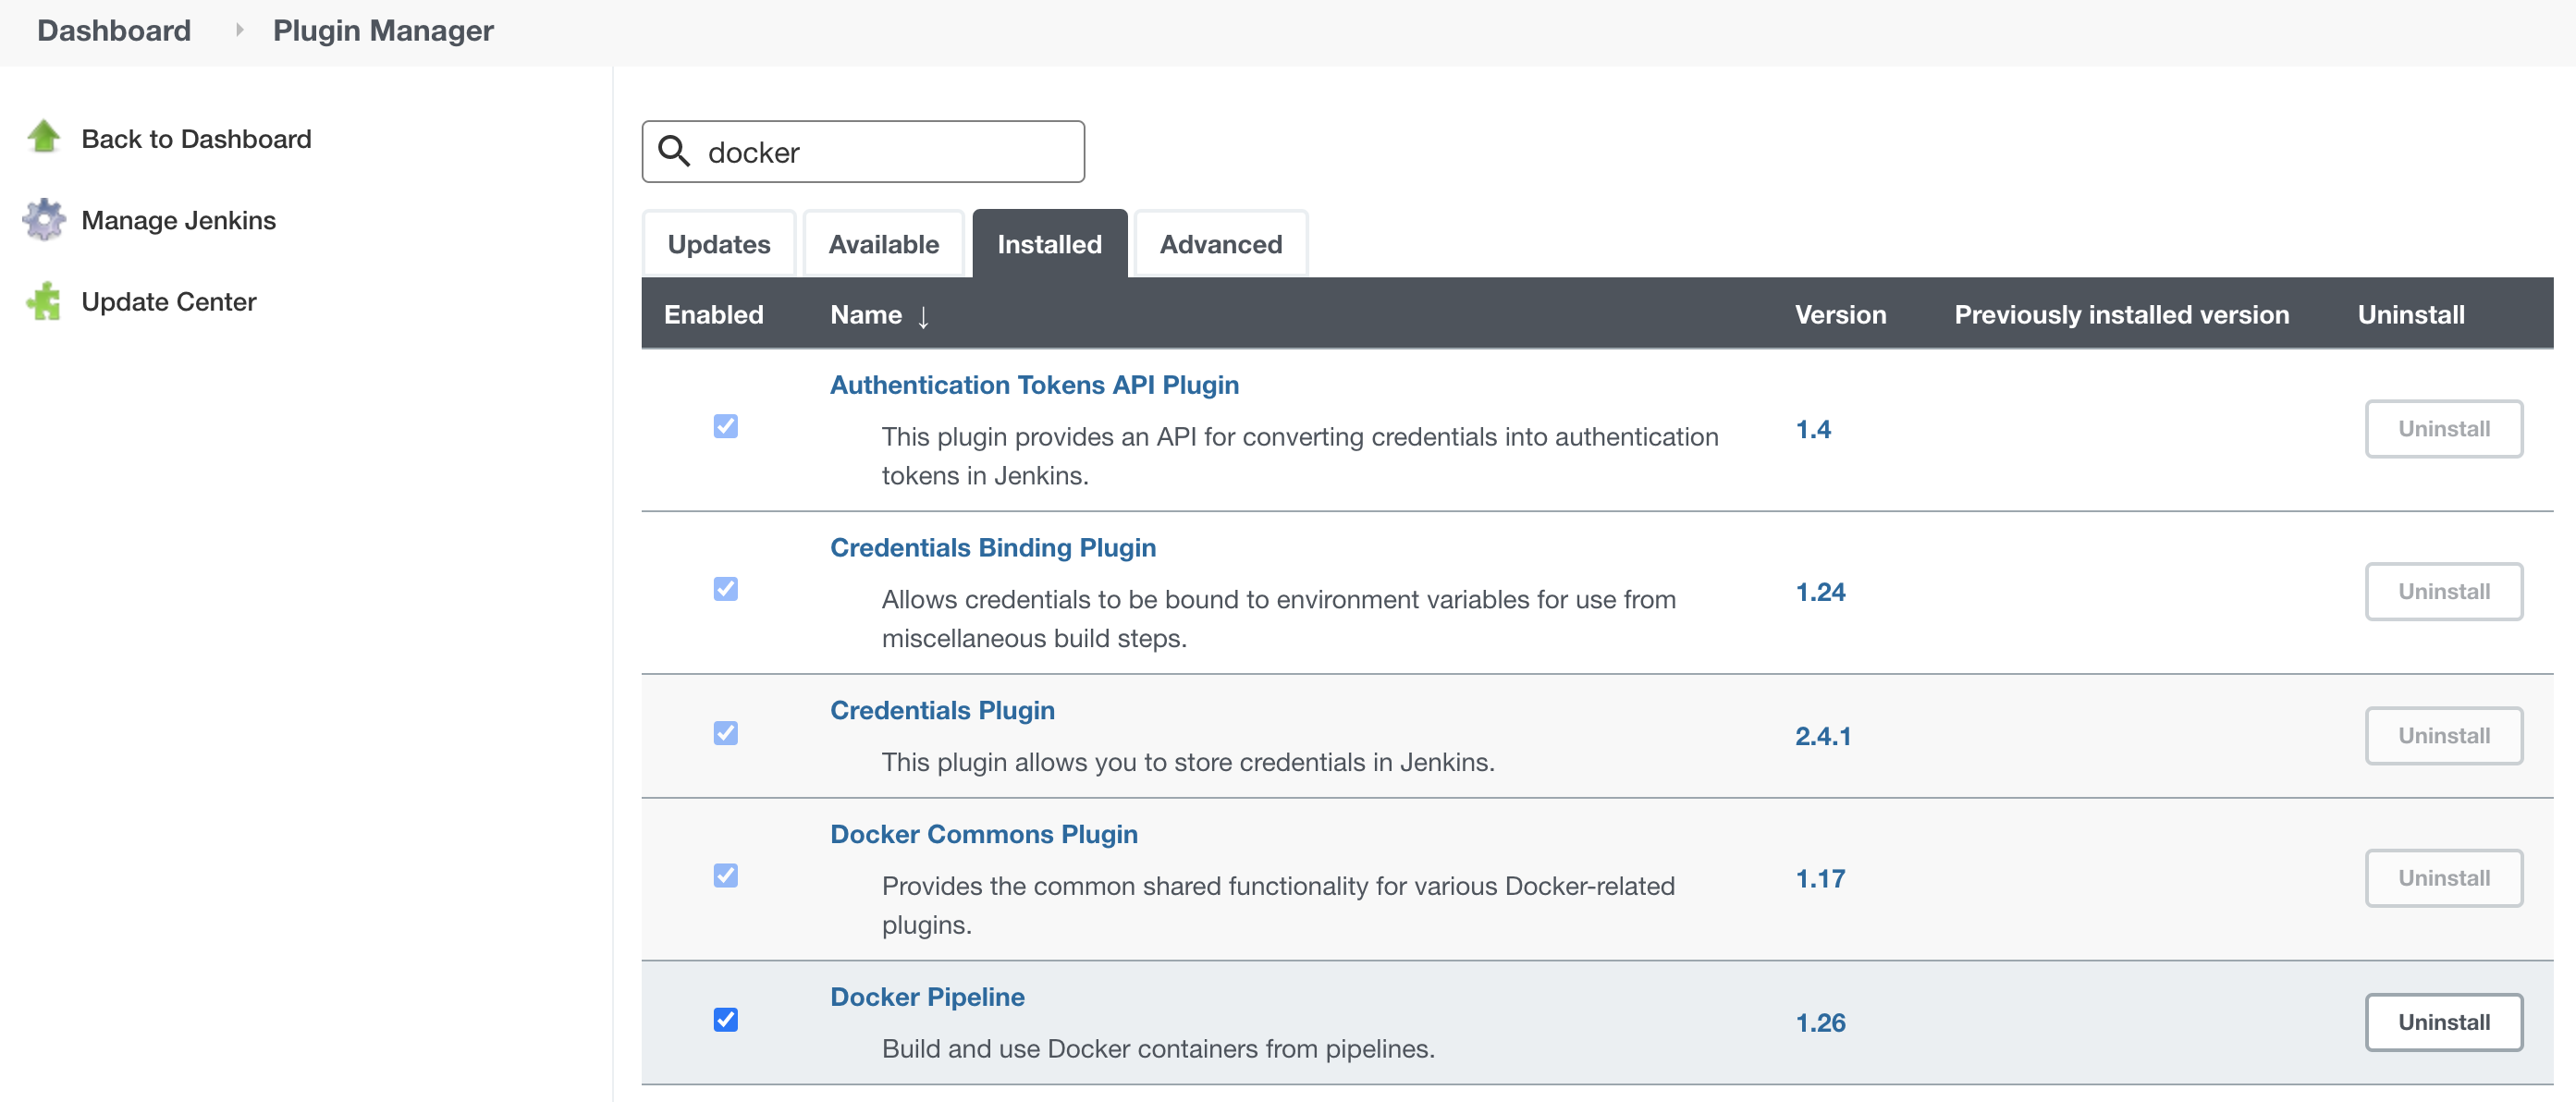
docker pipeline을 사용하기 위한 plugin을 설치합니다.
master node에 docker-jenkins 권한을 설정해줍니다.
sudo usermod -aG docker jenkins
sudo chown root:jenkins /var/run/docker.sock
dockerhub에 로그인 하기 위한 credentials를 설정합니다. 명령어 자체를 입력해서 비밀번호를 하드코딩 해서 넣을 수도 있지만, 비밀번호 노출을 막기 위해 credentials binfing plugin을 활용합니다.
위의 github credentials 설정과 같이 http://3.37.87.174:8080/job/demo/pipeline-syntax/ 에서 script를 작성합니다.
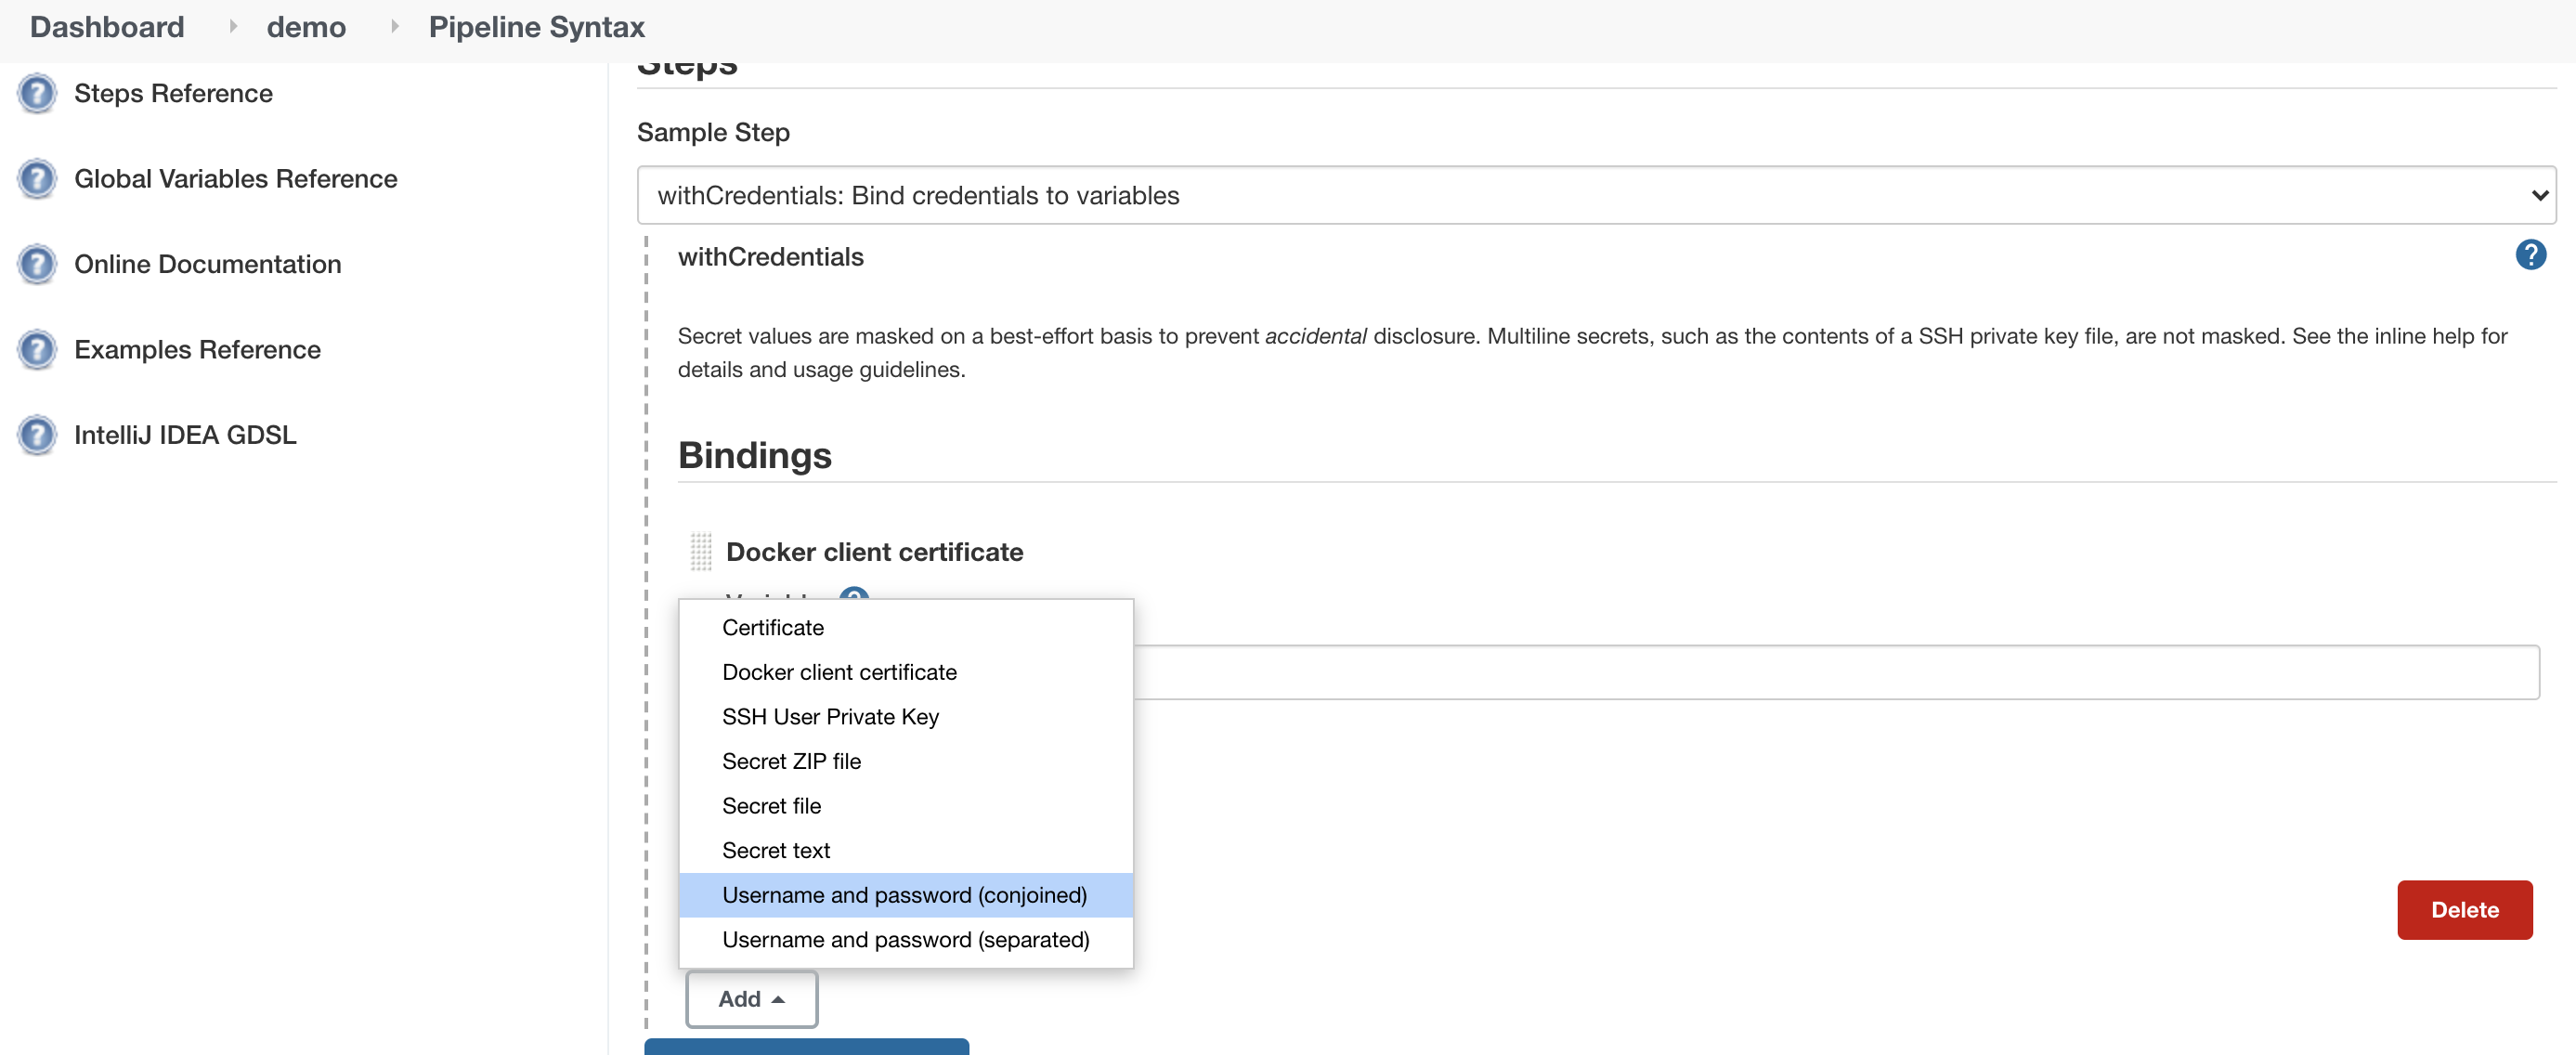
에서 Username and password를 선택합니다. 두개중에 아무거나 골라도 상관 무,, 저는 seperated를 골랐습니당
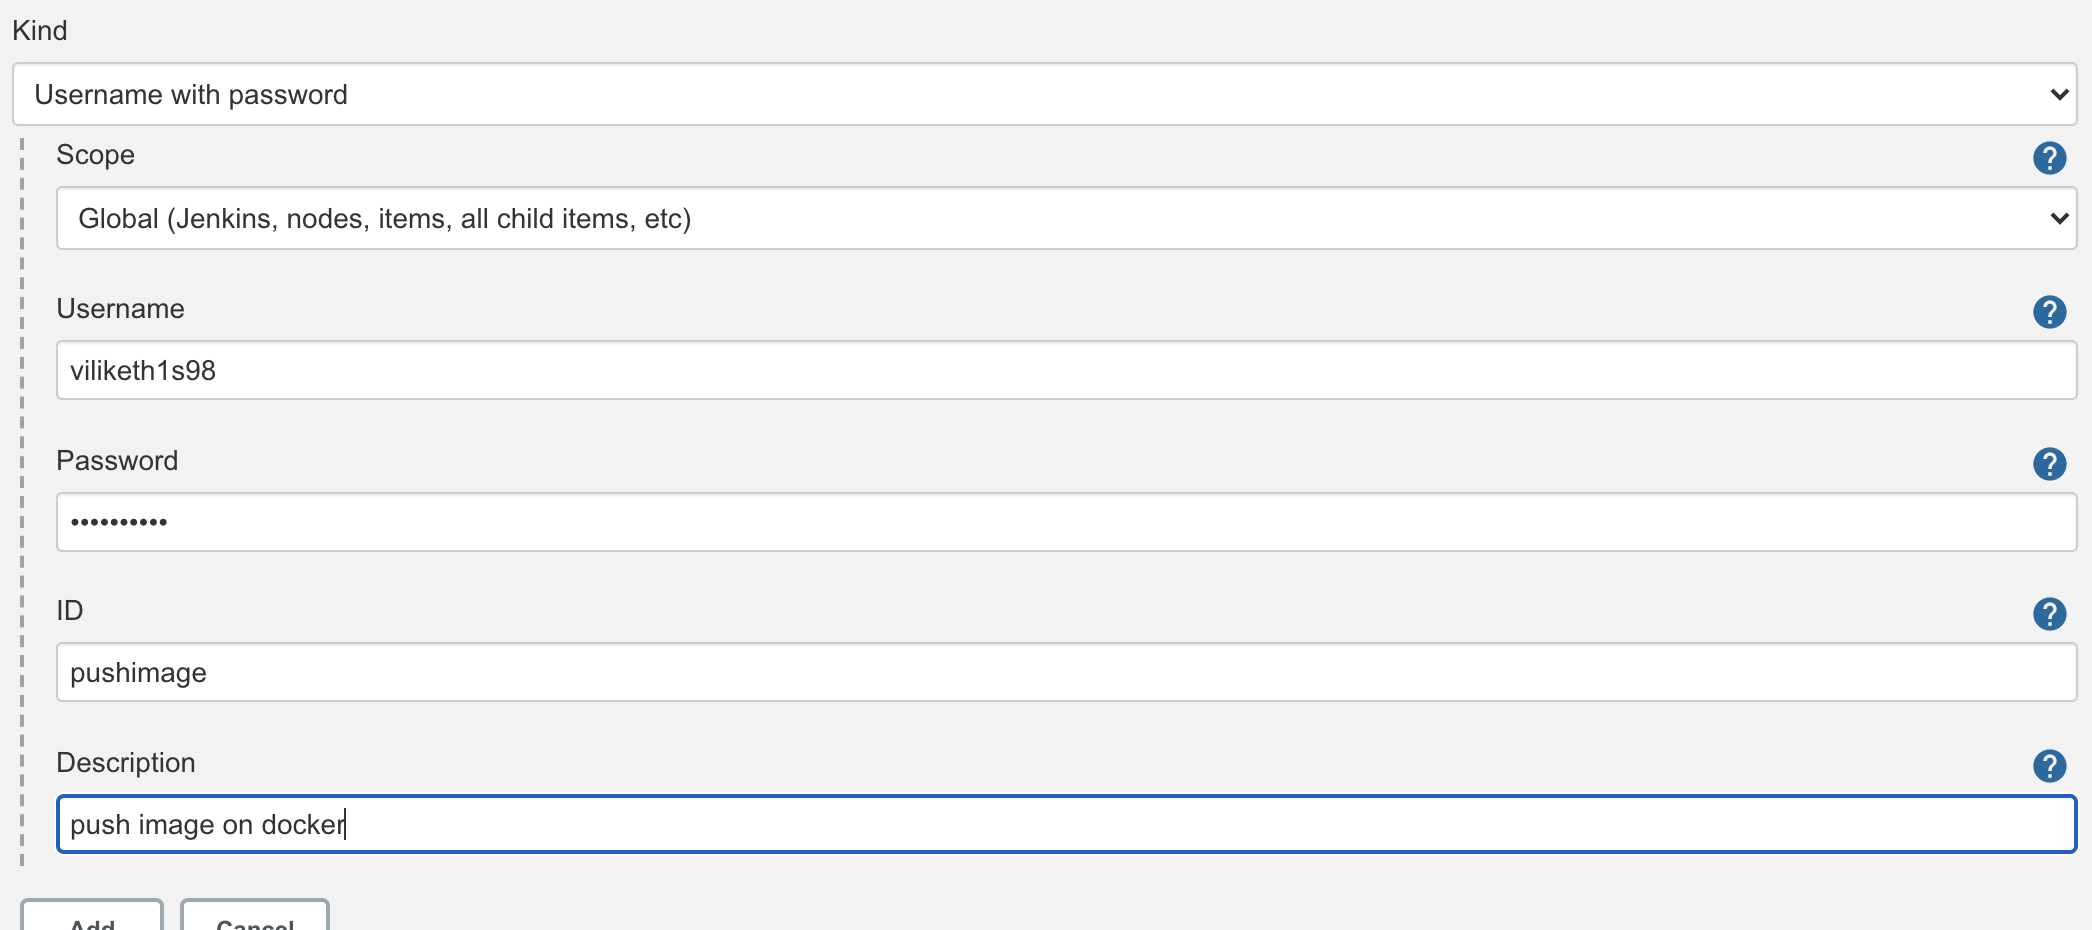
도커 계정 정보를 입력합니다. 여기서 generate한 스크립트를 다음 스테이지에 넣어줍니당
전체 시나리오에 대한 pipeline scipt은 다음과 같습니다.
node {
    stage('git checkout'){
        git branch: 'master', credentialsId: 'gitpasswd', url: 'https://github.com/wookyoungkim/CICD'
    }
    stage('compile hello.c and produce index.html'){
        sh 'gcc hello.c'
        sh './a.out > index.html'
    }
    stage('build docker image'){
        sh 'docker build -t viliketh1s/myweb:1.1.0 .'
    }
    stage('push docker image'){
        withCredentials([usernamePassword(credentialsId: 'docker', passwordVariable: 'dockerpwd', usernameVariable: 'dockeruser')]) {
            sh "docker login -u ${dockeruser} -p ${dockerpwd}"
        }
        sh 'docker push viliketh1s/myweb:1.1.0'
    }
    stage('deploy demo container'){
        sh 'docker run -itd -p 5000:80 --name my-app viliketh1s/myweb:1.1.0'
    }
}
으음 ,,, ^ ^낫 이지 ^_ㅠ 졸프에서 빌드 자동화툴로 써먹어야지