
Mybatis란?
비즈니스 레이어와 DB를 연결하는 중간의 persistent layer의 역할으로 xml 이나 어노테이션을 통해 SQL을 통해 가져온 데이터를 자바 객체로 바꿔주는 역할을 한다. 뿐만 아니라 동적 쿼리를 쉽게 만들어주는 역할을 한다.
JDBC 와 Mybatis 비교하기
JDBC를 통해 데이터를 가져온다면 다음과 같은 작업을 해야한다.
- DB와 연결 수립
- preparedstatement 작성
- 받아온 결과를 매핑할 함수 작성
위의 목록 뿐만 아니라 여러 설정들을 추가해주어야 한다.
반면에 Mybatis를 통해 데이터를 가져오면 파라미터 지정, 가져온 결과값을 어떻게 할건지만 지정해주면 되기 때문에 핵심 로직에 더 집중할 수 있다.
Spring Boot 에서 Mybatis 사용하기
- gradle 에 의존성 주입하기
implementation 'org.mybatis.spring.boot:mybatis-spring-boot-starter:2.1.4'- mybatis 설정 yml 파일에 작성하기
mybatis:
  type-aliases-package: com.example.demo.Domain, com.example.demo.dto
  mapper-locations: mybatis/mapper/**/*.xml
  configuration:
    jdbc-type-for-null: 'NULL'
Mybatis 사용하기
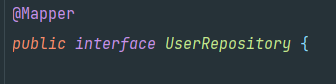
Mybatis 매핑을 위한 매퍼 interface를 작성해준다.
@Mapper 어노테이션을 통해 해당 인터페이스의 함수가 어떤 mapper랑 연결되는 지 알 수있다.
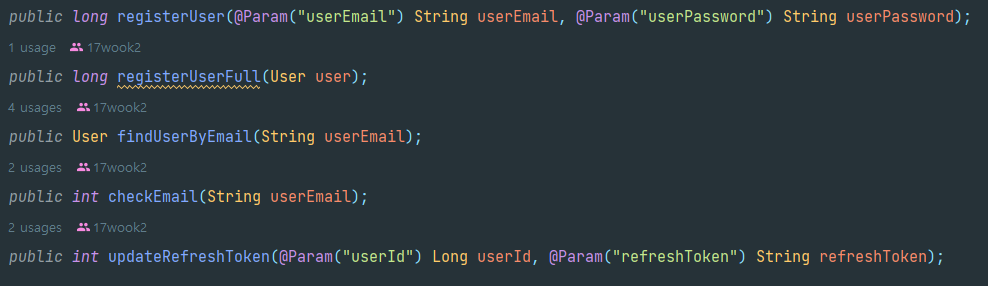
아래와 같이 가져올 함수를 작성하고 parameter를 넣어주면 된다.
xml 매퍼 작성하기
- select문 작성하기
select문에 들어갈 내용은 id, parameterType, resultType등이 있다.
id : mapper interface에 작성했던 함수 이름과 동일하게 작성해야 한다.
parameterMap, parameterType: Map이나 Type을 작성해야 하는데,
Type에는 매개변수 타입에 대한 DTO를 넣어주고, Map은 직접 작성한 mapper를 이용해 가져올 수도 있다.
resultMap, resultType: 받아올 결과값에 대해서 Type이나 mapper를 넣어주면 된다.
- insert문 작성하기
select문과 마찬가지로 id, resultType을 작성하면 되고,
useGeneratedKeys="true" keyProperty="messageId"를 통해 자동 생성된 키를 가져올 수도 있다.
<insert id="registerUser" parameterType="map">
        insert into user(userEmail, userPassword) values (#{userEmail}, #{userPassword})
    </insert>
    <insert id="registerUserFull" parameterType="User">
        insert into user(userEmail, provider, refresh_token) values (#{userEmail}, #{provider}, #{refreshToken})
    </insert>

    <select id="findUserByEmail" resultType="User" parameterType="String">
        select * from user where userEmail = #{userEmail}
    </select>
꾸준히 공부하자