- 인터페이스의 기능
-
구현을 강제하는 기능
-
'인터페이스란 모든 메소드가 추상메소드인 클래스'를 의미한다. 그래서 implements를 통해 구현된 클래스에서 추상메소드를 구체화 시킬 강제성이 존재한다
-
package com.programmers.java;
import java.lang.*;

interface Runnable{ // 인터페이스란 모든 메소드가 추상메소드인 클래스를 의미한다
    void run();
    /*
    void run(){ // 이 함수처럼 구현부가 있으면 오히려 인터페이스 생성이 안 됨
        return null;
    }
    */
}

public class Main implements Runnable{
    public static void main(String[] args) {
        Runnable main = new Main();
        main.run();
    }

    @Override
    public void run() { // 이거 구현 안 하면 오류
        System.out.println("hello world");
    }
}
-
-
다형성을 제공
-
package com.programmers.java; import java.lang.*; interface IamRunnable{ // 인터페이스란 모든 메소드가 추상메소드인 클래스를 의미한다 void iamRun(); } interface WeRunnable{ // 인터페이스란 모든 메소드가 추상메소드인 클래스를 의미한다 void weRun(); } public class Main implements IamRunnable, WeRunnable{ public static void main(String[] args) { Main m1 = new Main(); // Main으로 생성한다면 m1은 iamRun(), weRun() 모두 사용 가능 m1.iamRun(); m1.weRun(); IamRunnable m2 = new Main(); // 그러나 IamRunnable을 구현한 m2는 iamRun()만 사용 가능 m2.iamRun(); WeRunnable m3 = new Main(); // 마찬가지로 WeRunnable을 구현한 m3는 weRun()만 사용 가능 m3.weRun(); } @Override public void iamRun() { System.out.println("hello iam"); } @Override public void weRun() { System.out.println("hello we"); } } -
package com.programmers.java.polymorphism; //디자인 패턴 중 '팩토리 패턴'을 이용했음 public interface Door { void open(); } public class ApartmentDoor implements Door{ @Override public void open() { System.out.println("open the Apartment"); } } public class HouseDoor implements Door{ @Override public void open() { System.out.println("open the House"); } } public enum DoorType { ApartmentDoor, HouseDoor } public class Main { public static void main(String[] args) { // 팩토리패턴 //설정파일, config new Main().run(DoorType.ApartmentDoor); // 호스트 코드, 얘만 변경하면 수정됨 } private void run(DoorType doorType) { // 구현체에는 아무런 수정없이 변경 가능 Door door = getDoor(doorType); door.open(); } private static Door getDoor(DoorType type) { if (type == DoorType.ApartmentDoor) return new ApartmentDoor(); else return new HouseDoor(); } } -
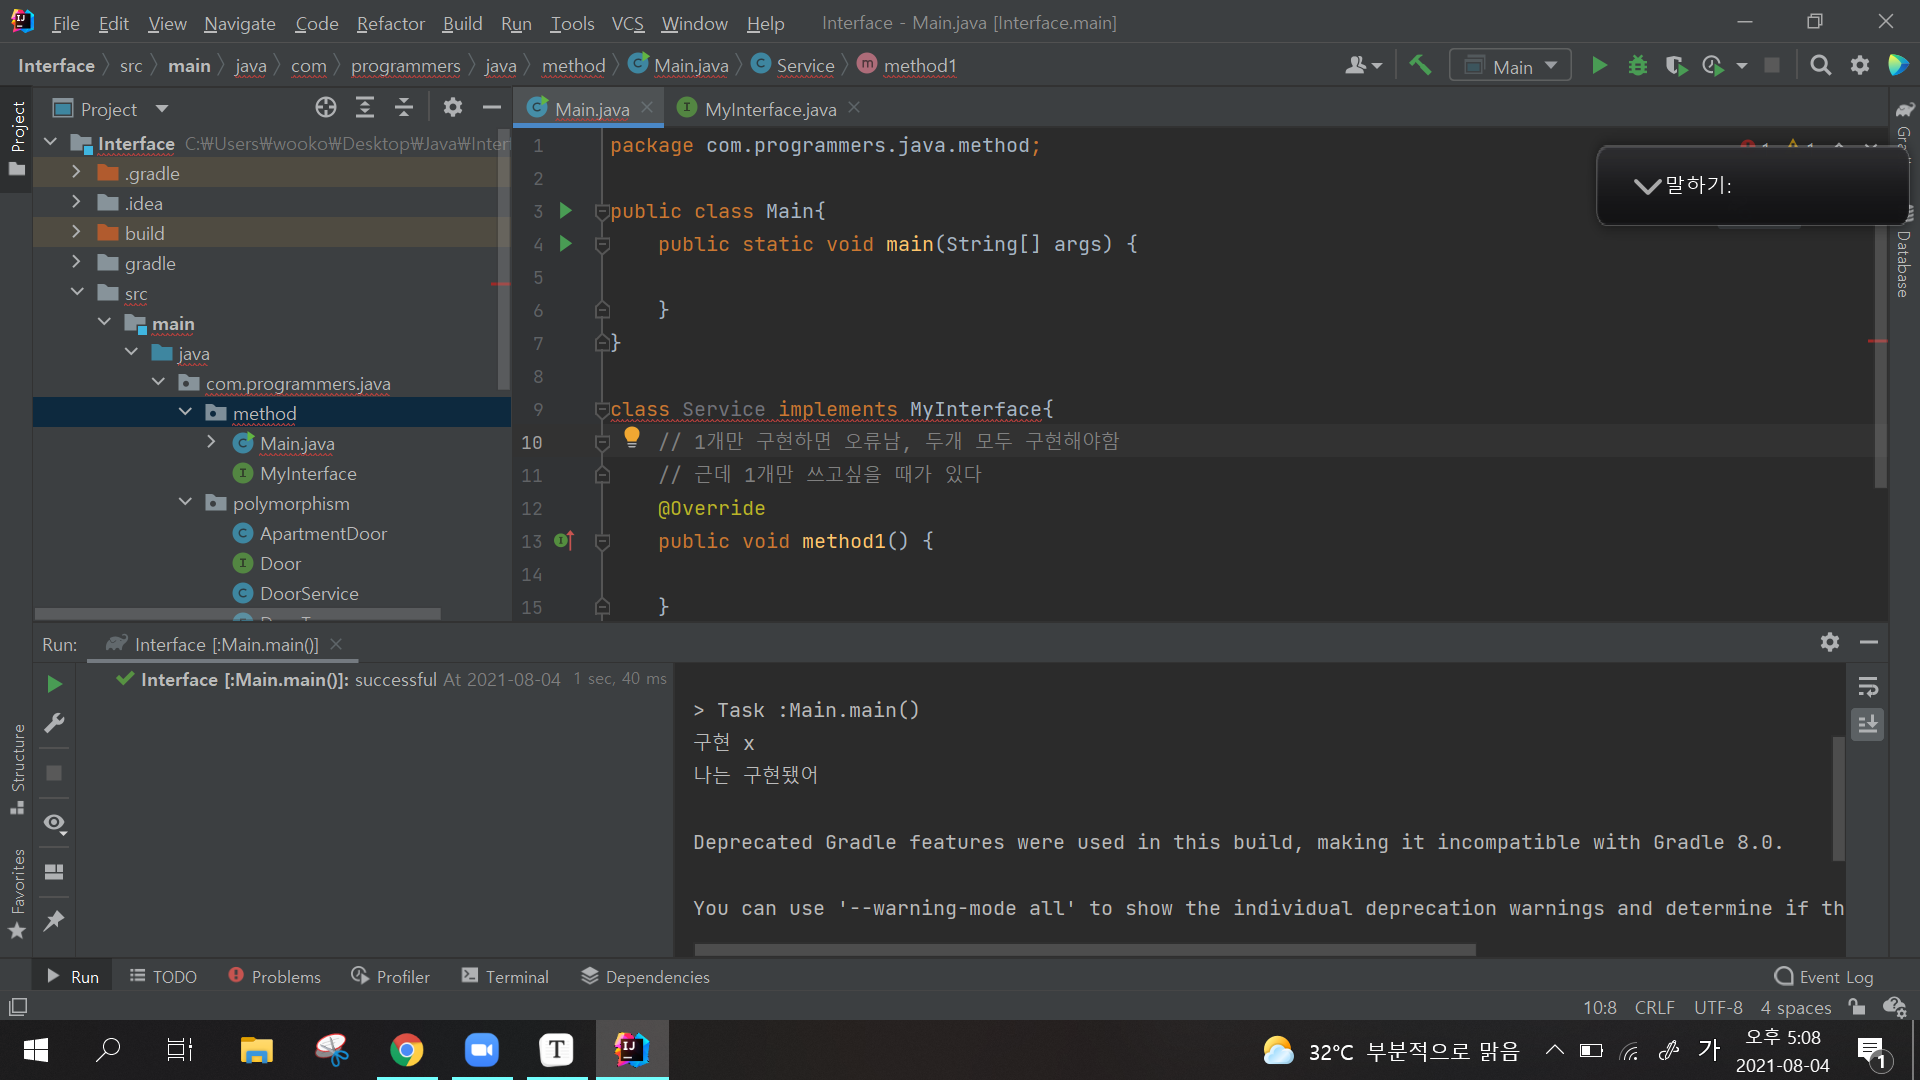
 package com.programmers.java.polymorphism;

 public interface Door {
     void open();
 }

 public class ApartmentDoor implements Door{

     @Override
     public void open() {
         System.out.println("open the Apartment");
     }
 }

 public class HouseDoor implements Door{

     @Override
     public void open() {
         System.out.println("open the House");
     }
 }

 public enum DoorType {
     ApartmentDoor, HouseDoor
 }

 public class Main {
     public static void main(String[] args) { // 팩토리패턴
         //설정파일, config
         new Main().run(DoorType.ApartmentDoor); // 호스트 코드, 얘만 변경하면 수정됨

     }

     private void run(DoorType doorType) { // 구현체에는 아무런 수정없이 변경 가능
         Door door = getDoor(doorType);
         door.open();
     }

     private static Door getDoor(DoorType type) {
         if (type == DoorType.ApartmentDoor) return new ApartmentDoor();
         else return new HouseDoor();

     }
 }

 public class DoorService implements Door{
     private Door door;

     // open에 의존한다, 의존성을 외부에 맡긴다 == 의존도를 낮춘다
     // 인터페이스 같은 추상체와 결합을 하면 결합도를 낮출 수 있다
     // 의존성을 외부로부터 전달받았다 == 의존성을 주입받았다
     // 의존성 주입 == Dependency Injection(DI)
     public DoorService(Door door) {
         this.door = door;
     }

     @Override
     public void open() {
         door.open();
     }
 }
-
-
결합도를 낮추는 효과
-
open에 의존한다, 의존성을 외부에 맡긴다 == 의존도를 낮춘다
-
인터페이스 같은 추상체와 결합을 하면 결합도를 낮출 수 있다
-
의존성을 외부로부터 전달받았다 == 의존성을 주입받았다
-
의존성 주입 == Dependency Injection(DI)
-
결국, Dependency Inversion 되었다
-
- 디폴트 메소드(Defaulat Method)
-
Java 8부터 메소드에 대한 개선이 존재했다
-
인터페이스가 구현체를 가질 수 있게 되었다. 인터페이스는 구현체를 가질 수 없지만 default 를 넣으면 가능해짐
-
-
-
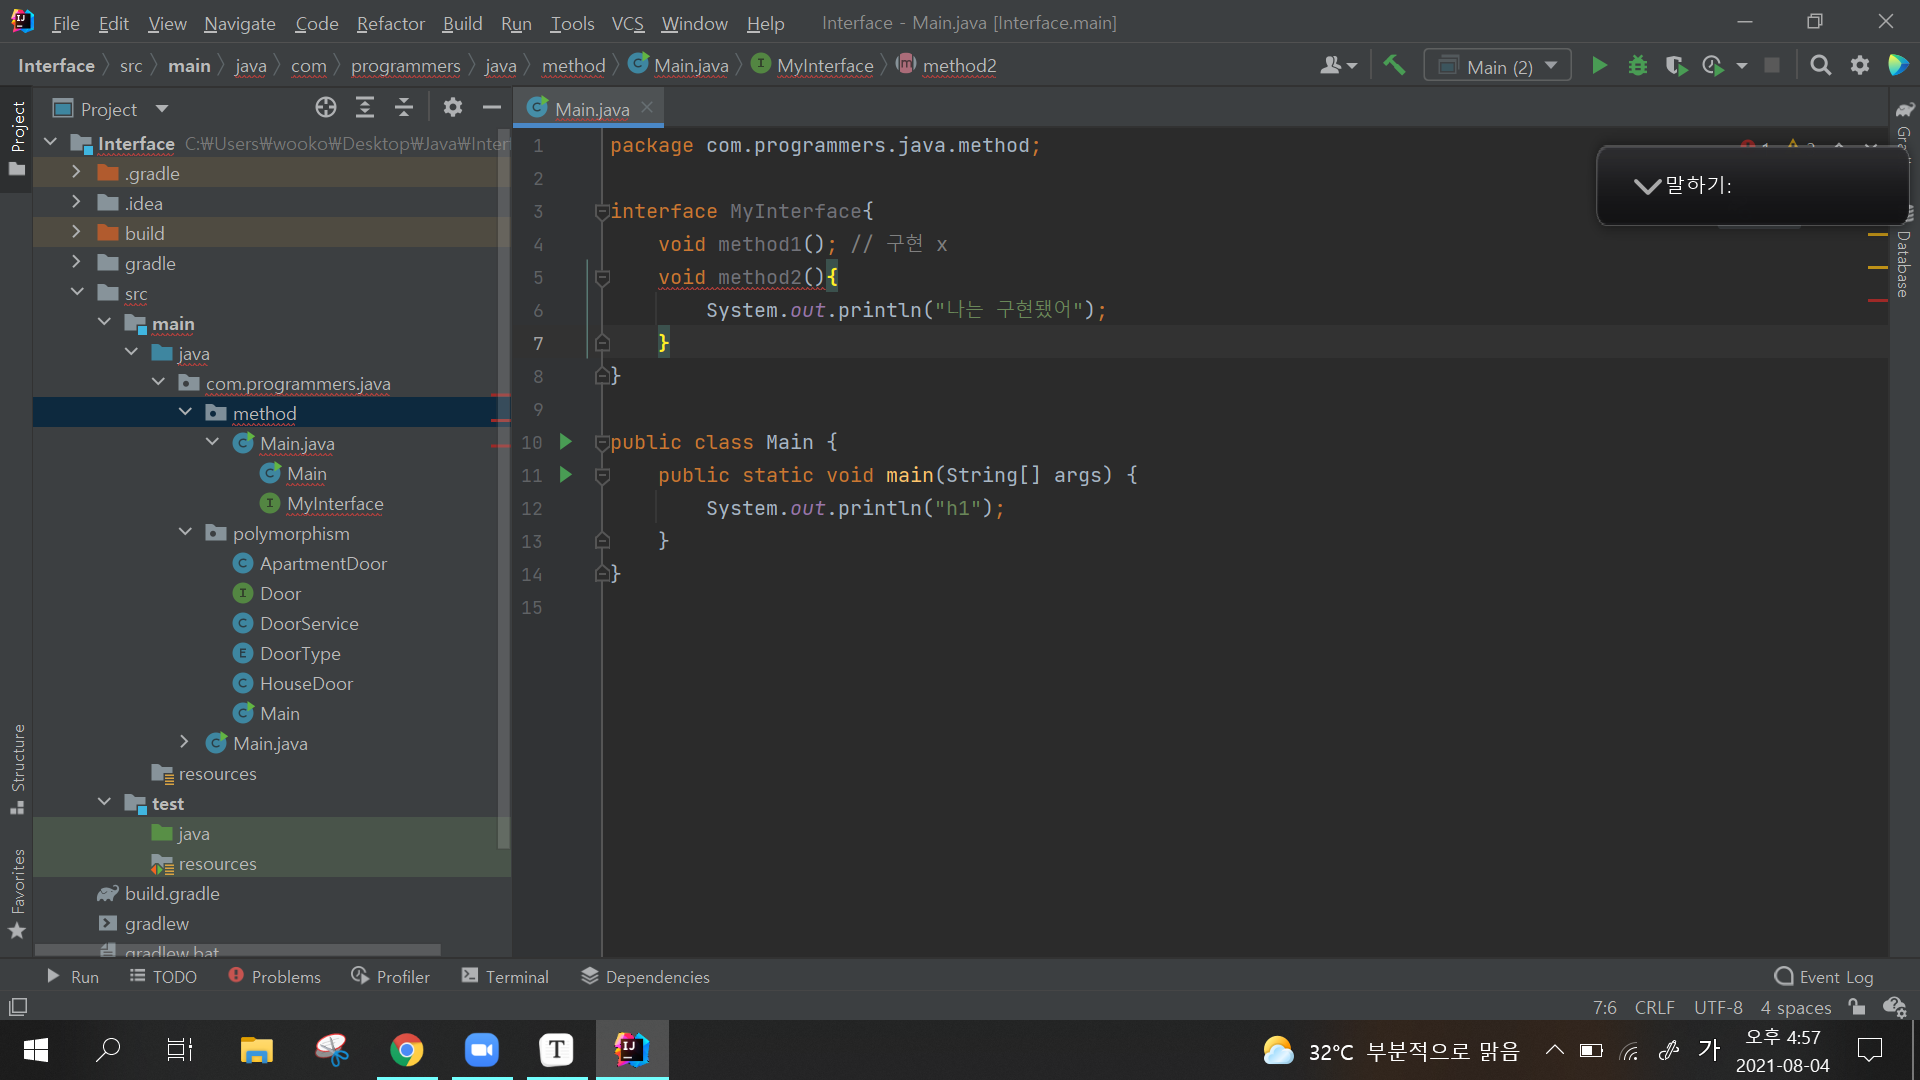
package com.programmers.java.method;

interface MyInterface{
    void sayBye(); // 구현 x
    default void sayHello(){
        System.out.println("나는 구현됐어");
    }
}

public class Main implements MyInterface{
    public static void main(String[] args) {
        new Main().sayBye();
        new Main().sayHello(); // sayHello()는 이미 인터페이스에서 구현했기 때문에
        // Main에서 따로 구현 안 해도 가능함, 물론 Main에서 sayHello()를 오버라이드 하는 것도 가능
    }

    @Override
    public void sayBye() {
        System.out.println("구현 x");
        //throw new RuntimeException();
    }
}
-
default method는 Adapter 역할 가능
-
인터페이스의 추상메소드 중에 원하는 것만 쓸려면 어떻게 하지?
-
-
위 사진처럼 인터페이스를 하위클래스에서 구현(implements)하게 되면 인터페이스에서 지정한 추상메소드들을 모두 쓰지않아도 하위클래스에서 오버라이드 해야함.
-
이런 낭비를 막기위해 Adapter를 이용한 해결법
-
package com.programmers.java.method;

interface MyInterface {
    void method1(); // 구현 x
    void method2(); // 구현 x
}

public class InterfaceAdapter implements MyInterface{
    @Override
    public void method1() {

    }

    @Override
    public void method2() {

    }
}

public class Main{
    public static void main(String[] args) {

    }
}

class Service extends InterfaceAdapter{ // 어댑터는 상속받는 것에 주목하자
    @Override
    public void method1() {
        System.out.println("hello world");
    }

}
-
-
default method : Adapter없이 해결 가능한 방법
-
이렇게 하면 다른 클래스를 상속받는 동시에 implements를 통해 인터페이스의 메소드 중에 마음에 드는 것만 구현해도 됨
-
package com.programmers.java.method;

interface MyInterface {
    default void method1(){

    }
    default void method2(){

    }
    default void method3(){

    }
    default void method4(){

    }
}

public class Main{
    public static void main(String[] args) {

    }
}

class Service extends Object implements MyInterface{
    @Override
    public void method1() {
        System.out.println("hello world");
    }

}
-
-
적용하면 좋을 코드
-
walk()같은 공통 메소드에 대해 쉽게 처리할 수 있는 방법이 없을까 == default method 이용하면 됨 -
package com.programmers.java.method2; // default method 변경 전 코드 class Chicken implements Swimmable, Walkable{ @Override public void swim() { System.out.println("SWIM"); } @Override public void walk() { System.out.println("WALK"); } } class Eagle implements Walkable, Flyable{ @Override public void fly() { System.out.println("FLY"); } @Override public void walk() { System.out.println("WALK"); } } public class Main { } -
package com.programmers.java.method2;
// default method 변경 후 코드

public interface Ability {
    static void sayGoodBye(){
        System.out.println("say GoodBye~");
    }
}

interface Flyable {
    default void fly(){
        System.out.println("FLY");
    }
}

interface Swimmable {
    default void swim(){
        System.out.println("SWIM");
    }
}

interface Walkable {
    default void walk(){
        System.out.println("WALK");
    }
}

class Chicken implements Swimmable, Walkable{ }

class Eagle implements Walkable, Flyable{ }

public class Main {
    public static void main(String[] args) {
        new Chicken().swim();
        new Chicken().walk();
        new Eagle().fly();
        Ability.sayGoodBye();
    }
}
-
-
결론
-
인터페이스 추가만으로 내가 원하는 메소드만을 선택하고 수정하면서 기능을 확장할 수 있게 되었다
-
심지어 static 메소드를 가질 수 있게 됨
-
즉 인터페이스가 함수 제공자가 됨
-
메소드는 클래스에 종속된 함수를 의미한다
-
자바 8부터 '함수(Function)'이라고 불리는 것들이 생겨나기 시작함
-
-
-
-
- 함수형 인터페이스(Functional Interface)
-
추상메소드가 하나밖에 없는 메소드를 '함수형 인터페이스'라고 한다
static이나default메소드가 있어도 상관없이 '함수형 인터페이스'
-
@FunctionalInterface을 달아준다-
@FunctionalInterface에 있는 추상메소드를함수라고 부른다 -
package com.programmers.java.function;

public interface MySupply {
    String supply();
}


@FunctionalInterface
public interface MyRunnable {
    void run(); // 추상메소드가 하나밖에 없는 메소드를 '함수형 인터페이스'라고 한다.
}

@FunctionalInterface
interface MyMap{ // MyMap도 메소드가 총3개지만 2개는 구현화됐고, 1개만 추상메소드임으로 '함수형 인터페이스'라고 한다.
    void map();

    default void sayHello(){
        System.out.println("hello map");
    }

    static void sayBye(){
        System.out.println("bye map");
    }
}


class Grerting implements MySupply{

    @Override
    public String supply() {
        return "hello world";
    }
}

class Hello implements MyRunnable{

    @Override
    public void run() {
        System.out.println(new Grerting().supply());
    }
}

public class Main {
    public static void main(String[] args) {
        new Hello().run();
    }
}
-
- 인터페이스 임시 생성하기
-
근데 함수형 인터페이스(Functional Interface) 사용해보니 불편함을 느끼게됨
-
그냥 main함수에
new MySupply.메소드()하면 안 될까?
-
해결 : 익명 클래스
-
익명클래스 사용해서 인터페이스의 인스턴스를 생성하고 구현함
-
package com.programmers.java.function;
// 아까에 비해 굉장히 코드가 간결해진 것을 볼 수 있다.

public interface MySupply {
    String supply();
}

public class Main {
    public static void main(String[] args) {
        // 이름없는 클래스를 생성한다고 해서 '익명 클래스'라고 한다
        new MySupply(){
            @Override
            public String supply() {
                return "hello world";
            }
        }.supply();


        MyRunnable r = new MyRunnable() {
            @Override
            public void run() {
                MySupply s = new MySupply() {
                    @Override
                    public String supply() {
                        return "heloooo~";
                    }
                };
                System.out.println(s.supply());
            }
        };
        r.run();
    }
}
-
- Lambda Expression
-
익명 메소드를 사용해서 인터페이스의 인스턴스 생성을
간결하게표현하는 방법을람다 표현식이라고 한다
-
함수형 인터페이스(Functional Interface)에서만 사용 가능함
-
package com.programmers.java.function2; public class Main { public static void main(String[] args) { new MyRunnable(){ @Override public void run() { System.out.println("hello@@@@"); } }.run(); MyRunnable r1 = () ->{ //이것도 람다 표현식 System.out.println("hello world"); }; // 익명 메소드를 사용해서 표현하는 방법을 '람다 표현식'이라고 한다 MyRunnable r2 = () -> System.out.println("hello world"); // 한줄이라서 {}을 뺀 람다 표현식 r1.run(); r2.run(); } } -
package com.programmers.java.lamda2;

@FunctionalInterface
public interface MySupplier {
    String supply();
}

@FunctionalInterface
public interface MyMapper {
    int map(String s);
}

@FunctionalInterface
public interface MyConsumer {
    void consume(int number);
}

@FunctionalInterface
public interface MyRunnable {
    void run();
}


public class Main {
    public static void main(String[] args) {
        MySupplier s = () -> "123456789"; //return 생략가능

        MyMapper m = (str) -> str.length();

        MyConsumer c = (number) -> System.out.println(number);

        MyRunnable r = () -> c.consume(m.map(s.supply()));

        r.run();
    }
}
-
-
메소드 레퍼런스
-
람다 표현식에서 입력되는 값을 변경없이 바로 사용하는 경우, 최종으로 적용될 메소드의 레퍼런스를 지정해주는 표현 방식
-
입력값을 바꾸지말라는 표현방식이 될 수 있다
- 만약에 수정이 빈번한 코드라면 위의 람다식을 추천한다
- 즉 다른 개발자의 개입을 차단함으로써 안정성을 얻을 수 있다.
-
public class Main { // 더욱 간결화된 람다 표현식 public static void main(String[] args) { MySupplier s = () -> "123456789"; //return 생략가능 MyMapper m = String::length; MyConsumer c = System.out::println; MyRunnable r = () -> c.consume(m.map(s.supply())); r.run(); } } -
package com.programmers.java.lambda3;

import com.programmers.java.polymorphism.Main;

import java.util.function.Consumer;
import java.util.function.Predicate;

public class Main2 {
    public static void main(String[] args) {

        new Main2().loop(10, new MyConsumer<Integer>() {
            @Override
            public void consume(Integer number) {
                System.out.println(number);
            }
        });
        /*놀랍게도 위, 아래는 같은 표현이다*/
        new Main2().loop(10, System.out::println);

        // filteredNumber()의 Predicate<Integer> p는 정수값이 들어왔을 때 boolean값을 반환한다
        // 그래서 true or false를 결정할 조건문을 넣은 것
        new Main2().filteredNumber(30, i -> i % 2 == 0, System.out::println);
    }

    void filteredNumber(int max, Predicate<Integer> p, Consumer<Integer> c){
        for(int i=0; i<max; i++){
            if(p.test(i)) c.accept(i);
        }
    }

    void loop(int n, MyConsumer<Integer> consumer){
        for(int i=0; i<n; i++){
            consumer.consume(i);
        }
    }
}
-
- 결론
- 람다 표현식은 외운다고 해서 바로 쓸 수 있는 것이 아니므로 많이 보고 적용해보려고 노력하는게 중요하다