개요
문제 파일은 다음 github 페이지에서 받을 수 있다.
문제
어플을 실행하면
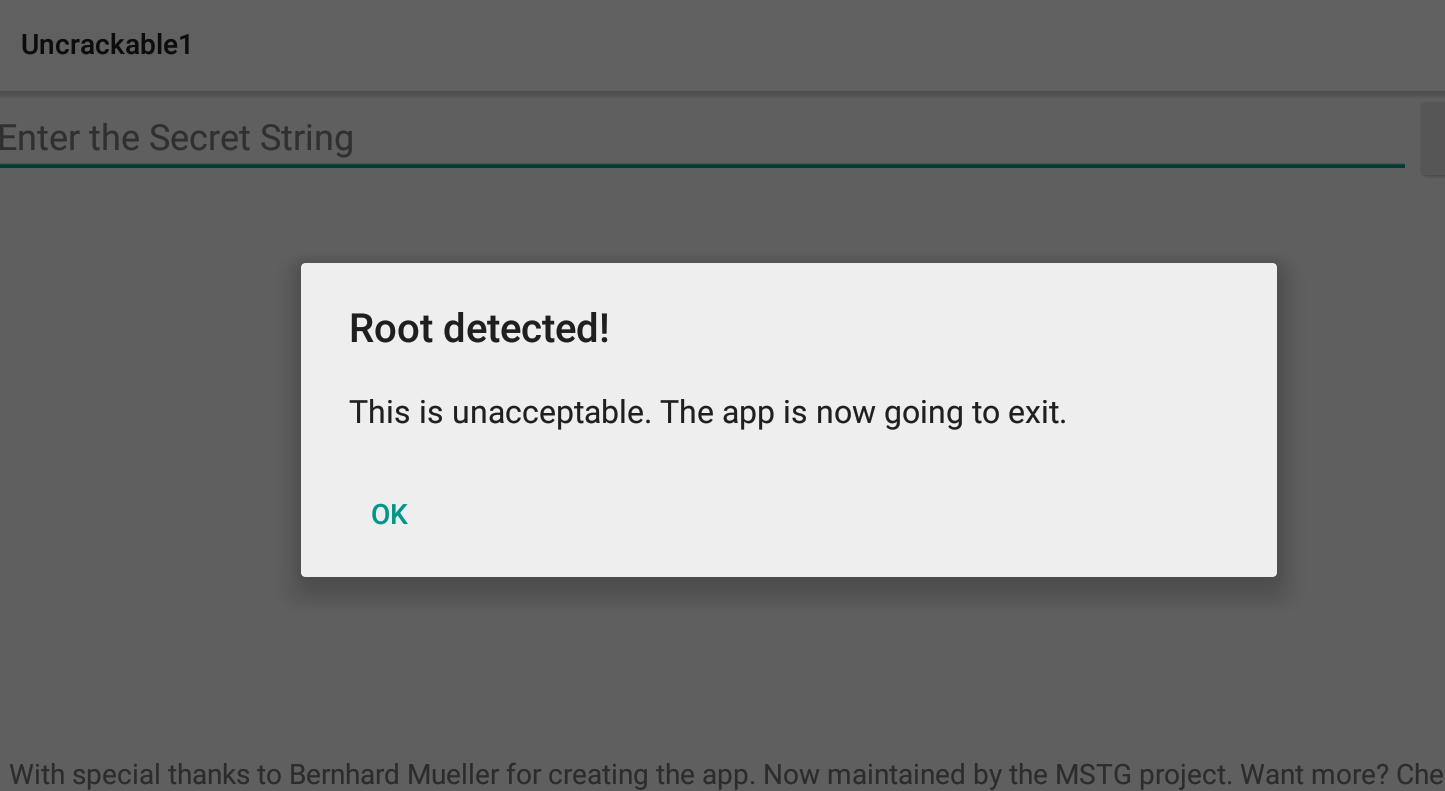
루팅이 감지되었다는 메시지가 표시되며, 확인을 누를 경우 어플이 종료된다.
풀이
디컴파일하여 소스를 확인해보자.
소스 분석
AndroidManifest.xml
<?xml version="1.0" encoding="utf-8"?>
<manifest xmlns:android="http://schemas.android.com/apk/res/android" android:versionCode="1" android:versionName="1.0" package="owasp.mstg.uncrackable1">
    <uses-sdk android:minSdkVersion="19" android:targetSdkVersion="28"/>
    <application android:theme="@style/AppTheme" android:label="@string/app_name" android:icon="@mipmap/ic_launcher" android:allowBackup="true">
        <activity android:label="@string/app_name" android:name="sg.vantagepoint.uncrackable1.MainActivity">
            <intent-filter>
                <action android:name="android.intent.action.MAIN"/>
                <category android:name="android.intent.category.LAUNCHER"/>
            </intent-filter>
        </activity>
    </application>
</manifest>
MainActivity를 로드하고 있다.
uncrackable::MainActivity
package sg.vantagepoint.uncrackable1;

import android.app.Activity;
import android.app.AlertDialog;
import android.content.DialogInterface;
import android.os.Bundle;
import android.view.View;
import android.widget.EditText;
import owasp.mstg.uncrackable1.R;
import sg.vantagepoint.a.b;
import sg.vantagepoint.a.c;

public class MainActivity extends Activity {
    private void a(String str) {
        AlertDialog create = new AlertDialog.Builder(this).create();
        create.setTitle(str);
        create.setMessage("This is unacceptable. The app is now going to exit.");
        create.setButton(-3, "OK", new DialogInterface.OnClickListener() {
            public void onClick(DialogInterface dialogInterface, int i) {
                System.exit(0);
            }
        });
        create.setCancelable(false);
        create.show();
    }

    /* access modifiers changed from: protected */
    public void onCreate(Bundle bundle) {
        if (c.a() || c.b() || c.c()) {
            a("Root detected!");
        }
        if (b.a(getApplicationContext())) {
            a("App is debuggable!");
        }
        super.onCreate(bundle);
        setContentView(R.layout.activity_main);
    }

    public void verify(View view) {
        String str;
        String obj = ((EditText) findViewById(R.id.edit_text)).getText().toString();
        AlertDialog create = new AlertDialog.Builder(this).create();
        if (a.a(obj)) {
            create.setTitle("Success!");
            str = "This is the correct secret.";
        } else {
            create.setTitle("Nope...");
            str = "That's not it. Try again.";
        }
        create.setMessage(str);
        create.setButton(-3, "OK", new DialogInterface.OnClickListener() {
            public void onClick(DialogInterface dialogInterface, int i) {
                dialogInterface.dismiss();
            }
        });
        create.show();
    }
}
먼저 onCreate에서 루팅과 디버깅 유무를 검사한다.
조건에 통과하면, 액티비티를 화면에 출력한다.
액티비티의 기능은 폼에서 시리얼을 입력받는 것이다.
입력을 받으면 verify()에서 시리얼의 일치여부를 판별한다.
루팅검사 우회
진행을 위해서는 루팅과 디버깅 검사를 통과해야 한다.
하지만, 검사 루틴에서 사용되는 함수가 많으므로 각각을 후킹하는 것은 비효율적이다.
System.exit를 후킹하여 종료코드가 실행되지 않도록 만들자.
import frida, sys

def on_message(message, data):
    if message['type'] == 'send':
        print("[*] {0}".format(message['payload']))
    else:
        print(message)


PROCESS_NAME = "owasp.mstg.uncrackable1"


jscode= """
console.log("[*] Starting script");
    Java.perform(function() {
        var class_exit = null;
        class_exit = Java.use("java.lang.System");
        class_exit.exit.implementation = function() {
            console.log("[*] System.exit called");
        }

    });
"""
process = frida.get_usb_device().attach(PROCESS_NAME) #get device
script = process.create_script(jscode)
script.on('message', on_message)
print('[*] Running Hook')
script.load()
sys.stdin.read()System.exit가 호출될 때 단순히 콘솔출력만 실행한다.
후킹 후에 어플에서 확인 버튼을 누르면

로그에서 후킹함수가 실행된 것을 확인할 수 있고

어플 또한 종료되지 않는다.
시리얼 획득
로직 파악
verify에서 시리얼을 비교하는 루틴을 보면
String obj = ((EditText) findViewById(R.id.edit_text)).getText().toString();
        AlertDialog create = new AlertDialog.Builder(this).create();
if (a.a(obj)) {a.a()에서 비교 결과가 반환된다.
uncrackable::a
public class a {
    public static boolean a(String str) {
        byte[] bArr;
        byte[] bArr2 = new byte[0];
        try {
            bArr = sg.vantagepoint.a.a.a(b("8d127684cbc37c17616d806cf50473cc"), Base64.decode("5UJiFctbmgbDoLXmpL12mkno8HT4Lv8dlat8FxR2GOc=", 0));
        } catch (Exception e) {
            Log.d("CodeCheck", "AES error:" + e.getMessage());
            bArr = bArr2;
        }
        return str.equals(new String(bArr));
    }

    public static byte[] b(String str) {
        int length = str.length();
        byte[] bArr = new byte[(length / 2)];
        for (int i = 0; i < length; i += 2) {
            bArr[i / 2] = (byte) ((Character.digit(str.charAt(i), 16) << 4) + Character.digit(str.charAt(i + 1), 16));
        }
        return bArr;
    }
}
두 개의 상수값을 a::a.a()에 전달하여 반환된 값과 입력했던 문자열과 비교한다.
a::a
public class a {
    public static byte[] a(byte[] bArr, byte[] bArr2) {
        SecretKeySpec secretKeySpec = new SecretKeySpec(bArr, "AES/ECB/PKCS7Padding");
        Cipher instance = Cipher.getInstance("AES");
        instance.init(2, secretKeySpec);
        return instance.doFinal(bArr2);
    }
}
a::a.a()에서는 전달받은 첫 번째 인자를 key로 설정해서 두 번째 인자인 암호화된 문자열을 복호화 한다.
instance.init(2, secretKeySpec)위 호출에서 2는 Cipher.DECRYPT_MODE의 value 값이다.
후킹
복호화된 문자열을 반환하는 a::a 함수를 후킹하여 시리얼을 확인하자.
class_a.a.implementation = function(str, str2){
    var res = this.a(str, str2);
    console.log("[*] a::a.a called");
    var serial = '';
    for(var x in res){
        serial += String.fromCharCode(res[x]);
    }
    console.log('serial: ', serial);
    return res;
}
코드를 실행해보면

시리얼 값을 확인할 수 있다.