Q, 리액트에서 왜 번들링해야 하나?
- create-react-app은 내장 라이브러리가 많아서 규모가 커지면 성능 문제가 발생한다!
따라서 웹팩으로 필요한 라이브러리만 설치할 수 있어야 한다.- 2010년대 주류였던 Angular는 프레임워크로 환영을 받았었다.
하지만! 프레임워크이기때문에 코드양이 크고, 번들사이즈도 커져서 성능 문제가 발생했다.
이때 React가 라이브러리로 주목받게 됐다. 원하는 라이브러리만 골라서 사용한다는 자유도가 높지만 반대로 react, react-dom, react-scripts, create-react-app, react-router-dom, storybook, styled-component등 많은 부가 라이브러리를 설치해야 한다.
이를 한번에 해결하는 create-react-app이라는 툴 체인이 등장했지만 사용되는 툴목록은 많다.
따라서 전문 개발자들은 create-react-app의 많은 라이브러리 목록을 줄이고자 Webpack을 설치해 필요한 것들만 설정하여 개발하게 됐다.
- 리액트에 꼭 필요한 라이브러리
- react, react-dom
- babel - JSX를 JS로 변환하여 번들링해줌
- css-loader - css를 적용하게 해줌
import 'a.css'- 리액트에 도움되는 라이브러리
- react-hot-reloader - 저장할 때 마다 변경사항을 적용해줌. 리액트 상태를 유지시켜줌
- eslint - JS 에러 방지위한 린터
- prettier - 코드형식 통일성 맞추는 툴
React에서 Webpack 적용하기
1. package.json 생성
npm init -y2. 리액트 관련 라이브러리 설치
npm install -D react react-dom3. 웹팩 관련 라이브러리 설치
npm install -D webpack webpack-cli webpack-dev-server html-webpack-plugin

yarn add -D webpack webpack-cli webpack-dev-server html-webpack-plugin
webpack-cli : 터미널에서 웹팩 명령어 실행 가능하게 해줌
webpack-dev-server : 파일 변경사항 실시간으로 빌드하는 개발 서버 구동 (dev 서버)
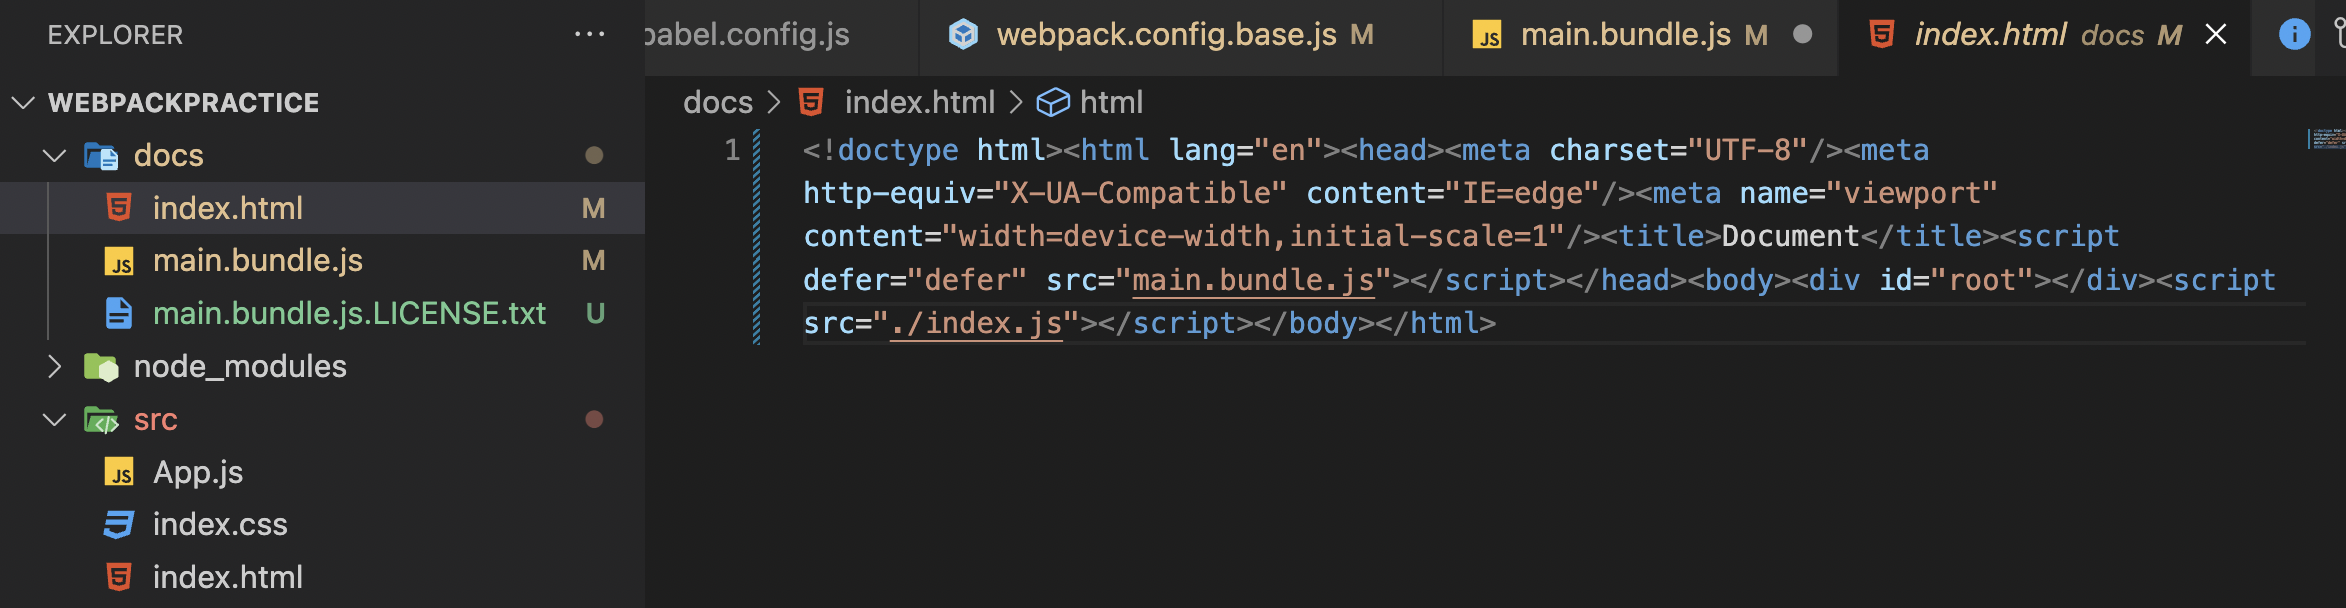
html-webpack-plugin : html 파일에 번들링 된 js 파일을 삽입
4. 바벨 관련 라이브러리 설치
npm install -D babel-loader @babel/cli @babel/core @babel/preset-env @babel/preset-reactbabel-loader : babel.config.js 또는 .babelrc 바벨 설정 파일을 읽어 해당 설정에 맞게 변환
@babel/cli : 터미널에서 바벨명령어 사용가능하도록 CLI 제공
@babel/core : babel의 핵심기능을 포함해서 반드시 설치해야 함
@babel/preset-env : es6, es7 버전을 지정안해도 babel이 자동 탐지. 바벨프리셋이라고도 부름. 설정도 해줘야 함
@babel/preset-react : 리액트(JSX)를 js로 인식가능
5. 최상위에 babel.config.js 또는 .babelrc 생성
module.exports = {
	presets: [
		'@babel/preset-env',
		'@babel/preset-react',
	]
}
6. 로더 라이브러리 설치 (babel, html, css, style)
npm install -D css-loader style-loader

yarn add -D css-loader style-loader
css-loader : CSS를 JS파일 내에서 불러올 수 있게 하기
style-loader : CSS를 DOM(style 태그) 안에 담기
7. webpack.config.js 생성
const path = require("path");
const HtmlWebPackPlugin = require("html-webpack-plugin");

module.exports = {
  mode: "development",
  entry: "./src/",
  output: {
	path: path.resolve(__dirname, "build"),
	filename: "bundle.js",
  },
  module: {
    rules: [
      {
        test: /\.(js|jsx)$/,
        exclude: "/node_modules",
        use: "babel-loader",
      },
      {
        test: /\.css$/,
        use: ["style-loader", "css-loader"],
        exclude: /node_modules/,
      },
    ],
  },
  plugins: [
	new HtmlWebPackPlugin({
	  template: './src/index.html'
	})
  ]
};
github page 배포
- output에 dist를 docs로 변경
// webpack.config.js
 output: {
    path: path.resolve(__dirname, "docs"),  // 변경
    filename: "[name].bundle.js",
    clean: true,
},- github 레포지토리 생성 - Settings - Pages - 해당브런치 - /docs - Save 버튼 클릭하면 생성됨
Mode 설정 - dev, prod
개발 development mode와 배포 production mode에 따라 config file을 나누기
-
base에 dev나 prod 합치기 위해 webpack merge 설치
npm i -D webpack-merge -
webpack.config.js를 3개로 분할
webpack.config.base.js를 기준으로 +dev나 +prod 하는 구조webpack.config.js --> webpack.config.base.js 로 변경 webpack.config.dev.js webpack.config.prod.js -
각 파일 생성 후 작성
//webpack.config.dev.js
const { merge } = require("webpack-merge");
const baseConfig = require("./webpack.config.base");

module.exports = merge(baseConfig, {
  mode: "development",
  devServer: {
    port: 3001,
  },
});
//webpack.config.prod.js
const { merge } = require("webpack-merge");
const baseConfig = require("./webpack.config.base");
module.exports = merge(baseConfig, {
mode: "production",
});
- package.json 추가
// package.json
"scripts": {
    "build": "webpack --config webpack.config.prod.js",
    "dev": "webpack-dev-server --open --config webpack.config.dev.js"
  },
Output 관리
- 번들링 할 때 마다 dist 디렉터리를 정리하기 (참고 링크)
- output에
clean: true추가// webpack.config.js output: { filename: '[name].bundle.js', path: path.resolve(__dirname, 'dist'), clean: true, },
- 번들파일명 동적으로 생성하기 -
[name].bundle.js// webpack.config.js output: { filename: '[name].bundle.js', },
Asset 관리 - CSS에 minify 적용
- style-loader
: css파일을 style태그로 만들어 head안에 넣어준다
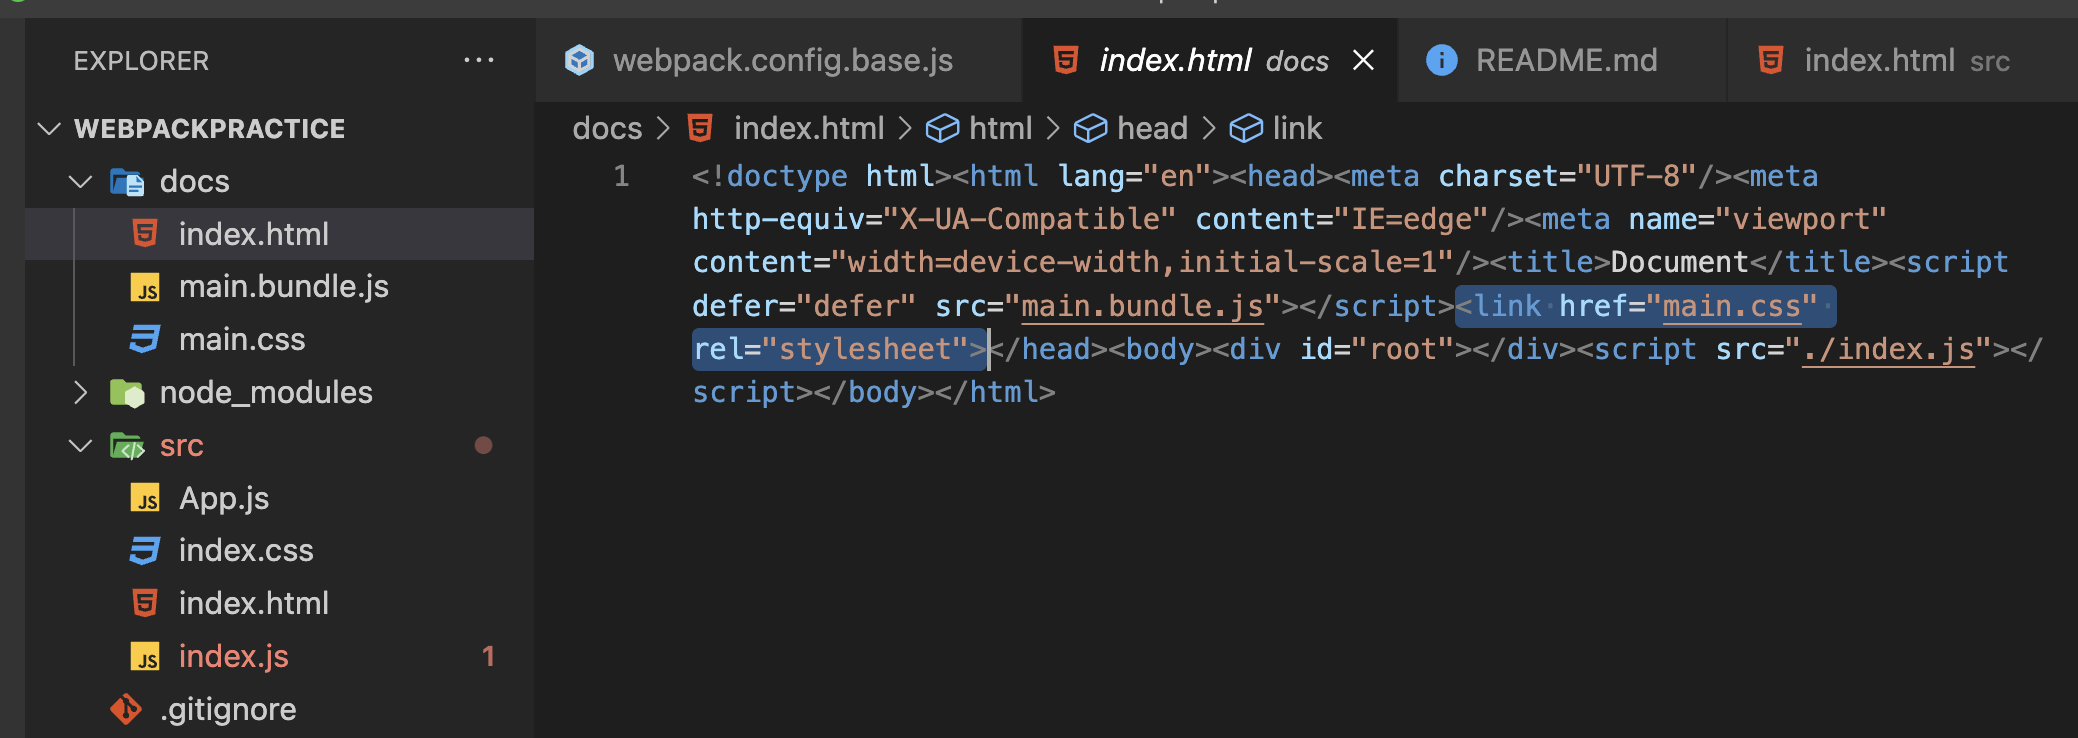
이 style-loader 대신에 mini-css-extract-plugin 사용하기도 한다
- mini-css-extract-plugin : style 태그 대신 css파일로 만들어줌
- css-minimizer-webpack-plugin : CSS 압축시켜논 것. 인스턴스 제공해서 재정의할 수 있음
- 설치
npm i -D mini-css-extract-plugin npm i -D css-minimizer-webpack-plugin - webpack.config.base.js에 추가
//webpack.config.base.js
const MiniCssExtractPlugin = require('mini-css-extract-plugin');
const CssMinimizerPlugin = require("css-minimizer-webpack-plugin");


{
  module: {
    rules: [{
      // ...
    }, {
      test: /\.css$/,
      use: [MiniCssExtractPlugin.loader, 'css-loader'],   // 수정
      exclude: /node_modules/,
    }],
  },
  plugins: [
    new MiniCssExtractPlugin({ filename: 'app.css' }),
    new MiniCssExtractPlugin(),  // 추가
  ],
  optimization: {  // 여기부터 추가
    minimizer: [new CssMinimizerPlugin()],
  },
}
개발용 서버
라이브 서버와 비슷한 기능
1. webpack-dev-server
2. react-hot-reloader
: 새로고침없이 변경한 부분만 교체해줌
- babel.config.js 나 .babelrc 파일에 추가
{
  "plugins": ["react-hot-loader/babel"]
}- App.js에 추가
// App.js
import { hot } from 'react-hot-loader/root'; // 추가
const App = () => <div>Hello World!</div>;
export default hot(App); //추가- webpack.config.js에 추가
// webpack.config.js
module.exports = {
  entry: ['react-hot-loader/patch', './src'],
  // 'react-hot-loader/patch', 추가
  // ...
};
3. react-refresh-webpack-plugin
hot-reloader말고 최근에 선호되는 refresh 기능
- 설치
npm install -D @pmmmwh/react-refresh-webpack-plugin react-refresh- webpack.config.dev.js 수정
// webpack.config.dev.js
const { merge } = require("webpack-merge");
const ReactRefreshPlugin = require('@pmmmwh/react-refresh-webpack-plugin');
const baseConfig = require("./webpack.config.base");

module.exports = merge(baseConfig, {
  mode: "development",
  devServer: {
    port: 3000,
    hot: true,
  },
  plugins: [new ReactRefreshPlugin()]
});
eslint, prettier
eslint
- 설치
npm i -D eslint eslint-plugin-react @babel/eslint-parser- .eslintrc.js 생성
// .eslintrc.js
module.exports = {
  parser: "@babel/eslint-parser",
  env: {
    browser: true,
    commonjs: true,
    es6: true,
    node: true,
  },
  extends: ["eslint:recommended", "plugin:react/recommended"],
  parserOptions: {
    ecmaFeatures: {
      jsx: true,
    },
    ecmaVersion: 2018,
    sourceType: "module",
  },
  settings: {
    react: {
      version: "18.2.0",
    },
  },
  plugins: ["react"],
  rules: {
    "react/react-in-jsx-scope": 0,
    "react/jsx-uses-react": 0,
    "react/prop-types": 0,
  },
};- 웹 접근성 기초적으로 지켜야 할 부분을 알려주는 eslint rule 설치
npm install -D eslint-plugin-jsx-a11y- .eslintrc.js 수정 => eslint가 잘못된 구현 찾아준다
// .eslintrc.js
module.exports = {
  parser: "@babel/eslint-parser",
  env: {
    browser: true,
    commonjs: true,
    es6: true,
    node: true,
  },
  extends: [
    "eslint:recommended",
    "plugin:react/recommended",
    "plugin:jsx-a11y/recommended",  // 추가
  ],
  parserOptions: {
    ecmaFeatures: {
      jsx: true,
    },
    ecmaVersion: 2018,
    sourceType: "module",
  },
  settings: {
    react: {
      version: "18.2.0",
    },
  },
  rules: {
    "react/react-in-jsx-scope": 0,
    "react/jsx-uses-react": 0,
    "react/prop-types": 0,
  },
};
prettier
- vscode extension으로 설치하거나, 직접 설치하는 방법이 있다.
- 직접 설치
npm i -D prettier- .pretterrc.js 생성
// .prettierrc.js
module.exports = {
  singleQuote: true,
  jsxSingleQuote: true,
};- package.json에 커맨드 추가
//package.json
"scripts": {
  ...
  "pretty": "prettier --write ./"
}- eslint-plugin-jsx-a11y 를 추가하여, JSX에서 웹 접근성을 지키는데 도움이 되는 룰을 적용한다.
- 사진 로더는 aws S3에 올리는게 적절하다!
참고

터벅터벅 나의 개발 일상