이번에는 안드로이드에서 푸시 알림을 보내는 법을 알려드리겠습니다.
우선 Firebase console에 접속하여줍니다.
프로젝트 만들기 버튼을 클릭하여줍니다.
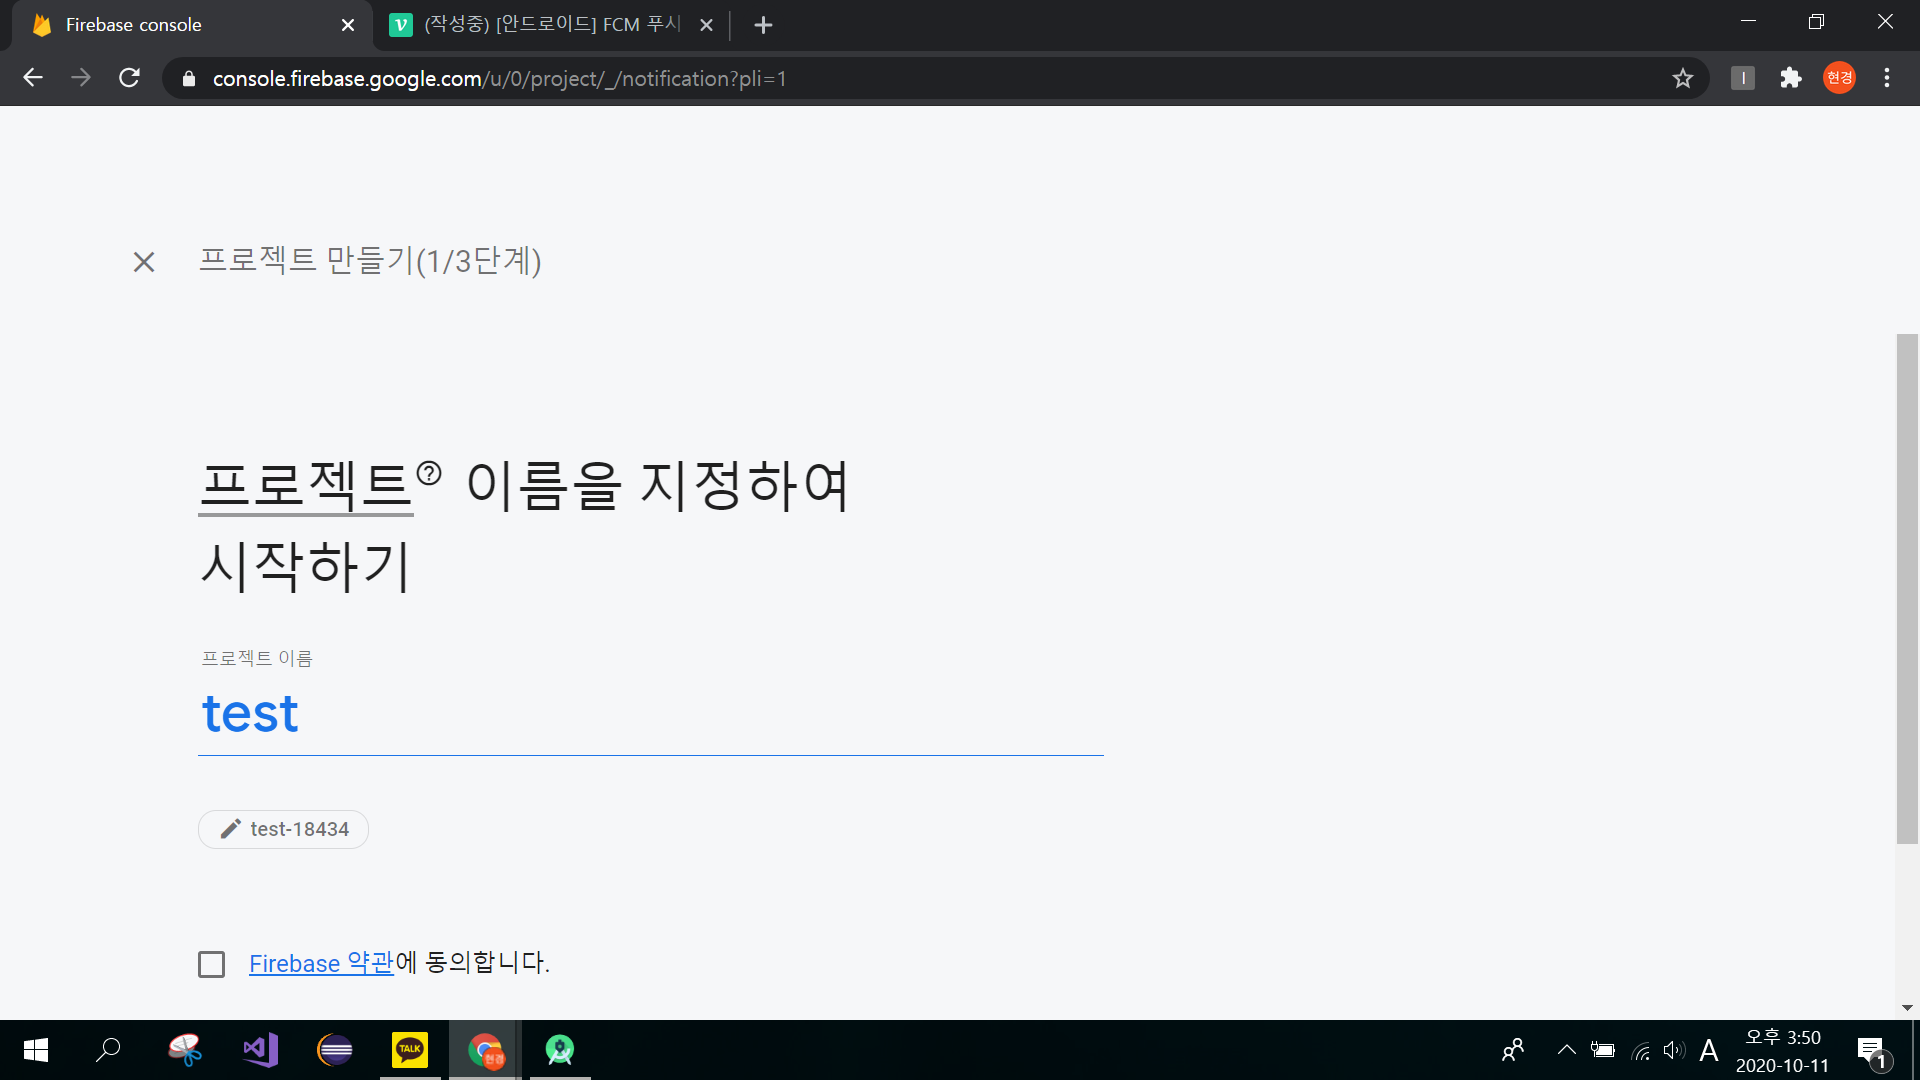
프로젝트 이름을 작성해주고 동의 후 다음으로 넘어갑니다.
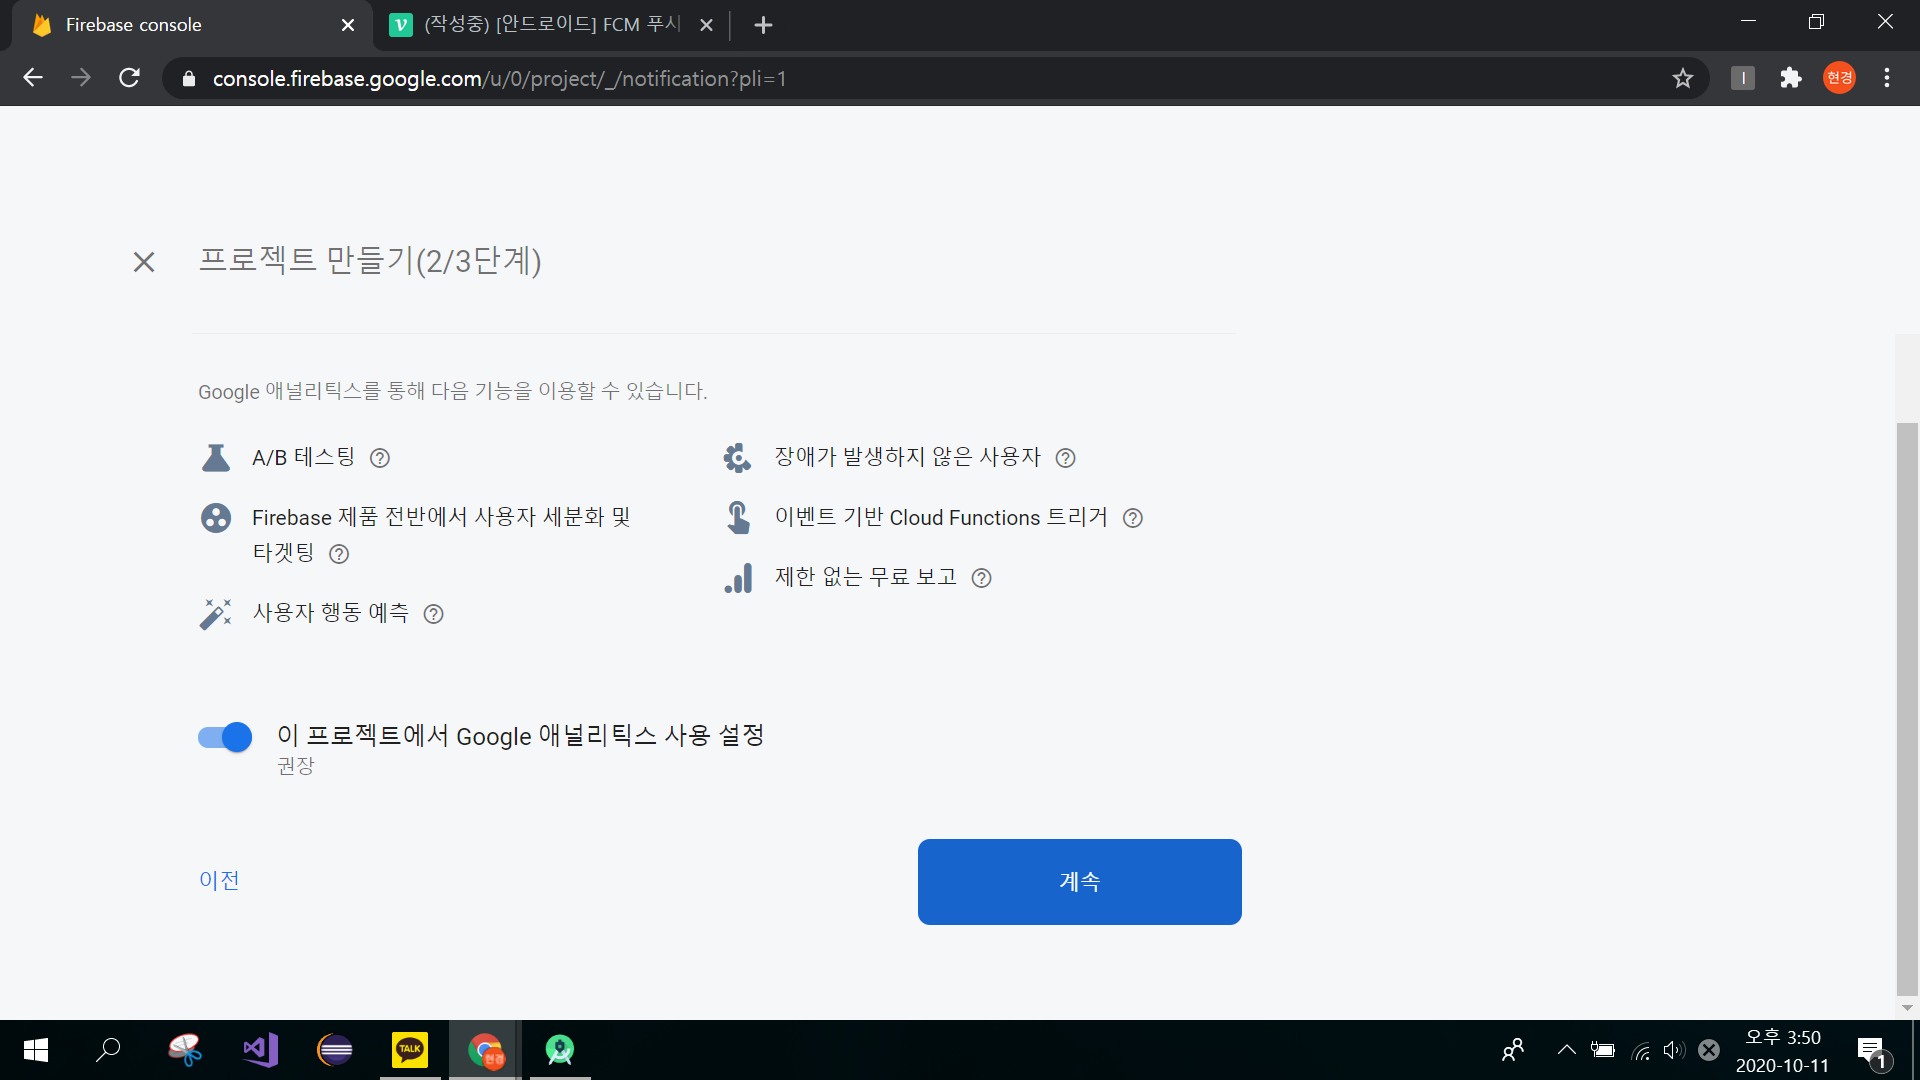
계속을 클릭합니다.
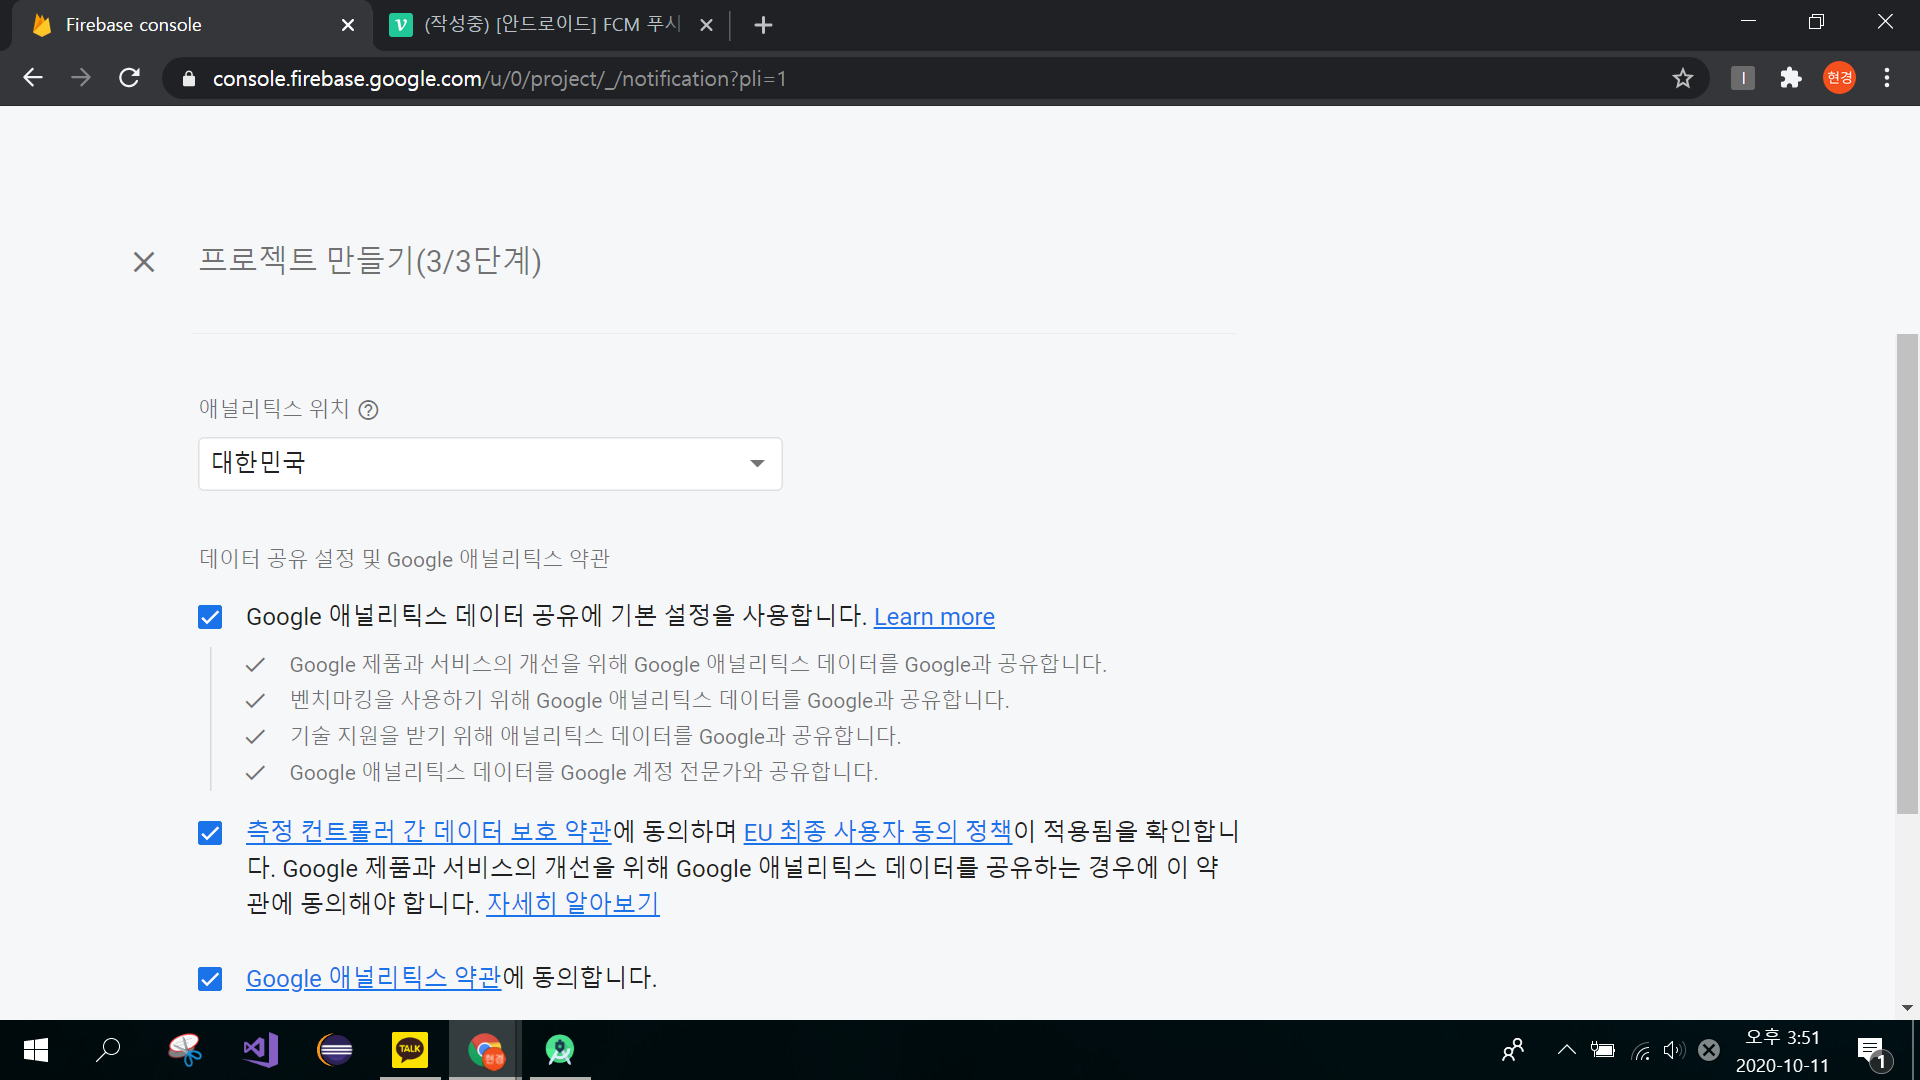
위치를 지정한 후 약관에 동의함을 체크하고 다음으로 넘어갑니다.
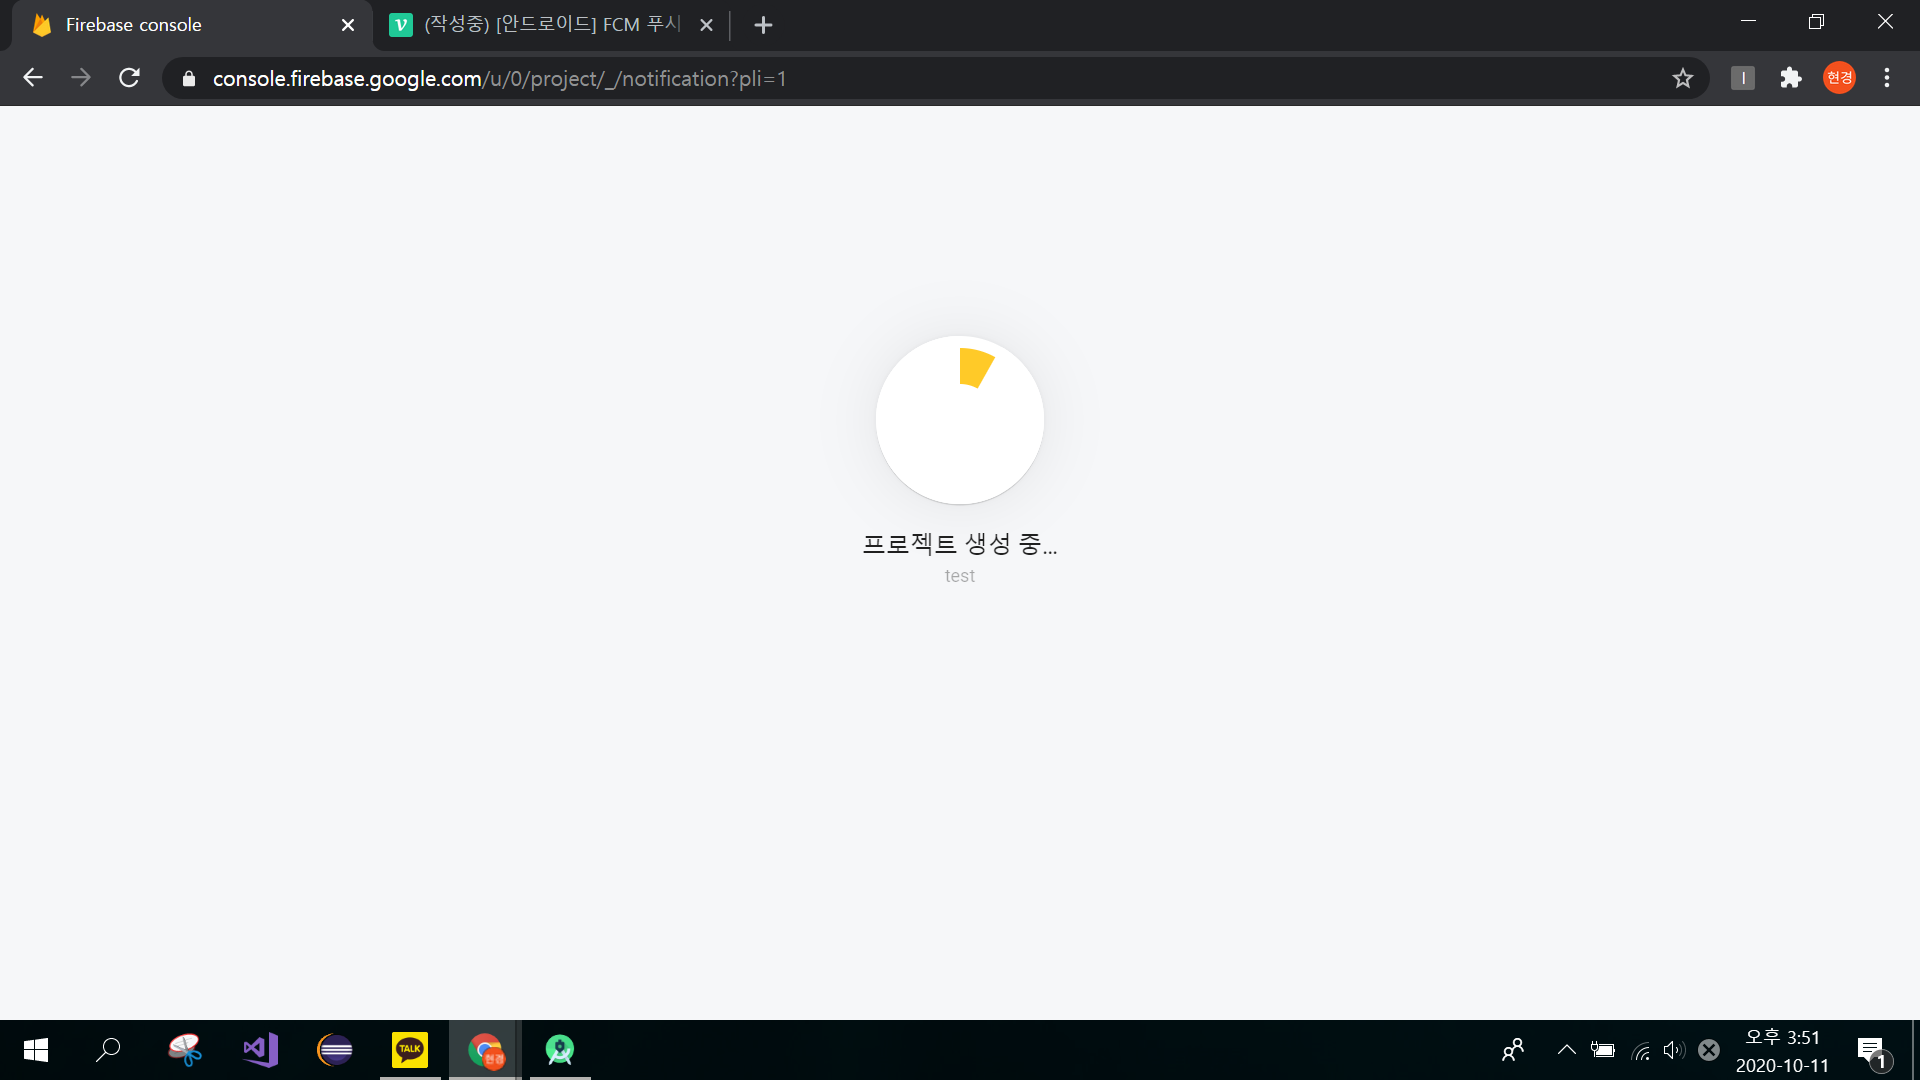
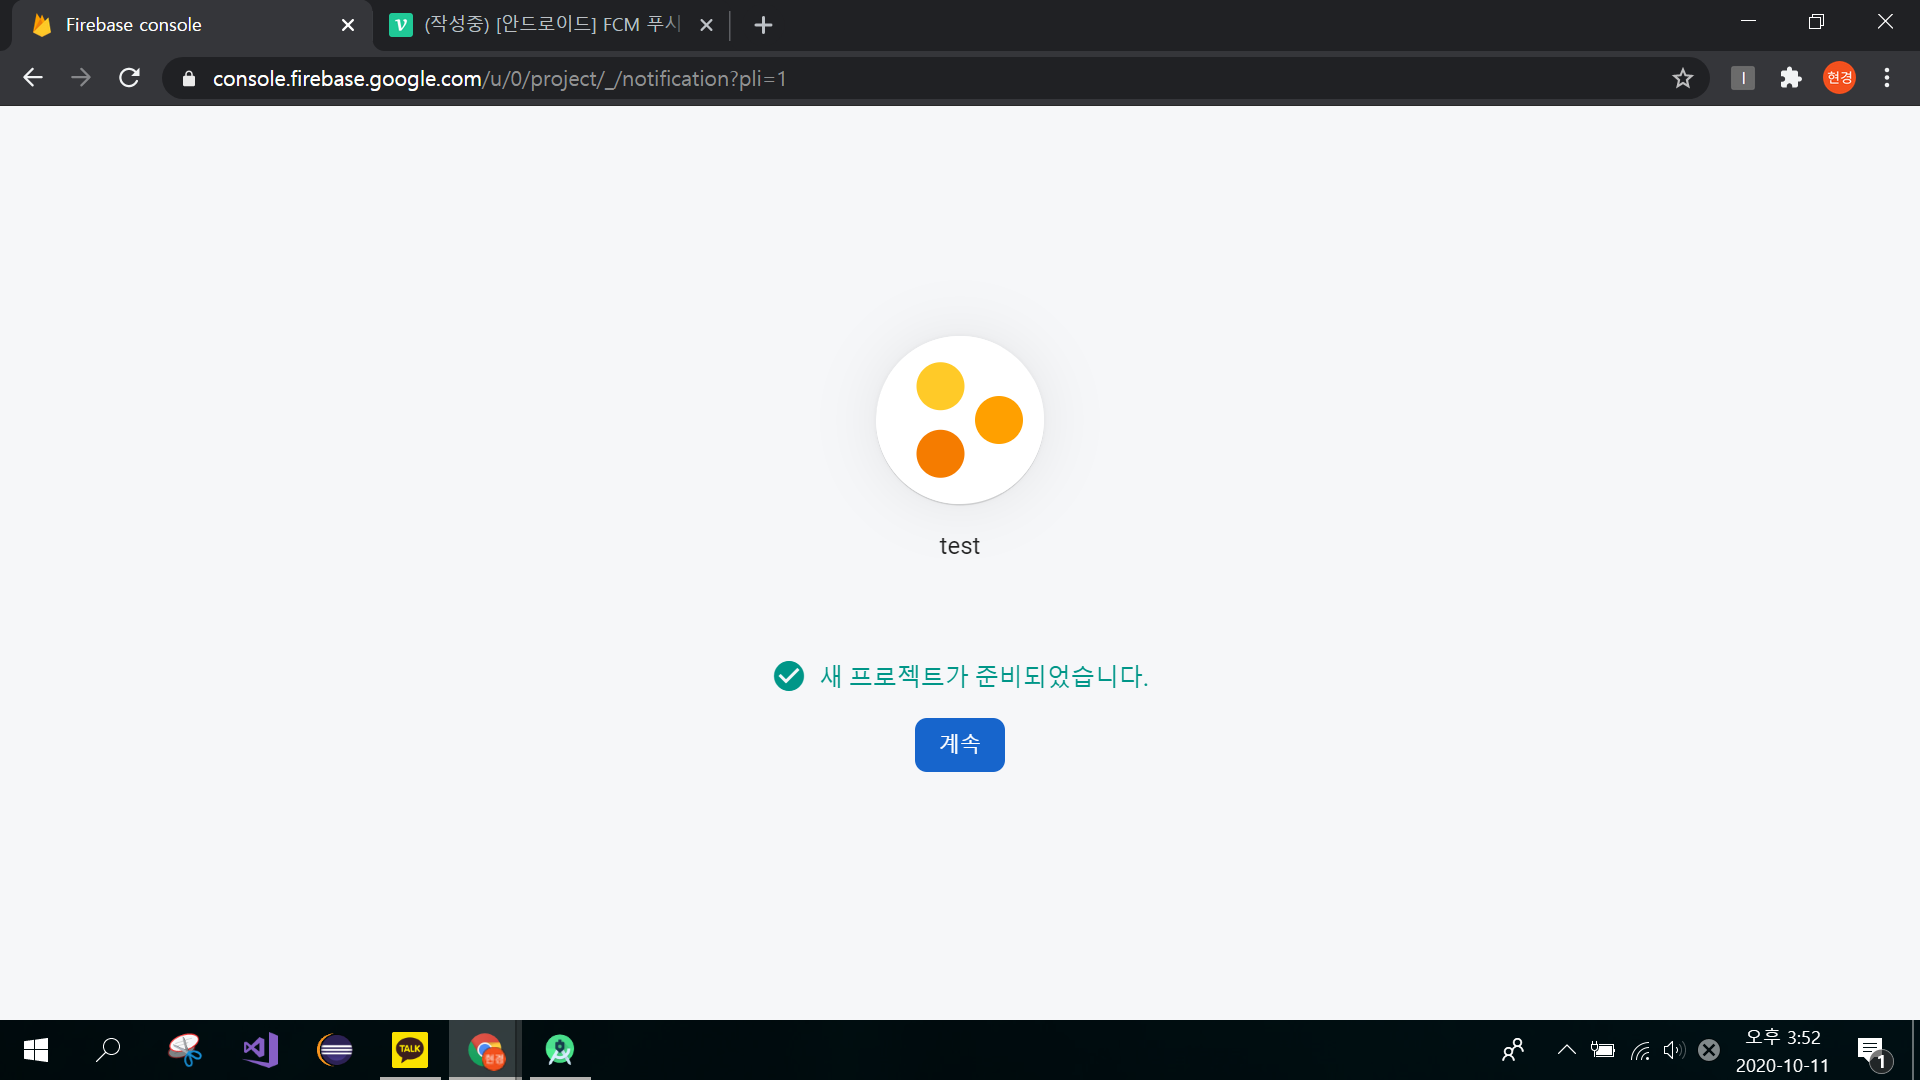
로딩을 기다리면 프로젝트가 생성됩니다.
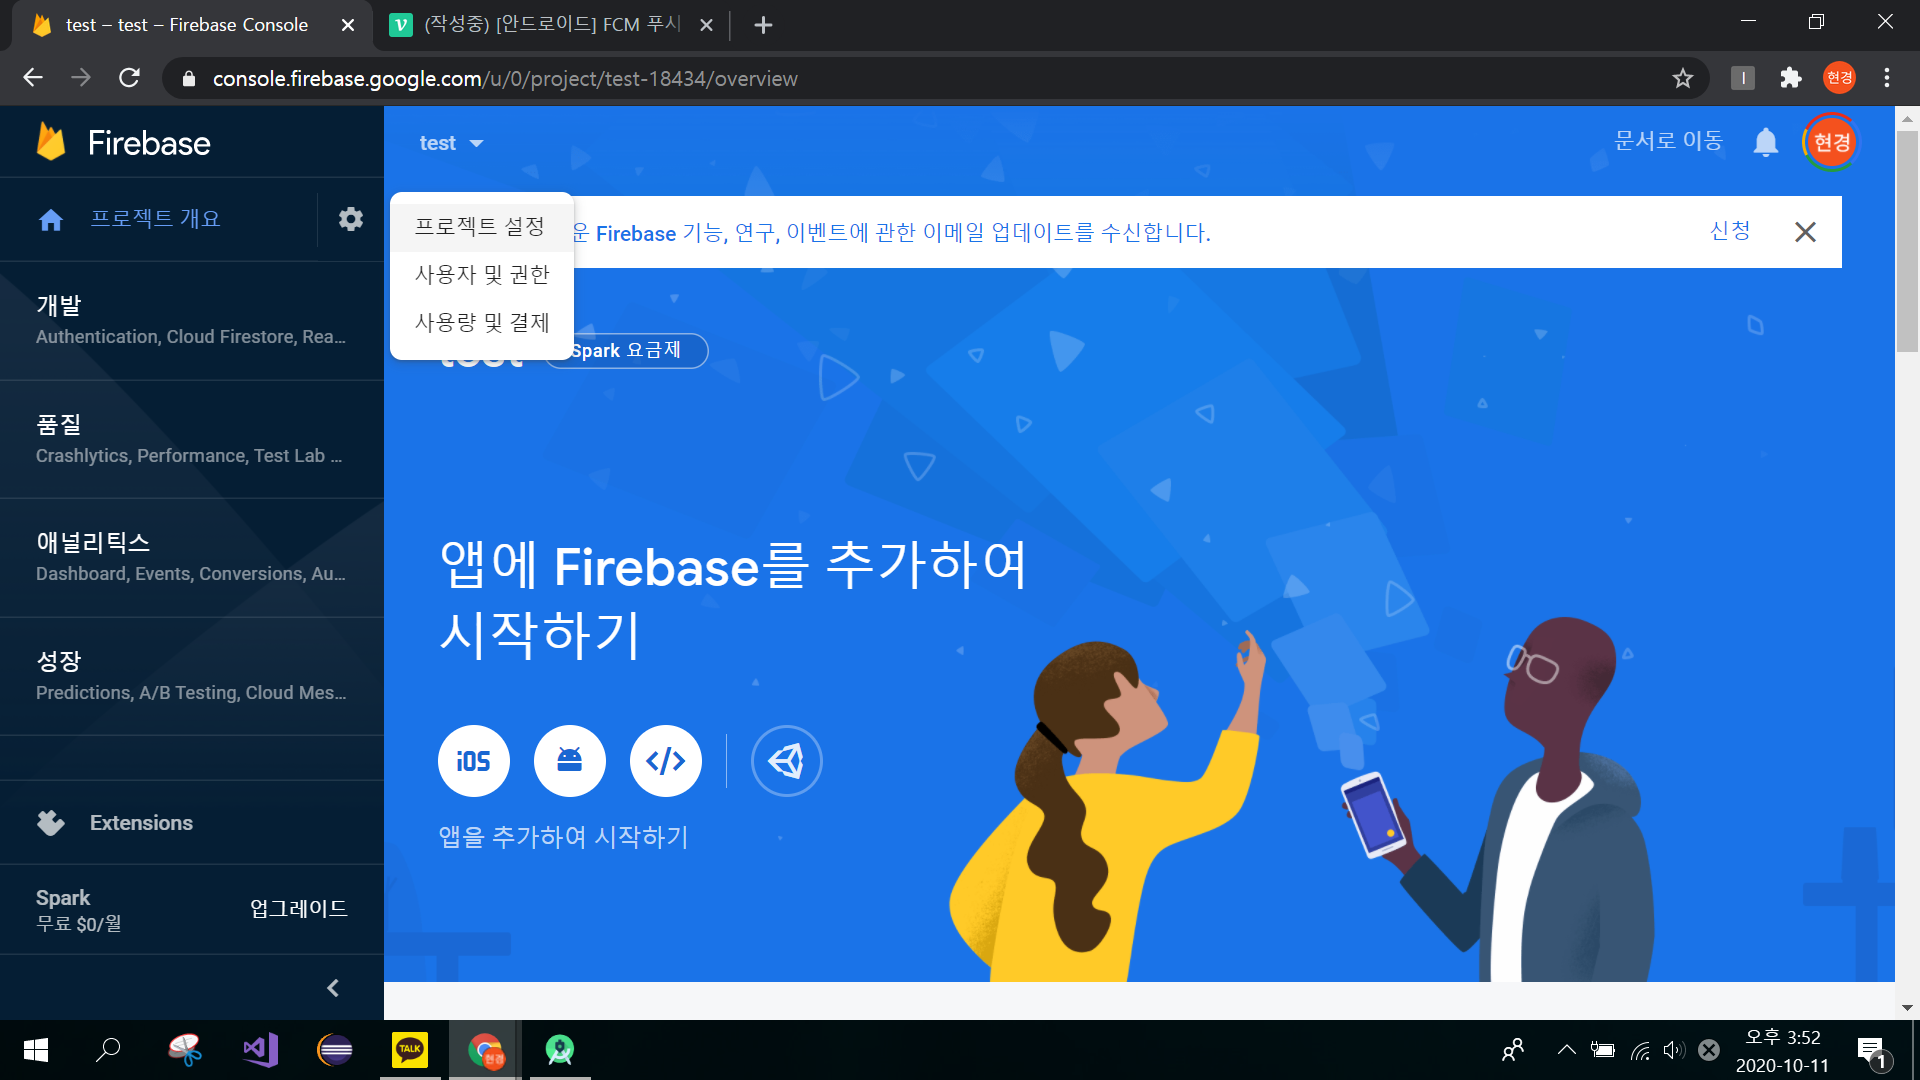
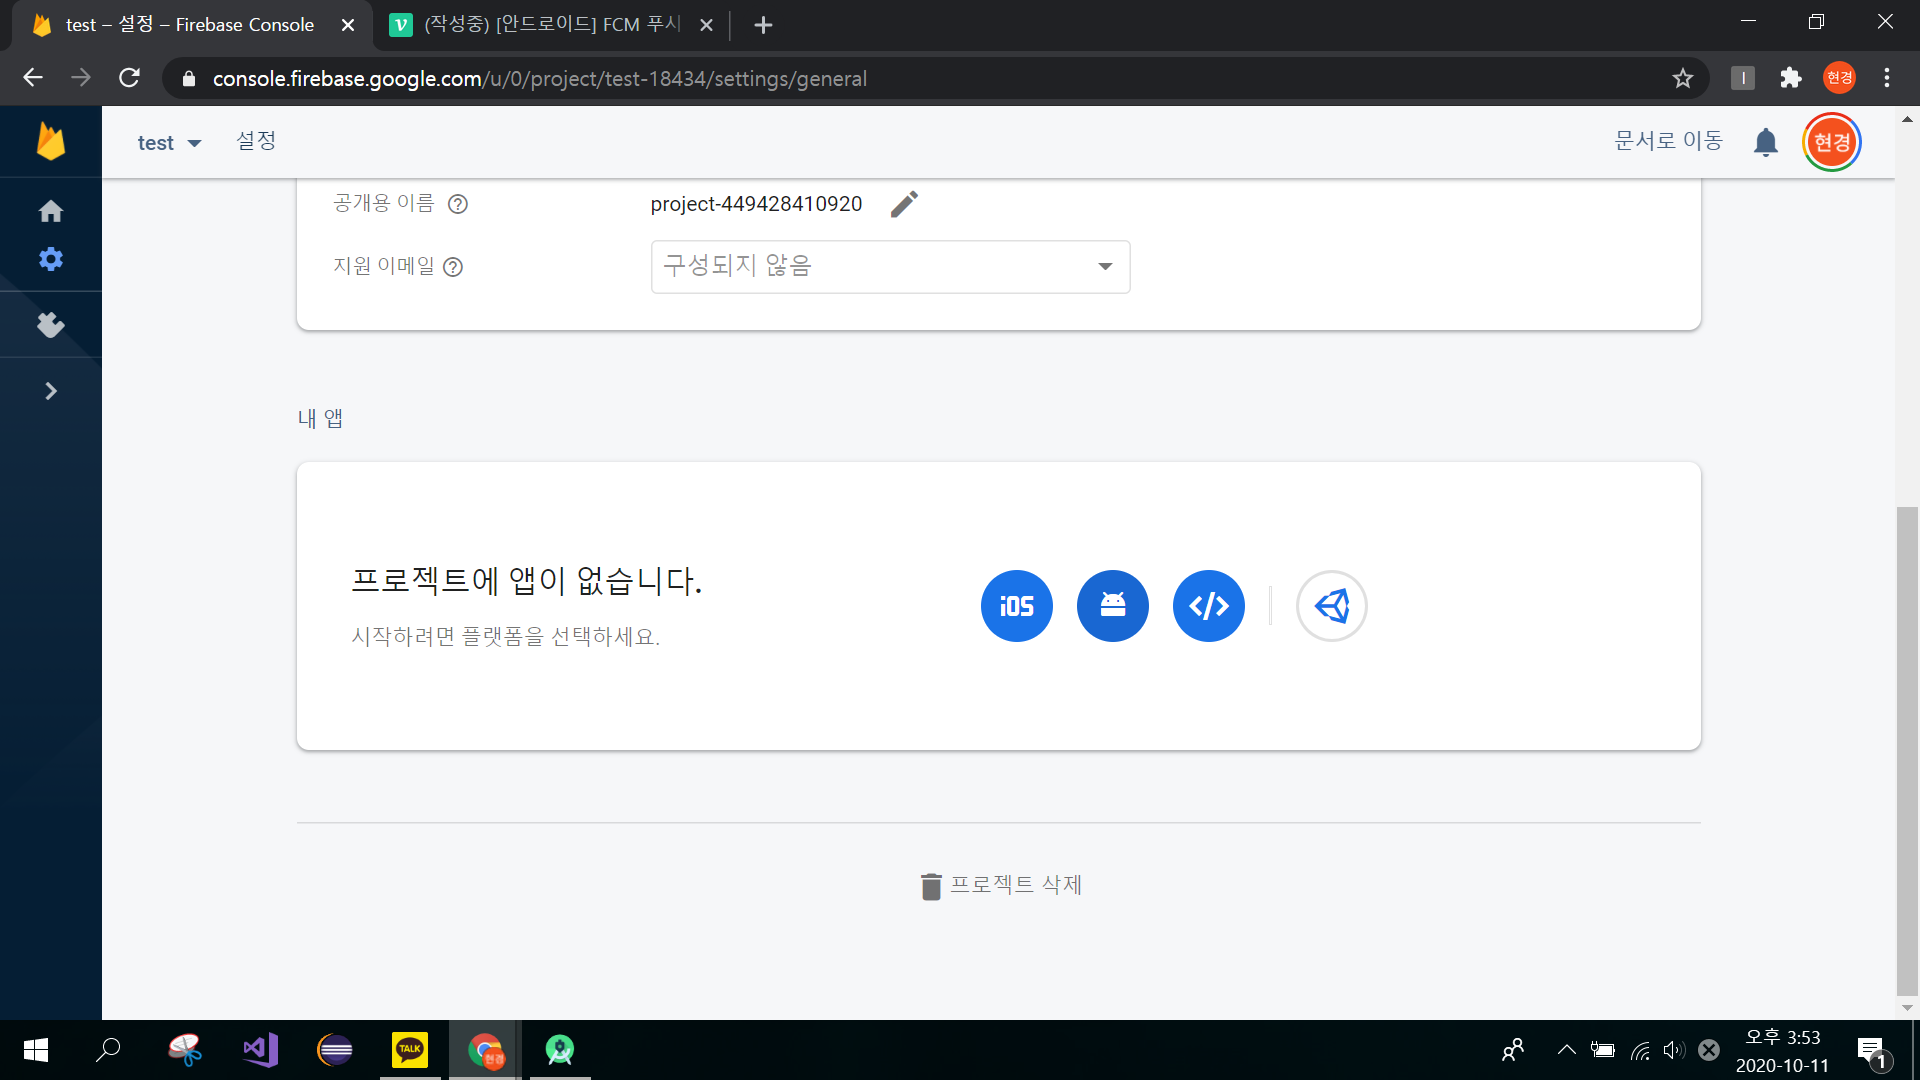
돌아와 프로젝트 설정을 클릭하여줍니다.
저는 안드로이드로 구현하기 때문에 안드로이드 버튼을 클릭해주었습니다.
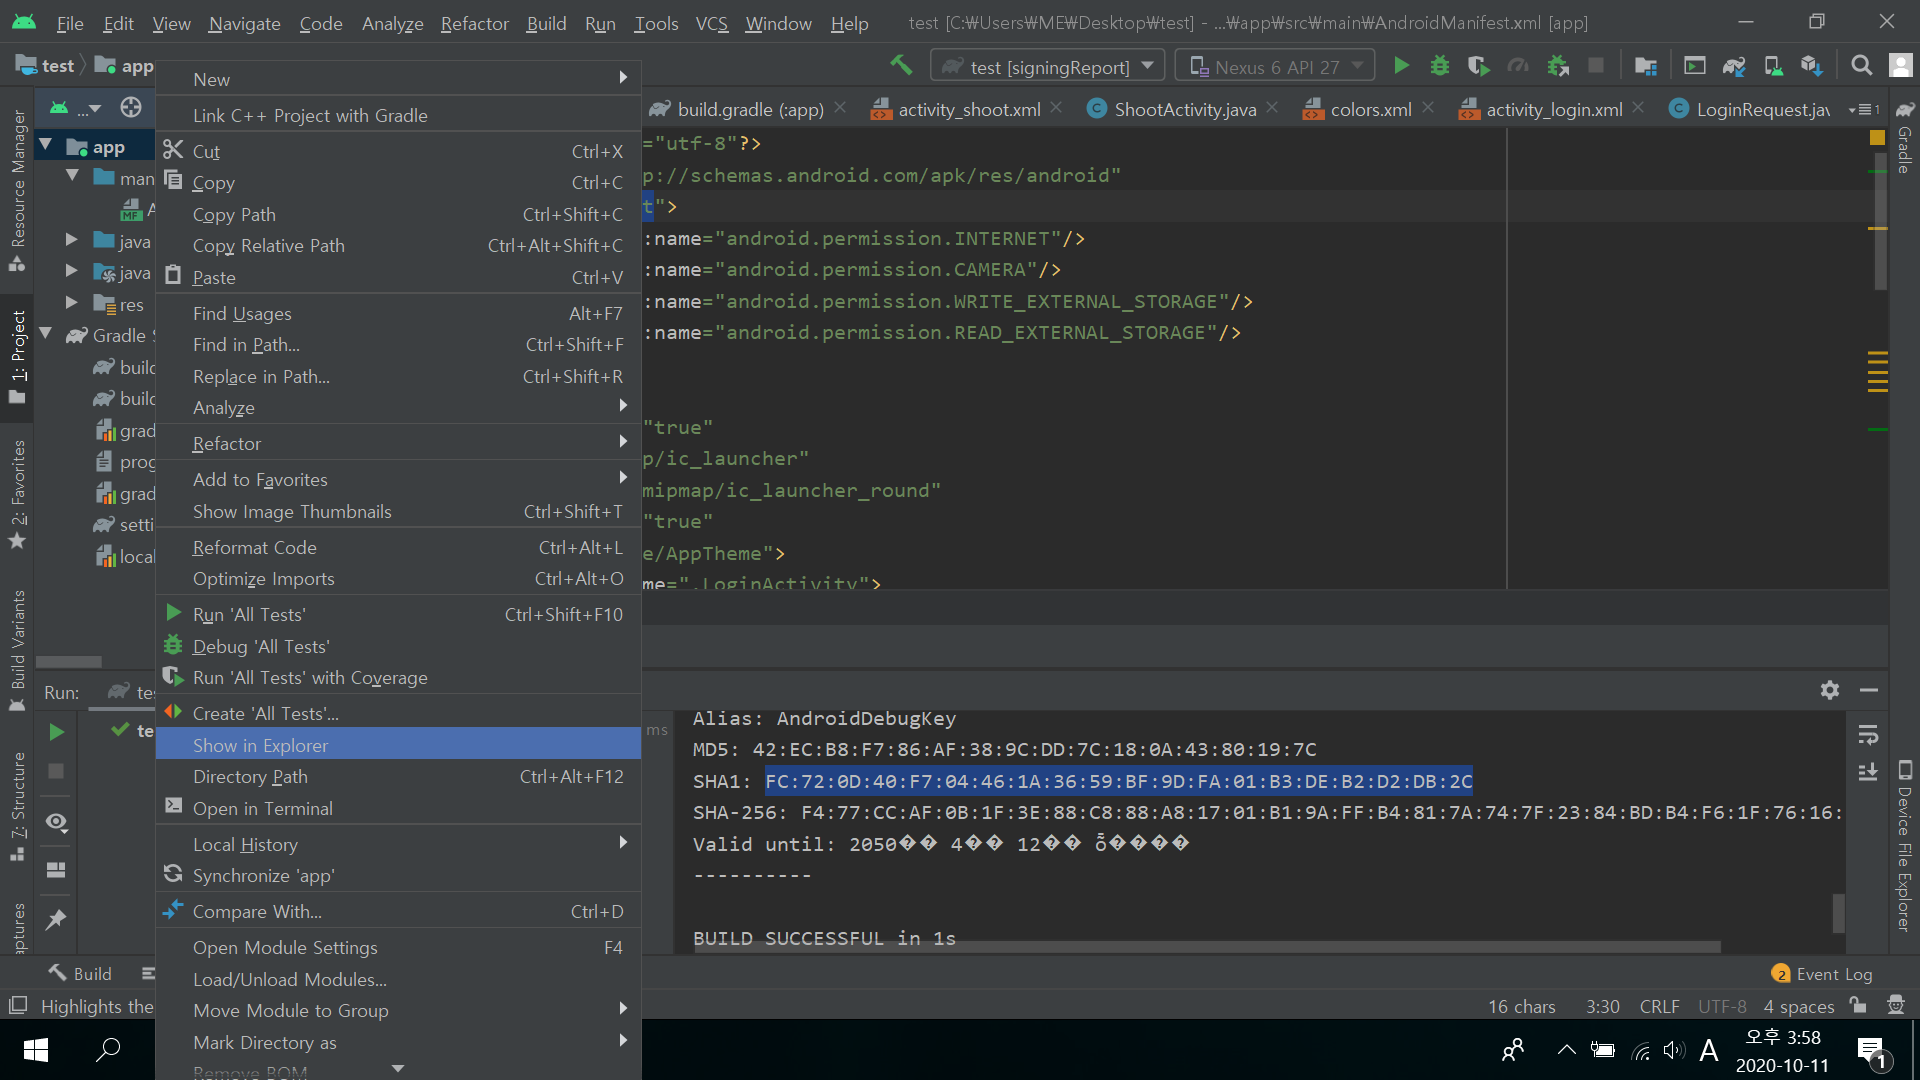
앱을 등록하기 위해서 패키지 이름과 SHA-1 값이 필요한데
패키지 이름은
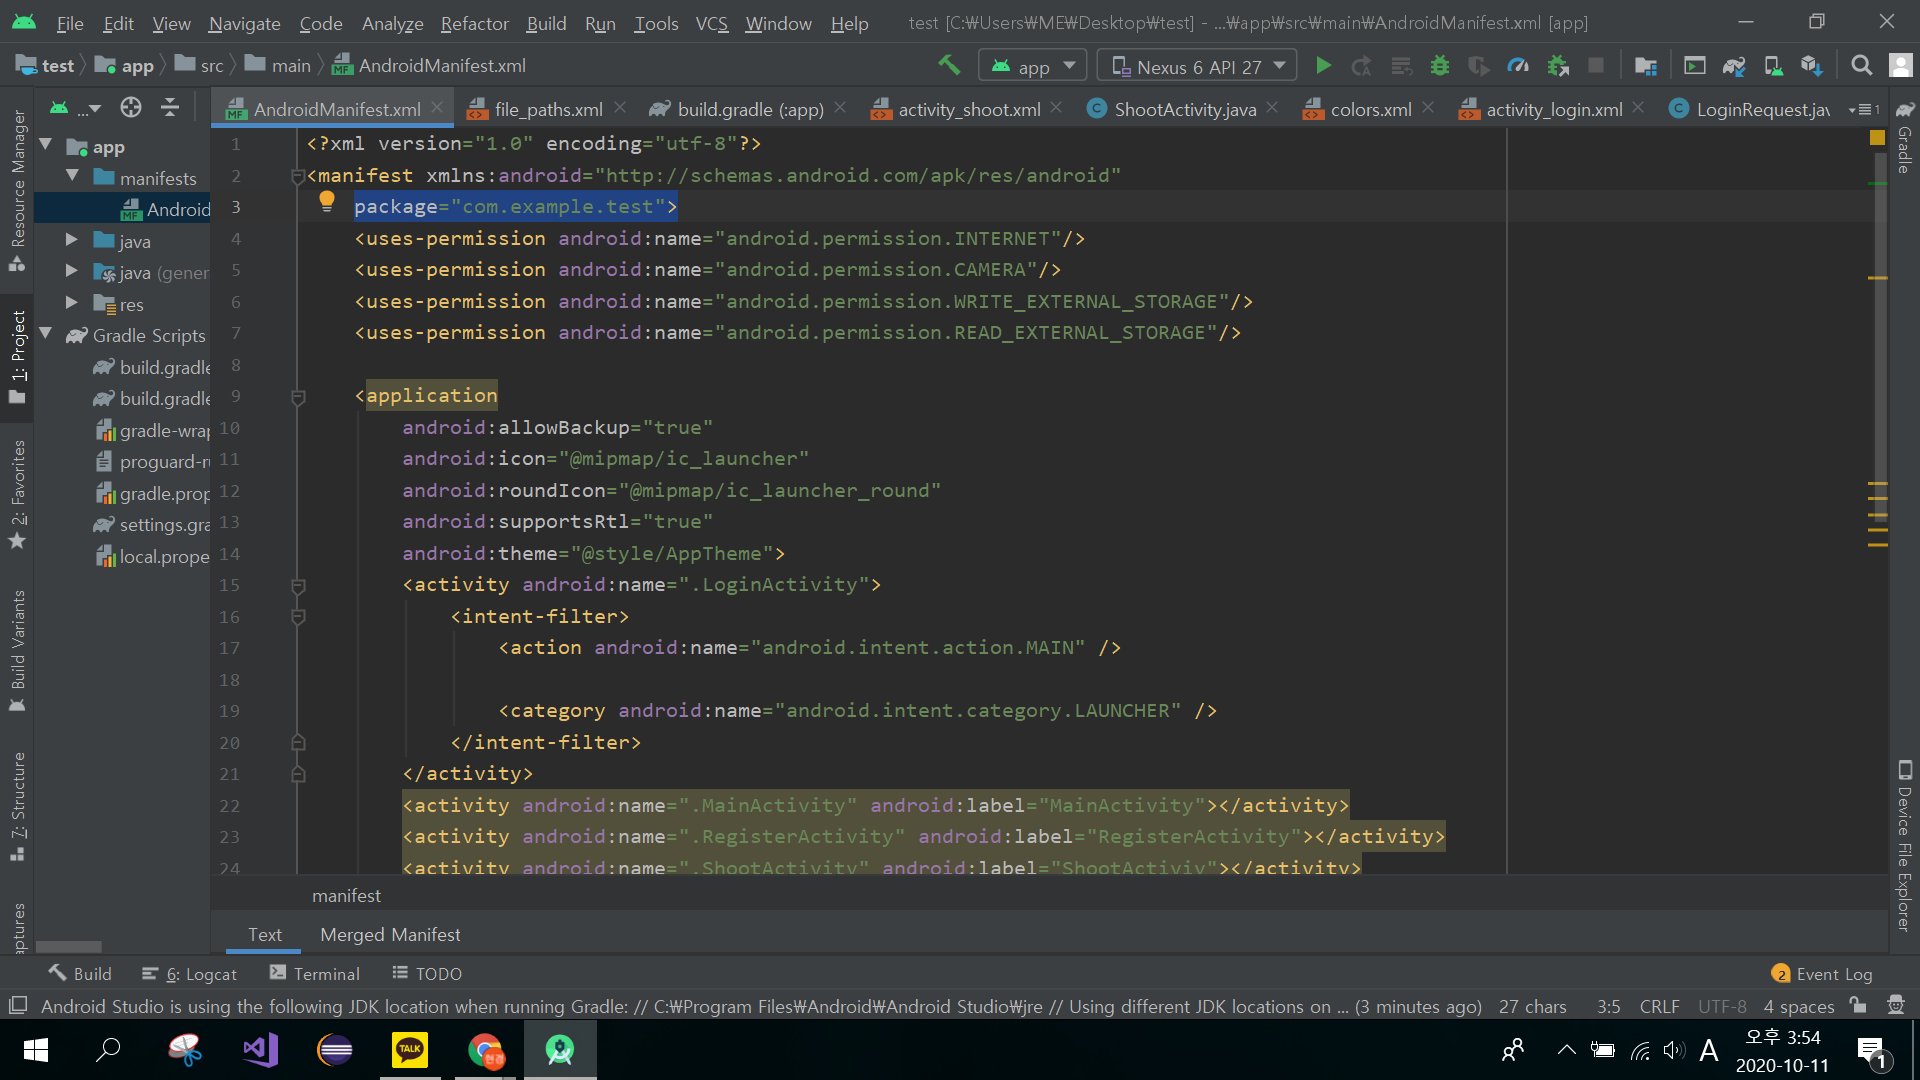
AndroidManifest에서 확인할 수 있고
SHA-1 은
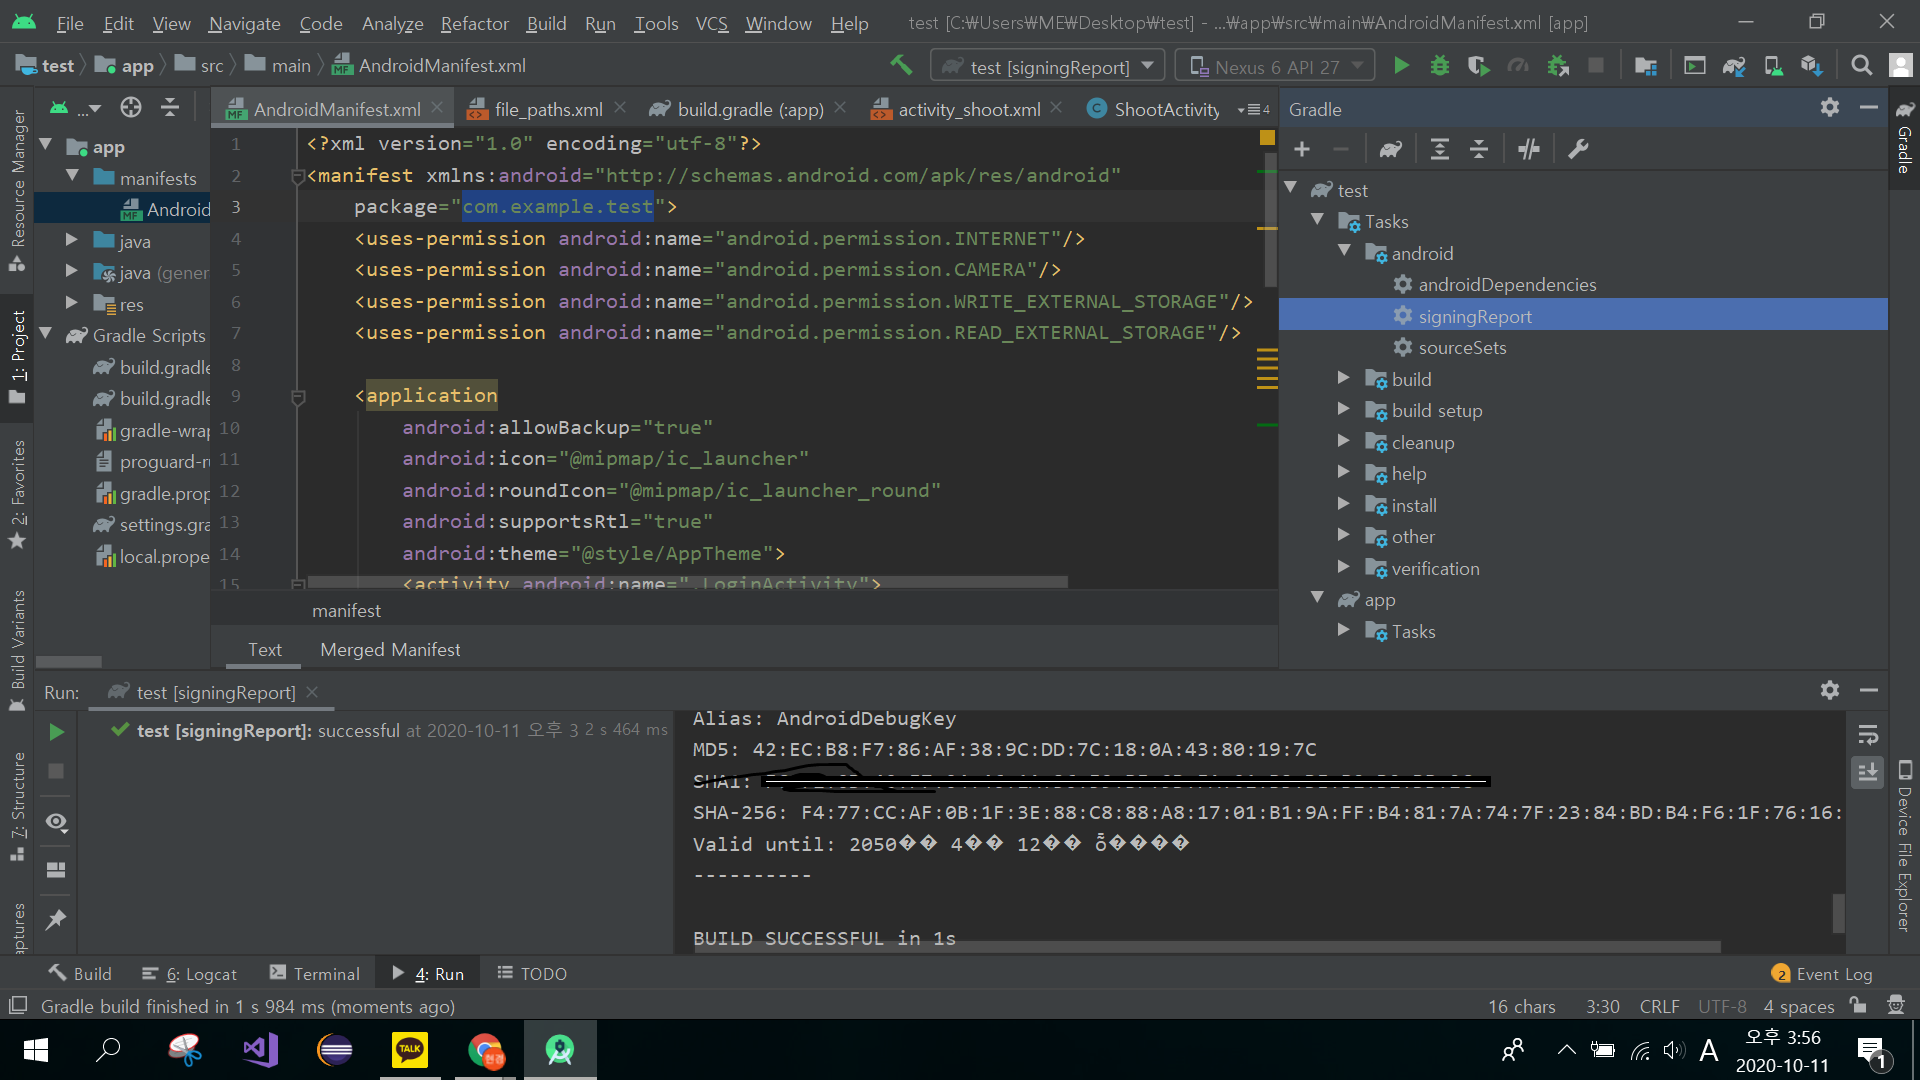
SigningReport에서 확인할 수 있습니다.
.png)
해당 내용을 입력한 후 앱 등록을 클릭합니다.
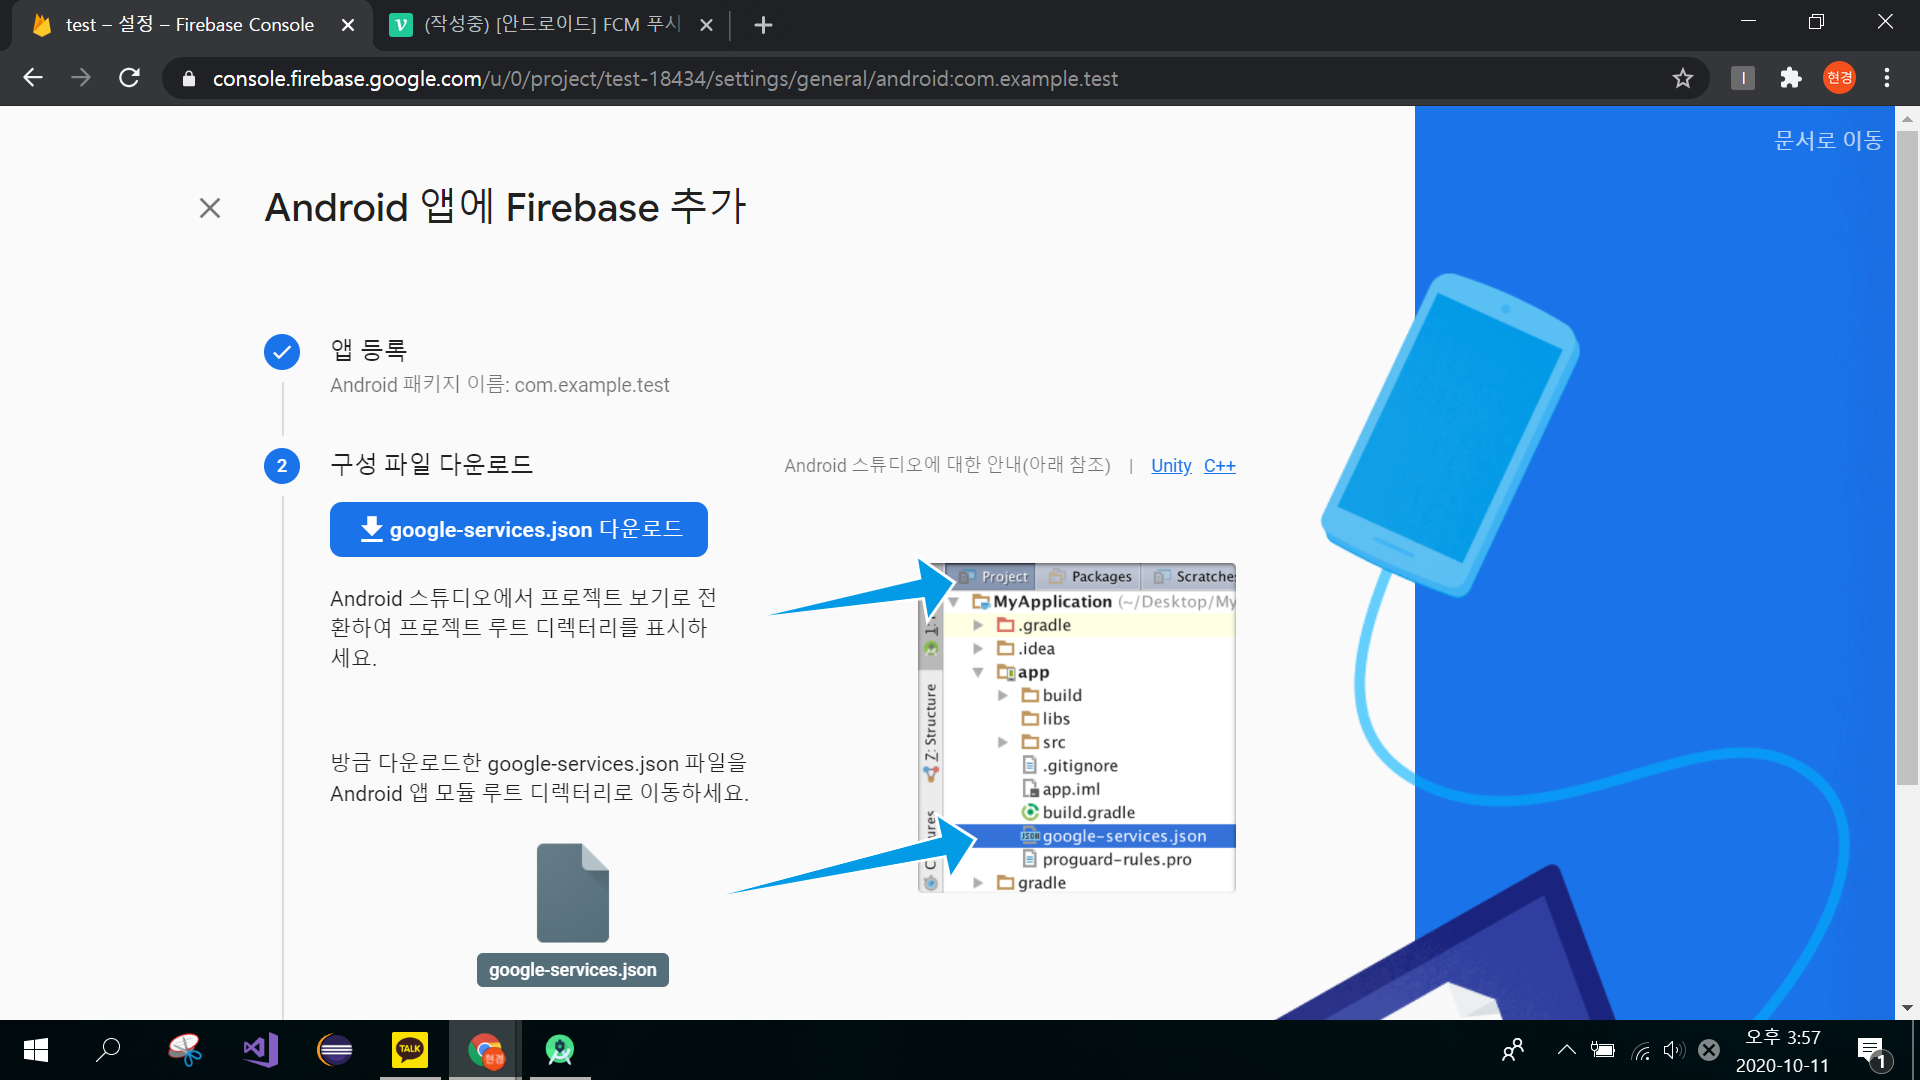
구성 파일 다운로드를 클릭하여 파일을 다운로드 받습니다.
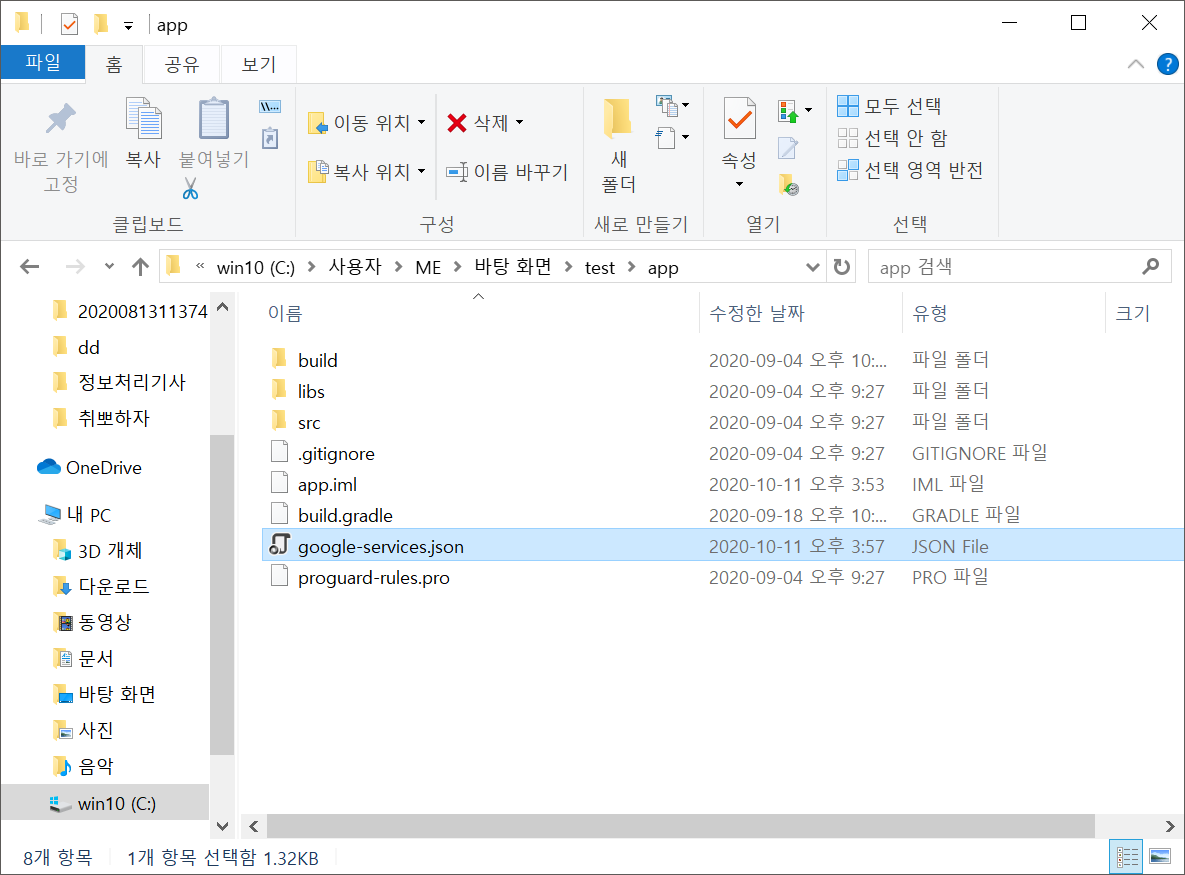
app을 Show in Explore로 열어 해당 파일을 app 안으로 넣어줍니다.
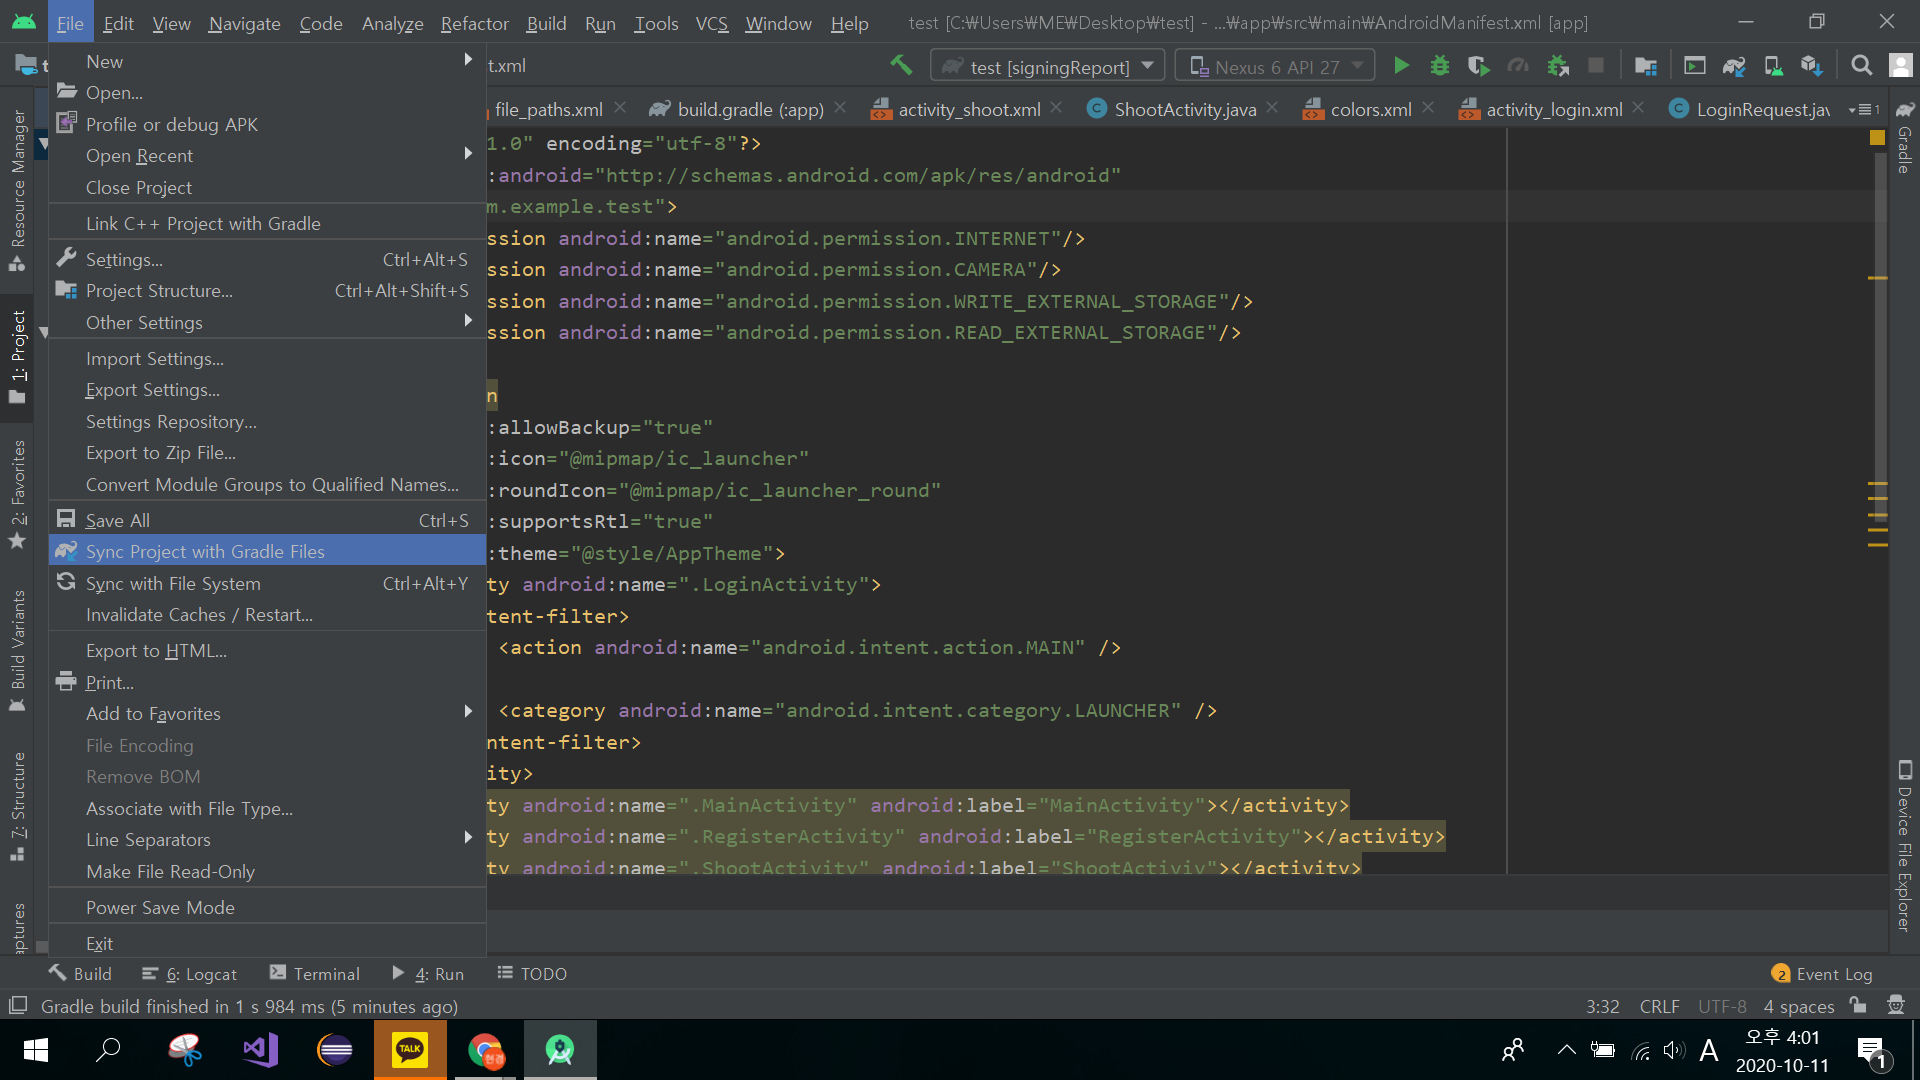
Sync Project with Gradle Files를 클릭하여 JSON 파일을 인식하도록 합니다.
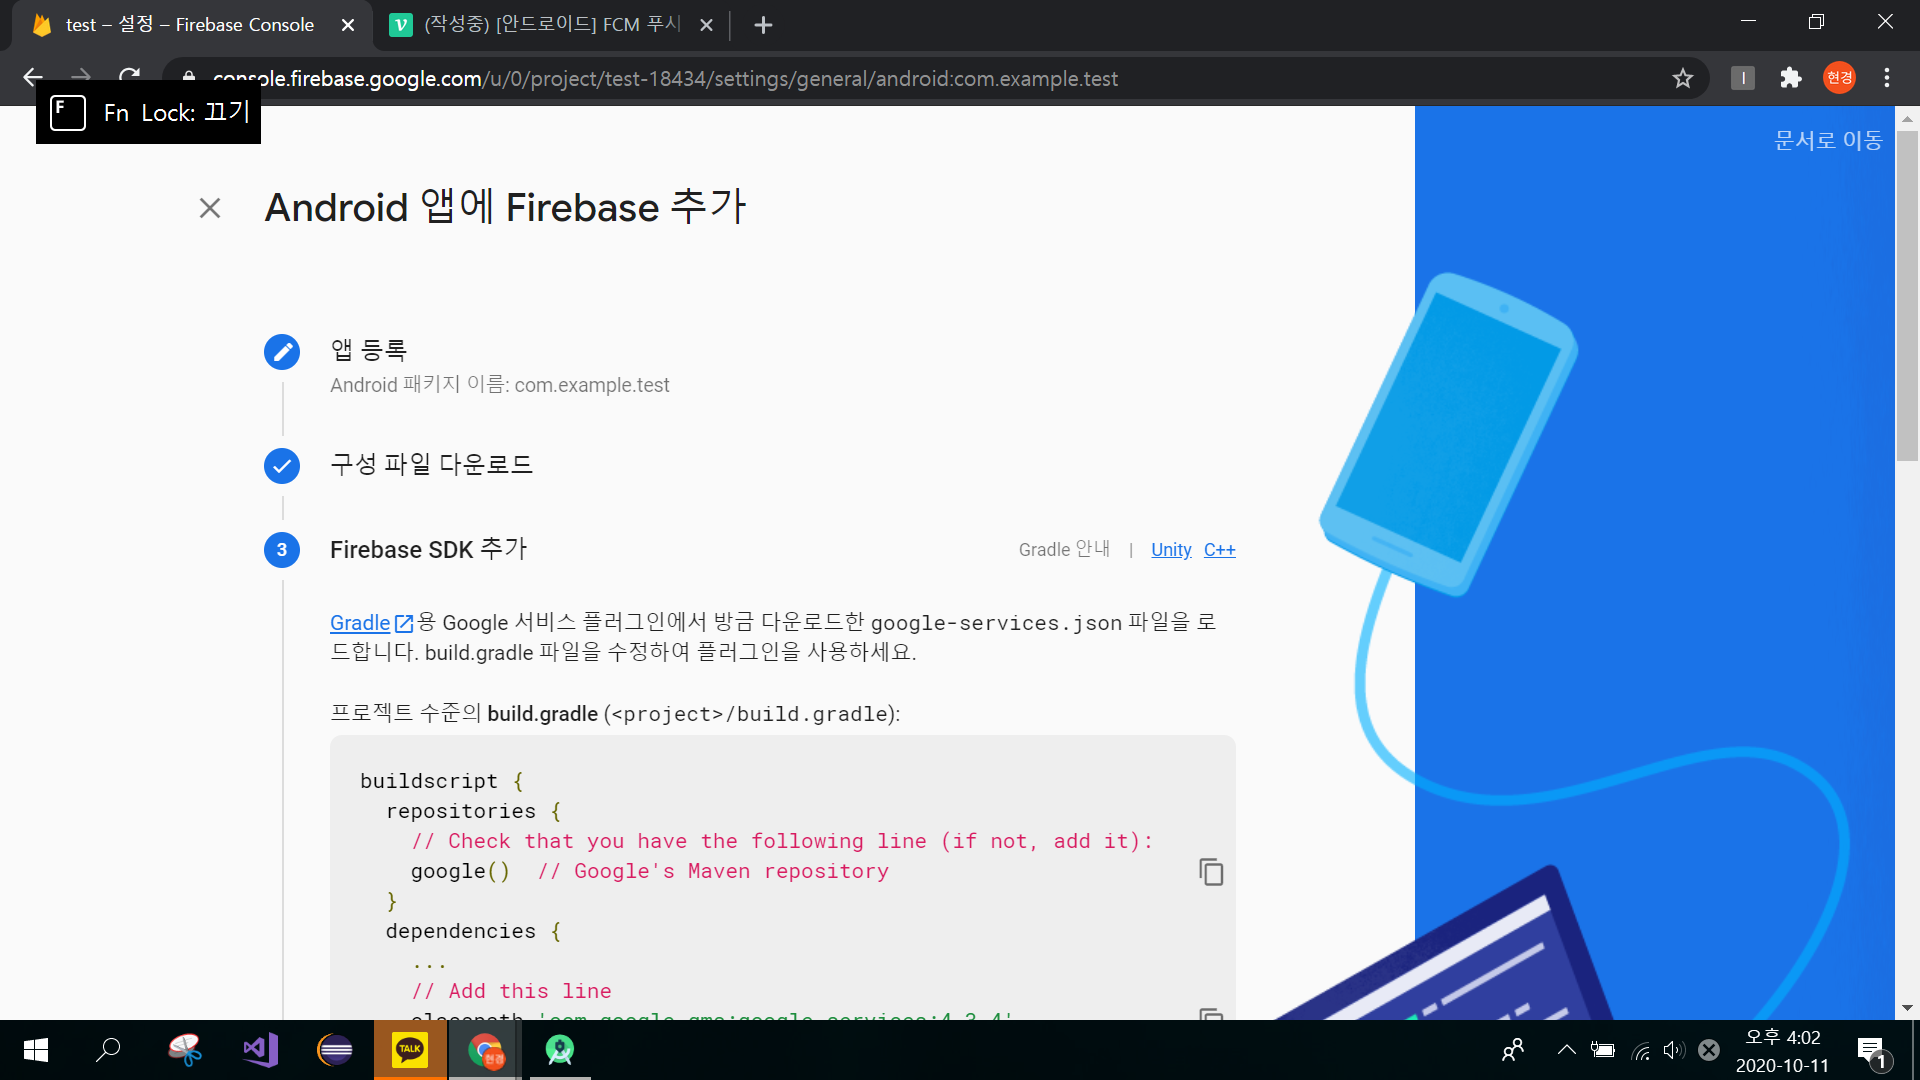
콘솔로 돌아와 해당 지침대로 코드를 수정해줍니다.

수정한 뒤 Sync Now를 클릭하여 줍니다.
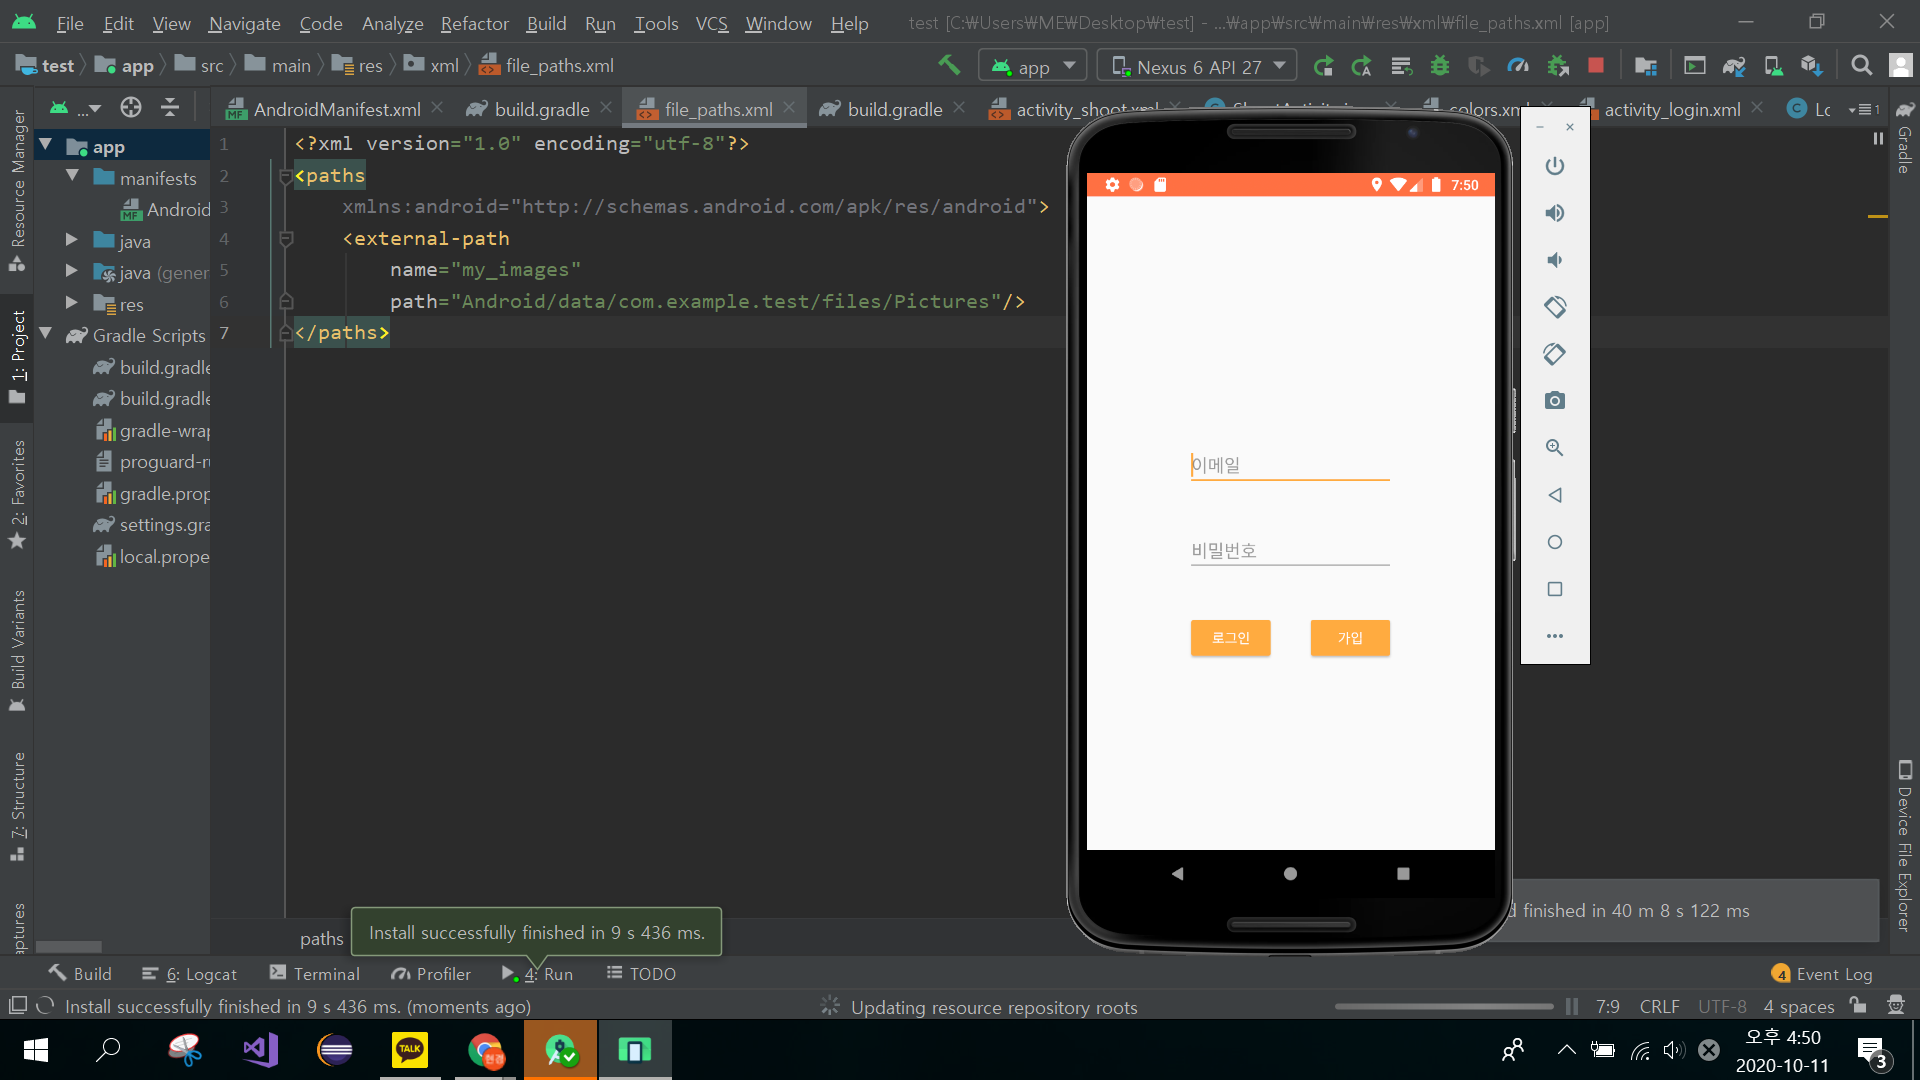
앱을 실행해보니 잘 작동되고 있네요 ㅎㅎ
이제 FCM을 위해 코드를 작성해볼게요.
우선 MyFirebaseMessagingService 클래스를 만들어줍니다.
# MyFirebaseMessagingService.java
import android.app.NotificationChannel;
import android.app.NotificationManager;
import android.app.PendingIntent;
import android.content.Context;
import android.content.Intent;
import android.media.RingtoneManager;
import android.net.Uri;
import android.os.Build;
import android.widget.RemoteViews;

import androidx.annotation.NonNull;
import androidx.annotation.Nullable;
import androidx.core.app.NotificationCompat;

import com.google.firebase.messaging.FirebaseMessagingService;
import com.google.firebase.messaging.RemoteMessage;

public class MyFirebaseMessagingService extends FirebaseMessagingService {

    public void onMessageReceived(@NonNull RemoteMessage remoteMessage) {
        if (remoteMessage.getData().size() > 0) {
            showNotification(remoteMessage.getData().get("title"), remoteMessage.getData().get("message"));
        }

        if (remoteMessage.getNotification() != null) {
            showNotification(remoteMessage.getNotification().getTitle(), remoteMessage.getNotification().getBody());
        }
    }

    private RemoteViews getCustomDesign(String title, String message) {
        RemoteViews remoteViews = new RemoteViews(getApplicationContext().getPackageName(), R.layout.notification);
        remoteViews.setTextViewText(R.id.noti_title, title);
        remoteViews.setTextViewText(R.id.noti_message, message);
        remoteViews.setImageViewResource(R.id.noti_icon, R.mipmap.ic_launcher);
        return remoteViews;
    }

    private void showNotification(String title, String message) {
        Intent intent = new Intent(this, MainActivity.class);
        String channel_id = "channel";
        intent.addFlags(Intent.FLAG_ACTIVITY_CLEAR_TOP);
        PendingIntent pendingIntent = PendingIntent.getActivity(this, 0, intent, PendingIntent.FLAG_ONE_SHOT);
        Uri uri = RingtoneManager.getDefaultUri(RingtoneManager.TYPE_NOTIFICATION);
        NotificationCompat.Builder builder = new NotificationCompat.Builder(getApplicationContext(), channel_id)
                .setSmallIcon(R.mipmap.ic_launcher)
                .setSound(uri)
                .setAutoCancel(true)
                .setVibrate(new long[] {1000, 1000, 1000, 1000, 1000})
                .setOnlyAlertOnce(true)
                .setContentIntent(pendingIntent);

        if (Build.VERSION.SDK_INT >= Build.VERSION_CODES.JELLY_BEAN)
        {
            builder = builder.setContent(getCustomDesign(title, message));
        }
        else
        {
            builder = builder.setContentTitle(title)
                    .setContentText(message)
                    .setSmallIcon(R.mipmap.ic_launcher);
        }

        NotificationManager notificationManager = (NotificationManager) getSystemService(Context.NOTIFICATION_SERVICE);
        if (Build.VERSION.SDK_INT >= Build.VERSION_CODES.O)
        {
            NotificationChannel notificationChannel = new NotificationChannel(channel_id, "web_app", NotificationManager.IMPORTANCE_HIGH);
            notificationChannel.setSound(uri, null);
            notificationManager.createNotificationChannel(notificationChannel);
        }

        notificationManager.notify(0, builder.build());
    }
}
다음 푸시 알림을 위한 xml파일을 생성합니다.
# notification.xml
<?xml version="1.0" encoding="utf-8"?>
<androidx.constraintlayout.widget.ConstraintLayout xmlns:android="http://schemas.android.com/apk/res/android"
    xmlns:app="http://schemas.android.com/apk/res-auto"
    android:layout_width="match_parent"
    android:layout_height="match_parent">

    <LinearLayout
        android:id="@+id/linearLayout"
        android:layout_width="0dp"
        android:layout_height="wrap_content"
        android:orientation="horizontal"
        app:layout_constraintEnd_toEndOf="parent"
        app:layout_constraintStart_toStartOf="parent"
        app:layout_constraintTop_toTopOf="parent">

        <LinearLayout
            android:layout_width="wrap_content"
            android:layout_height="wrap_content">

            <ImageView
                android:id="@+id/noti_icon"
                style="@style/defaultButton"
                android:layout_width="50dp"
                android:layout_height="50dp"
                android:padding="5dp"
                android:src="@mipmap/ic_launcher"
                app:srcCompat="@drawable/alarm_light" />

        </LinearLayout>

        <LinearLayout
            android:layout_width="0dp"
            android:layout_height="wrap_content"
            android:layout_weight="1"
            android:orientation="vertical"
            android:padding="5dp">

            <TextView
                android:id="@+id/noti_title"
                android:layout_width="match_parent"
                android:layout_height="wrap_content"
                android:text="Title"
                android:textColor="#000"
                android:textStyle="bold" />

            <TextView
                android:id="@+id/noti_message"
                android:layout_width="match_parent"
                android:layout_height="wrap_content"
                android:text="Message"
                android:textSize="15sp" />

        </LinearLayout>

    </LinearLayout>

</androidx.constraintlayout.widget.ConstraintLayout>
코드 작성을 마치면 콘솔 페이지로 돌아옵니다.
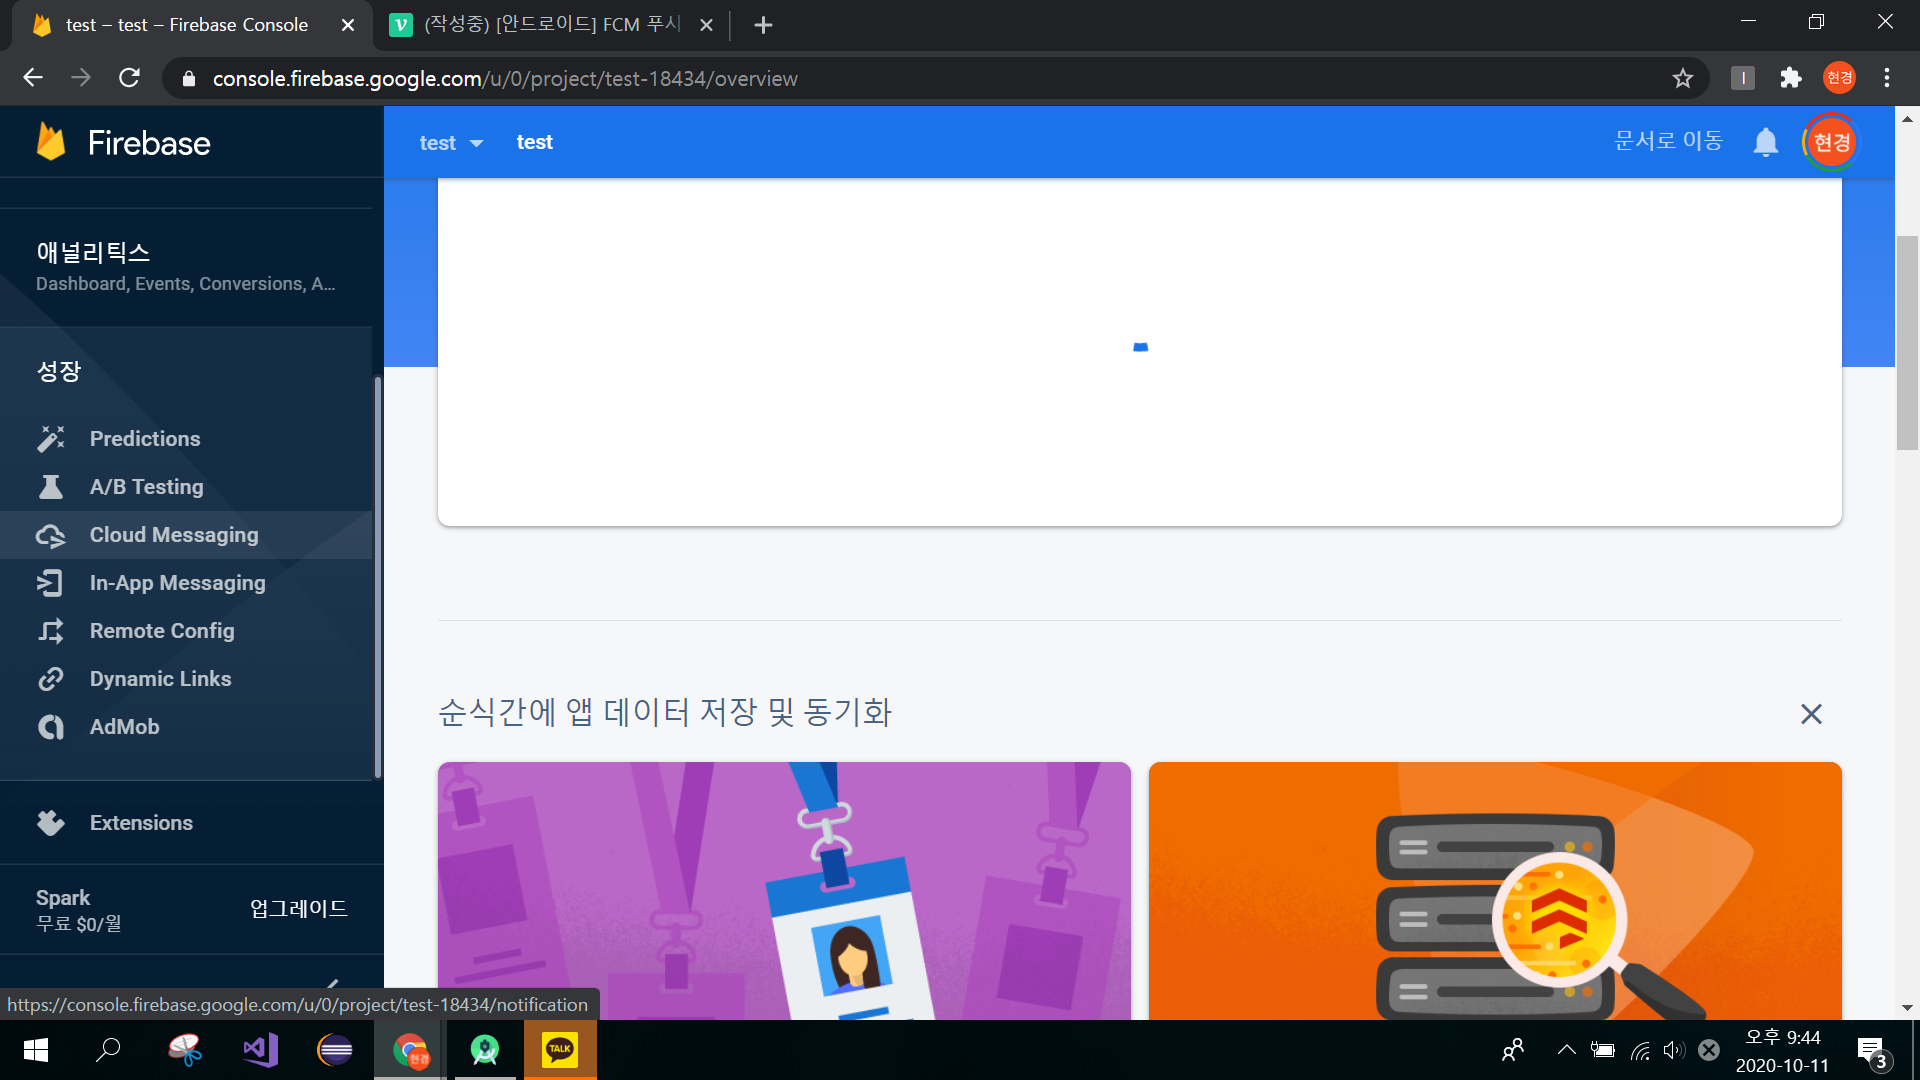
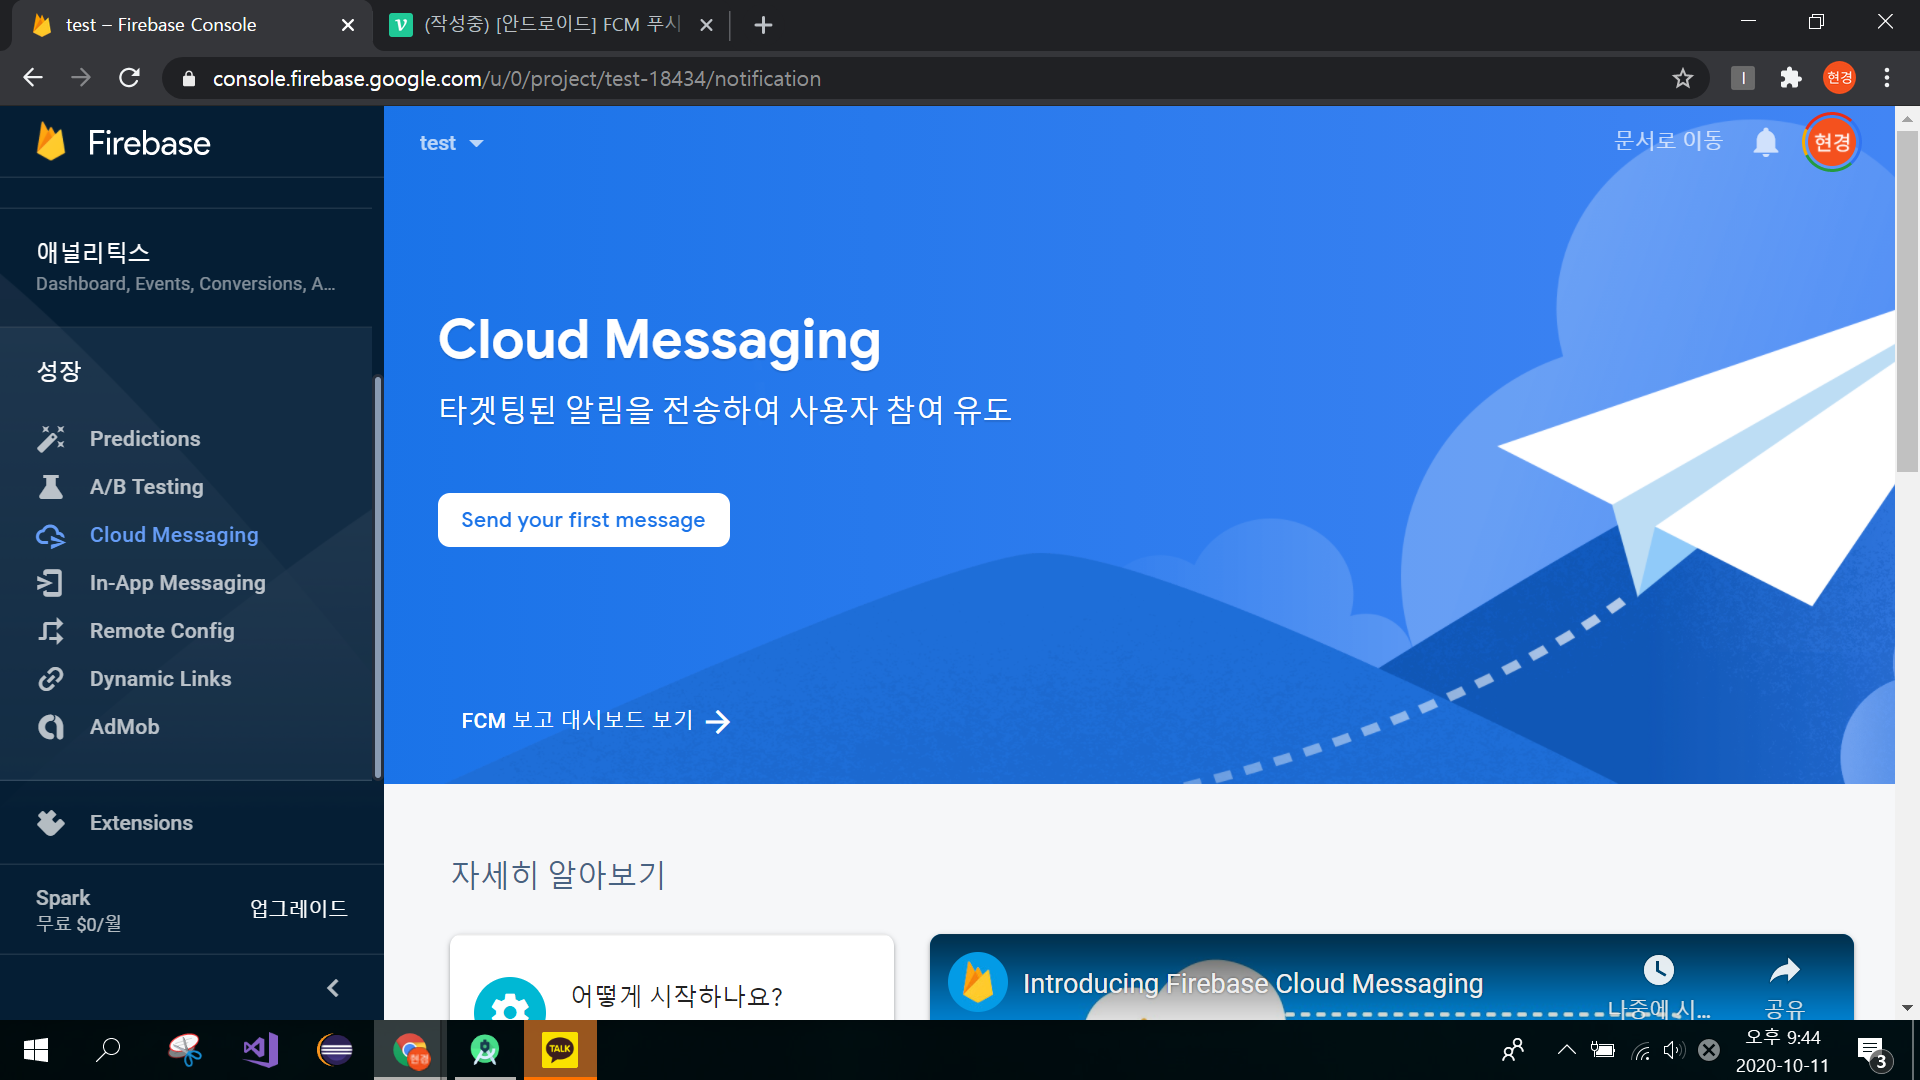
성장 -> Cloud Messaging을 클릭하여줍니다.
하얀 버튼으로 되어있는 send your message를 클릭합니다.
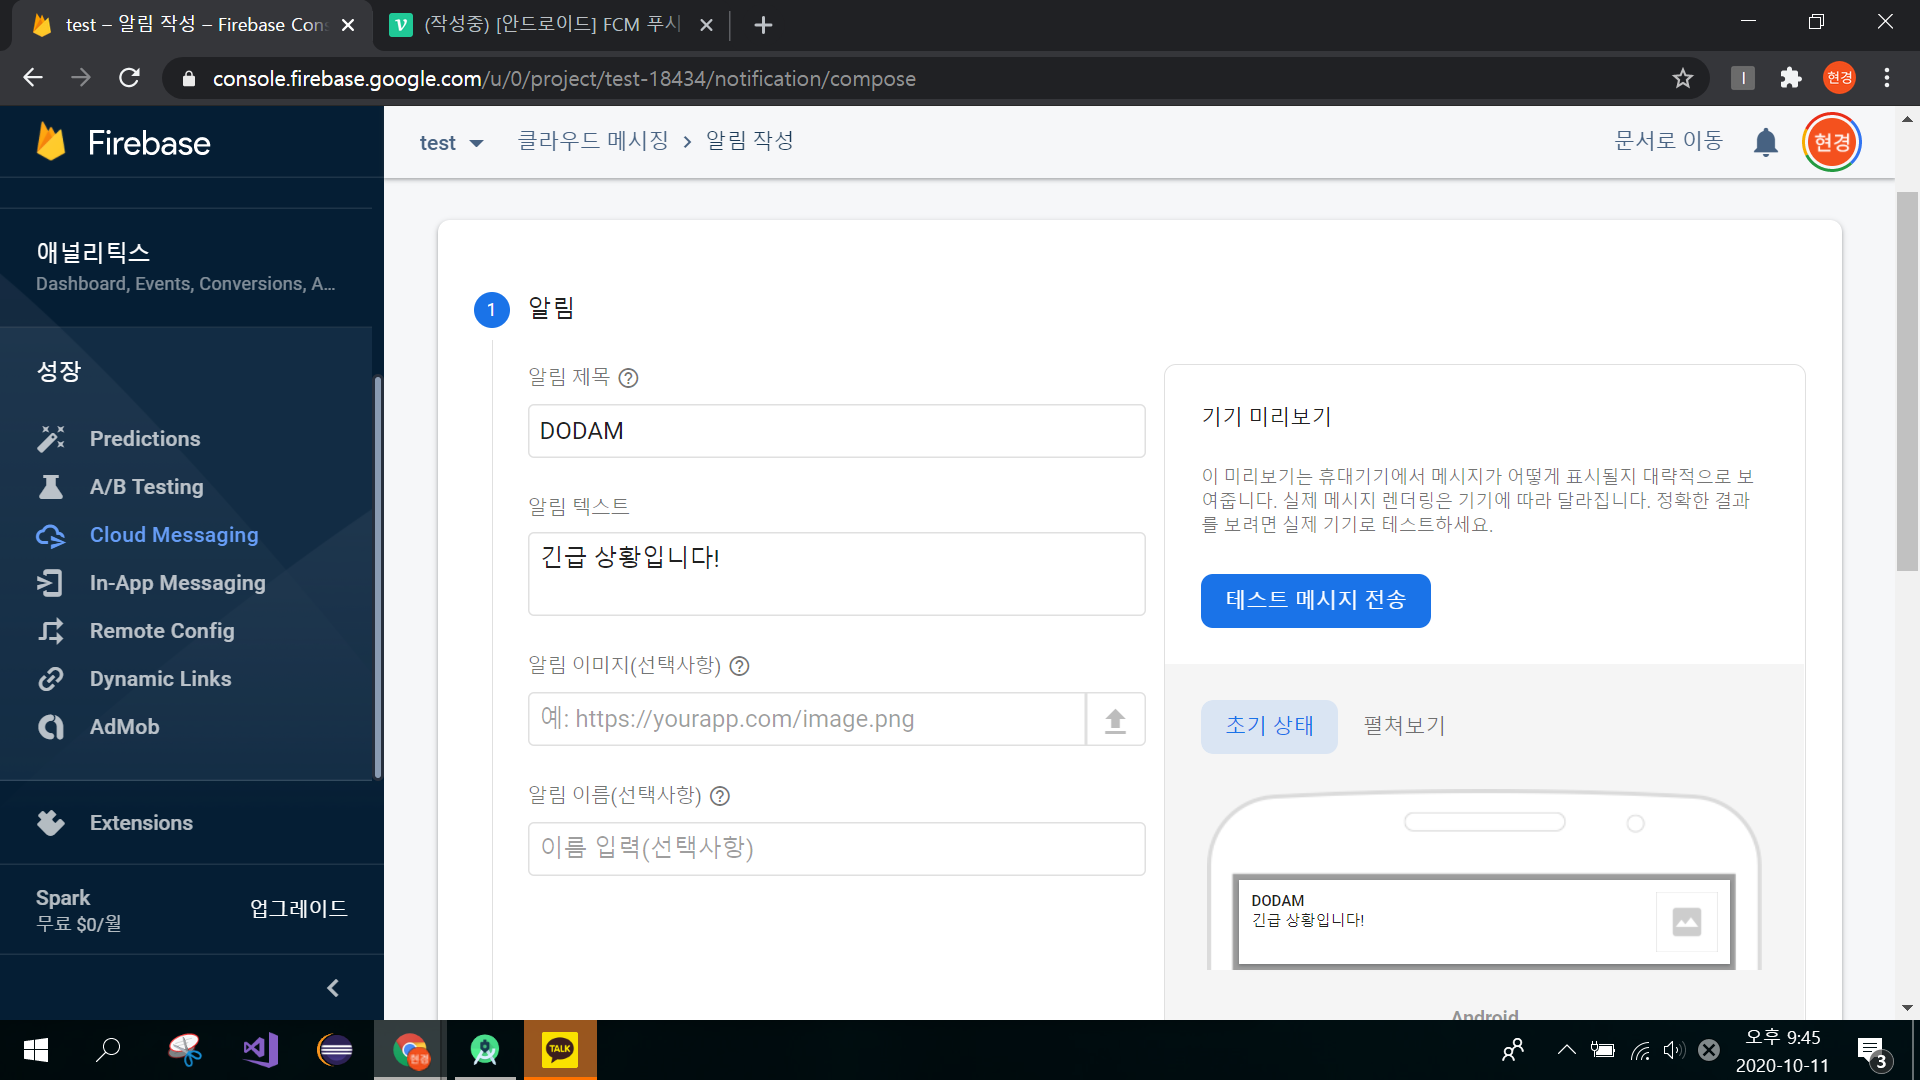
알림 제목과 텍스트를 설정하여줍니다.
(밑 부분은 입력 안해도 됨)
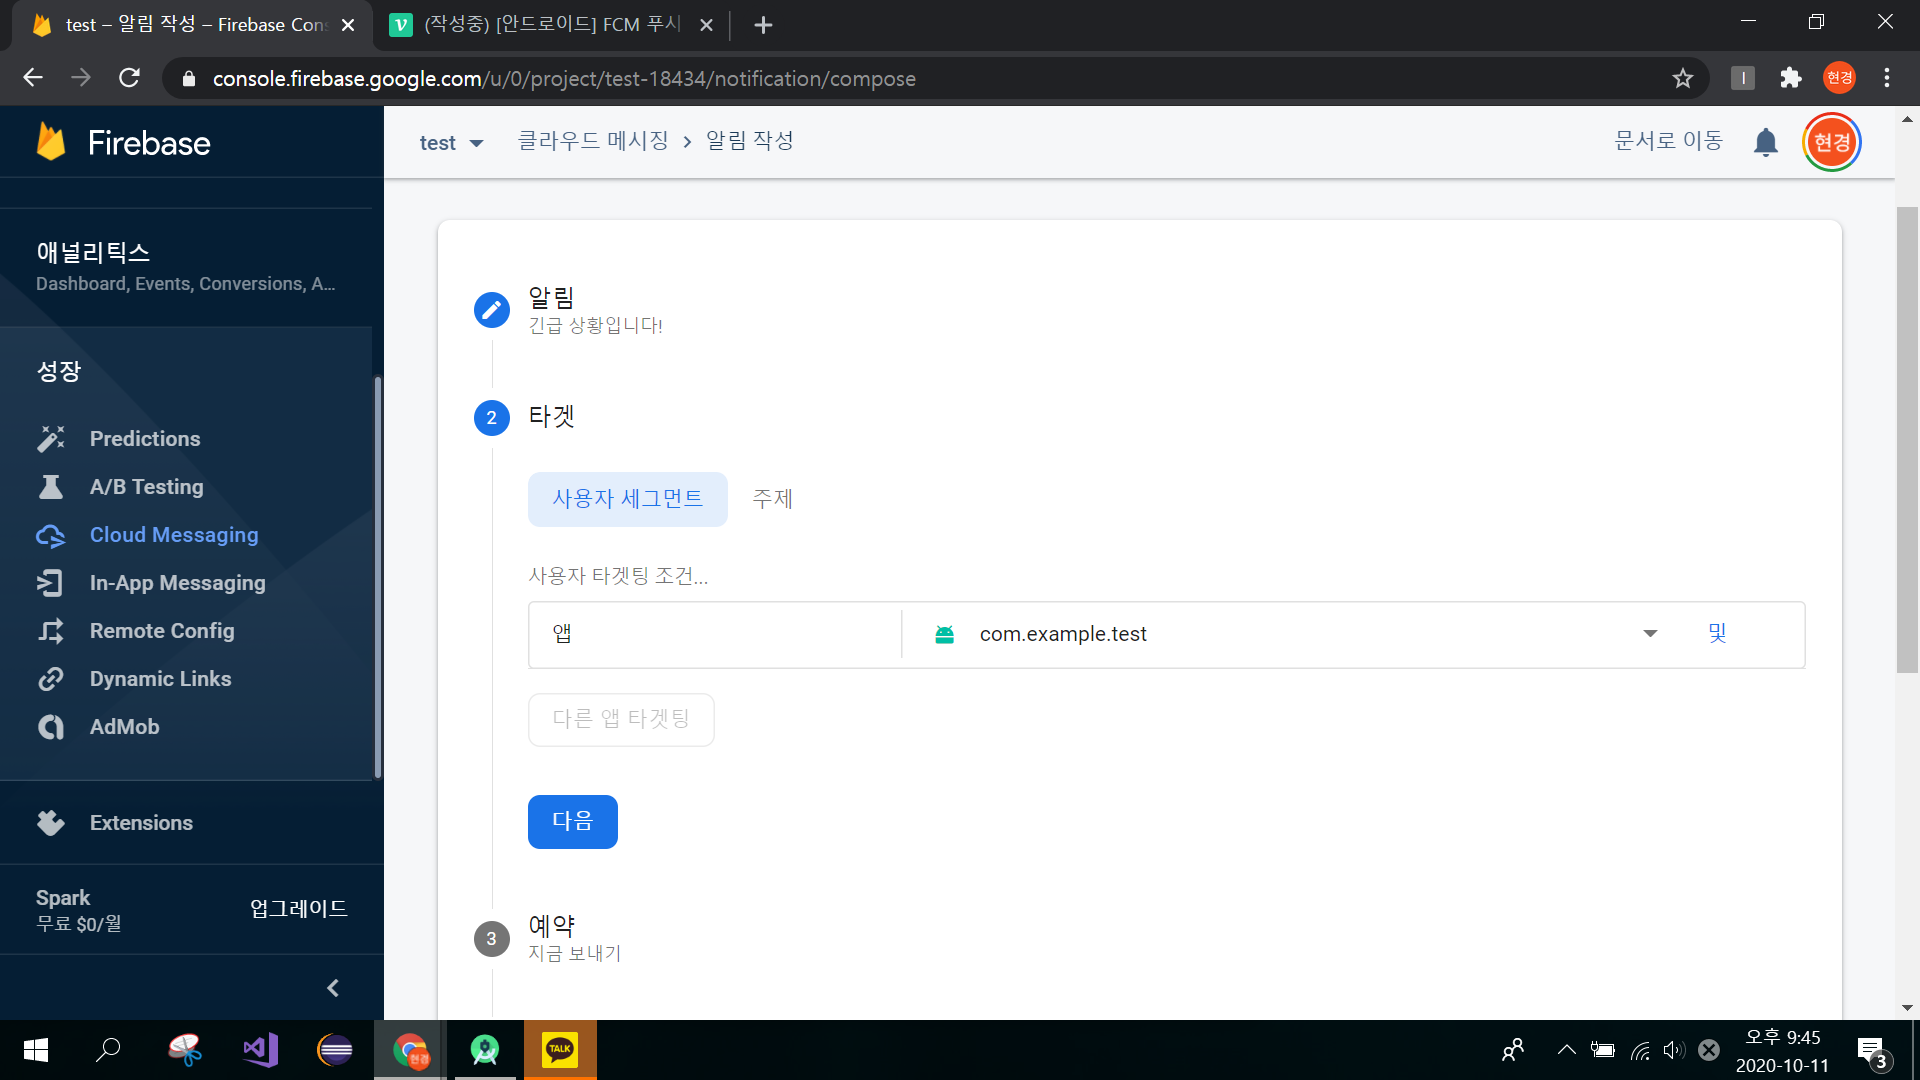
타겟은 아까 등록한 앱으로 지정해주고
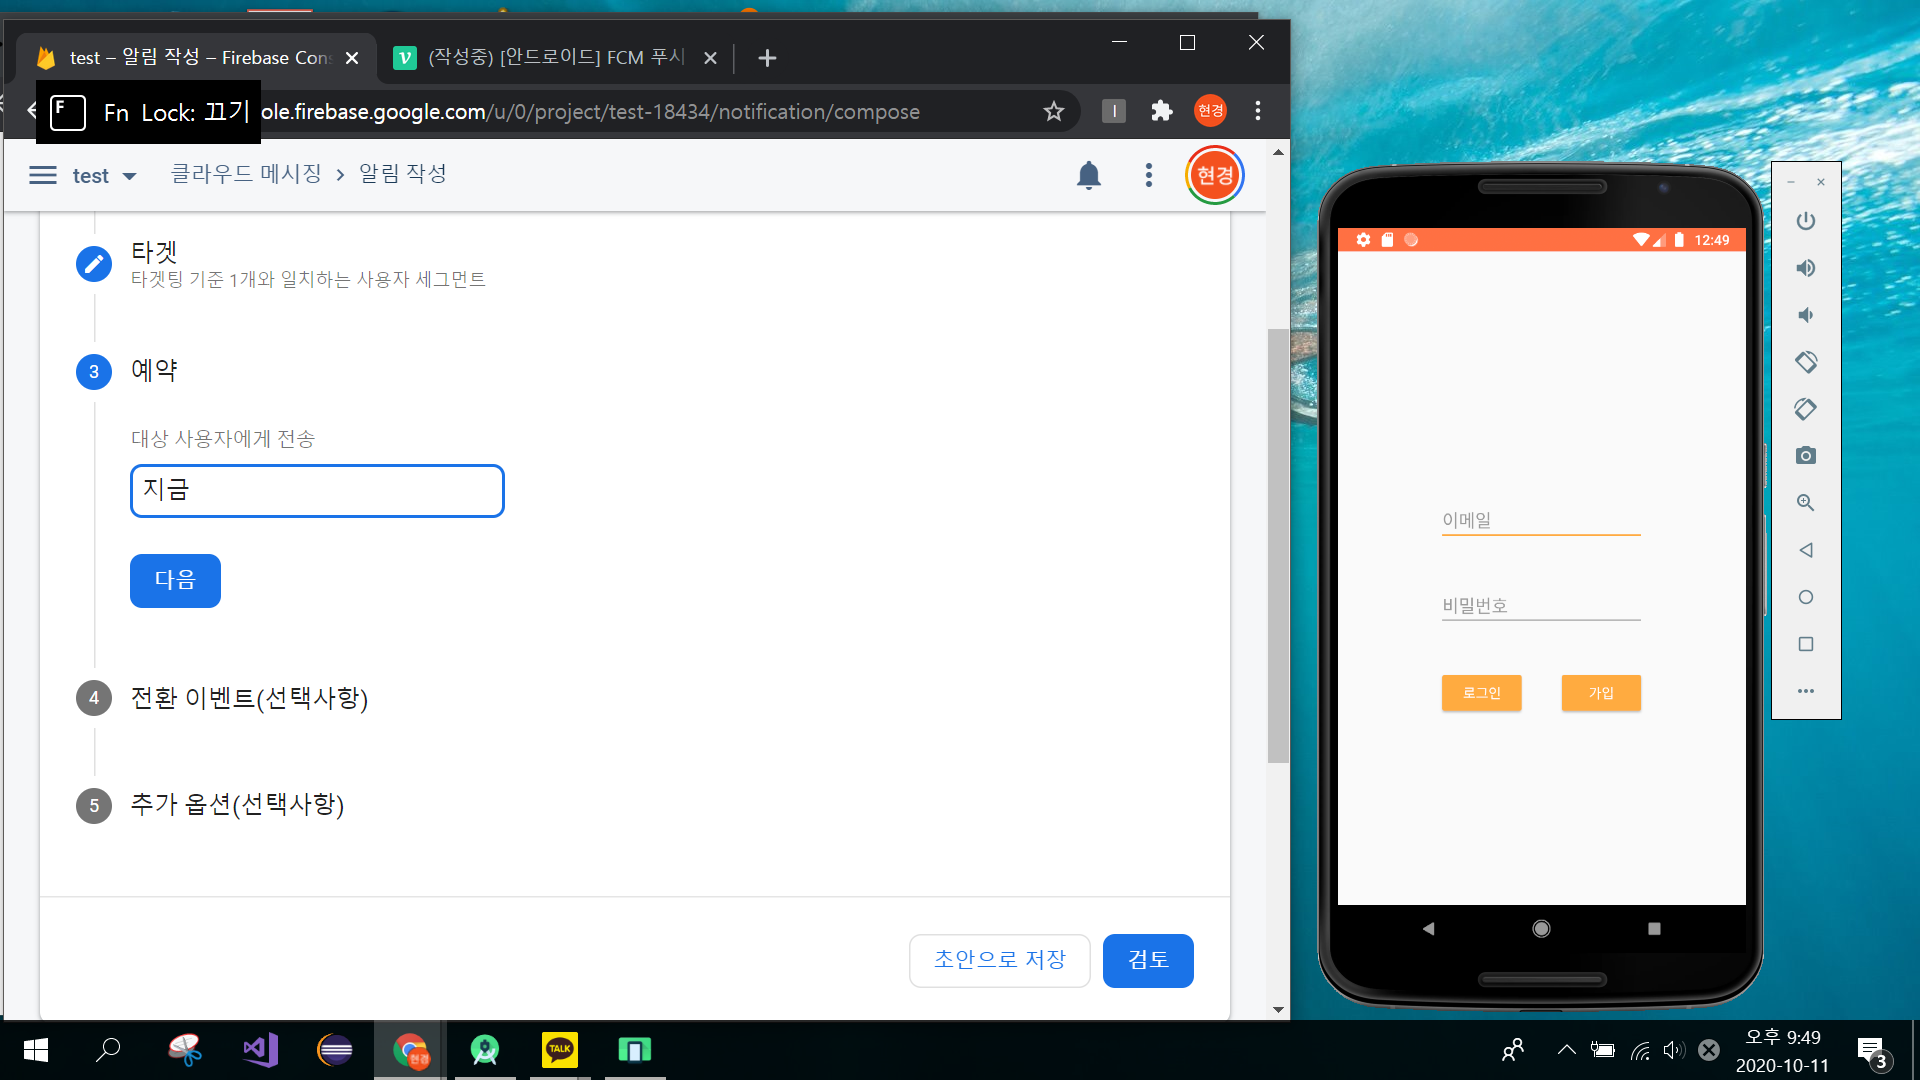
다른 추가 설정 없이 검토를 클릭합니다.
앱을 종료하고 다른 화면에 있거나 잠금 화면을 유지하고 있으면 알림이 갑니다.
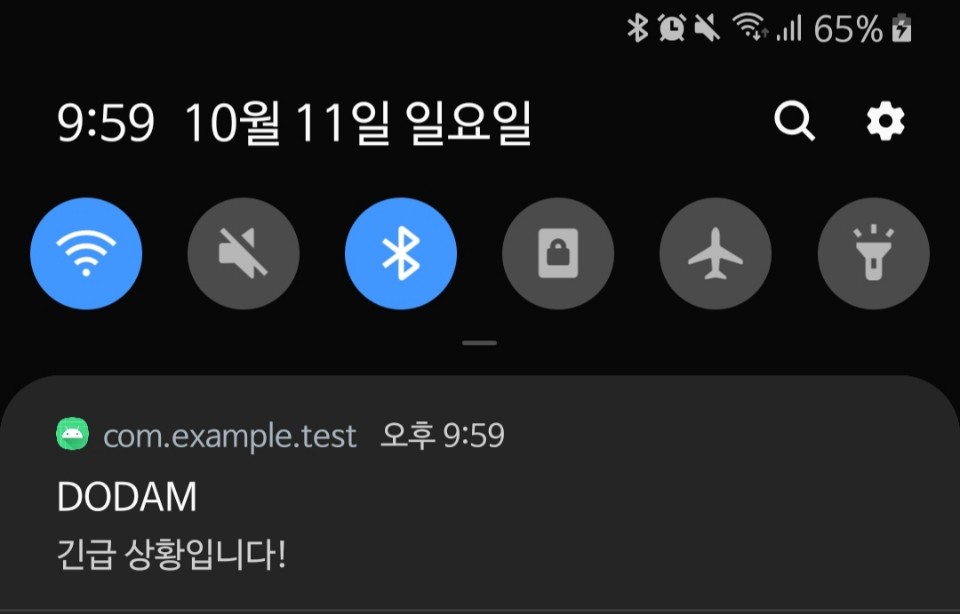
완성