spring 프로젝트 생성
마우스 우클릭 >> spring legacy project
project name 적고, Spring mvc project 체크 >> next >> package name 적기 >> finish
서버 실행 후부터 프로젝트 실행
서버 실행 후 web.xml 최초 구동됨
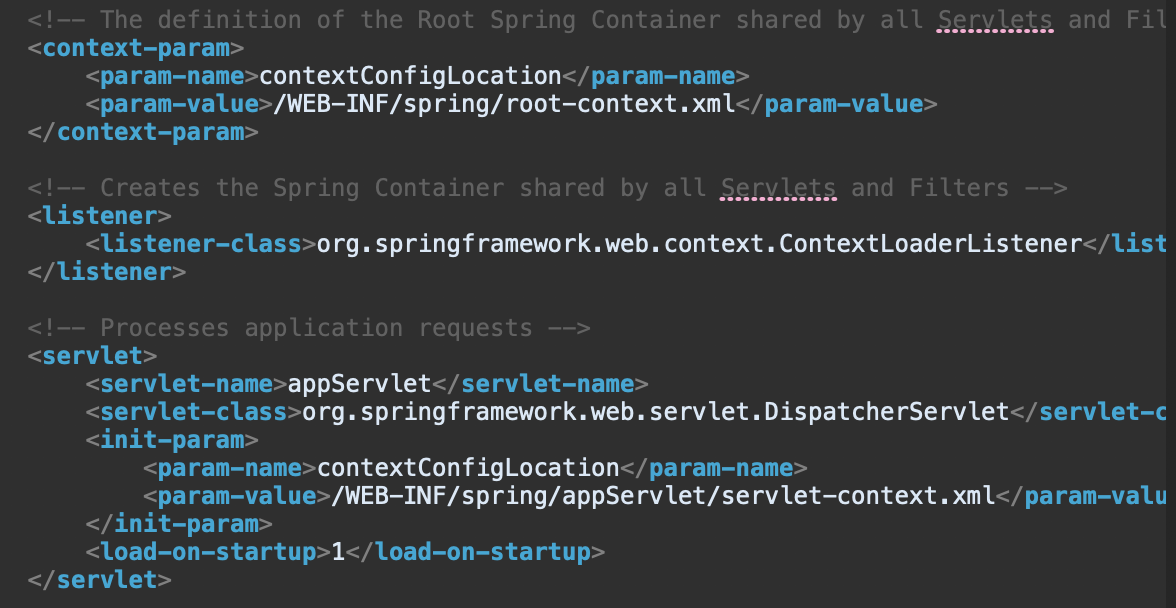
web.xml에 나와있는 위치를 가지고
servlet-context.xml, root-context.xml 읽음
servlet-context.xml에 나온 controller address mapping

controller 내부 메소드 실행
-> url에 따라 실행됨
pom.xml
- dependency 추가해서 라이브러리 추가
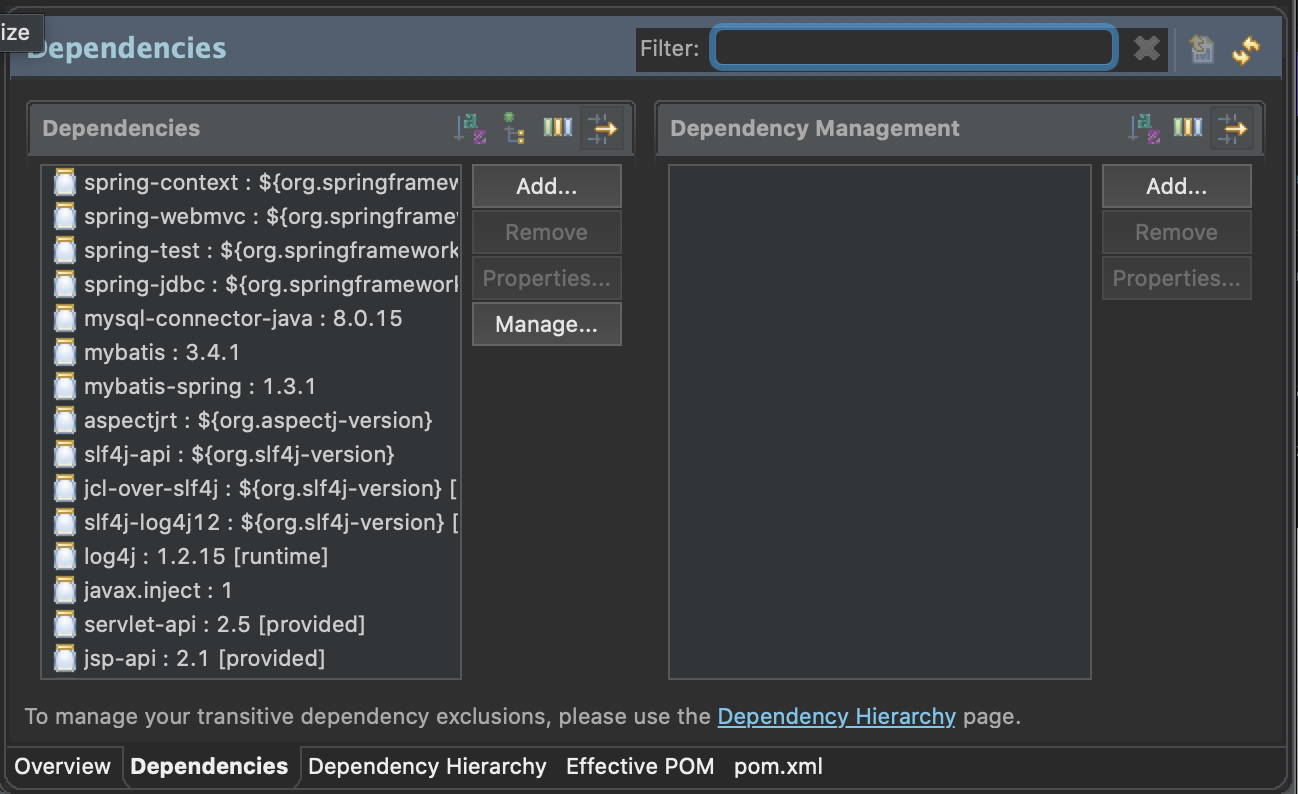
dependency 추가하는 방법
- pom.xml 하단 설정메뉴 중에 dependencies에서 원하는 라이브러리 클릭하고 add하는 방법
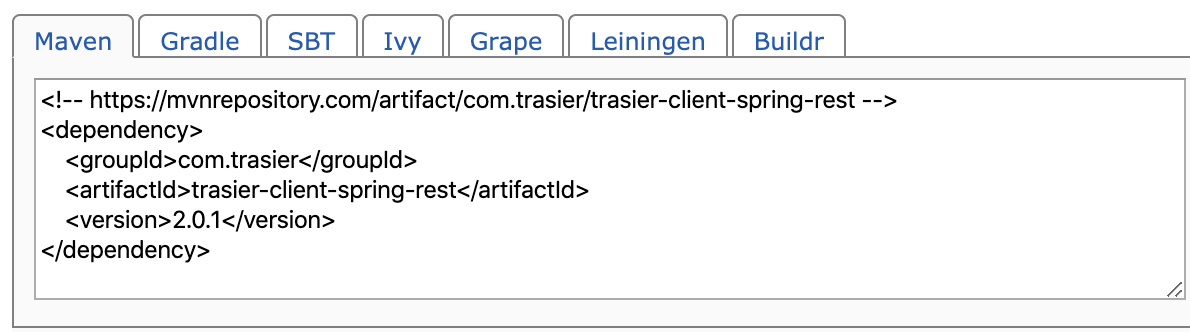
- https://mvnrepository.com/ 에 접속해서 maven으로 dependency 가져와서 pom.xml에 붙여넣기
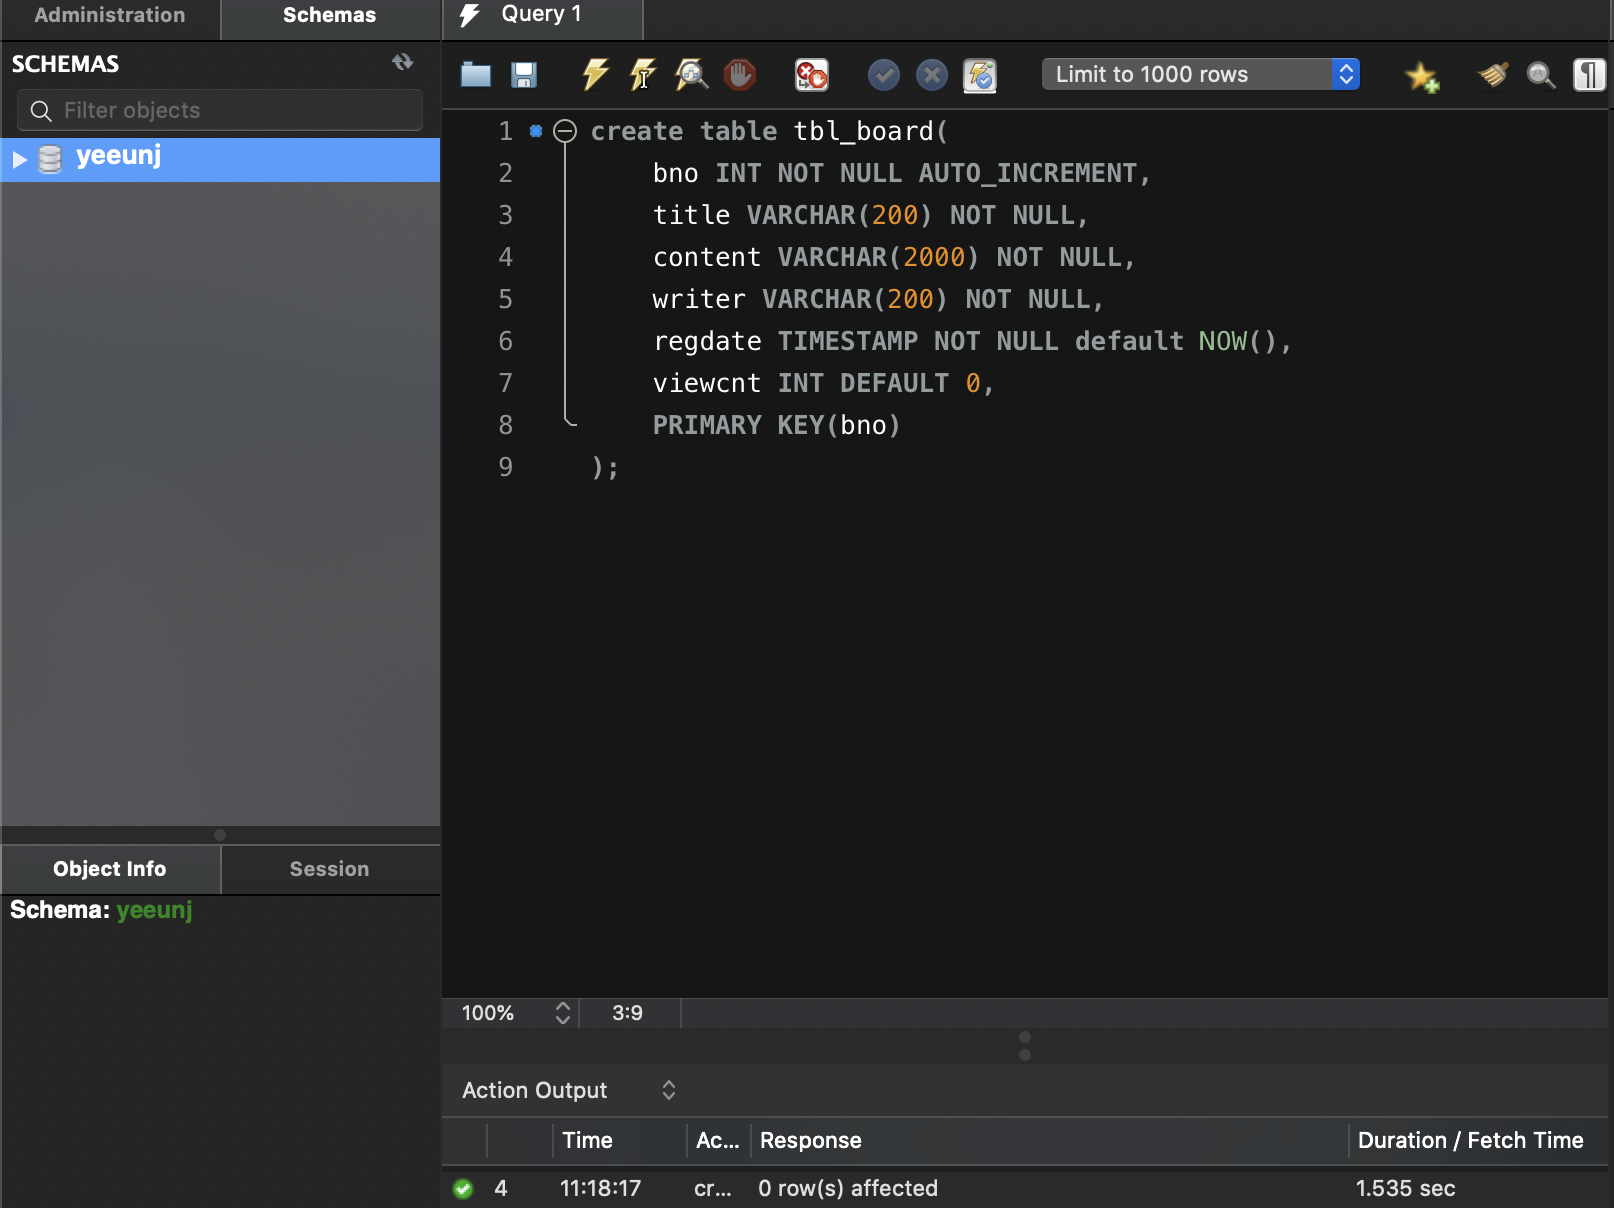
mysql table 생성
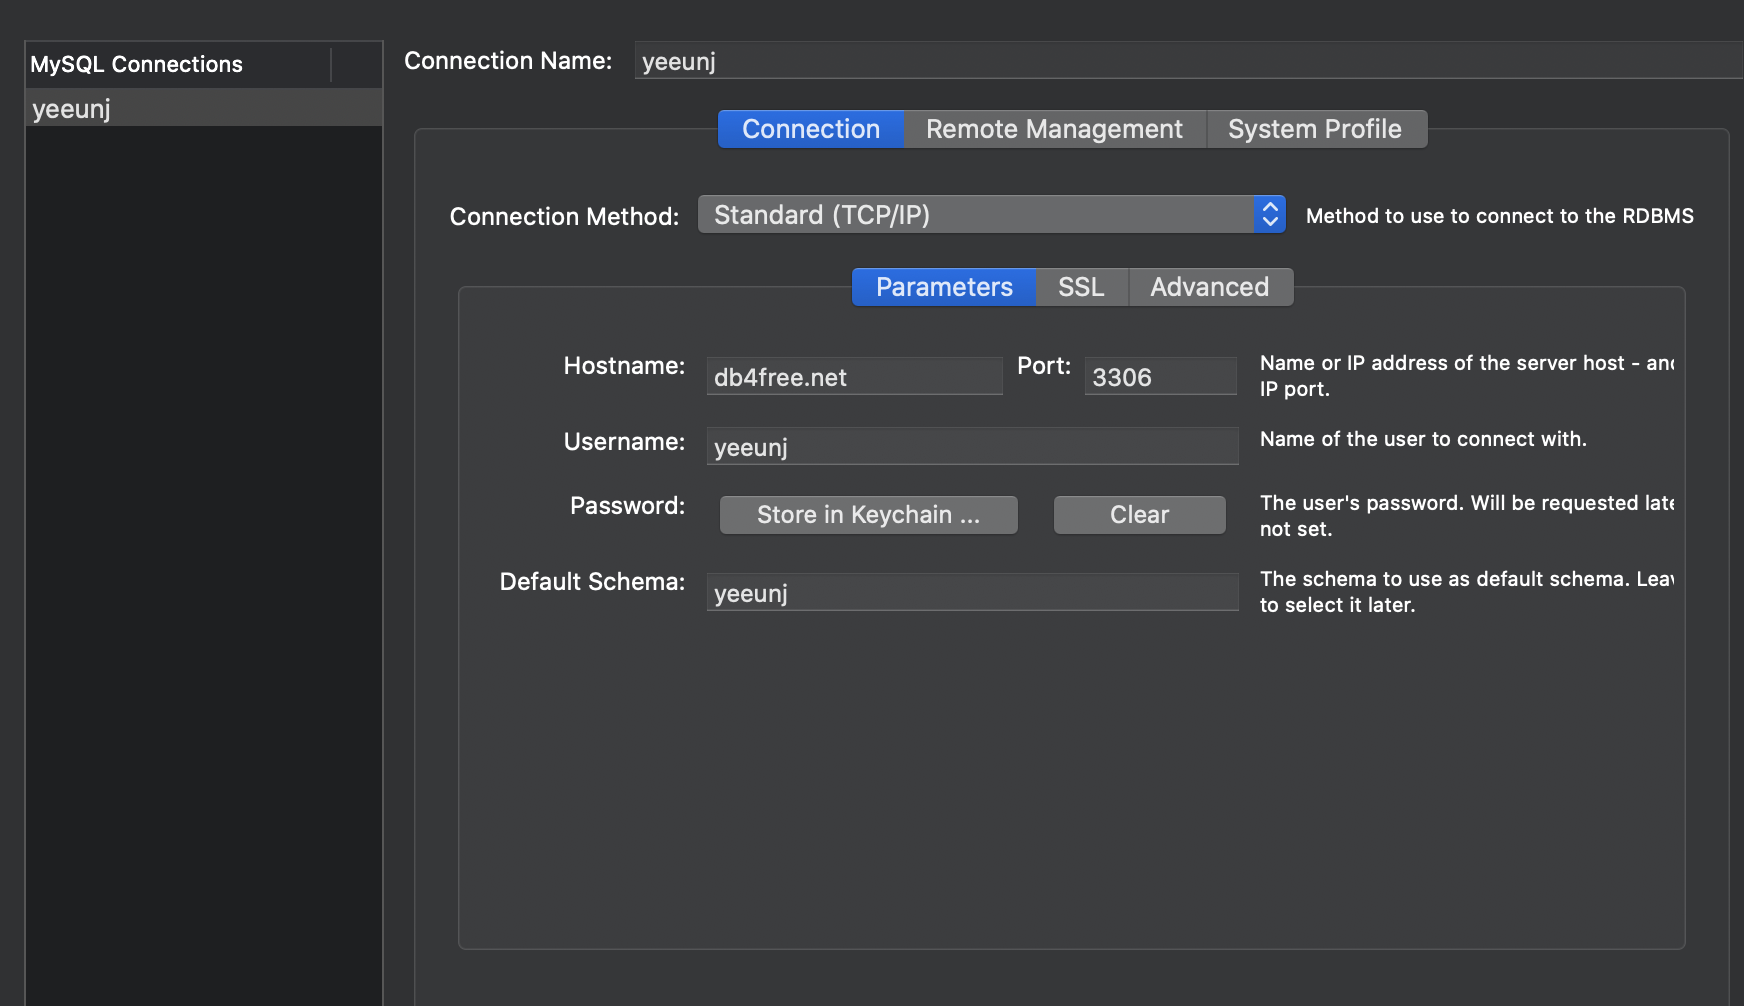
INSTANCE 옆 아이콘 선택하면 manage server connection이 뜬다.

들어가서 connection 클릭 >> default schema 설정(default database 설정) >> close
schemas에서 원하는 db 클릭 아래 선택된 schema가 뜸 >> query 적기 >> 상단의 excute 버튼 클릭(노란색 번개 모양) or ctrl+enter
하단에 성공 메시지가 나오면 정상 등록된 것
root-context.xml에 DB 연결
dataSource 등록(db 접속 정보)
<bean id="dataSource" class="org.springframework.jdbc.datasource.DriverManagerDataSource"> <!--JDBC 라이브러리 위치 설정-->
<property name="driverClassName" value="com.mysql.cj.jdbc.Driver"></property>
<!--jdbc:mysql://(서버의 url):(포트번호)/(db생성시 설정한 계정 이름)?(SSL serverTime 설정)-->
<property name="url" value="jdbc:mysql://db4free.net:3306/yeeunj?useSSL=false&serverTimezone=UTC">
</property>
<property name="username" value="yeeunj"></property>
<property name="password" value="dPdms3730"></property>
<!-- db 계정 username, password -->
</bean> sqlsessionfactory 커넥션 추가(Mybatis 사용)
<bean id="sqlSessionFactory"
class="org.mybatis.spring.SqlSessionFactoryBean">
<!--db 연결 및 SQL 사용을 위한 객체 생성-->
<property name="dataSource" ref="dataSource" /> <!--datasource 위치 참조-->
<property name="configLocation"
value="classpath:/mybatis-config.xml"></property>
<!--mybatis 설정파일 위치-->
<property name="mapperLocations"
value="classpath:mappers/**/*Mapper.xml"></property>
<!-- sql 연동 위치-->
</bean>
<!--DAO 인터페이스 사용을 위한 객체 설정-->
<bean id="sqlSession"
class="org.mybatis.spring.SqlSessionTemplate"
destroy-method="clearCache">
<constructor-arg name="sqlSessionFactory"
ref="sqlSessionFactory"></constructor-arg>
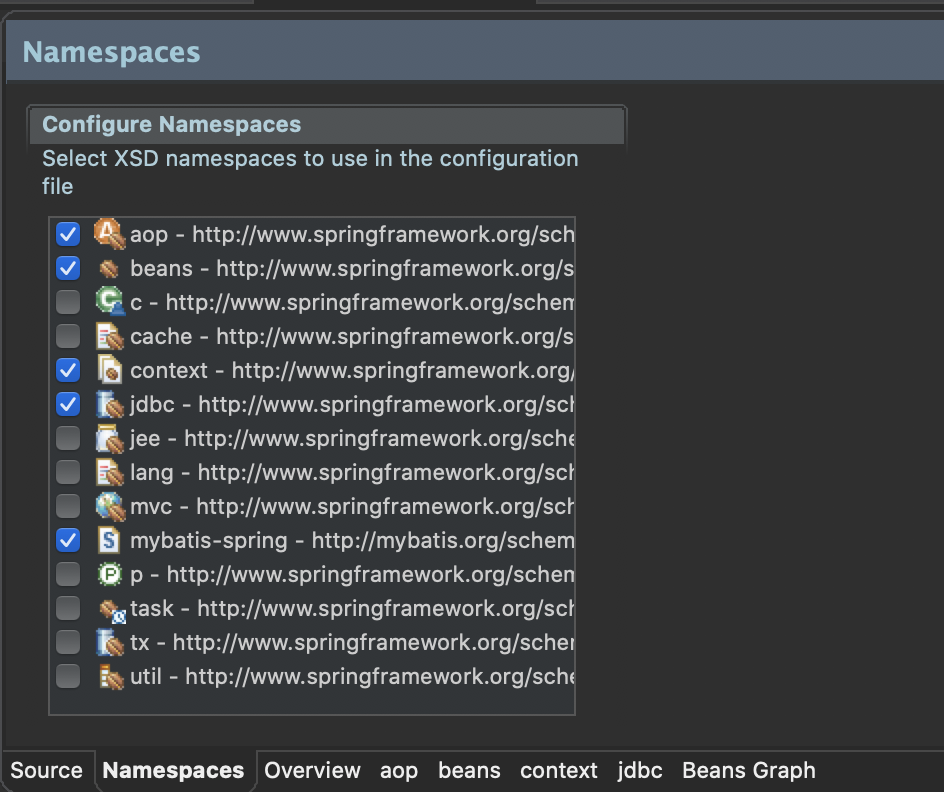
</bean>Namespace 설정
-> 충돌 방지를 위한 대표 매핑 값
db연결을 위한 설정파일 생성하기
mybatis-config.xml
mybatis 설정파일임을 알려주기 위한 DTD 선언
<?xml version="1.0" encoding="UTF-8"?>

<!DOCTYPE configuration
  PUBLIC "-//mybatis.org//DTD Config 3.0//EN"
  "http://mybatis.org/dtd/mybatis-3-config.dtd">

<configuration></configuration>
SQL쿼리전송을 위한 Mapper 하우스 짓기
root에 설정한 위치에 만들어주면된다.
mapper임을 알려주기 위한 DTD 선언
<?xml version="1.0" encoding="UTF-8"?>
<!DOCTYPE mapper
PUBLIC "-//mybatis.org//DTD Mapper 3.0//EN"
"http://mybatis.org/dtd/mybatis-3-mapper.dtd">

<mapper namespace="com.myp.mapper.BoardMapper"></mapper>
용어 정리!!
- VO (Value Object) : DB의 정보를 객체화 시키는 용도
- DTO (Data Transfer Object) : 외부 시스템과 데이터 통신을 하기 위함.
VO 파일 작성
private로 변수 선언
마우스 우버튼 클릭>> source.. >> setter and getter 생성
마우스 우버튼 클릭>> source.. >> tostring() 생성
-> 자동 생성됨
mapper.xml 작성
create
<insert id = "create"> <!--DAO와 매핑하기 위한 ID-->
  insert into db이름 (변수1, 변수2, 변수3)
  values (#{변수값1}, #{변수값2}, #{변수값3})
</insert>
read
<select id = "read" resultType="com.test.domain.BoardVO"> <!--DAO와 매핑하기 위한 ID, 데이터를 받아오기 위한 resultType 적어주기(내가 생성한 VO의 위치)-->
  select
  	변수1, 변수2, 변수3
  from
  	table 이름
  where 변수(primary key) = #{번호}
</select>
update
<update id = "create"> <!--DAO와 매핑하기 위한 ID-->
 update table 이름 set 변수1 = #{변수값1}, 변수2 = #{변수값2}
 where 변수(primary key) = #{번호}
</update>
delete
<delete id = "create"> <!--DAO와 매핑하기 위한 ID-->
 delete from table 이름 where 변수(primary key) = #{번호}
</delete>
전체 list
<select id="listAll" resultType="com.myp.domain.BoardVO"><!--DAO와 매핑하기 위한 ID, 데이터를 받아오기 위한 resultType 적어주기(내가 생성한 VO의 위치)-->
  <![CDATA[
      select
      	bno, title, content, writer, regdate, viewcnt
      from
      	tbl_board
      where bno > 0
      	order by bno desc, regdate desc
  ]]>  <!-- sql 내부에 연산자가 있을 경우 사용,-->
  <!--맨 밑의 줄 정렬 방식-->
</select>
##DAO 파일 작성
- DAO (Data Access Object) : 데이터 접근 객체
서비스 <-> DAO <-> Mapper - Service : 컨트롤러(서블릿)의 요청사항을 DAO에 전달
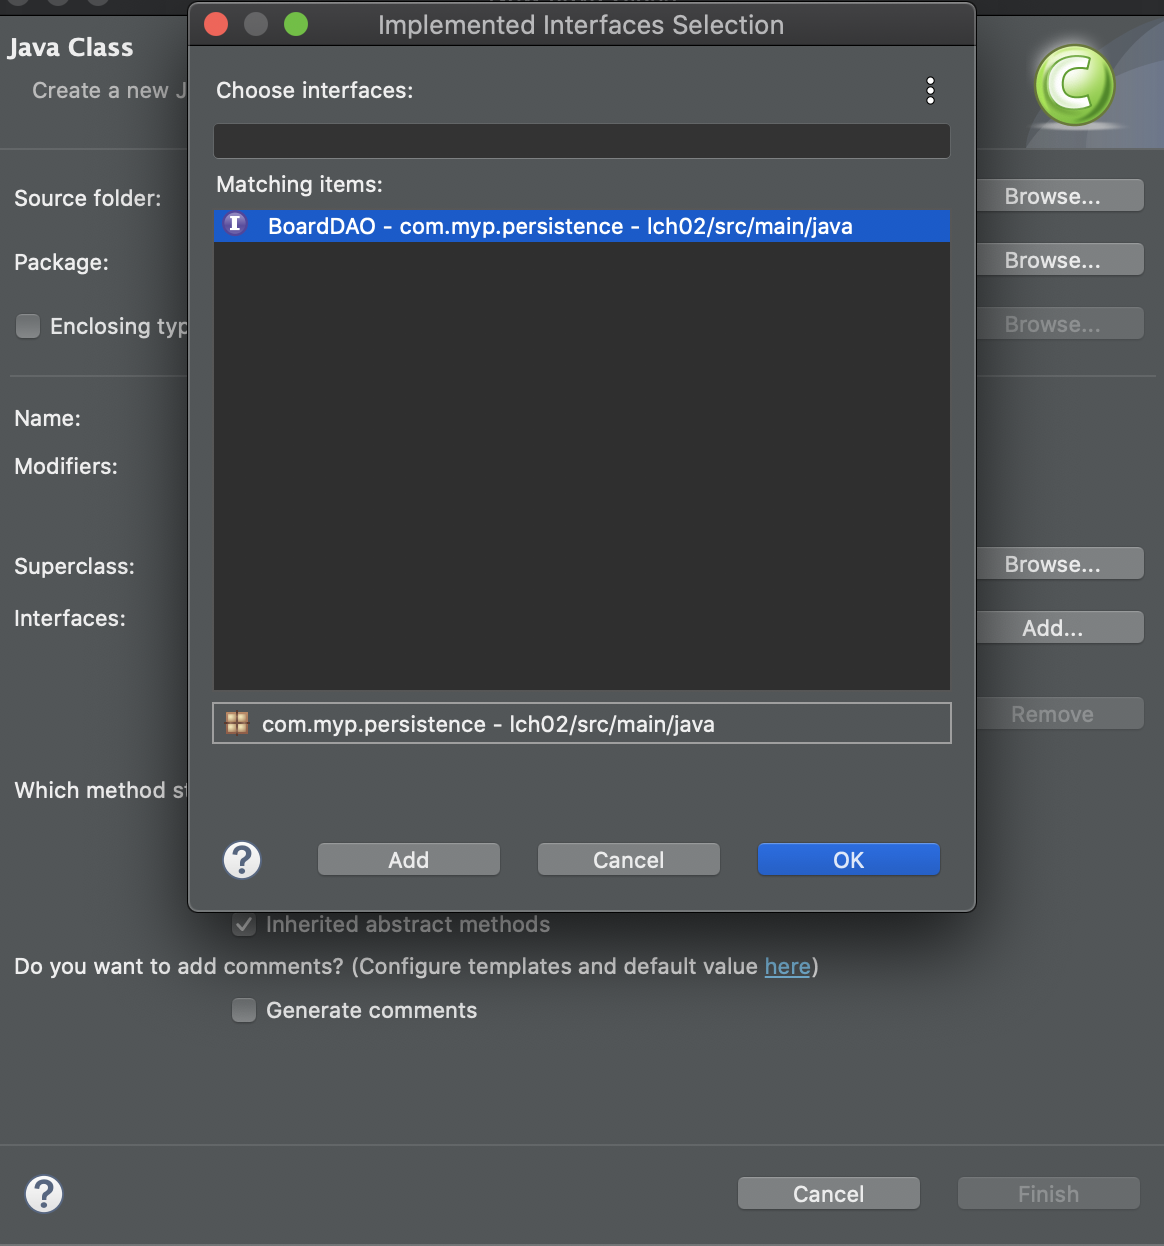
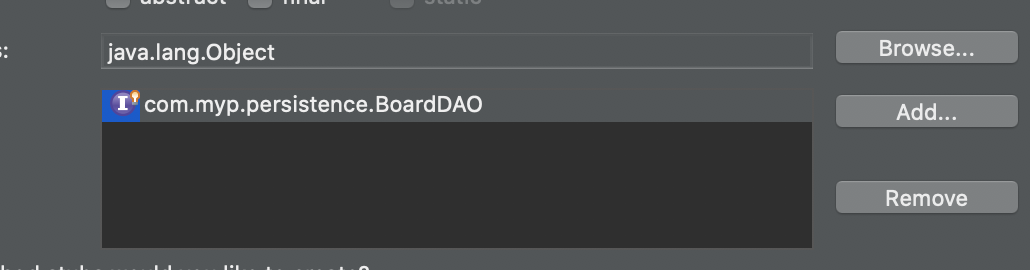
DAO interface를 만들고 interface를 보충설명하는 class를 만들면 된다.
interface를 만든 뒤에 class를 만들때 add를 눌러서 interface를 추가해서 생성할 수 있다.
-> 이렇게 생성하면 interface의 메소드를 구현할 수 있게 interface의 모든 메소드를 추가해서 class가 만들어진다
Service 파일 작성
- Service : 유지보수와 로직프로세스를 유연하게 처리하기 위한 중간 단계.
- 프레임워크 디자인패턴에 들어가며, 프로젝트 규모가 커질수록 관리하기 용이함
controller -> service(interface) -> ServiceImpl -> dao
jsp 파일, controller 작성
home.jsp 에서 선택하면 게시판을 보이게끔 만들었다고 하면
1. home.jsp파일이 보여지고 버튼을 클릭하면 url이 바뀜(버튼을 눌렀을때 jsp 파일로 넘어가는 것이 아니라 url을 바꾸면서 controller로 명령이 가는 것)
2. controller가 요청을 받아서 listAll.jsp 파일이 보여짐