🤓 학습 내용
🧭 Navigation 방식으로 화면전환만 하고 NavigationBar 커스터마이징 하기
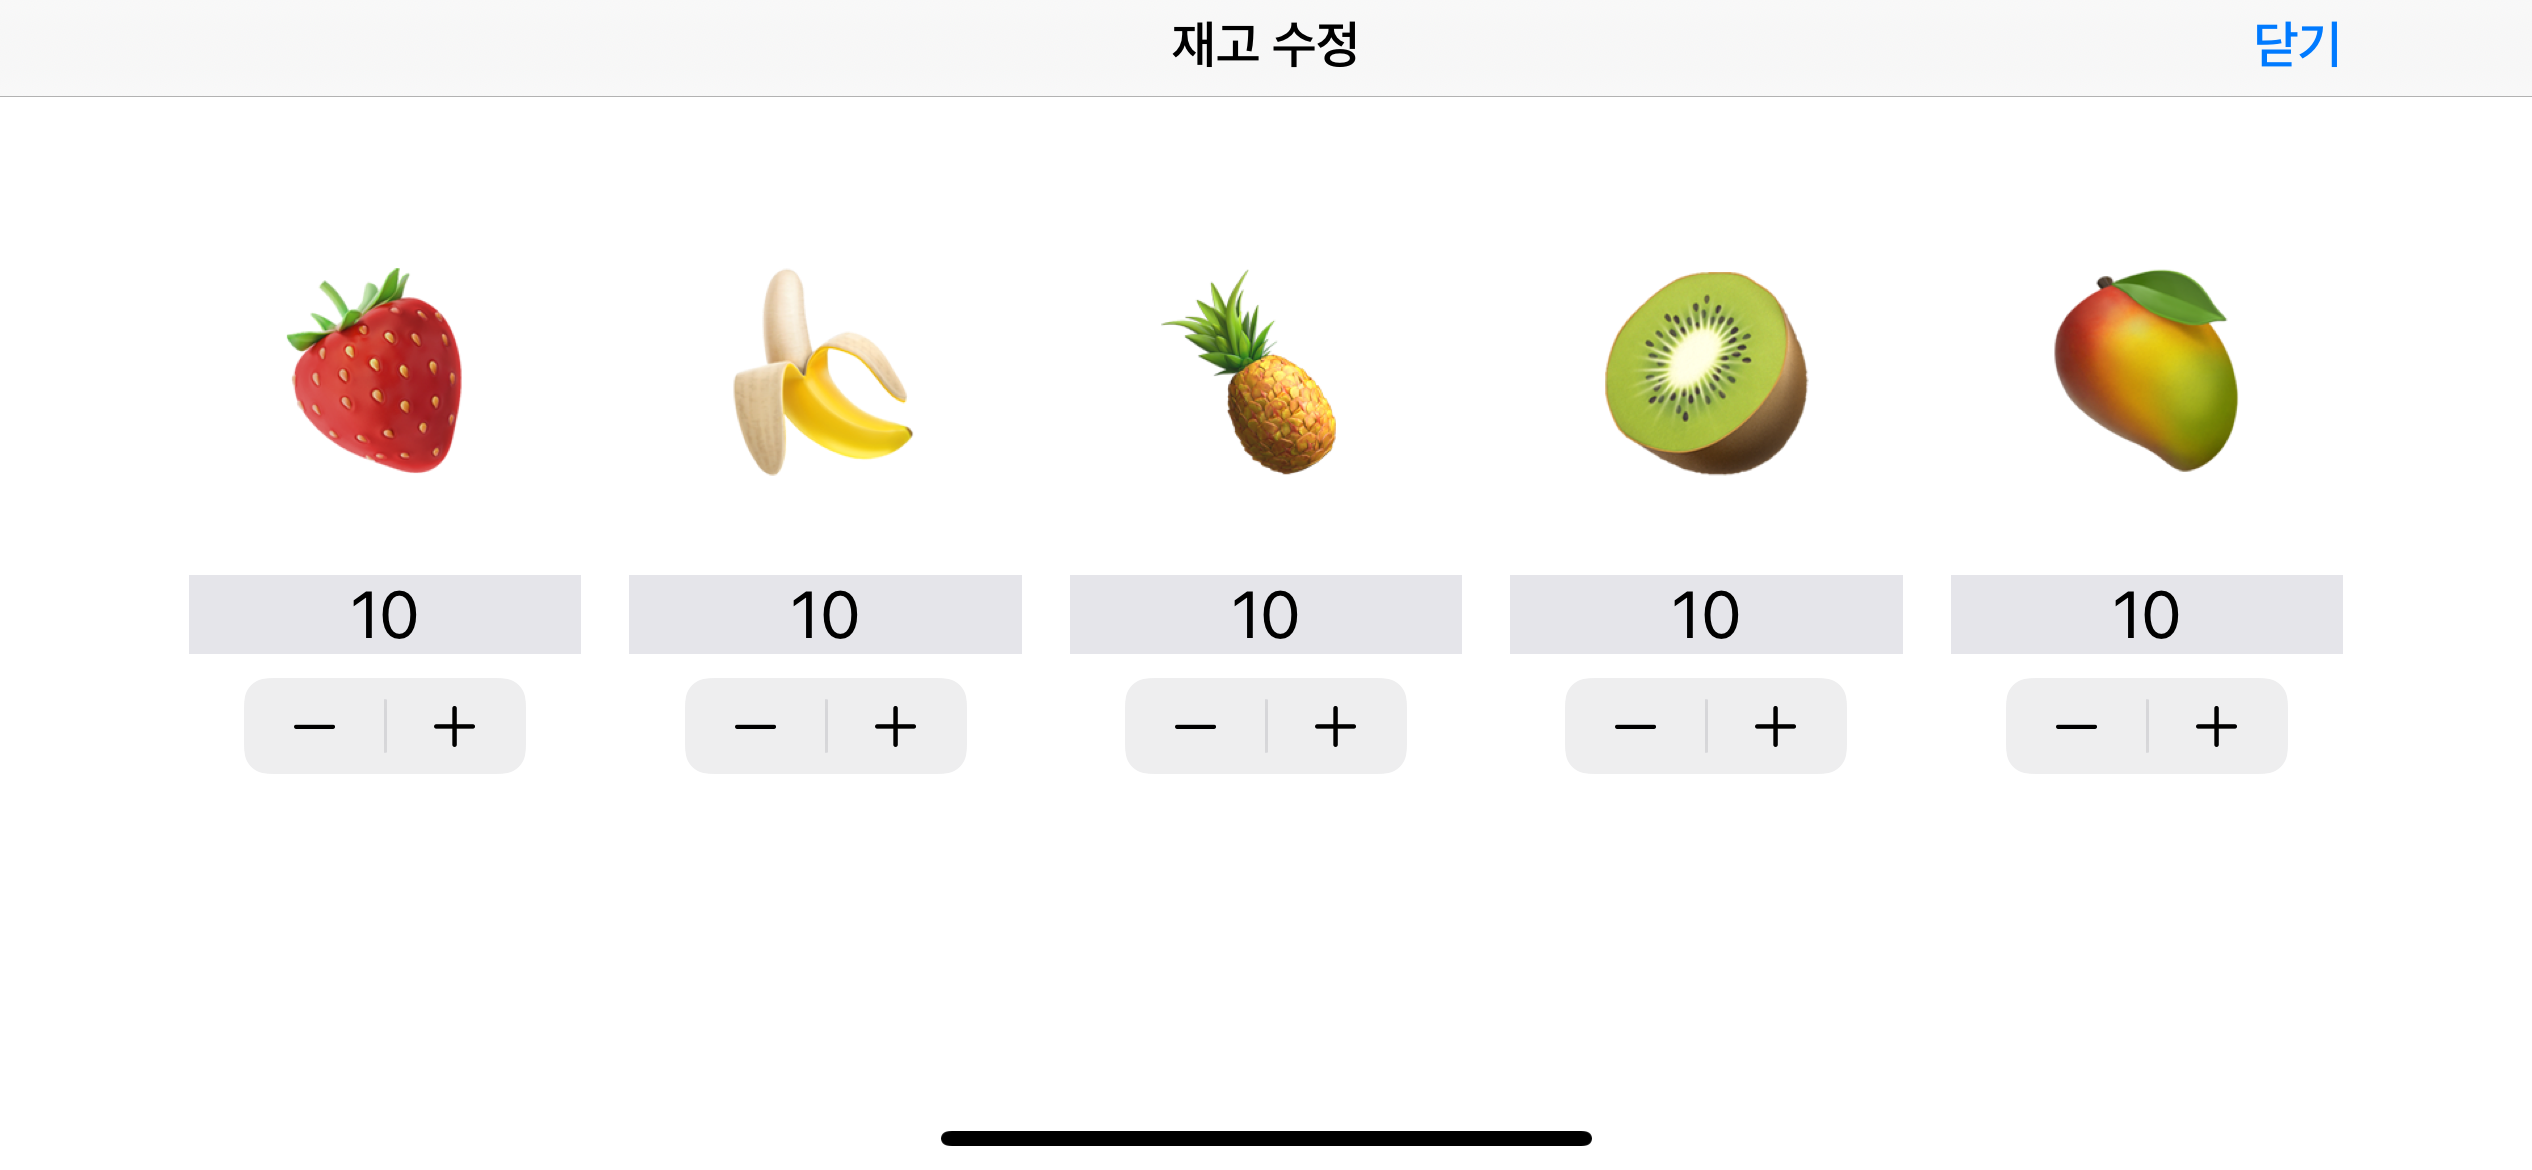
JuiceMaker프로젝트에서 JuiceMaekrViewController에서 재고수정을 누르면 StockManagerViewController를 모달로 뛰어주는 것이 사용자 경험을 고려했을 때 자연스럽고, Navigation Controller의 depth를 가지지않아도 된다고 판단했다. 그래서 기존에 StockManagerViewController가 NavigationController에 embeded되어있었지만, 그 관계를 끊어주고, 직접 코드로 NavigationBar를 구현해주었다.
그런데 오늘 코드리뷰를 받으며 Navigation방식으로 이동만하며 Navigation Bar를 커스터마이징 하는 방법이 있다는걸 새롭게 알았다.
1.NavigationController로 push
navigationController?.pushViewController(stockManagerViewController, animated: true)navigationController를 이용하여 화면전환을 하기 때문에, StockManagerViewController에는 자동적으로 Navigation Bar가 생성된다.

뒤로가기 버튼이 자동으로 생성된 Navigation Bar가 생성된다.
2. 전환된 화면의 Controller에서 NavigationItem을 설정
navigationItem이란 ViewController가 NavigationController로 푸시되었을 때 생기는 UINavigationItem 의 유니크한 인스턴스이다.
그래서 navigationItem 에 인스턴스 프로퍼티를 설정해줌으로써 Navigation Bar를 커스터마이징 할 수 있다.
let cancel = UIBarButtonItem(title: "닫기", style: .done, target: self, action: #selector(dismissStockManagerViewController))
navigationItem.rightBarButtonItem = cancel
navigationItem.title = "재고 수정"
navigationItem.hidesBackButton = true
selector의 메서드에서도 navigationController를 pop해서 이전 화면으로 전환되도록 구현한다.
private func dismissStockManagerViewController() {
navigationController?.popViewController(animated: true)
}
📡 NotificationCenter.default.post 의 object와 userInfo
Instance Method
post(name:object:userInfo:)
Creates a notification with a given name, sender, and information and posts it to the notification center.func post(name aName: NSNotification.Name, object anObject: Any?, userInfo aUserInfo: [AnyHashable : Any]? = nil)
1. object
The object posting the notification.
notification을 보내는 object.
주로 발송자 객체를 보내는데 사용된다고 한다. 이는 addObserver에서 object를 지정해줄 시 빛을 발한다.
 func addObserver(_ observer: Any,
        selector aSelector: Selector,
            name aName: NSNotification.Name?,
          object anObject: Any?)
anObject (= notifiaction 발송자)
The object that sends notifications to the observer. Specify a notification sender to deliver only notifications from this sender.
object, 발송자를 지정해주면, 해당 발송자로부터 온 notifiation만 받는다.
When nil, the notification center doesn’t use sender names as criteria for delivery.
nil 일 경우, 모든 object의 발송된 노티를 받는다.
2. userInfo
A user info dictionary with optional information about the notification.
notification과 관련된 user info의 딕셔너리 정보를 post할 때 넘겨줄 수 있다.
