What I gonna to do
회사 홈페이지의 Contact 페이지를 구현하기 위해서 FastAPI에서 이메일을 보낼 수 있도록 설정하려해요. 그 전에 바닐라한 Python 라이브러리인
Keywords
- GMail SMTP
- POP/IMAP
- Google 2-Stop Verification
- Google App Password
GMail SMTP
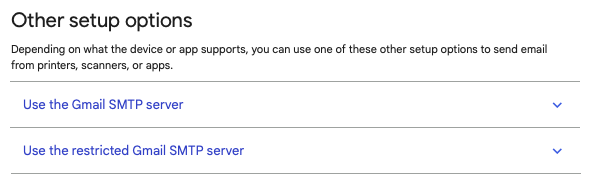
GMail SMTP 서버를 이용하는 건 크게 2가지 옵션이 있어요.
Option 1. Google Workspace SMTP relay service - Google Workspace user only
Option 2. GMail SMTP server - Ok with just google e-mail
저희는 Google Workspace 서비스를 이용하고 있지 않기 때문에 Option 2 로 설정을 해보려 해요.
Option 1. Skip (cause I don't use Google Workspace...)
Option 2. Google SMTP Server
Google Help - Send email from a printer, scanner, or app
페이지의 Use the Gmail SMTP server를 이용해 이메일을 보내는 Vanila한 Python 코드를 작성해 볼게요.
Requirements
Google SMTP Server를 이용해서 이메일을 보내는 법을 알아보기 위해서 Google Help의 글을 참고해보겠습니다.
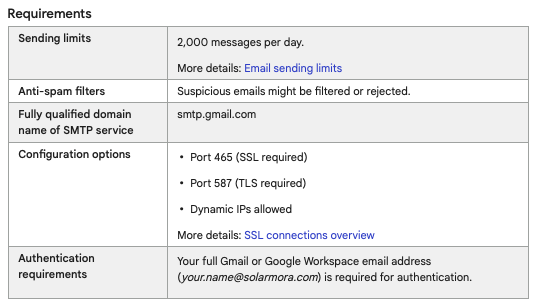
Sending limits - 2,000 messages per day.
... Annotation From the Requirements in Google Help Page
라고 하지만, 하루에 만 건 이상 request 가 일어날 일은 없을 것 같으니 안심이에요.
Code
"""
send_email.py
Author: yeen0606@gmail.com
"""
import smtplib, ssl

SMTP_SSL_PORT=465 # SSL connection
SMTP_SERVER="smtp.gmail.com"

SENDER_EMAIL="your-email@gmail.com"
SENDER_PASSWORD="your_password"

RECEIVER_EMAIL="yejin.jin@wellxecon.com"

context = ssl.create_default_context()

with smtplib.SMTP_SSL(SMTP_SERVER, SMTP_SSL_PORT, context=context) as server:
    server.login(SENDER_EMAIL, SENDER_PASSWORD)
    server.sendmail(SENDER_EMAIL, RECEIVER_EMAIL, "sending SMTP email test")
위 코드를 실행시키면...!
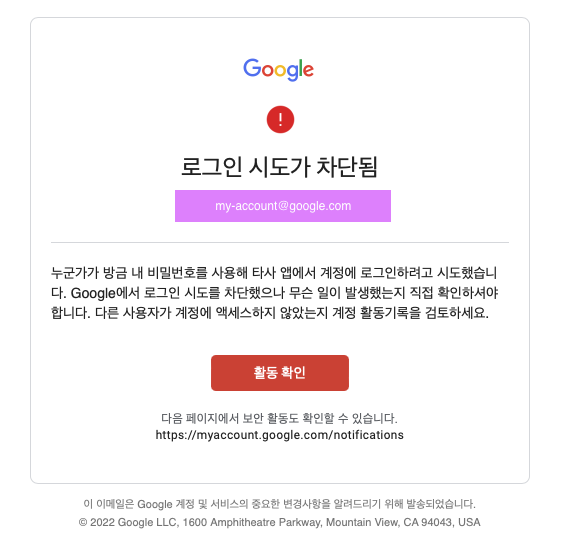
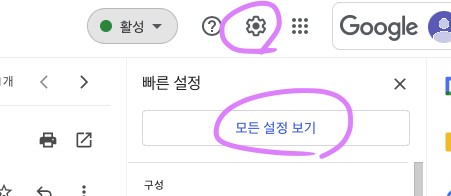
이메일로 경고장이 날아오는데요, 이는 POP/IMAP 설정을 해주지 않았기 때문입니다. SMTP를 설정하고 싶은 계정으로 로그인 후 Gmail로 들어가신 후에 우측 상단 톱니바퀴 버튼 > 모든 설정 보기 를 눌러 설정으로 들어가요.
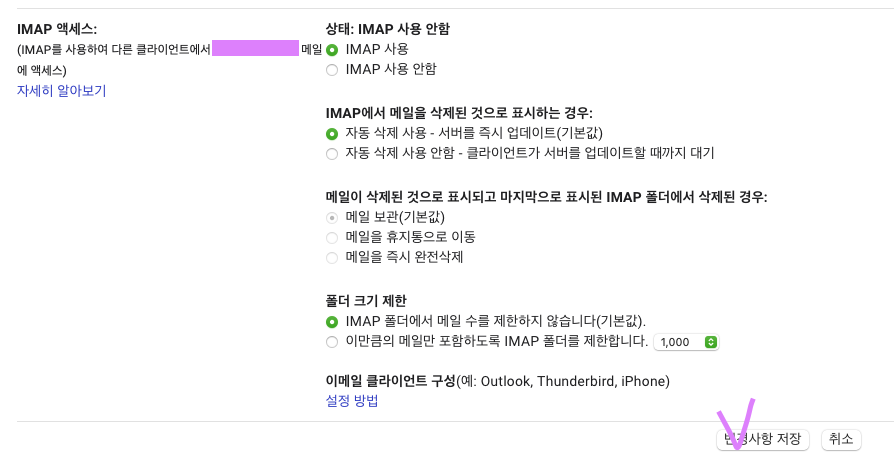
다음 전달 및 POP/IMAP 탭에서 IMAP 사용에 체크해주세요.
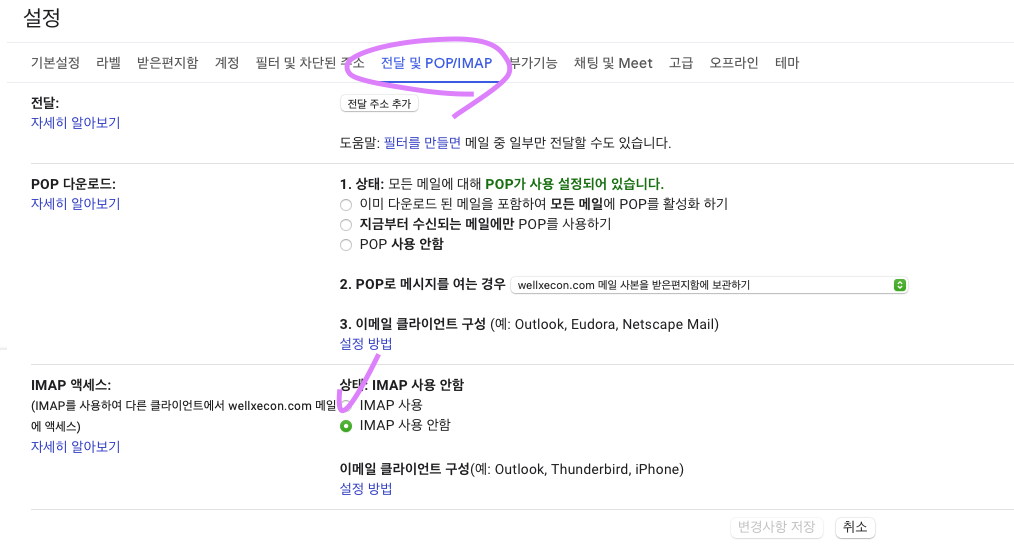
나머지 값은 defualt로 놓은 채 변경사항을 저장해요.
설정을 완료한 후 다시 이메일을 보냈으나...! 실패!
smtplib.SMTPAuthenticationError: (535, b'5.7.8 Username and Password not accepted. Learn more at\n5.7.8 https://support.google.com/mail/?p=BadCredentials b22-20020a17090a10d600b001b8e6841ca5sm15298479pje.51 - gsmtp')Error 메세지가 제공한 문서를 타고 타고 알아보니 해결법에는 두 가지 옵션이 있었는데요.
Option 1. App Password 를 이용한 로그인 방법
Option 2. allow less secure apps to access your account
App password에는 2-Step Verification이 필요해서 Google Account에서 설정해주어야 해요.
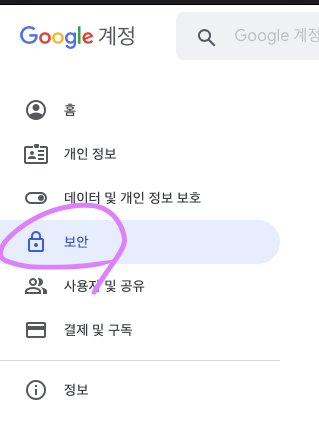
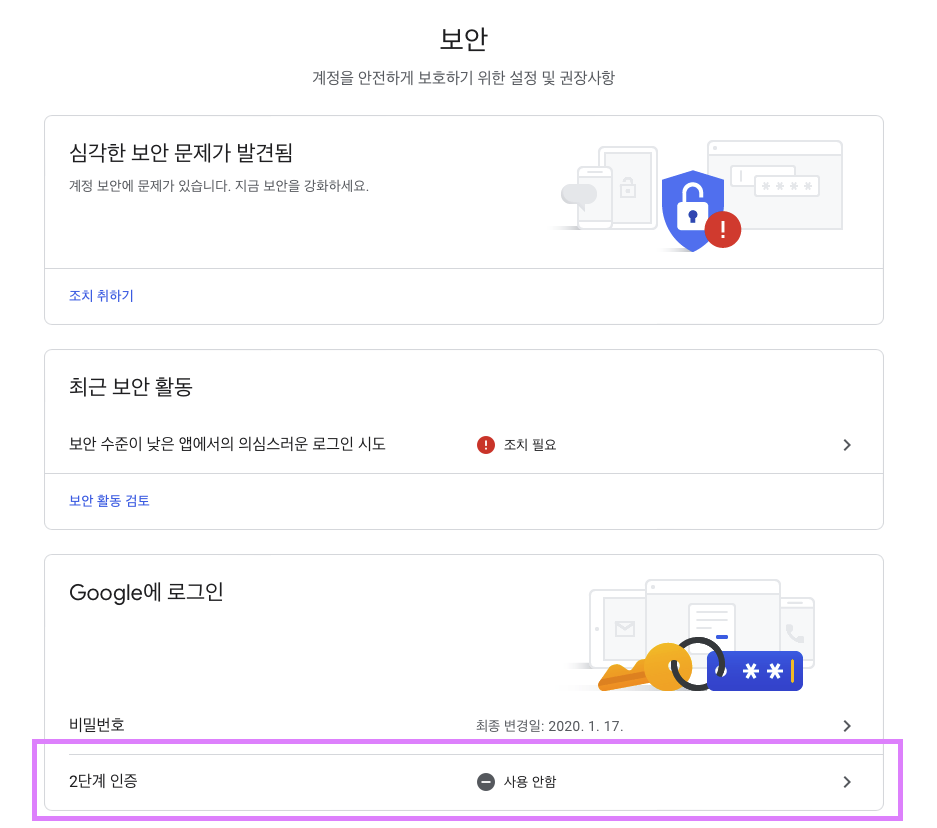
Google Account의 보안(Security) 탭에서 2단계 인증(2-Stop Verification)으로 들어갑니다.
아고 캡쳐를 못했는데, 그 다음은 하라는 대로 따라해주세요.
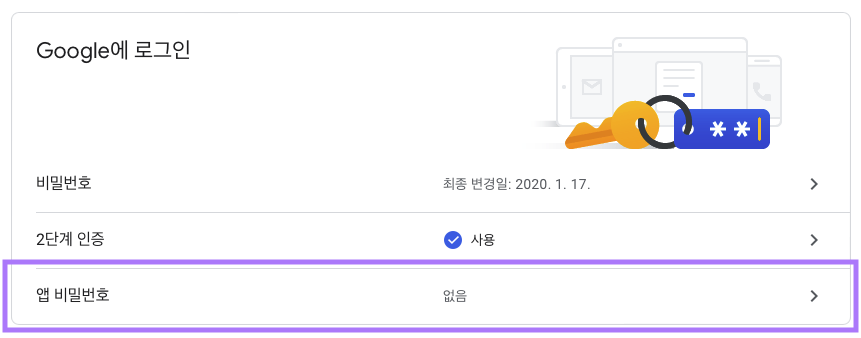
완료되면 아래 이미지와 같이 떠요.

그럼 이제 App passwords를 설정 할 차례인데요.
2단계 인증을 설정한 보안탭으로 다시 돌아가서 보면, 앱 비밀번호 탭이 추가된 걸 확인할 수 있어요.
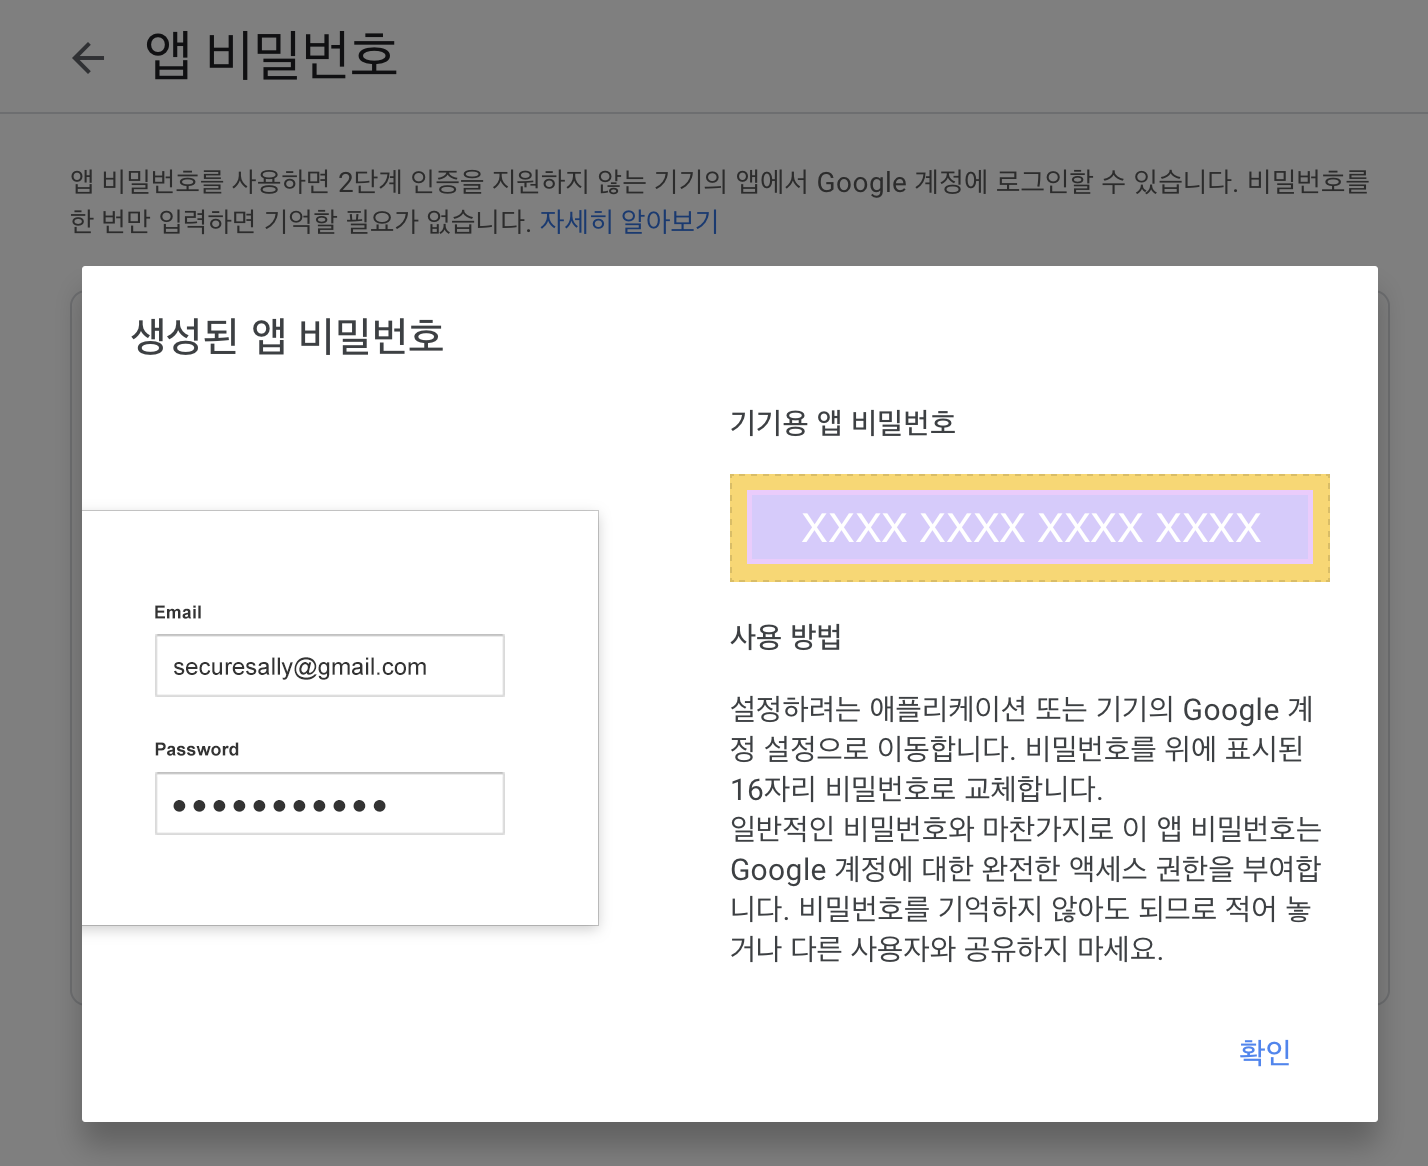
앱 종류는 메일을 선택한 후 기기선택은 제가 원하는 이름으로 적기위해 기타를 클릭합니다.

16자리의 App Password 가 생성돼요. 앱 비밀번호를 다른 곳에 적기 전에 확인을 누르면 다시 발급받아야 해요...! 꼭 앱 비밀번호를 메모장에 붙여놓은 후 확인을 눌러주세요.
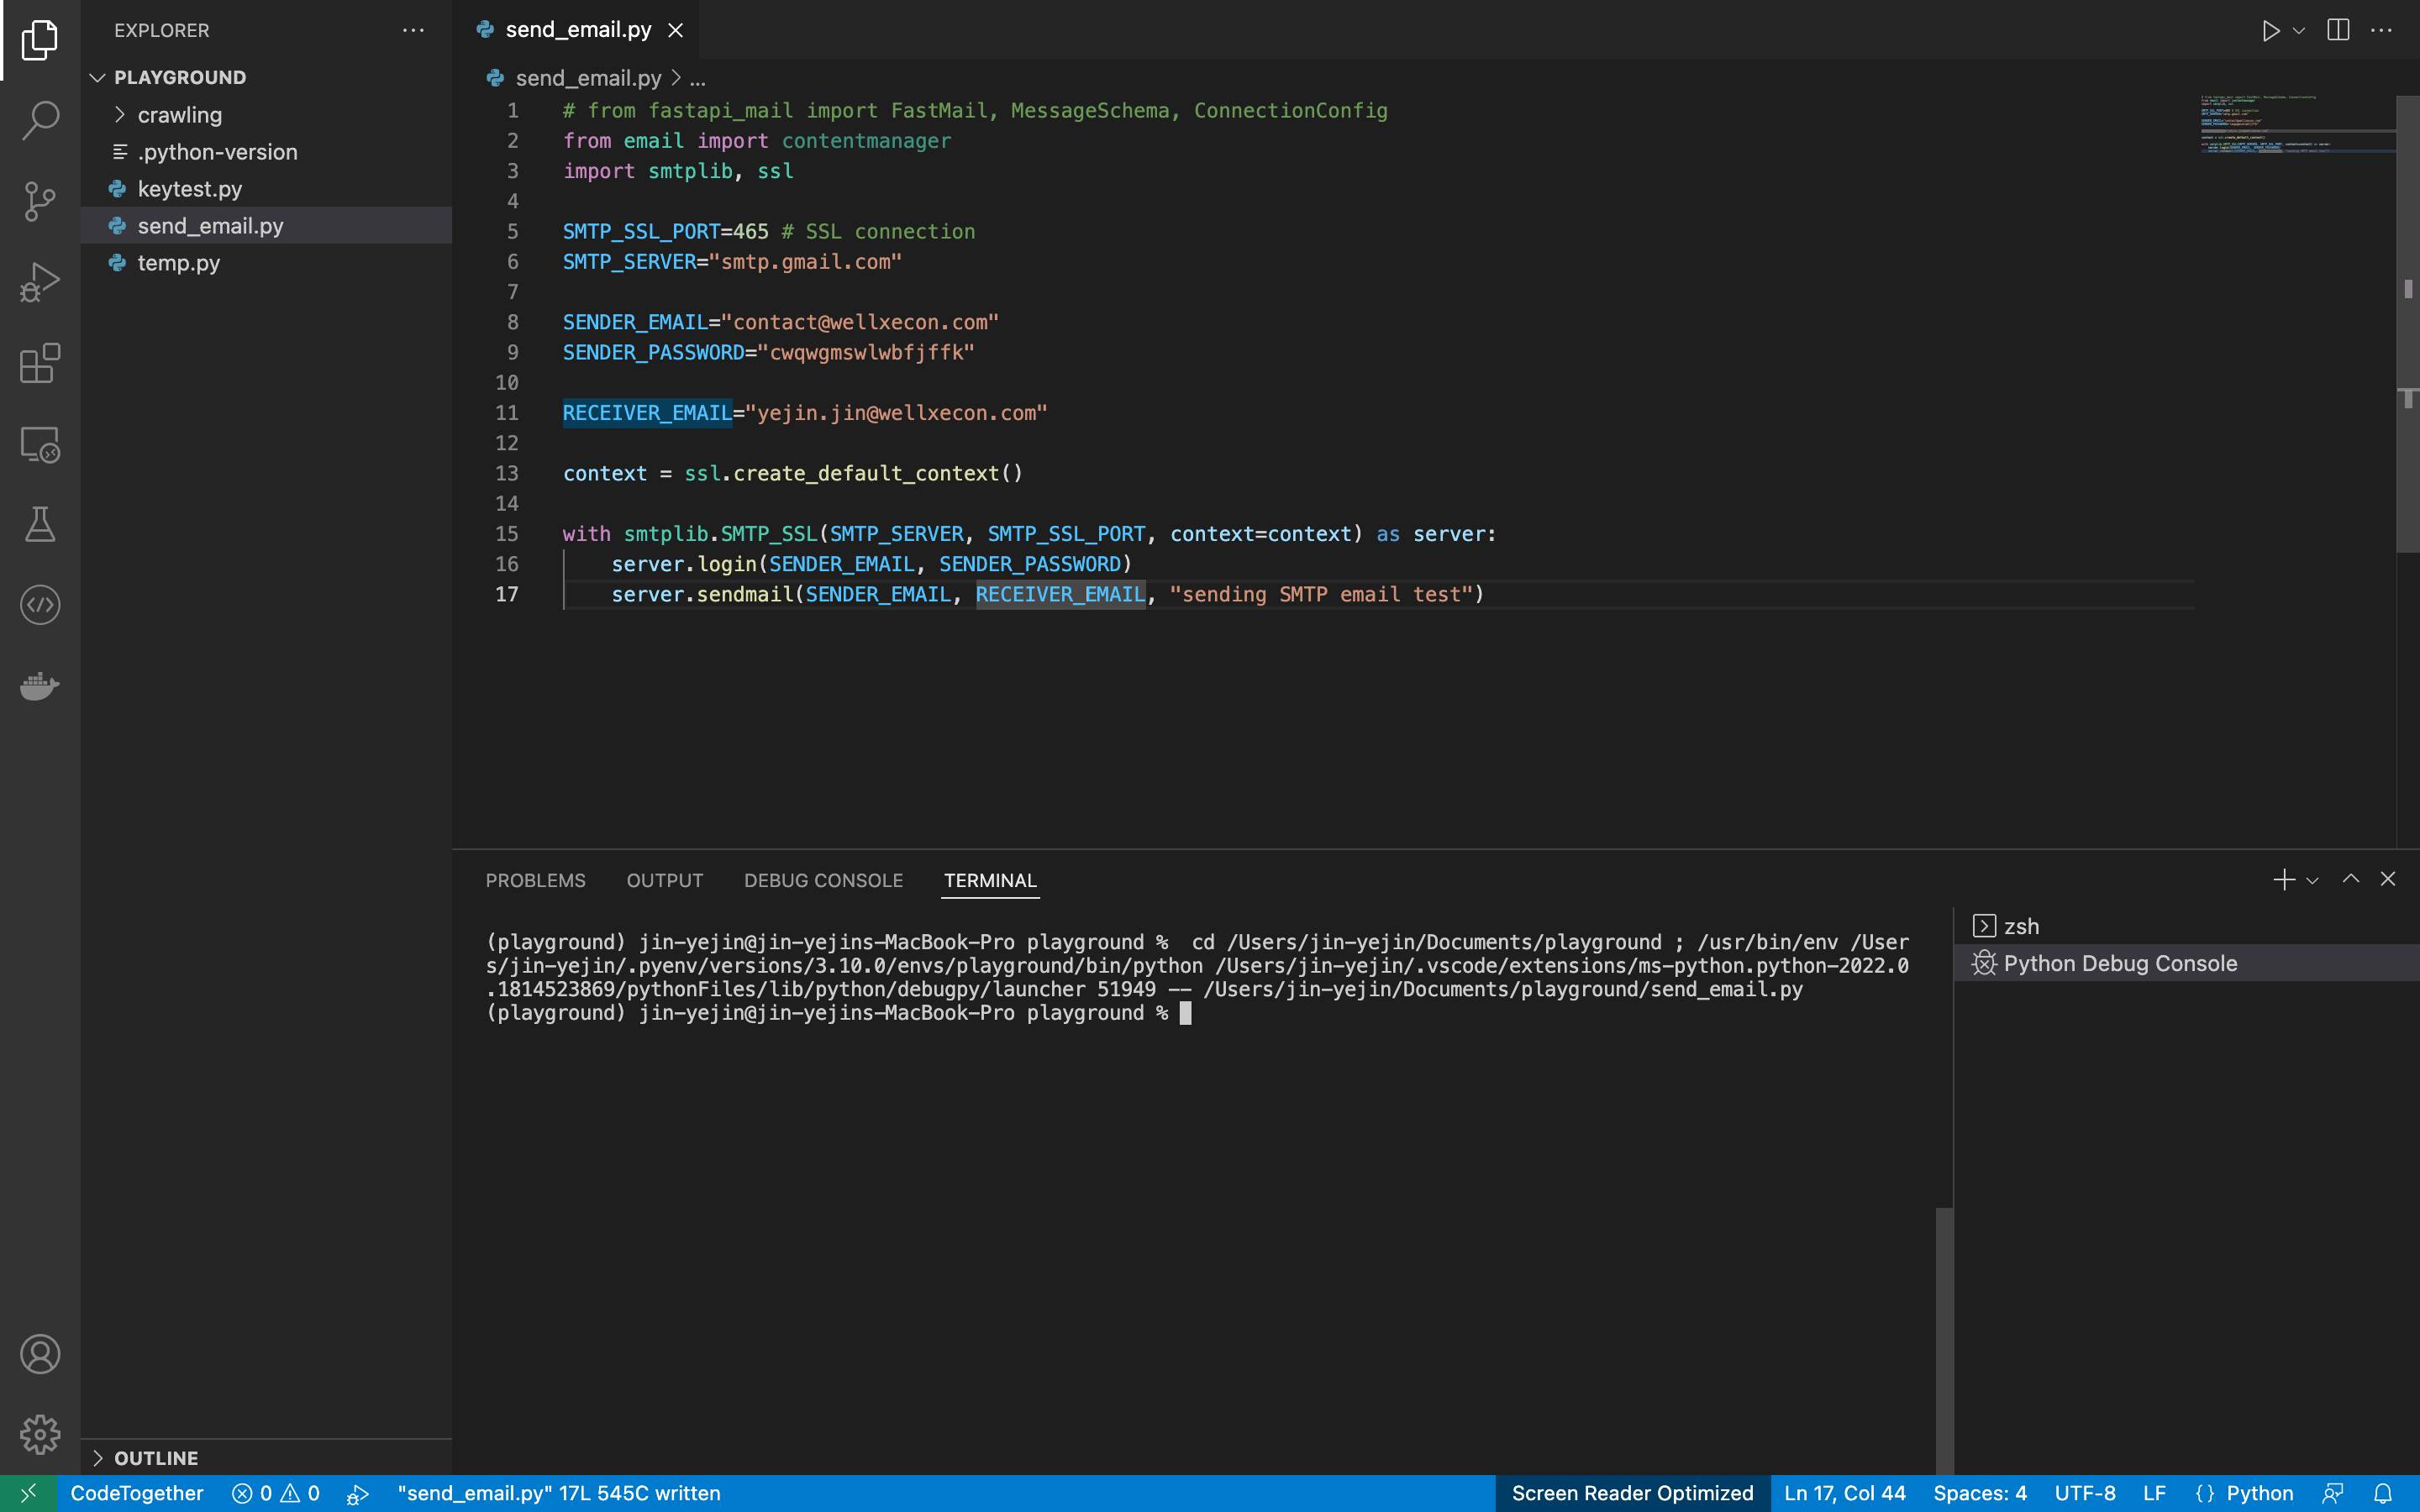
이제 다시 일전에 작성한 send_email.py 코드의 SENDER_PASSWORD 변수를 위에서 발급받은 App Password로 변경한 뒤 실행하면!
"""
send_email.py
"""
# ...
SENDER_PASSWORD="your_app_password(16 digits)"
# ...
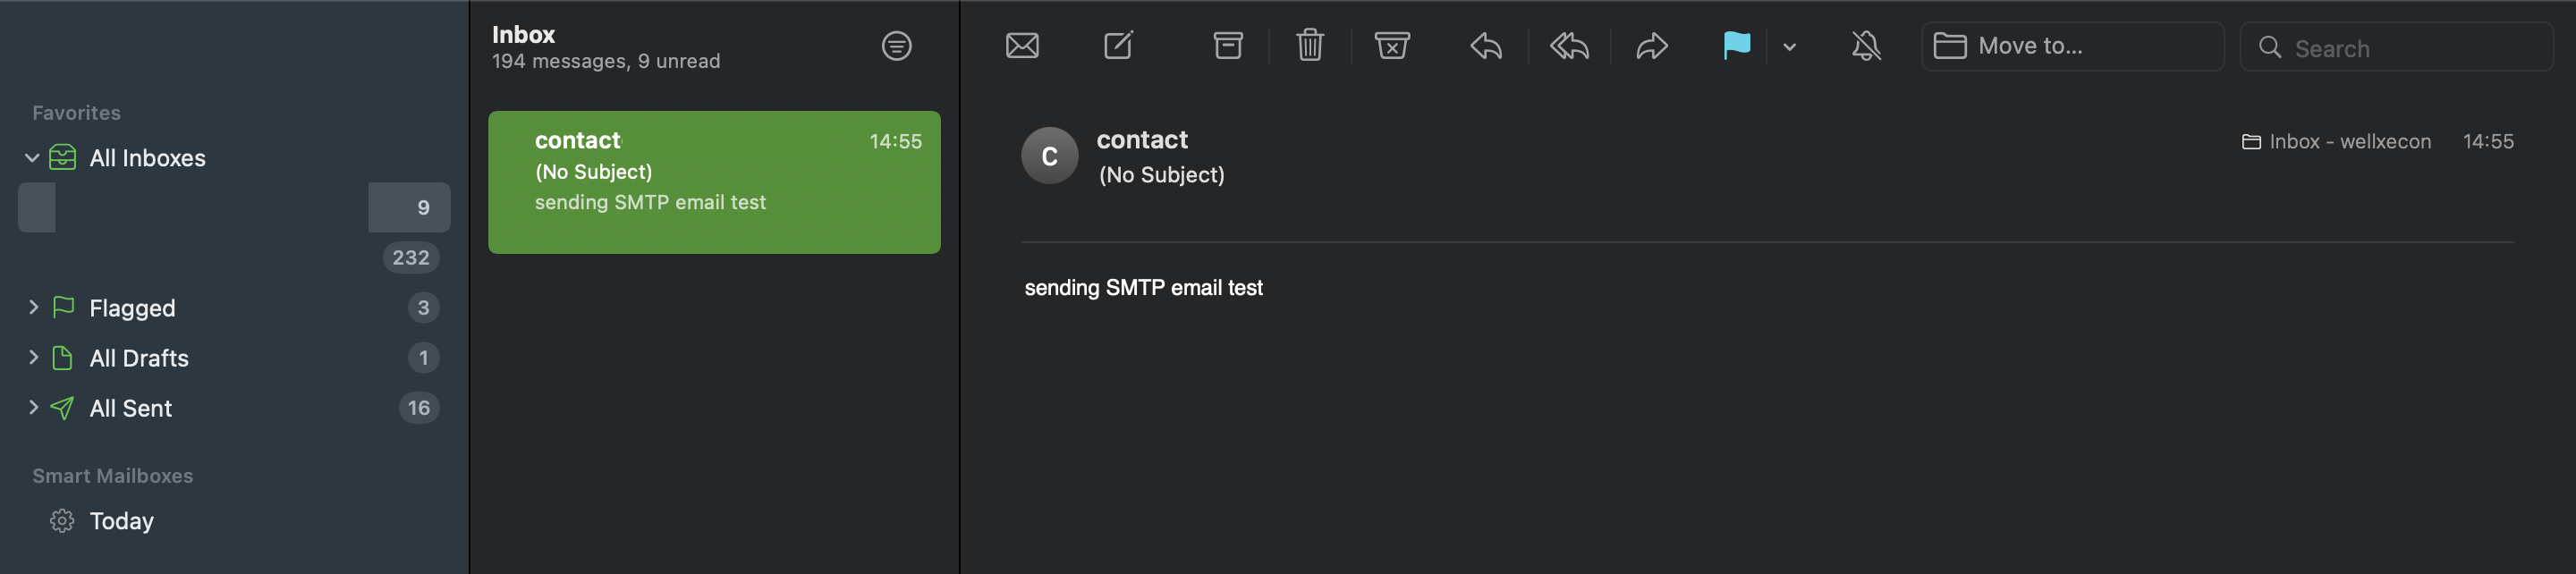
짠! 이메일이 도착했어요 😆👍
다음은 Google reCAPTCHA를 적용해서 이메일을 보내보도록 하겠습니다.
References
Google Admin Help - Send email from a printer, scanner, or app
Python smtplib Documentation - SMTP protocol client
Google App passwords