RelativeLayout
- 부모 컨테이너나 다른 뷰와의 상대적 위치로 화면을 구성
RelativeLayout의 속성
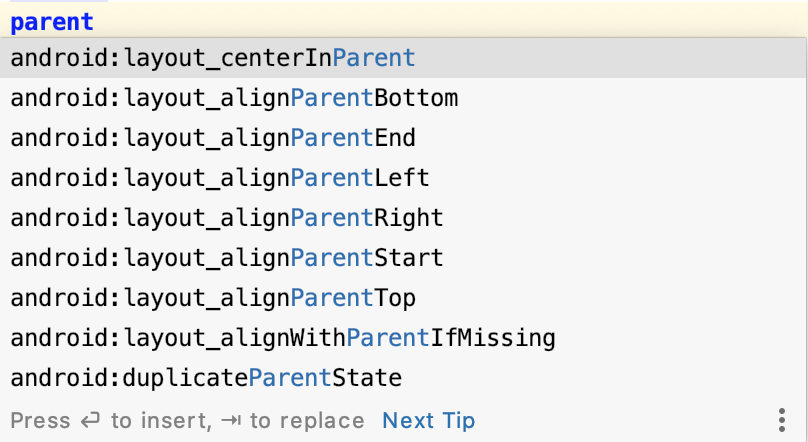
- 모두 외울 필요는 없다.. 자동완성이 있기 때문~
그래도 한 번씩은 사용해보기!!
📎 부모 컨테이너를 기준으로 한 속성

가운데 정렬

📎특정 view를 기준으로 한 속성
- view를 구분해주기 위해 id가 있어야한다.
- ❗특정 view에 바로 붙이는 것이 아니라, 끝선에 맞춰주는 것이다.
특정 뷰의 왼쪽, 오른쪽에 붙이고 싶으면

특정 뷰의 위쪽에 붙이고 싶으면

특정 뷰의 아래쪽에 붙이고 싶으면

<?xml version="1.0" encoding="utf-8"?>
<RelativeLayout
xmlns:android="http://schemas.android.com/apk/res/android"
android:layout_width="match_parent"
android:layout_height="match_parent">
<TextView
android:id="@+id/view1"
android:layout_width="50dp"
android:layout_height="50dp"
android:background="#f23204"
android:layout_centerInParent="true"/>
<TextView
android:id="@+id/view2"
android:layout_width="50dp"
android:layout_height="50dp"
android:background="#cddc39"
android:layout_toRightOf="@+id/view1"/>
<TextView
android:id="@+id/view3"
android:layout_width="50dp"
android:layout_height="50dp"
android:background="#cddc39"
android:layout_above="@+id/view1"/>
<TextView
android:id="@+id/view4"
android:layout_width="50dp"
android:layout_height="50dp"
android:background="#cddc39"
android:layout_below="@+id/view1"/>
<TextView
android:id="@+id/view5"
android:layout_width="50dp"
android:layout_height="50dp"
android:background="#cddc39"
android:layout_toStartOf="@+id/view1"/>
</RelativeLayout>
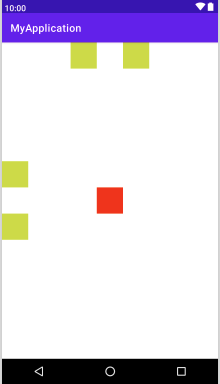
- 예시 코드 결과


