1. 들어가며
Node.js 기반으로 서버를 개발한다는 것은 자유도가 높으며 무한한 확장 가능성이 존재한다. Express.js, Nest.js, Koa.js 등과 같이 Node.js와 호환 될 수 있는 Server-side Framework 들이 무수히 많기 때문이다.
따라서, 노드 개발자는 npm 에 등록 되어있는 노드 패키지(라이브러리 or 프레임워크)에 대한 늘 주기적인 관심을 기울어야 한다. 또한 국내뿐 아니라 해외 현업 개발 시장에서 어떤 것들이 활발히 사용되는지, 그리고 이들이 왜 인기를 끄는지 이해할 필요가 있다. 세계적인 동향은 React conference, GraphQL conference, JavaScript conference 등과 같은 컨퍼런스 발표영상을 보면 도움 된다.
2. HTTP API server without Express.js
프레임워크 Express 가 없다면 어떻게 웹 서버 프로그램을 개발해야 할까. 예시 westagram-backend 명칭의 directory를 생성하고, 해당 디렉토리 내부에서 npm init -y 명령어를 입력하여 프로젝트를 시작한다.
$ mkdir westagram-backend
$ cd westagram-backend
$ npm init -y
westagram-backend 디렉토리 내부에 아래와 같은 파일(serverWithoutExpress.js)을 생성한다.
// serverWithoutExpress.js

const http = require('http')

const server = http.createServer((req, res) => {
  console.log('request received')

  res.setHeader('Content-Type', 'application/json')
  res.end(JSON.stringify({ message: "Welcome to http server without express!" }))
});

server.listen(3000, "127.0.0.1", () => {
  console.log('server is running on PORT 3000!')
})
- Node.js 내장
http모듈을 가져와서 아래에서 사용할 수 있도록 변수에 담는다. http.createServer는 라는 메소드는 인자로 또 다른 함수(콜백)를 받는다. 인자로 받은 함수의 첫번째 인자는 http request 의 정보가 담겨있는 객체, 두번째 인자는 http response 객체다. 서버에 요청이 들어오면 인자로 받은 함수가 실행된다.- 요청에 대한 response header 를
application/json형태로 세팅한다. res.end함수를 통해 요청에 대한 응답을 마무리 한다. 이 함수의 인자로 넘겨주는 값이 클라이언트가 받는 응답이 된다.server는 앞서 생성한 서버를 의미하며, 이 서버 객체의listen함수는 인자로 포트 번호와 콜백함수를 받는다. 포트번호로 서버를 연다는 의미이며, 서버가 실행될 때의 로직을 콜백함수 안에서 처리할 수 있다. 대게 서버가 켜져있다는 로그 메시지를 남긴다.- Port 번호에 해당하는
3000은 Express 프레임워크에서 공식적으로 지정한 default Port 번호다. 하지만 늘 고정된 값은 아니며3000이외의 번호로도 언제든지 서버를 열 수 있다.
$ node serverWithoutExpress.js위의 명령어 이후 아래와 같은 결과화면이 뜬다면 성공적으로 첫 노드 서버를 개설한 것이다.
$ node serverWithoutExpress.js
server is running on PORT 3000!
서버를 열었으니 요청을 보내고 응답을 받아보자. 웹 브라우저를 하나 띄운 후, 주소창에 [localhost:3000](http://localhost:8080/) 이라고 입력하면 서버를 확인할 수 있다.
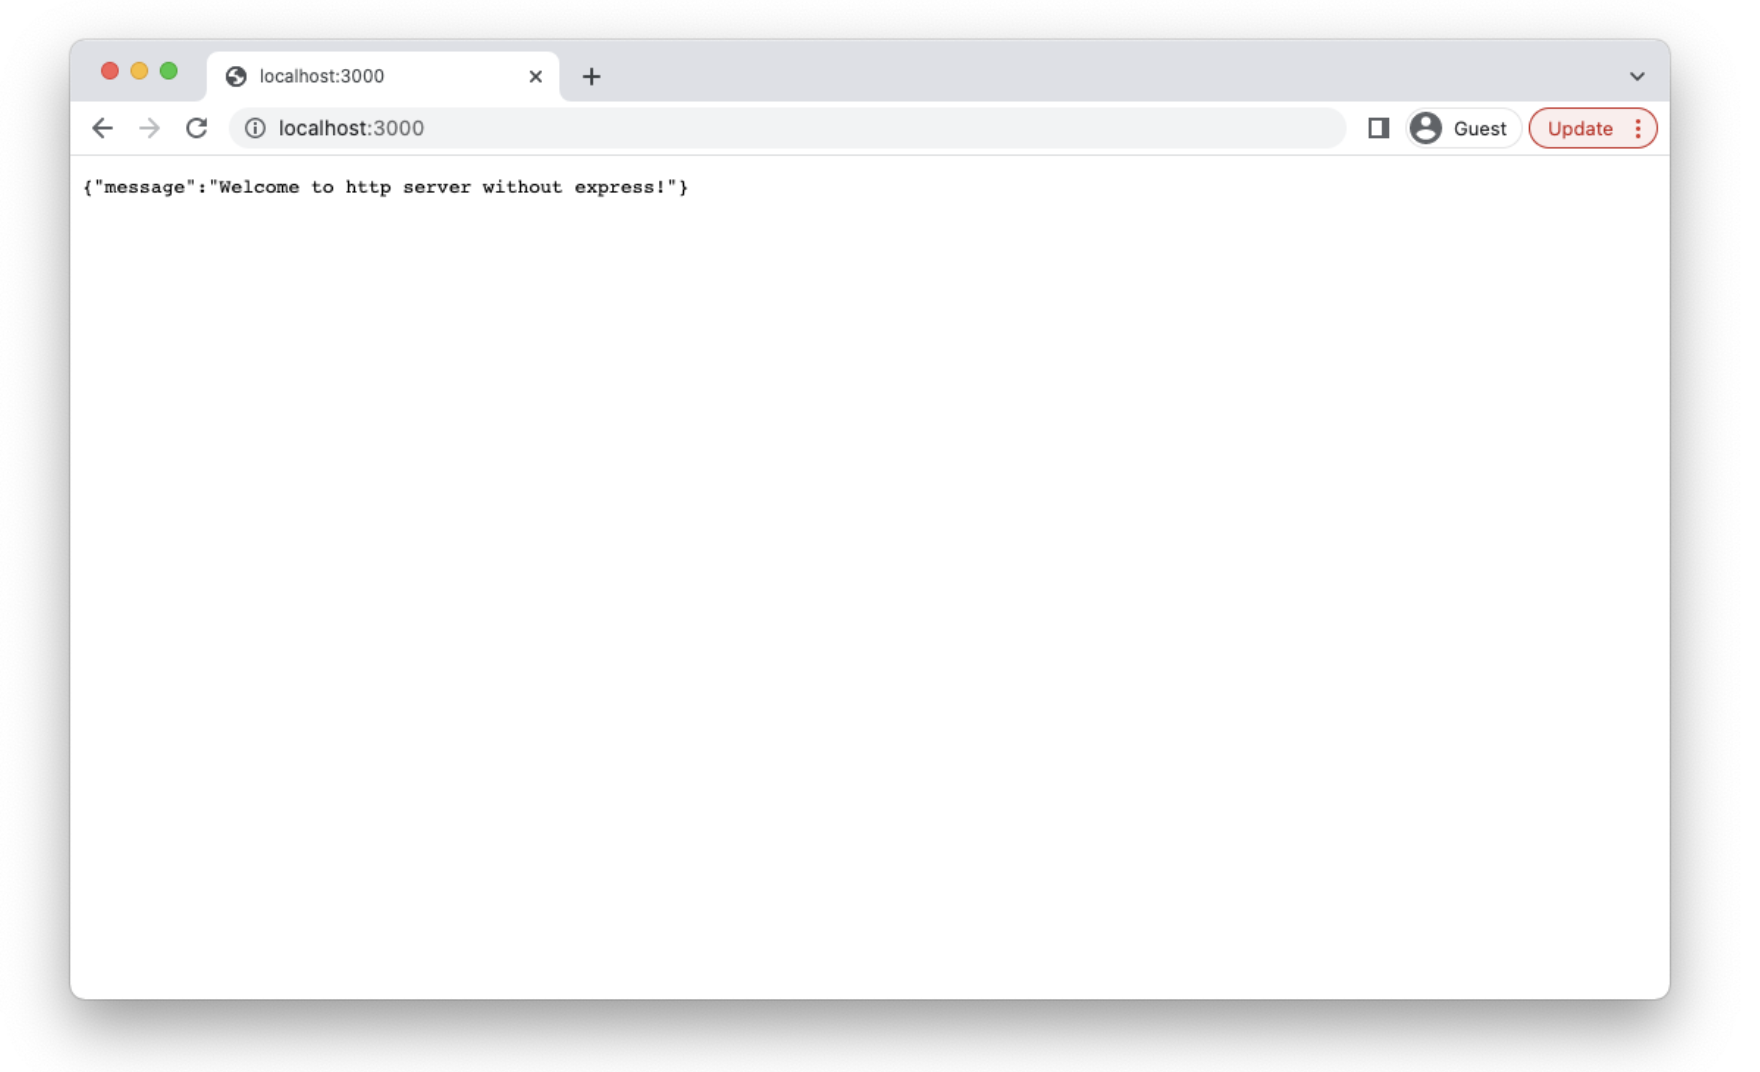
[그림1] 웹 브라우저에서 확인한 서버 동작 성공 이미지
브라우저 외에도 다양한 클라이언트 툴을 사용하여 http server에 요청을 보낼 수 있다. 보통 개발 환경에서 httpie 혹은 postman을 활용한다. httpie를 활용해 http server로 요청을 보내본다.
# httpie 라는 터미널 전용 http client 프로그램이 설치되어있어야 한다.
# 각각의 환경에 맞게 아래 명령어를 통해서 httpie 를 설치.

# mac 환경
$ brew install httpie
# ubuntu 환경
$ apt-get install httpie
# or
$ sudo apt-get install httpie

# 성공적으로 설치가 끝난 후 아래 명령어를 터미널 창에서 입력.
http localhost:3000
아래와 같은 응답이 뜬다면 여러분의 서버는 성공적으로 작동하고 있습니다.

[그림2] 터미널 CLI 명령어를 이용한 http 통신성공 화면
서버를 만들고 response 요청을 받고 응답 또한 받을 수 있으니 프레임워크의 중요성을 잊을 수 있다. 하지만 어플리케이션(이하 앱)은 점점 규모가 커질 것이다. 유저를 회원가입도 시켜야하고, 로그인도 처리해야 하며, 프론트엔드 측에서 요구하는 다양한 정보도 응답으로 보내줘야 한다. 이렇게 해당 자원에 대해 다른 함수(로직)을 실행하도록 하는 것을 Routing(라우팅) 이라고 한다.
Express와 같은 웹 프레임워크를 적용하지 않은 앱 코드가 복잡도는 아래 예시를 통해서 확인할 수 있다. 먼저 serverWithoutExpress.js 파일에 회원임을 나타내는 ‘users’와 게시물을 의미하는 ‘posts’라는 변수에 서버 통신시 사용할 데이터를 담았다. 데이터베이스와 통신하지 않는 상태이기에 fake database를 생성한 셈이다.
// serverWithoutExpress.js

const users = [
  {
    id: 1,
    name: "Rebekah Johnson",
    email: "Glover12345@gmail.com",
    password: "123qwe",
  },
  {
    id: 2,
    name: "Fabian Predovic",
    email: "Connell29@gmail.com",
    password: "password",
  },
];

const posts = [
  {
    id: 1,
    title: "간단한 HTTP API 개발 시작!",
    content: "Node.js에 내장되어 있는 http 모듈을 사용해서 HTTP server를 구현.",
    userId: 1,
  },
  {
    id: 2,
    title: "HTTP의 특성",
    content: "Request/Response와 Stateless!!",
    userId: 1,
  },
];
이 후, request 객체에서 url과 method 에 따라 각각의 경우를 조건문으로 분기하여 라우팅을 진행한다. 이 때 앱에서 의도한 다양한 로직(회원가입, 게시물 확인 등)을 처리해야 한다. ‘라우팅’은 아래의 내용과 같이 http method 별로 GET, POST, PUT, DELETE 등의 내용을 적절한 로직으로 처리한다. 이 때 Express를 사용하지 않고 순수 node.js 에 기반하여 코드를 작성을 완료하게 되면, 다양한 로직들이 if-elif 의 연쇄 중첩 적용으로 이루어질 수 밖에 없다. 구조 자체가 불필요하게 복잡해지는 것이다.
// serverWithoutExpress.js

const http = require("http");
const server = http.createServer((request, response) => {
  const { url, method } = request;

  if (method === "GET") {
    if (url === "/ping") {
      response.writeHead(200, { "Content-Type": "application/json" });
      response.end(JSON.stringify({ message: "pong" }));
    } else if (url === "/users") {
      response.writeHead(200, { "Content-Type": "application/json" });
      response.end(JSON.stringify({ users: users }));
    } else if (url.startsWith("/users")) {
      const userId = parseInt(url.split("/")[2]);
      const user = users.find((user) => user.id === userId);

      response.writeHead(200, { "Content-Type": "application/json" });
      response.end(JSON.stringify({ user: user }));
    } else if (url === "/posts") {
      response.writeHead(200, { "Content-Type": "application/json" });
      response.end(JSON.stringify({ posts: posts }));
    }
  } else if (method === "POST") {
    if (url === "/users") {
      let body = "";

      request.on("data", (data) => {
        body += data;
      });
      request.on("end", () => {
        const user = JSON.parse(body);

        users.push({
          id: user.id,
          name: user.name,
          email: user.email,
          password: user.password,
        });

        response.end("ok");
      });
    } else if (url === "/posts") {
      let body = "";

      request.on("data", (data) => {
        body += data;
      });
      request.on("end", () => {
        const post = JSON.parse(body);

        posts.push({
          id: post.id,
          name: post.title,
          content: post.content,
        });

        response.end("ok");
      });
    }
  } else if (method === "PATCH") {
    if (url.startsWith("/posts")) {
      let body = "";

      request.on("data", (data) => {
        body += data;
      });

      request.on("end", () => {
        const inputPost = JSON.parse(body);
        const postId = parseInt(url.split("/")[2]);
        const post = posts.find((post) => post.id === postId)

        post.title = inputPost.title;
        post.content = inputPost.content;

        response.writeHead(200, { "Content-Type": "application/json" });
        response.end(
          JSON.stringify({
            id: post.id,
            title: post.title,
            content: post.content,
          })
        );
      });
    }
  } else if (method === "DELETE") {
    if (url.startsWith("/posts")) {
      const postId = parseInt(url.split("/")[2]);
      const post = posts.find((post) => post.id === postId);
      delete post;

      response.writeHead(204, { "Content-Type": "application/json" });
      response.end(
        JSON.stringify({
          message: "NO_CONTENT",
        })
      );
    }
  }
});

server.listen(3000, "127.0.0.1", () {
  console.log("Listening to requests on port 3000");
});
이는 앱의 규모가 커짐에 따라 수행해야하는 분기처리와 소스코드의 양이 배 이상 늘어날 것이다. 또한 서버를 실행하는 함수 속 수많은 조건문과 로직을 모듈화 하는데 있어 불필요한 수고를 들이게 된다. 바로 이러한 불편함을 해소하기 위해서 탄생한 것이 Express와 같은 프레임워크다.
3. Express 적용하기
Express 의 공식사이트에 따르면 다음과 같이 정의되어 있다. (Express공식문서)
” Express is fast, unopinionated, minimalist web framework for node.js.”
” Express는 빠르고 자유롭고 가벼운 웹 프레임 워크이다.”
Express 는 Node 개발자들이 다수 채택하는 프레임워크로서, 앞서 언급한 라우팅 과 로직의 모듈화 를 위해 사용된다. 이는 곧 Express가 개발자로 하여금 더욱더 읽기 쉽고 유연하며 지속가능한 백엔드 앱을 개발할 수 있게끔 돕는 도구 라는 것을 의미한다.
위 if-elif 중첩으로 작성한 엔드포인트를 Express를 적용하여 구현한다면 아래와 같다. serverWithExpress.js 라는 파일은 기본적인 외부의 http 요청을 처리하고, 그에 상응한 비즈니스 로직을 택해 응답한다.
// serverWithExpress.js

const modularizedFunctions = require('./modularizedFunctions.js')
const express = require('express')
const app = express()

app.use(express.json())

//get 요청 처리 라우팅
app.get('/ping', (req, res) => {res.json({ message: '/pong'})})
app.get('/users', modularizedFunctions.getUsers)
app.get('/users/:userId', modularizedFunctions.getUserByUserId)
app.get('/posts', modularizedFunctions.getPosts)

//post 요청 처리 라우팅
app.post('/users', modularizedFunctions.createUser)
app.post('/posts', modularizedFunctions.createPost)

//patch 요청 처리 라우팅
app.patch('/posts/:postId', modularizedFunctions.updatePost)

//delete 요청 처리 라우팅
app.delete('/posts/:postId', modularizedFunctions.deletePost)

app.listen(3000, "127.0.0.1", function() {
  console.log('listening on port 3000')
})
다음은 modularizedFunctions.js 는 기존 소스코드에서는 elif-if의 중첩으로 복잡하게 얽혀있던 소스코드를 별도의 파일에 존재하는 각각의 함수들로 모듈화작업을 진행한 파일이다. 기존 코드와의 차이점은 관할하는 소스코드를 기능별로 구분 지었다는 점이며, 이를 serverWithExpress.js 에서 필요한 요청에 대해서 필요한 비즈니스 로직이 적재적소에 쓰일 수 있게 구성되었다.
// modularizedFunctions.js

// 먼저 서버통신시 가공할 데이터를 정의.
const users = [
    {
      id: 1,
      name: "Rebekah Johnson",
      email: "Glover12345@gmail.com",
      password: "123qwe",
    },
    {
      id: 2,
      name: "Fabian Predovic",
      email: "Connell29@gmail.com",
      password: "password",
    },
  ];

const posts = [
{
    id: 1,
    title: "간단한 HTTP API 개발 시작!",
    content: "Node.js에 내장되어 있는 http 모듈을 사용해서 HTTP server를 구현.",
    userId: 1,
},
{
    id: 2,
    title: "HTTP의 특성",
    content: "Request/Response와 Stateless!!",
    userId: 1,
},
];

// 앞서 express 없이 작성한 sendPosts 함수와 비교했을 때,
// express 덕분에 JSON.stringify 함수를 별도로 사용할 필요없이
// response 객체의 json 메소드를 활용.

const getUsers = (req, res) => {
    res.json({ users })
  }

const getUserByUserId = (req, res) => {
    const userId = req.params.userId
    const user = users.find((user) => user.id == userId)
    res.json({ user })
}

const getPosts = (req, res) => {
    res.json({ posts })
  }

const createUser = (req, res) => {
    const user = req.body
    const newUser = users.push({
        id: user.id,
        name: user.name,
        email: user.email,
        password: user.password,
      });
    res.json({ message: 'created!', 'user_id' : newUser })
}

const createPost = (req, res) => {
    const post = req.body
    const newPost = posts.push({
        id: post.id,
        title: post.title,
        content: post.content,
      });
    res.json({ message: 'created!', 'post_id' : newPost })
}

const updatePost = (req, res) => {
    const inputPost = req.body
    const postId = req.params.postId
    const post = posts.find((post) => post.id == postId)

    post.title = inputPost.title;
    post.content = inputPost.content;

    res.json({ message: 'updated!', 'updatedPost' : post })
}

const deletePost = (req, res) => {
    const postId = req.params.postId
    const indexOfPostId = posts.findIndex((post) => post.id == postId)

    delete posts[indexOfPostId]

    res.json({ message: 'deleted!'})
}

// serverWithExpress.js 에서 사용하기 위해 모듈로 보낸다.
module.exports = {
    getUsers,
    getUserByUserId,
    getPosts,
    createUser,
    createPost,
    updatePost,
    deletePost
};
지금까지 웹 서비스에서 기본적으로 제공하는 회원가입 기능을 Node.JS와 Express.js를 활용해 최소한으로 구현했다. Express를 적용하기 전/후의 가장 큰 차이점은 바로 라우팅의 분리, 로직의 모듈화 라고 할 수 있다. node.js의 http 모듈을 이용하여 만든 코드의 경우 if-elif의 중첩 적용으로 인해 코드가 불필요하게 복잡해지고 가독성 또한 많이 떨어지게 된다. 하지만 Express를 이용하여 구현한 코드의 경우에는 기능별로 별도의 파일로 관리할 수 있다는 사실을 확인할 수 있었고, 이는 추후 더욱 복잡해질 디자인/아키텍쳐 패턴을 적용하는데 기본 원리로 적용 될 것이다.
4. 정리
Express 없이 서버를 구현한 코드와 비교해 봤을 때 아래의 이점을 누릴 수 있다.
- if-elif로 처리한 라우팅이 보다 간결해진다.
- 각각의 요청을 처리하는 함수의 분리로 직관적 코드를 설계할 수 있다.
