next-auth로 OAuth 인증 구현하기🧐
💡 next-auth 설치(npm 기준)
npm install next-auth💡 Route Handlers를 사용하는 방법(Next.js 13.2 또는 그 이상의 버전 + typescript)
-
/app/api/auth/[...nextauth]/route.tsimport NextAuth from "next-auth" import GithubProvider from "next-auth/providers/github" export const authOptions: NextAuthOptions = { // Configure one or more authentication providers providers: [ GithubProvider({ clientId: process.env.GITHUB_ID || "", clientSecret: process.env.GITHUB_SECRET || "", }), // ...add more providers here ], } const handler = NextAuth(authOptions) export { handler as GET, handler as POST }
❗️ authOptions의 providers
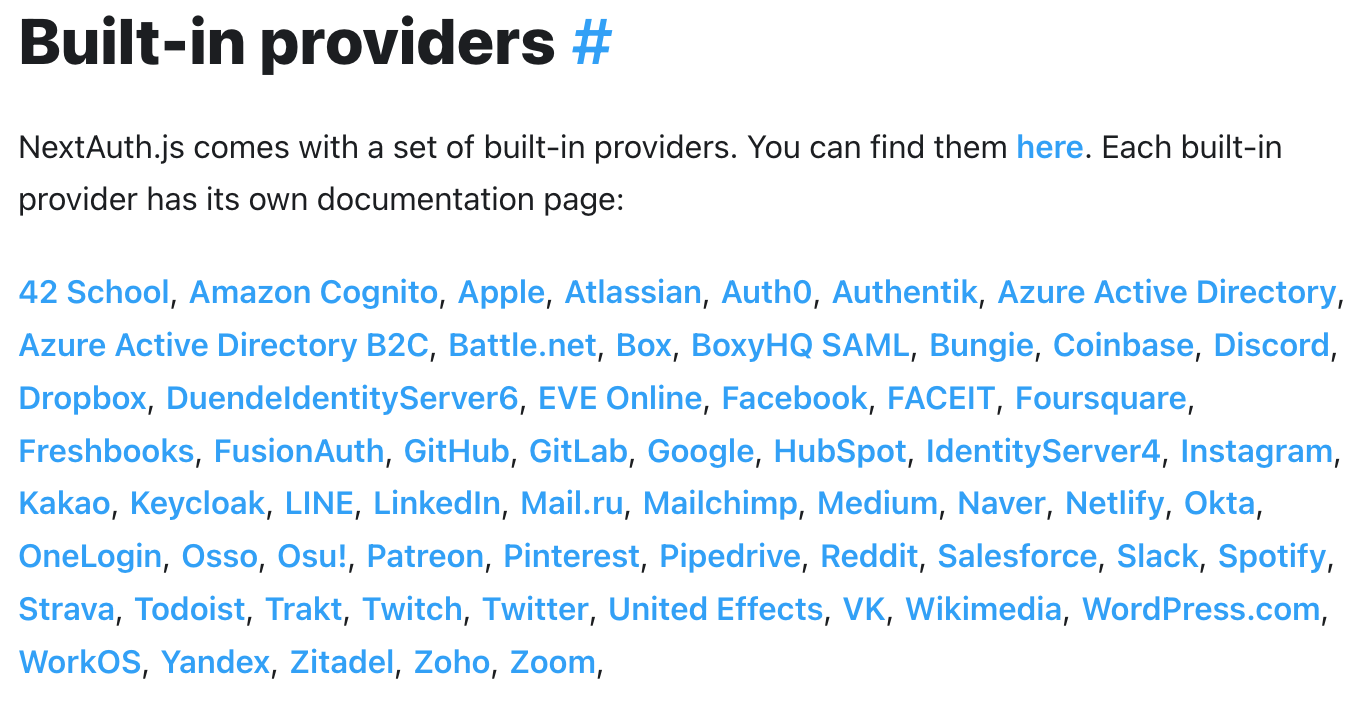
- 예시에는 GithubProvider만 나와있지만 next-auth에서는 굉장히 많은 Built-in provider를 제공하고 있음
- 참고: custom provider 사용하기
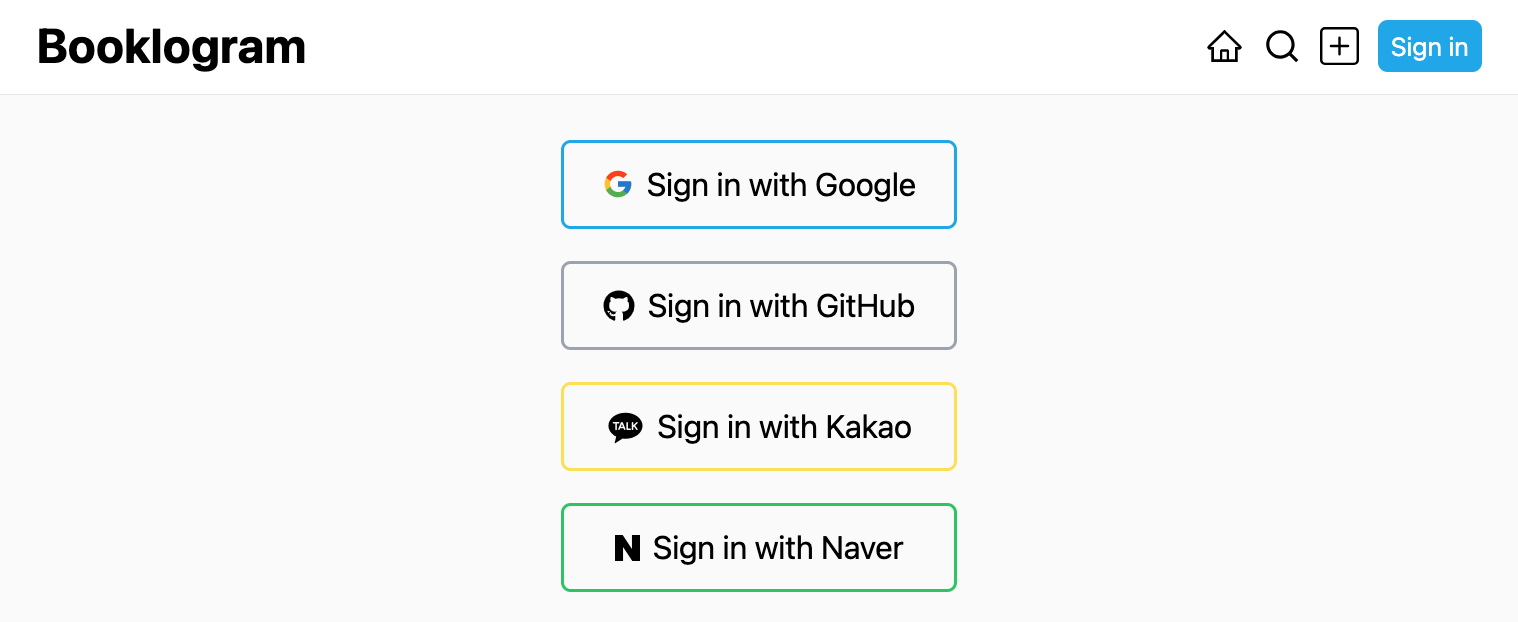
- built-in providers를 이용해 구현해본 OAuth 인증
(provider: Google, Github, KaKao, Naver)
-
/app/layout.tsximport type { Metadata } from "next"; import AuthContext from "@/context/AuthContext"; export const metadata: Metadata = { title: "Create Next App", description: "Generated by create next app", }; export default function RootLayout({ children, }: { children: React.ReactNode; }) {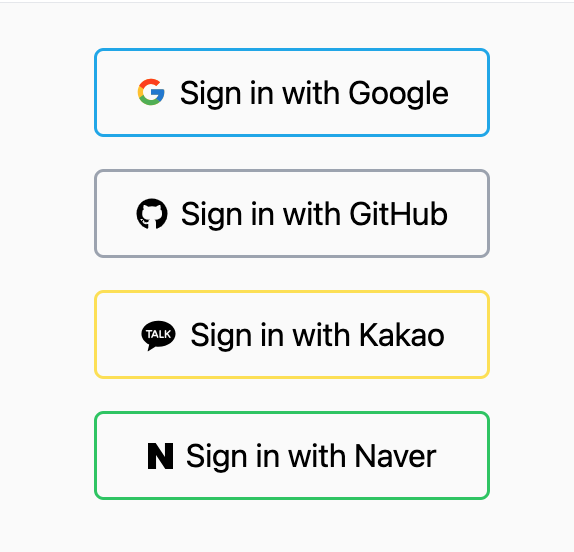 return ( <html lang="en"> <body> <AuthContext> <main> {children} </main> </AuthContext> </body> </html> ); } -
/context/AuthContext.tsx"use client"; import { SessionProvider } from "next-auth/react"; type Props = { children: React.ReactNode; }; export default function AuthContext({ children }: Props) { return <SessionProvider>{children}</SessionProvider>; }
❓SessionProvider를 layout.tsx에서 바로 적용하지 않는 이유(내가 만났던 오류😅)
: layout.tsx는 기본적으로 server component로 동작하지만 SessionProvider는 상태를 갖기 때문에 client component로 동작하는 컴포넌트로 감싸 클라이언트 측에서 세션 데이터에 접근하도록 만들어 layout.tsx에서 직접 적용하였을 때의 충돌을 방지한다.
-
components/Button.tsximport { useSession, signIn, signOut } from "next-auth/react" export default function Component() { const { data: session } = useSession() if (session) { return ( <button onClick={() => signOut()}>Sign out</button> ) } return ( <button onClick={() => signIn()}>Sign in</button> ) }
💡 session 사용하기
-
client component:
useSession()이용 -
server component:
getServerSession()이용- useSession이나 getServerSession으로 받아온 데이터에는 기본적으로 user의 name, email, image가 담김
- 만약 address를 추가하고 싶다면 authOptions의 callbacks옵션에서 session 함수를 이용해 받아온 세션에 address를 추가하고 type을 지정
-
타입 지정 방법
-
types/next-auth.d.tsimport NextAuth from "next-auth" declare module "next-auth" { /** * Returned by `useSession`, `getSession` and received as a prop on the `SessionProvider` React Context */ interface Session { user: { /** The user's postal address. */ address: string } & DefaultSession["user"] } }
-
<관련문서>
next-auth 공식문서
Getting Started
next-auth(Route Handlers)
Getting Started(typescript)
참조 사이트
Setup and Use NextAuth.js in Next.js 13 App Directory
