React Native에서 WebView를 Native처럼 사용해보자! (3) 웹뷰에서 pull to refresh 구현해보자!

이번 글은 React Native에서 WebView를 Native처럼 사용해보자! 시리즈 (3) 웹뷰에서 pull to refresh 구현해보자! 입니다.
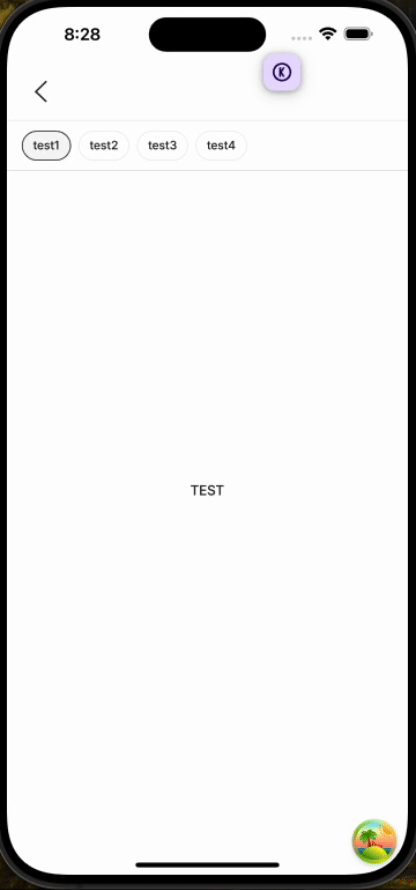
이전 이슈 소개 글에서 소개한 것과 같이 webView에서 기본적으로는 pull to refresh 기능이 제공되지 않습니다.
해결 방법
pull to refresh를 사용하기 위해서 세가지 방법을 테스트해보고 적용해보았습니다.
1. pullToRefreshEnabled 옵션을 넣는다
가장 쉬운 방법입니다.
webView에서 기본적으로 제공해주는 기능입니다.
 <WebView
    pullToRefreshEnabled
    source={{ uri: `${URL}${path}` }}
  />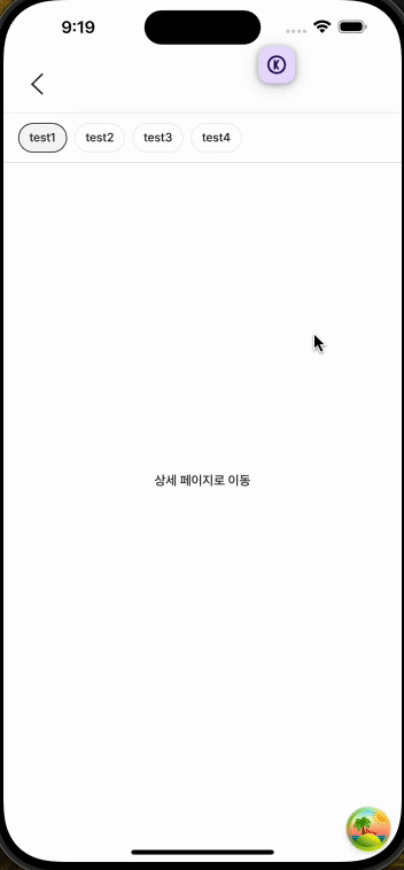
pull to refresh event 자체는 동작하지만, 웹뷰자체가 reLoad되는 이벤트가 발생합니다.
토스앱 웹뷰화면을 pull to refresh를 해보면 위에처럼 동작합니다.
그러나, 앱에서 동작하는 pull to refresh와는 다릅니다.
앱에서는 pull event를 통해 refresh event를 제어하는 방식입니다.
- React Native 앱에 있는 pull to refresh 이벤트와 통신하기
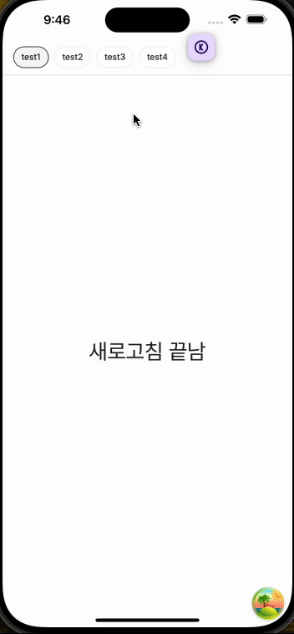
ScrollView안에 WebView를 구성해 스크롤 이벤트를 발생시키면 refresh를 하라고 이벤트를 보내주는 방법입니다. 위에 영상은 2초간 refresh 함수가 동작하도록 하였습니다.
코드는 아래와 같습니다.
- 공통 이벤트 스키마
const webViewEventSchema = z.object({
  type: z.enum(WEBVIEW_EVENT_LIST),
  data: z.any().optional(),
});- React Native
...

const webViewEventHandler = (e: WebViewMessageEvent) => {
    try {
      const webViewEvent = webViewEventSchema.safeParse(JSON.parse(e.nativeEvent.data));

      if (webViewEvent.error) {
        throw new Error('정의되지 않은 이벤트');
      }
      if (webViewEvent.data.type === 'ON_FINISHED_REFRESH') {
        setIsRefreshing(false)
        return;
      }

      return;
    } catch (err) {
      //error 처리
      return;
    }
  }

 return (
   	<ScrollView
        refreshControl={
          <RefreshControl
            refreshing={isRefreshing}
            onRefresh={() => {
              webviewRef.current?.postMessage(
                JSON.stringify({
                  type: WEBVIEW_EVENT_TYPE.ON_REFRESH,
                }),
              );
              setIsRefreshing(true);
            }}
          />
        }
        showsVerticalScrollIndicator={false}
        contentContainerStyle={{ flex: 1 }}
      >
        <WebView
          ref={webviewRef}
          source={{ uri: `${url}${path}` }}

          onMessage={webViewEventHandler}
        />
      </ScrollView>
)- web
   React.useEffect(() => {
    if (window.ReactNativeWebView == null) {
      return;
    }

    const handleRefresh = (e: Event) => {
      if (e instanceof MessageEvent) {
        const event = webViewEventSchema.safeParse(JSON.parse(e.data));

        try {
          if (event.error) {
            throw new Error('정의되지 않은 이벤트 타입');
          }

          if (event.data.type !== 'ON_REFRESH') {
            return;
          }

          if (!onRefresh) {
            window.ReactNativeWebView?.postMessage(
              JSON.stringify({
                type: WEBVIEW_EVENT_TYPE.ON_FINISHED_REFRESH,
              }),
            );
            return;
          }

          return onRefresh().then(() => {
            window.ReactNativeWebView?.postMessage(
              JSON.stringify({
                type: WEBVIEW_EVENT_TYPE.ON_FINISHED_REFRESH,
              }),
            );
          });
        } catch (err) {
          acError(`WebView refresh 통신 실패 ${err}`, err);
          return;
        }
      }
    };

    document.addEventListener('message', handleRefresh);
    window.addEventListener('message', handleRefresh);

    return () => {
      document.removeEventListener('message', handleRefresh);
      window.removeEventListener('message', handleRefresh);
    };
  }, [onRefresh]);
흐름은 아래와 같습니다.
- ScrollView RefreshEvent 발생
- Web으로 refresh event postMessage 전송
- Web에서 message를 받아 zod 스키마로 이벤트 validation후 ON_REFRESH event 받기
- refresh event가 발생하면 정의된 refresh event를 수행하고 ON_FINISHED_REFRESH 이벤트를 App으로 전송
- 앱에서 zod 스키마로 이벤트 validation후 ON_FINISHED_REFRESH event 받기
- refresh UI 종료
한층 더 앱처럼 보이도록 바뀌었습니다.
근데 해당 방법에도 약간의 문제가 있습니다.
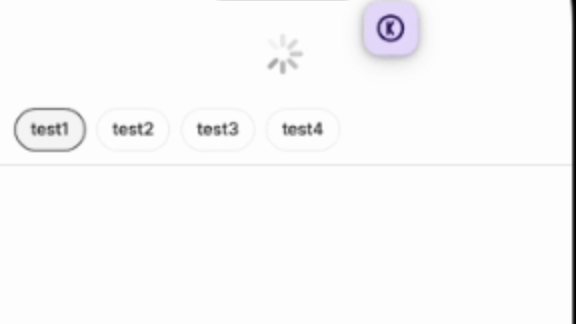
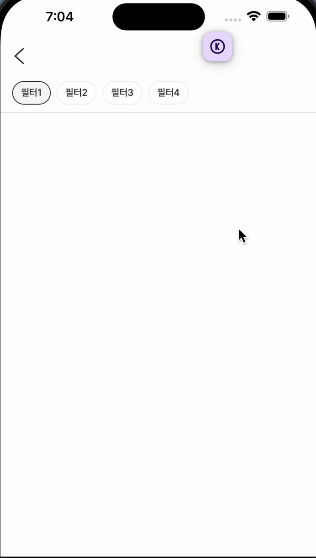
보통은 필터위에 아래 리스트 섹션이 새로고침이 생기는 UX가 일반적인데 필터나 헤더까지 같이 당겨지는 동작이 생겨났습니다.
- web에서 pull to refresh를 직접 구현한다.
개인적인 생각으로는 해당 방법이 가장 App 스러운 웹뷰를 보여준다고 생각합니다.
안드로이드와 IOS 모두 동일한 UI를 보여줄 수 있다는 장점도 있습니다.
구현 방법은 아래와 같습니다.
- 스크롤 컨테이너와 그 안에 로딩 컴포넌트와 스크롤 영역 컨텐츠, 그리고 로딩 UI 높이 만큼 컨테이너를 transform 해줍니다.
  const REFRESH_SCROLL_POSITION = 64;

  ...

  const contentContainerRef = React.useRef<HTMLDivElement>(null);

   return (
    <Stack
      flex={1}
      sx={{ overflowY: 'scroll' }}
    >
      <Stack ref={contentContainerRef} sx={{ transform: `translateY(-${REFRESH_SCROLL_POSITION}px)` }} pt={2} gap={1}>
        <Stack width={'100%'} height={REFRESH_SCROLL_POSITION} justifyContent={'center'} alignItems={'center'}>
          <LoadingComponent/>
        </Stack>
        <Stack flex={1}>{/* 스크롤 영역 컨텐츠들*/}</Stack>
      </Stack>
    </Stack>
)- 처음 화면을 터치 했을 때의 y position 값을 가져옵니다.
  const contentContainerRef = React.useRef<HTMLDivElement>(null);

  function handleTouchStart(event: React.TouchEvent<HTMLDivElement>) {
    touchYPositionRef.current = event.touches.item(0).clientY;
  }
- 터치한 상태에서 움직일 때마다 해당 값이 처음 터치 했을 때의 y값과의 차이로 pull 거리를 구합니다.
  function handleTouchMove(event: React.TouchEvent<HTMLDivElement>) {
    const moveY = event.touches.item(0).clientY;
    const pullDistance = moveY - touchYPositionRef.current; //pull 거리
  }
- pull 거리가 특정 값 이상이고 스크롤중인 컨테이너의 scroll top 값이 0 이하인지 확인하고, 조건이 만족하면 refresh 요청 플래그를 true로 변경하고, 로딩 UI가 보이도록 컨테이너 위치를 원 상태로 변경해줍니다.
  const contentContainerRef = React.useRef<HTMLDivElement>(null);
  const refreshingRef = React.useRef(false);
  const touchYPositionRef = React.useRef(0);

  function handleTouchMove(event: React.TouchEvent<HTMLDivElement>) {
    if (!contentContainerRef.current) {
      return;
    }

    const moveY = event.touches.item(0).clientY;
    const pullDistance = moveY - touchYPositionRef.current;

    if (pullDistance > 120 && event.currentTarget.scrollTop <= 0) {
      contentContainerRef.current.style.transform = 'translate(0, 0px)';
      contentContainerRef.current.style.transition = '0.3s';

      refreshingRef.current = true;
    }
}- 터치를 끝냈을 때 refresh 이벤트 플래그가 true면 refresh 이벤트를 실행하고, 이벤트가 끝나면 다시 로딩 UI가 안보이도록 transform 합니다.
  function handleTouchEnd() {
    if (refreshingRef.current) {
      return onRefresh().finally(() => {
        if (contentContainerRef.current) {
          contentContainerRef.current.style.transform = `translate(0,-${REFRESH_SCROLL_POSITION}px)`;
          contentContainerRef.current.style.transition = '0.3s';
          refreshingRef.current = false;
        }
      });
    }
  }
이제 정말 해당 화면으로만 봤을 때는 앱인지 웹뷰인지 모를 것 같네요 ㅎㅎ.
완성된 코드는 아래와 같습니다.
공통적으로 사용하기 위해서 PTRContainer로 컴포넌트를 따로 구성하였습니다.
- PTRContainer
const REFRESH_SCROLL_POSITION = 64;

/**
 * pull to refresh control 컨테이너
 **/
export function PTRContainer({ children, onRefresh }: { children: React.ReactNode; onRefresh: () => Promise<any> }) {
  const contentContainerRef = React.useRef<HTMLDivElement>(null);
  const refreshingRef = React.useRef(false);
  const touchYPositionRef = React.useRef(0);

  function handleTouchStart(event: React.TouchEvent<HTMLDivElement>) {
    touchYPositionRef.current = event.touches.item(0).clientY;
  }

  function handleTouchMove(event: React.TouchEvent<HTMLDivElement>) {
    if (!contentContainerRef.current) {
      return;
    }

    const moveY = event.touches.item(0).clientY;
    const pullDistance = moveY - touchYPositionRef.current;

    if (pullDistance > 120 && event.currentTarget.scrollTop < 0) {
      contentContainerRef.current.style.transform = 'translate(0, 0px)';
      contentContainerRef.current.style.transition = '0.3s';

      refreshingRef.current = true; //refresh true
    }
  }

  function handleTouchEnd() {
    if (refreshingRef.current) {
      return onRefresh().finally(() => {
        if (contentContainerRef.current) {
          contentContainerRef.current.style.transform = `translate(0,-${REFRESH_SCROLL_POSITION}px)`;
          contentContainerRef.current.style.transition = '0.3s';
          refreshingRef.current = false;
        }
      });
    }
  }

  return (
    <Stack
      flex={1}
      sx={{
        overflowY: 'scroll',
        '&::-webkit-scrollbar': {
          display: 'none',
        },
        '-ms-overflow-style': 'none',
      }}
      onTouchStart={handleTouchStart}
      onTouchMove={handleTouchMove}
      onTouchEnd={handleTouchEnd}
    >
      <Stack ref={contentContainerRef} sx={{ transform: `translateY(-${REFRESH_SCROLL_POSITION}px)` }} pt={2} gap={1}>
        <Stack width={'100%'} height={REFRESH_SCROLL_POSITION} justifyContent={'center'} alignItems={'center'}>
          <LoadingComponent/>
        </Stack>
        <Stack flex={1}>{children}</Stack>
      </Stack>
    </Stack>
  );
}
마무리
한층 더 앱같은 웹뷰가 되어가고 있는 것 같습니다.
읽어주셔서 감사합니다!
