1.학습한 내용
이틀간 학습하였던 내용과 동일하게 진행하였고, 키즈가오 site 기본틀 (java script 제외)을 완성하였다.
1. HTML 작성
2. style.css (위치& 병합)
3. animation.css (애니메이션)
4. mobile.css (미디어쿼리)
각각 4가지의 process를 6가지의 구간으로 나누어서 진행하였다.
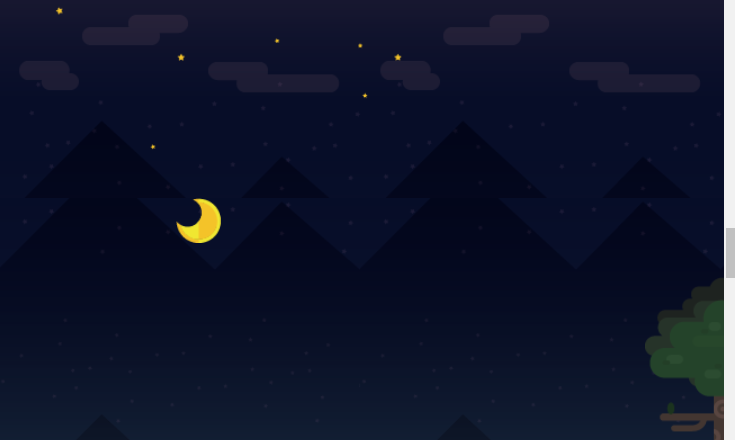
(1) night2 움직이는 달 ( 앞서 배웠던 잠자리와 동일한 움직임)
(2) mornong 태양의 움직임
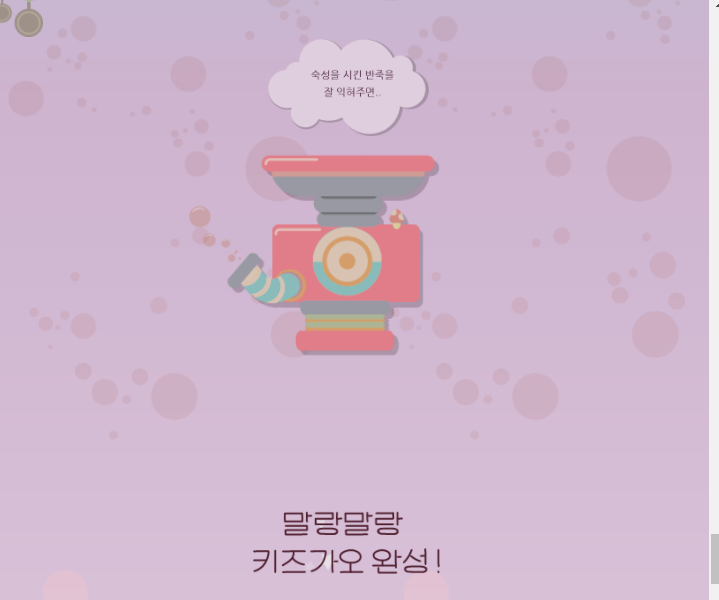
(3) kitchen 기계에서 나오는 steam
(4) color1 창문과 펭귄
(5) color2 horse와 3색 찰흙
(6) color3 띠+선반+주사위+kidsgao 디자인 페이지 디자인 끝
(1)
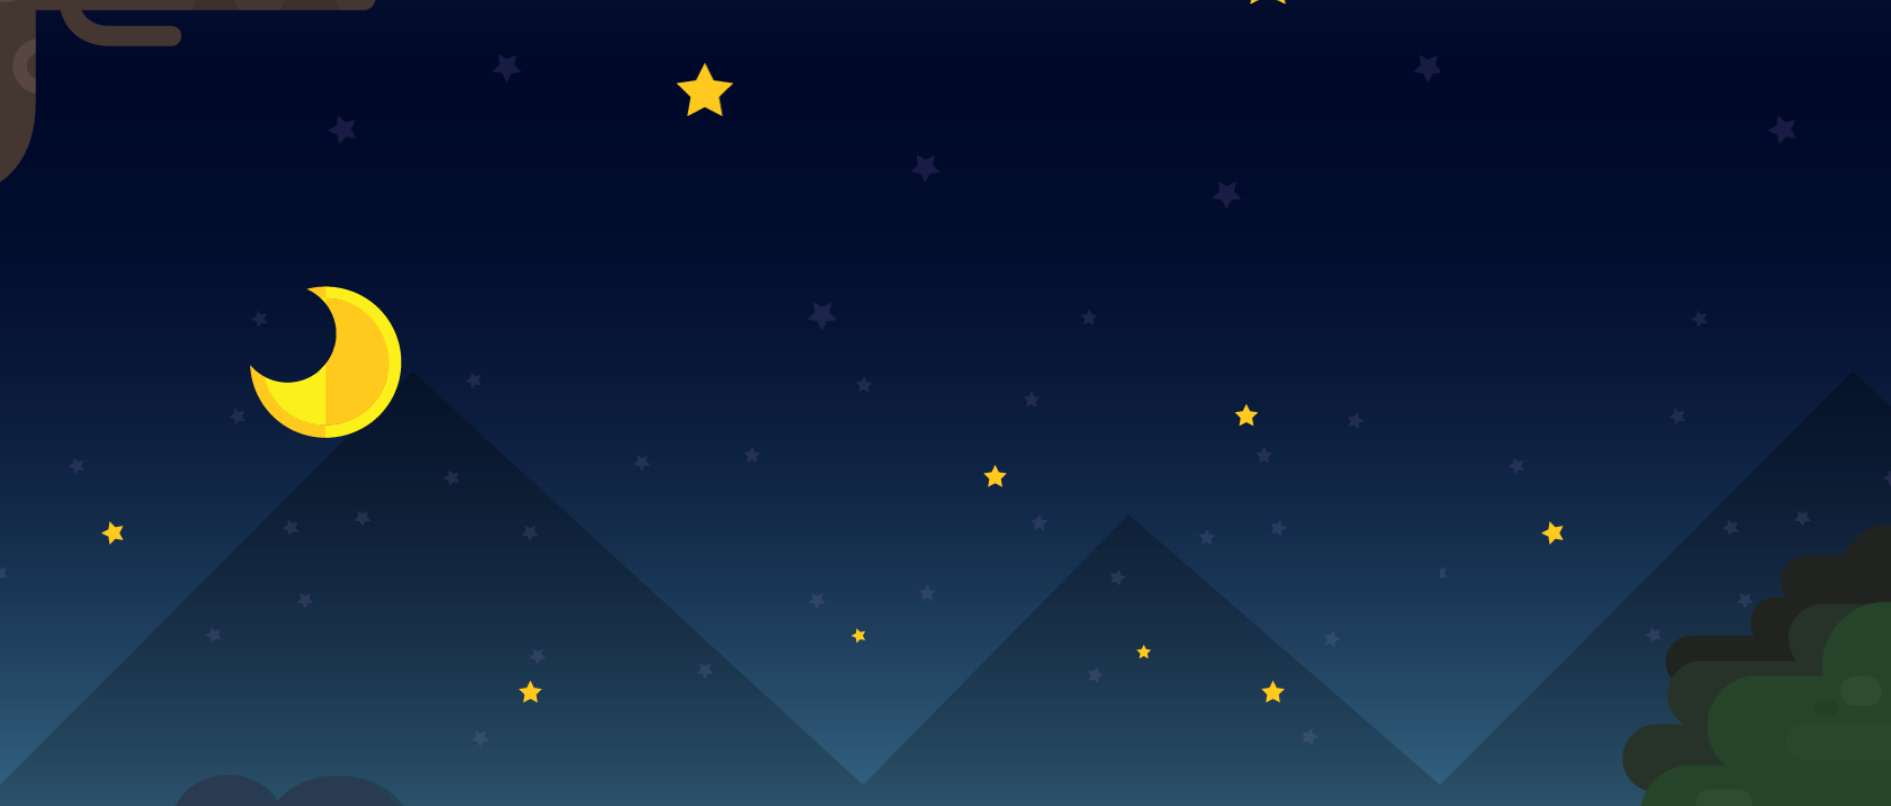
축소버전
(2)
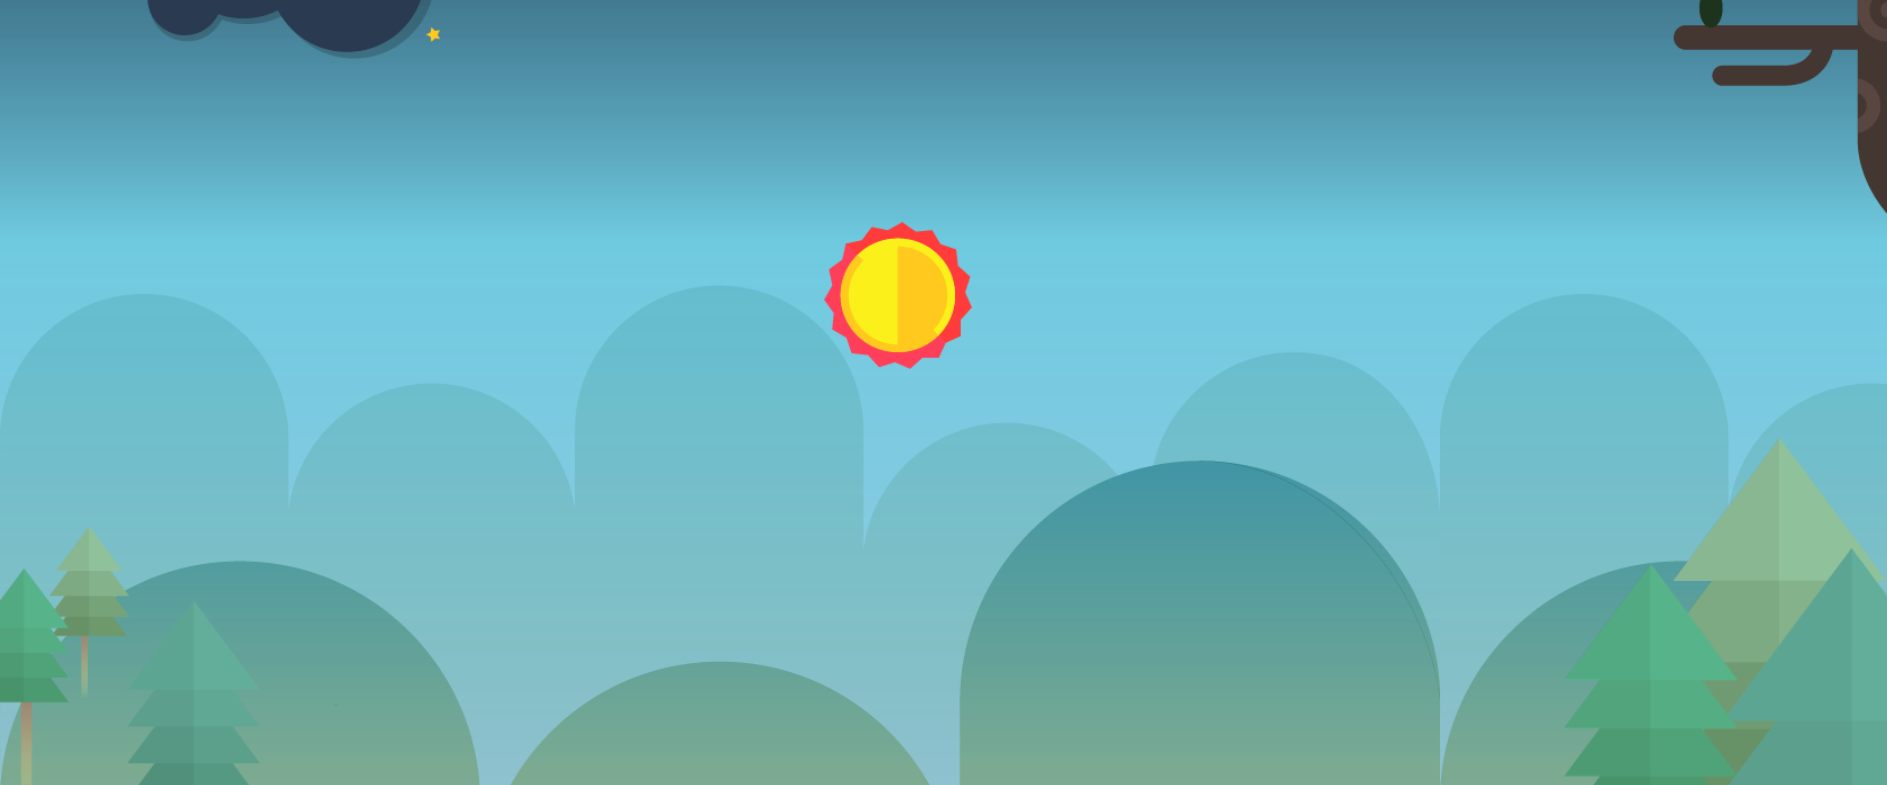
축소버전
(3)
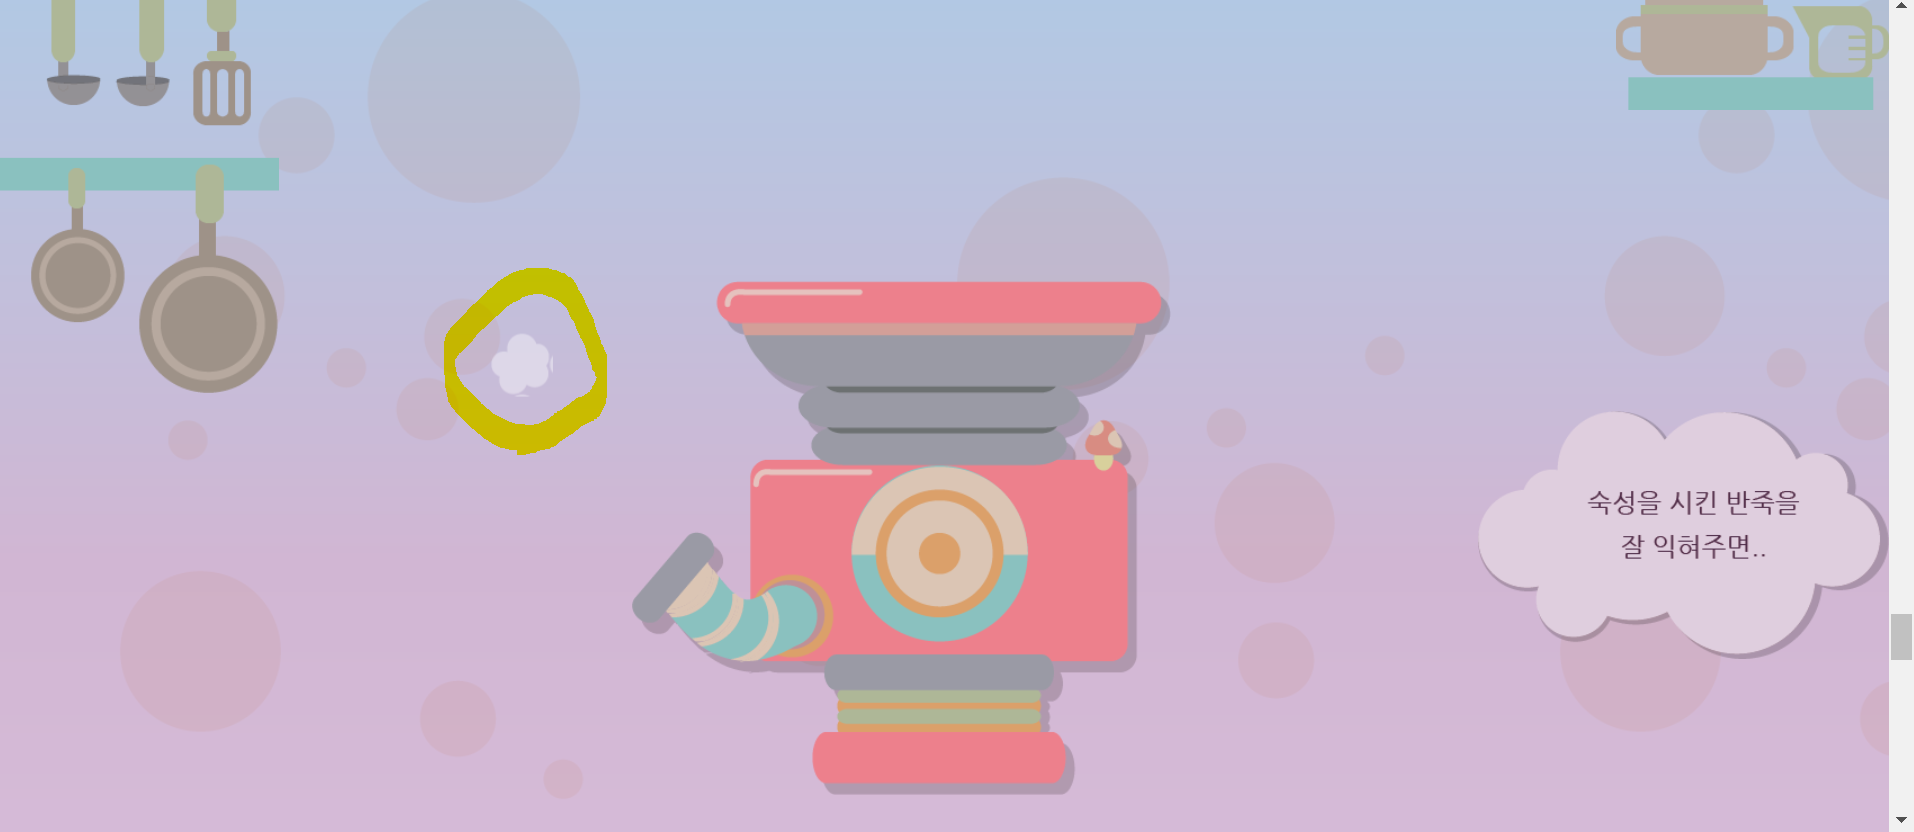
축소 버전
(4)
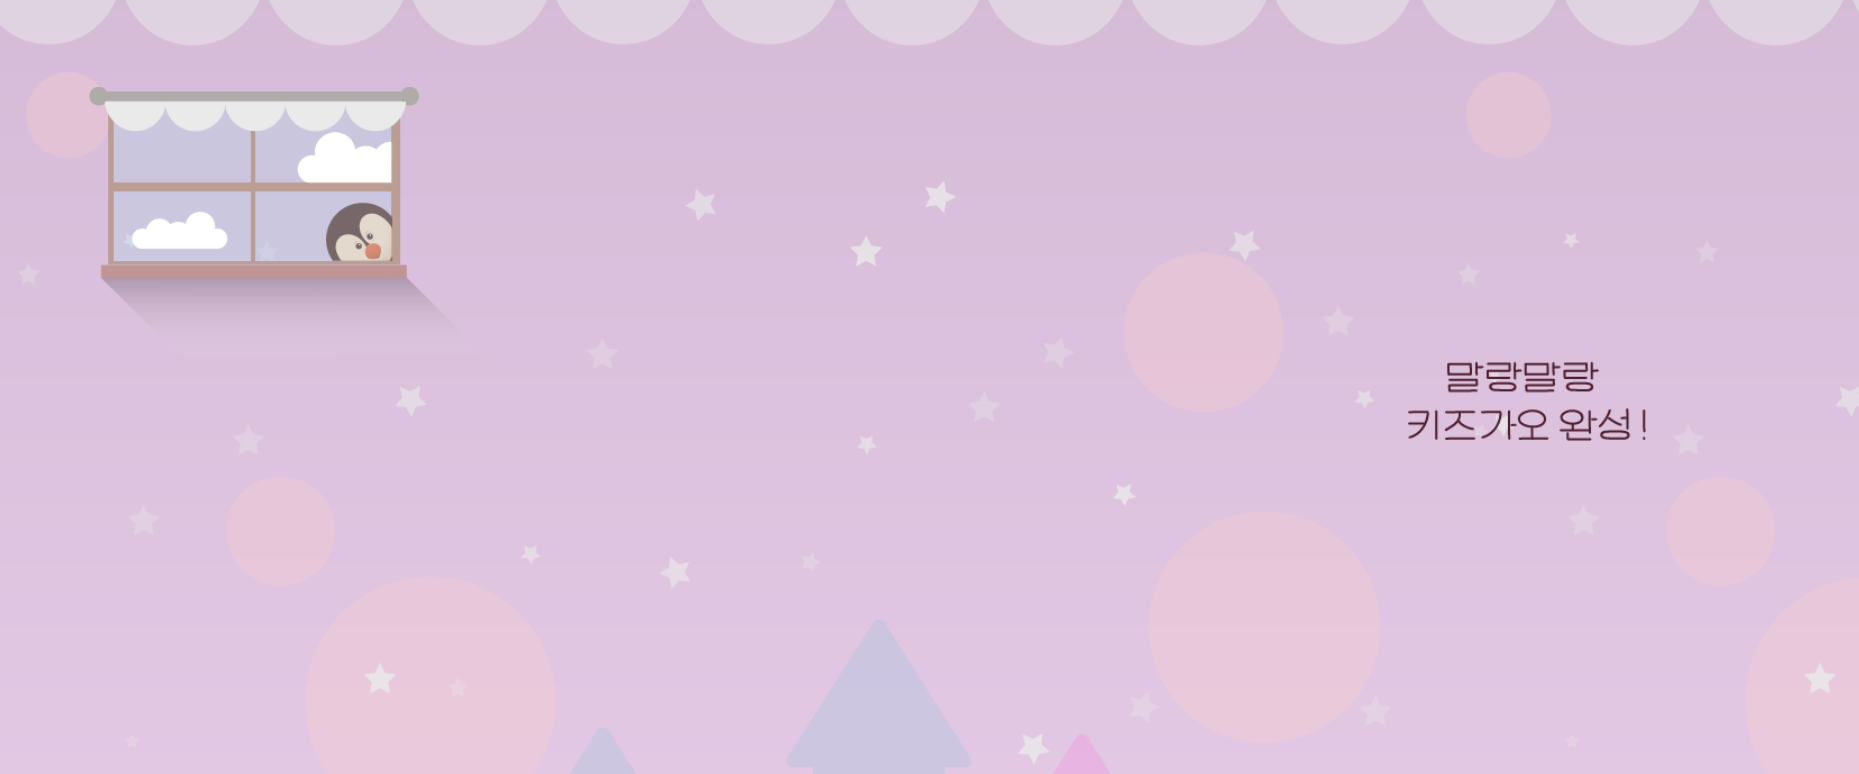
축소버전
(5)
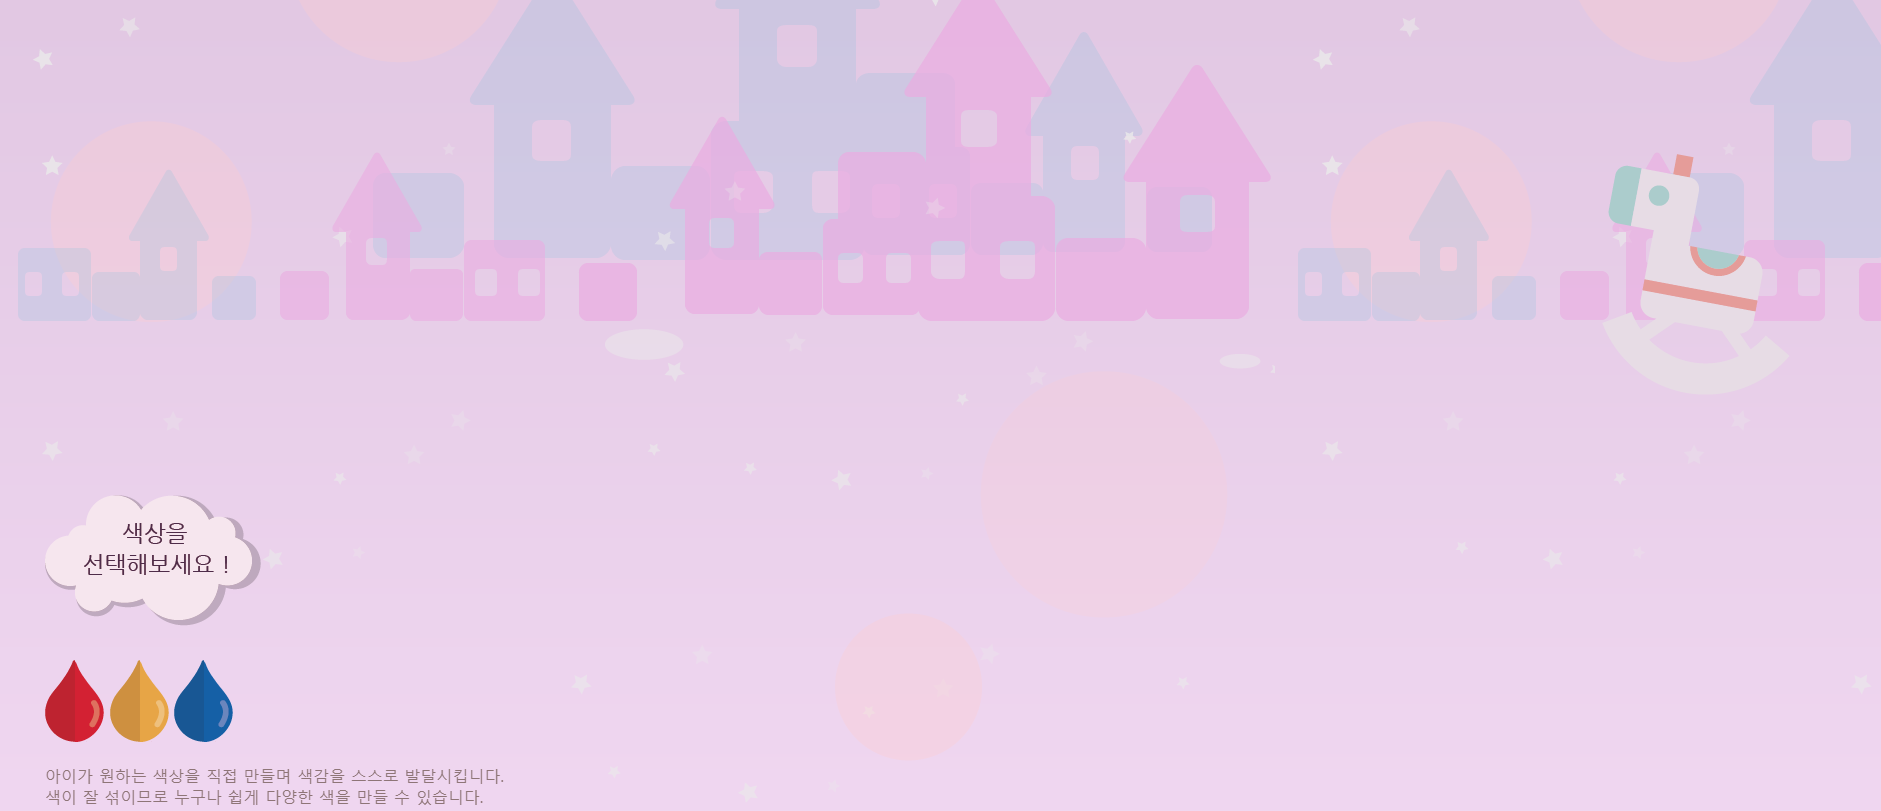
축소버전
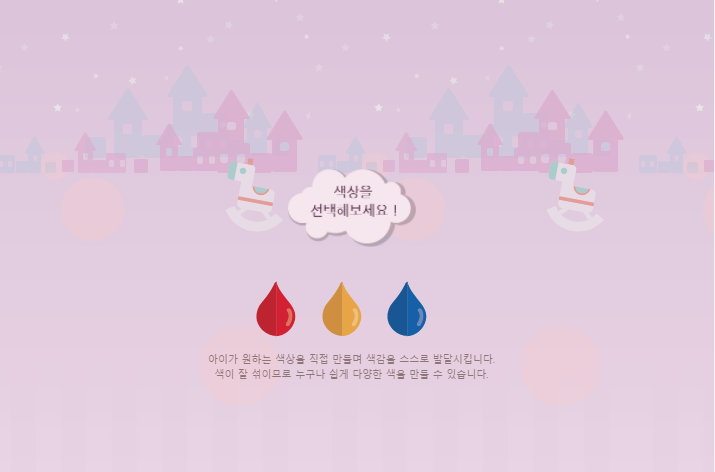
(6)
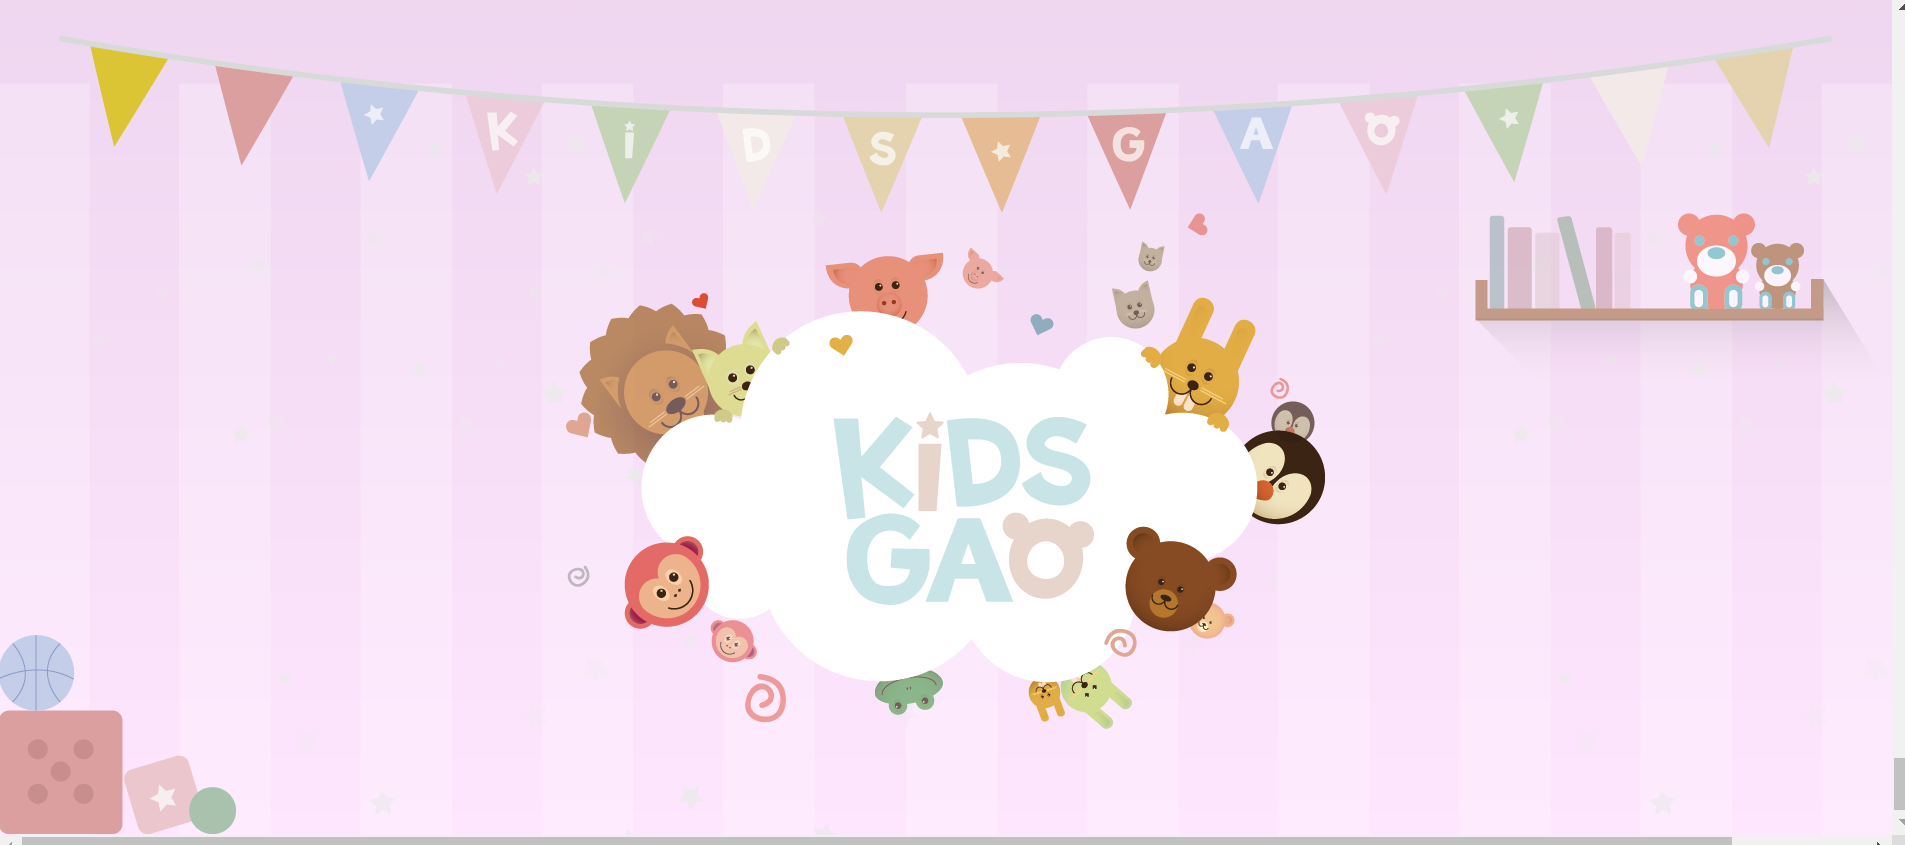
축소버전
<학습한 내용>
(1) night2
mobile.css
#night2 .rightMoonTree {
		width: 70px;
		height: 173px;
		background-image: url(../image/mobile/oneday/night2/mobile_moontree.png);

		top: 70px;
		bottom: initial;
	}
미디어 쿼리 바깥쪽에서 작성한 것을 모바일에서 적용하지 않겠다 할때 bottom: initial;을 넣어주면 된다.
(2) morning
animation.css
#morning .sun {
	animation: moveSun linear 10s 1500ms infinite;
}
위에 달보다도 delay시켜야 하는 목적에서 1500ms 추가하였다.
(3) kitchen
style.css
#kitchen .steamWrap {
	position: relative;

	width: 483px;
	height: 457px;
	/*background-color: yellow;*/

	left: 50%;
	margin-left: -275px;
	top: -100px;

	clear: both;
}
clear: both;를 한 이유?
자세한 내용은 검색을 하여 다음과 같은 명확한 이유를 찾았다.
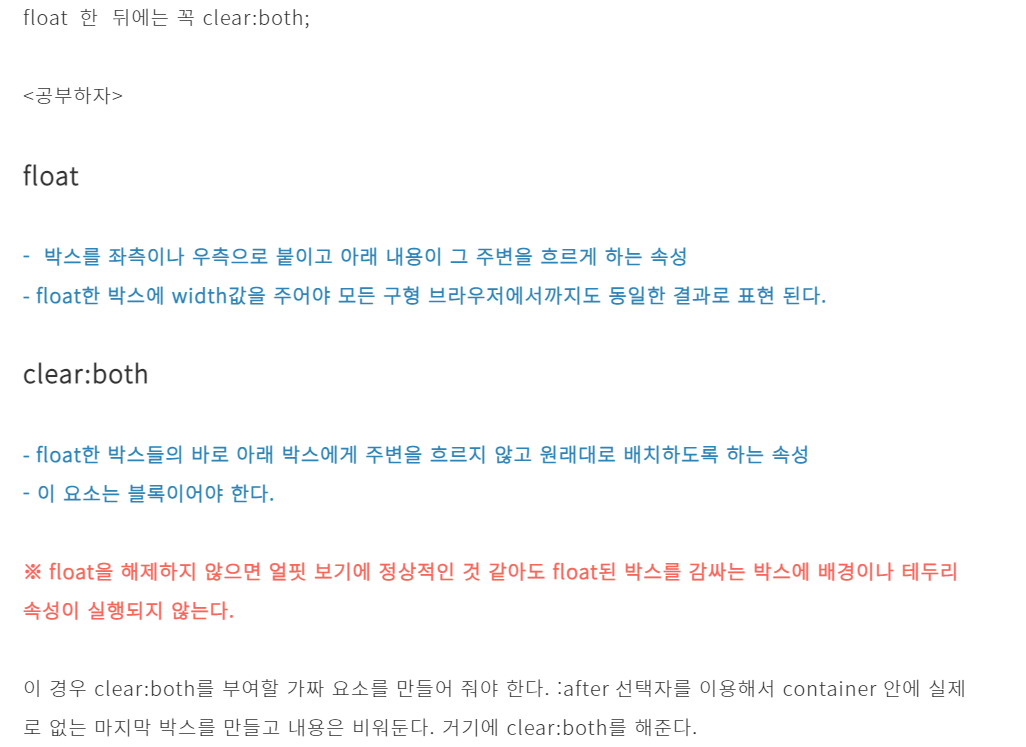
출처 : https://brunch.co.kr/@xhrkdl2000/47
animation.css
stylie 페이지를 이용하여 steam이 곡선으로 나가는 것을 설정하였다. https://jeremyckahn.github.io/stylie/
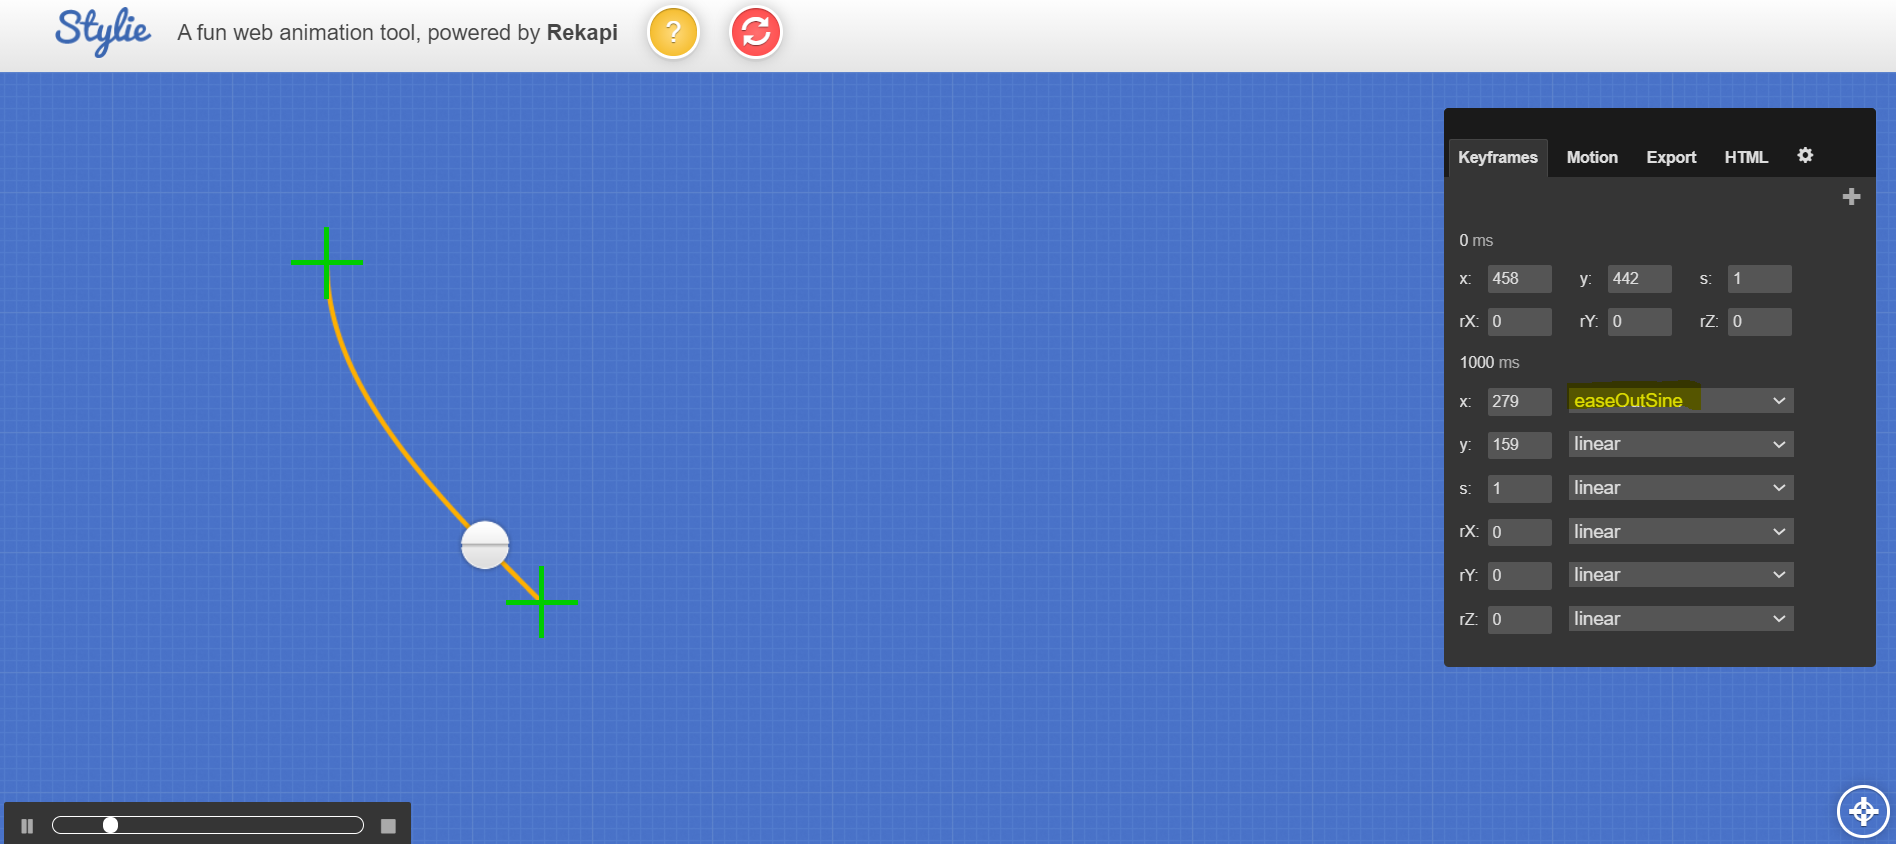
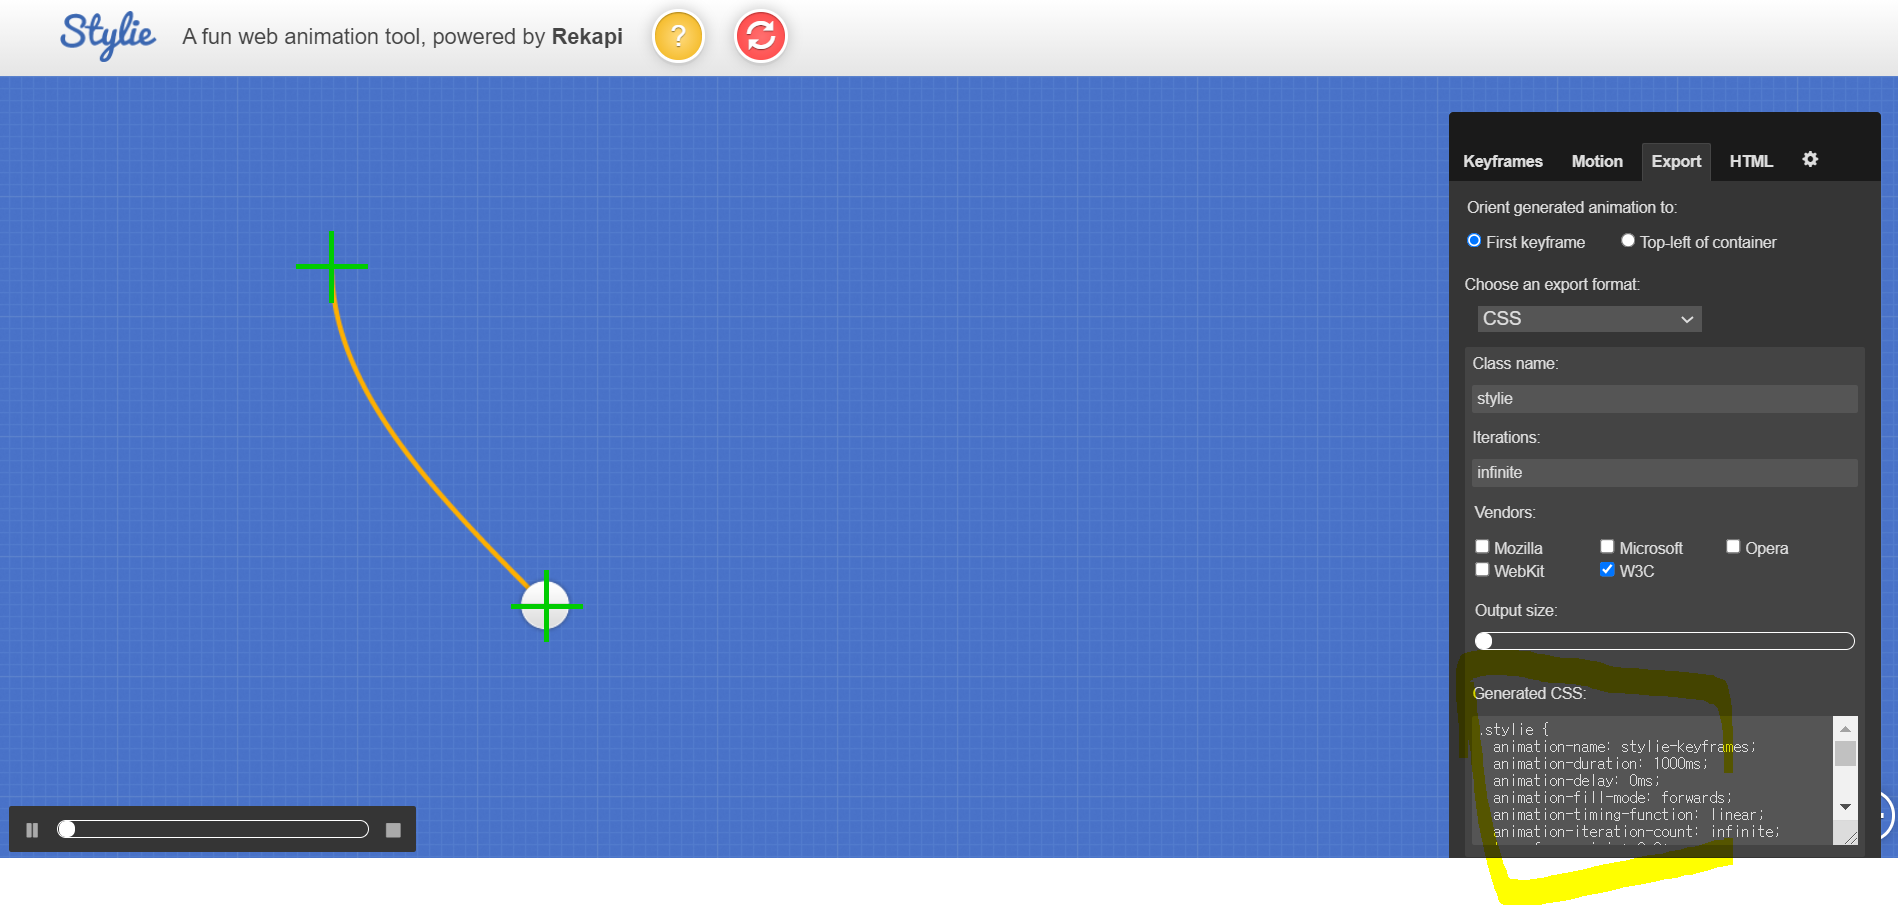
오른쪽 control 바에서 keyframes에서 easeOutsine을 selection하니 다음과 같은 움직임을 만들수 있었고, Export에서 Generated CSS에서 복사를 하여 다음과 같은 code를 얻을수 있었다.
#kitchen .steamWrap .bubble1 {
  animation-name: bubble;
  animation-duration: 1000ms;
  animation-delay: 0ms;
  animation-fill-mode: forwards;
  animation-timing-function: linear;
  animation-iteration-count: infinite;
  transform-origin: 0 0;
}

@keyframes bubble {
  0% {transform:translate(0px, 0px) scale(1) rotateX(0deg) rotateY(0deg) rotateZ(0deg) translate(-50%, -50%);}
  100% {transform:translate(-179px, -283px) scale(1) rotateX(0deg) rotateY(0deg) rotateZ(0deg) translate(-50%, -50%);}
}
주의점은 하단에 html 부분을 삭제해서 넣어야 한다.
html::after { content: url(https://ga-beacon.appspot.com/UA-42910121-1/stylie?pixel); position: absolute; left: -999em; }mobile.css
#kitchen .steamWrap .bubble1 {
		display: none;
	}
모바일에서는 버블이 보이면 안되어서 display: none;을 넣어준다.
(4) color1
HTML
<div class="btn-wrap">
				<button type="button" class="red"></button>
				<button type="button" class="yellow"></button>
				<button type="button" class="blue"></button>
			</div>
서버에 정보를 보내는 방식이면 type="submit"이여야 한다.
(5) ~ (6) ; color2 ~ color3 부분에서는 상기시켜야할 부분이 따로 없었다.
그리고 tip은 소스코드가 복잡해질수록 id나 class명을 작성할 때 대문자나 소문자를 일관성 있게 구별지어 네이밍을 하여야 한다는 것이었다.
2. 실습
깃허브 소스코드:
HTML
https://github.com/Yeonsu-Hong/Daegu-AI-school/issues/17
style.css (위치& 병합)
https://github.com/Yeonsu-Hong/Daegu-AI-school/issues/18
animation.css (애니메이션)
https://github.com/Yeonsu-Hong/Daegu-AI-school/issues/19
mobile.css (미디어쿼리)
https://github.com/Yeonsu-Hong/Daegu-AI-school/issues/20
3. 어려웠던 내용 & 해결방법
코드가 복잡하니까 오타가 나서 에러가 생기는 점이 힘들었다.
4. 소감
점점 전체 코드를 보는 눈이 생기고, HTML 설계도면 작업에 익숙해지고, css 같은 경우에도 margin 병합현상에 대해 큰 틀에서는 이해가 가기 시작하였다. java-script를 학습 하기 전에 HTML과 CSS 부분을 확실히 복습하며 추가적인 실습도 하여야 할 것 같다.
추가적으로 velog 사용법도 점점 익숙해지는데, 다른 분들 velog를 살펴보면 gif 영상으로 실습한 animation을 업로드한 경우도 있는데, 이 부분은 찾아서 공부를 할 예정이다.
