useRef 문법은 공부를 했었는데, 마땅히 사용할 기회를 못 찾다가 이번 기회에 사용을 해봤는데 생각보다 간단해서 아주 쉽게 적용을 할 수 있었다.
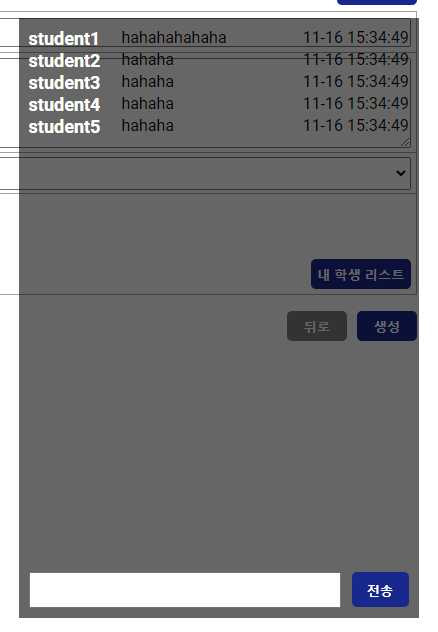
이런식으로 UI를 잡았고, 채팅을 입력하면
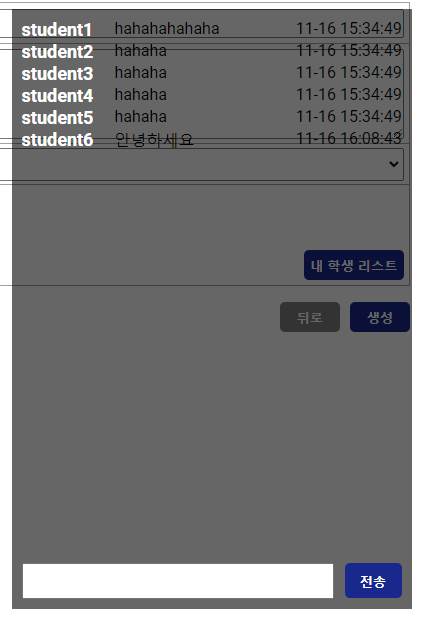
현재 시간과, 입력한 내용이 채팅 목록에 추가가 되는 것을 볼 수 있다.
채팅 data 기본 구조
const [chatList, setChatList] = useState([
        {
            no: 1,
            id: 'student1',
            chat: 'hahahahahaha',
            date: '11-16 15:34:49'
        },
        {
            no: 2,
            id: 'student2',
            chat: 'hahaha',
            date: '11-16 15:34:49'
        },
        {
            no: 3,
            id: 'student3',
            chat: 'hahaha',
            date: '11-16 15:34:49'
        },
        {
            no: 4,
            id: 'student4',
            chat: 'hahaha',
            date: '11-16 15:34:49'
        },
        {
            no: 5,
            id: 'student5',
            chat: 'hahaha',
            date: '11-16 15:34:49'
        },
    ]);
사용자가 입력했을 때, 입력한 내용으로 채팅목록을 새로 구성해야하기 때문에 이번에도 hook을 사용했다.
현재 시간은 moment()를 사용해서 data를 받아왔다.
const nowTime = moment().format('MM-DD HH:mm:ss');
[전송]버튼을 누르면 채팅리스트에 추가가 되는데
const handleAddChat = () => {
        if (chatContents.length === 0) {
            alert('채팅 내용을 입력해주세요')
        } else {
            setChatList(prev => [...prev,
                {
                    no: chatList.length + 1,
                    id: `student${chatList.length+1}`,
                    chat: chatContents,
                    date: nowTime
                }
            ])
        }
    }
채팅이 생길때마다 스크롤도 같이 밑으로 이동해야하기때문에
<div className="ChatWrapper">
   <div className="chatList" ref={chatInput}>
      {
         chatList.map((item) => {
            return (
               <div className="chatContents">
                  <span className="id">{item.id}</span>
                  <span className="chat">{item.chat}</span>
                  <span className="date">{item.date}</span>
               </div>
             )
         })
      }
    </div>
    <div className="chatArea">
       <input
          type="text"
          value={chatContents}
          onChange={(e)=>setChatContents(e.target.value)}
          onKeyPress={pressEnter}
        />
        <button onClick={() =>handleAddChat()}>전송</button>
    </div>
</div>
스크롤이 필요한 div 태그에다가 ref를 적어주고
 useEffect(()=>{
        setChatContents('')
        scrollToBottom()
    },[chatList])

 const scrollToBottom = () => {
      const {scrollHeight, clientHeight} = chatInput.current;
      chatInput.current.scrollTop = scrollHeight - clientHeight
 }
chatList의 값이 바뀔때마다 함수를 호출해주었다.
Input에서 전송버튼을 누르지 않고, 엔터키를 쳤을때도 다음과 같이 동작했으면 좋겠다고 생각해서 Input 태그 안에 onKeyPress를 사용했다.