react작업을 하면서 hook을 쓰고있지만 제대로 알고 쓰지는 못하는것 같다.
계속 useEffect에 대한 의문이 드는데... useEffect를 이용해서 작업할 때면 뭔가 코드가 계속 길어지고 랜더링이 생각보다 자주 일어나는 "느낌"이 든다. 그 느낌이 뭔지..그리고 해결책을 좀 더 구체화 시켜보고싶다..
use+something 해서 custom hook도 만들어 쓰길래 몇개 따라 만들어봤는데 이번 기회에 커스텀 훅 관련해서도 좀 구체적으로 공부 해보려고한다.
고럼 레쓰고
(다음을 공부하며 정리한 글입니다)
노마드코더 - 실전형 리액트 훅
훅은 크게 2가지로 나뉜다. state계열과 effect계열. state는 상태를 관리하는데 주로 쓰이고, effect는 생명주기와 관련되어 api 요청 등에 쓰이는것 같다.
custom hook
useState를 활용한 hook
useInput
input 필드를 제어하는 hook
아래는 useInput.js 커스텀 훅이다. 커스텀 훅을 연습하기 전까진 input필드가 있을 때 마다 .js 파일 하나에서 모든 validator 함수들과 hook들을 관리해왔다. 그래서인지 코드 재사용성과 가독성에 대해 엄청난 불만이었는데 커스텀 훅이란 걸 만들 생각을 못해서 그런거였다. (특히 게시판 같은 작성량이 많은 기능을 만들 때 진짜 쉽지 않았었다...)
[ 코드 ]
//App.js

import logo from './logo.svg';
import './App.css';
import {useState} from "react";
import {useInput} from "./hooks/useInut";

function App() {
    const maxLen = (value) => value.length <= 10;
    const notAt = (value) => !value.includes("@");
    const name  =useInput("Mr.", notAt);
  return (
      <div className="App">
          <div>
              <h1>hello</h1>
            <input placeholder = "Name"  {...name}/>
          </div>

      </div>
  );
}

export default App;
// useInput.js
import {useState} from "react";
export const useInput = (initialValue, validator) => {
const [value, setValue] = useState(initialValue);
const onChange = (event) => {
const {
value
} = event.target;
let willUpdate = true;
if(typeof validator === "function"){
willUpdate = validator(value);
}
if(willUpdate){
setValue(value);
}
};
return {value, onChange};
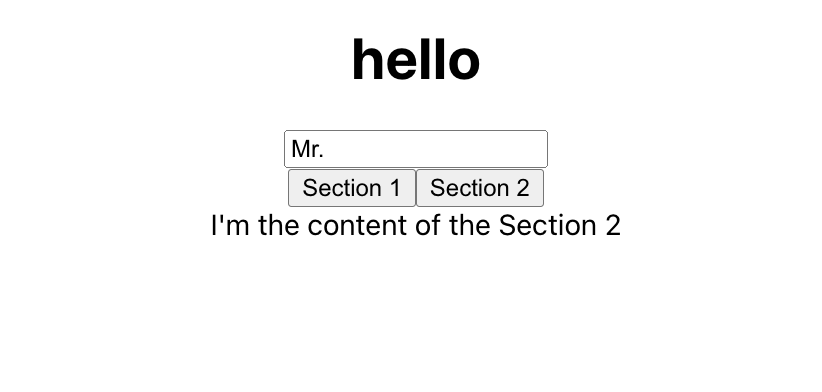
}useTabs
버튼 클릭 시 해당 내용을 보여주는 hook
section1 버튼 누르면 section1 내용이 나오고, 2를 누르면 2에대한 내용이 나온다.
[ 결과이미지 ]
[ 코드 ]
/// dummydata
export const contents = [
    {
        tab: "Section 1",
        content: "I'm the content of the Section 1"
    },
    {
        tab: "Section 2",
        content: "I'm the content of the Section 2"
    }
];
/// App.js
import './App.css';
import {useInput} from "./hooks/useInut";
import {useTabs} from "./hooks/useTabs";
import {contents} from "./dummy/useTabsContent";
function App() {
const maxLen = (value) => value.length <= 10;
const notAt = (value) => !value.includes("@");
const name = useInput("Mr.", notAt);
const {currentItem, changeItem} = useTabs(0, contents);
return (
<div className="App">
<div>
<h1>hello</h1>
<input placeholder="Name" {...name}/>
<div>
{contents.map((section,index) => {
return <button onClick={() => changeItem(index)}>{section.tab}</button>
}
)}
<div>{currentItem.content}</div>
</div>
</div>
</div>
);
}
export default App;
/// useTabs.js

import {useState} from "react";

export const useTabs = (initialTab, allTabs) => {
    const [currentIndex, setIndex] = useState(initialTab);

    if(!allTabs || !Array.isArray(allTabs)) {
        return;
    }
    return {
        currentItem: allTabs[currentIndex],
        changeItem : setIndex,
    };
}
React 처음 공부할 땐 이 형태가 진짜 뭐지 싶었다. 진짜 이게 뭐지? 무슨 코드지 도대체..?
const {currentItem, changeItem} = useTabs(0, contents);
이는 useTabs에서 리턴된 값을 currentItem, changeItem 변수에 바로 저장한다는 뜻이다. useTabs가 구현된 곳의 return 부분을 보자.
/// useTabs.js

import {useState} from "react";

export const useTabs = (initialTab, allTabs) => {
    const [currentIndex, setIndex] = useState(initialTab);

    if(!allTabs || !Array.isArray(allTabs)) {
        return;
    }
    return {
        currentItem: allTabs[currentIndex],
        changeItem : setIndex,
    };
}
currentItem에 현재 선택된 값을 담았고, changeItem엔 setIndex 함수를 담아 한번에 리턴하고 있다. 저렇게 useTabs에서 리턴한 값을 받을 때 currentItem, changeItem 변수에 바로 저장.
왜 이렇게 자세히 말하냐고,,? 내가 이거 몰라서 서러웠거든..
useEffect 활용한 hook
[ 기본개념 ]
useEffect는 라이프사이클을 다룰 때 사용한다.
생김새..모양..
이렇게 생겼다. 함수와 배열을 인자로 전달한다.
useEffect(콜백 함수, 의존성 배열);
useEffect(() => {}, []);
componentDidMount, componentDidUpdate, componentWillUnmount 상황일 때 사용할 수 있다. 바로 사용하는 상황을 보자.
useEffect의 의존성 배열에 무언가 들어있는 경우
componentDidMount + 조건부 componentDidUpdate의 상황이라 할 수 있다.
useEffect의 배열에 변수가 들어가있다면 그 변수가 update될 때 실행된다. mount될 때도 실행된다.
아래와 같은 코드라면 컴포넌트가 마운트 되거나 변수 hi가 업데이트 되는 상황에서 함수가 실행되어 console.log가 찍히게 된다.
useEffect(() => {
   console.log("hello");
},[hi]);
useEffect에 의존성 배열을 넣지 않는경우
componentDidMount + componentDidUpdate의 상황이라 할 수 있다.
useEffect에 dep 배열을 넣지 않으면 컴포넌트가 마운트 되거나, 매번 update 될 때마다 함수가 실행된다.
아래와 같은 코드라면 컴포넌트가 마운트 되거나 업데이트 되는 상황에서 계속 함수가 실행되어 console.log가 찍히게 된다는 말이다.
useEffect(() => {
   console.log("hello");
});
의존성 배열이 있으나, 그 배열이 빈 배열인 경우
배열이 있고, 그 배열이 빈 배열이면 콜백함수가 componentDidMount 때 한번만 실행된다.
컴포넌트가 마운트 되고 딱 한번만 실행된다는 뜻이다.
useEffect(() => {
   console.log("it's first!");
},[]);
useEffect에서 함수를 리턴하는 경우
useEffect에서 return하면 componentWillUnmount 때 호출되는것과 같은 효과를 낼 수 있다.
이벤트 리스너를 삭제하거나 unmount 될 때 처리해야 할 일들을 이렇게 해주면 된다.
useEffect(() => {
    return () => {
     // do something..
    };
});
useTitle
title을 5초 후 변경하는 hook
[ 코드 ]
/// app. js
import './App.css';
import {useEffect, useState} from "react";
import {useTitle} from "./hooks/useTitle";

function App() {

    const titleUpdater = useTitle("Loading...");
    setTimeout(() => titleUpdater("Home"),5000);


    return (
        <div className="App">
                <h1>hello</h1>
        </div>
    );
}

export default App;
/// useTitle.js

import {useEffect, useState} from "react";

export const useTitle = (initialTitle) => {
    const [title,setTitle] = useState(initialTitle);
    const updateTitle = () => {
        const htmlTitle = document.querySelector("title");
        htmlTitle.innerHTML = title;
    }
    useEffect(updateTitle,[title]);
    return setTitle;
}
useEffect에 updateTitle함수 나눠서 쓰는거 너무 좋은듯하다. 왜 이 생각을 못했지;; setTitle함수를 리턴하면서, 지정된 title을 useEffect로 updateTitle 함수를 이용해 사용해주는 코드이다.
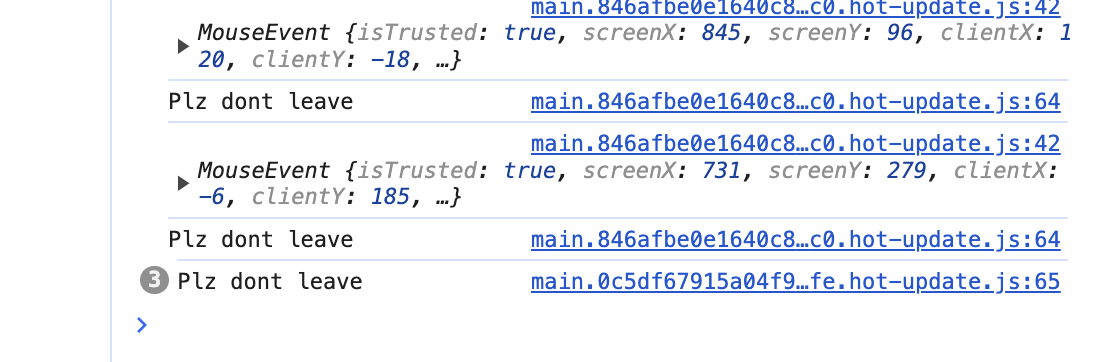
useBeforLeave
마우스가 화면을 떠날 때 콜백함수를 실행하는 Hook
useEffect로 이벤트를 등록, 삭제 할 수 있다. 아래 코드는 mouseleave 이벤트를 등록, 삭제하는 hook이다. 마우스가 화면을 떠나는 위치를 clientX, clientY로 알아내어 관련된 동작을 구현 할 수 있다.
[ 결과이미지 ]
[ 코드 ]
/// app.js

import './App.css';
import {useClick} from "./hooks/useClick";
import {useConfirm} from "./hooks/useConfirm";
import {usePreventLeave} from "./hooks/usePreventLeave";
import {useEffect} from "react";
import {useBeforeLeave} from "./hooks/useBeforeLeave";


function App() {

    const begForLife = () => console.log("Plz dont leave");
    useBeforeLeave(begForLife);
    return (
        <div className="App">
           <h1 ref={title}>HI</h1>
            <button onClick={confirmDelete}>Delete the world</button>
            <div>
                <button onClick={eventPrevent}>prevent</button>
                <button onClick={disablePrevent}>notPrevent</button>
            </div>

        </div>
    );
}

export default App;
/// useBeforLeave.js
import {useEffect} from "react";
export const useBeforeLeave = (onBefore) => {
const handle = (event) => {
const {clientY} = event;
if(clientY <= 0){
onBefore();
}
//console.log(event);
//onBefore();
}
useEffect(() => {
document.addEventListener("mouseleave",handle);
return () => document.removeEventListener("mouseleave",handle);
},[]);
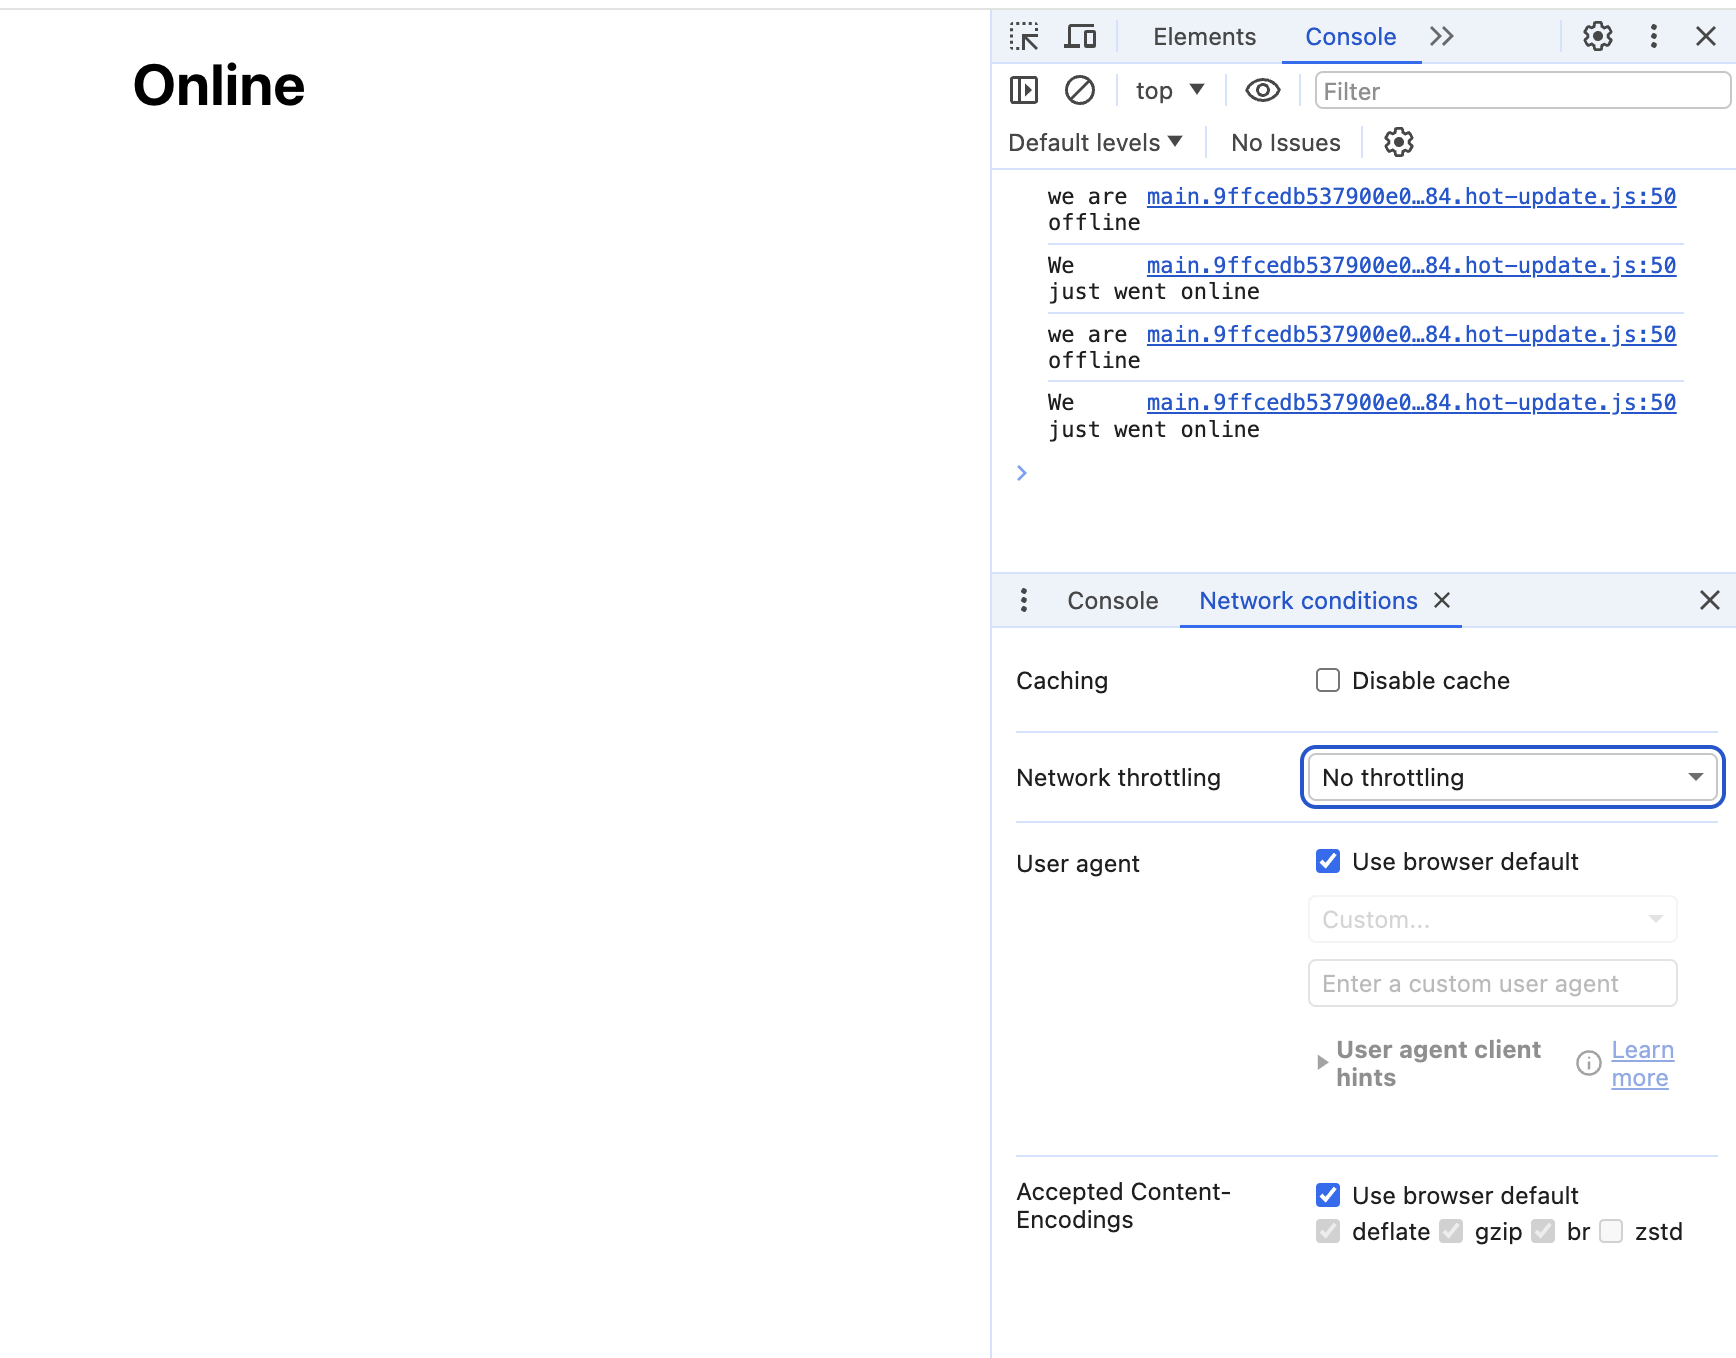
}useNetwork
네트워크 상태(online,offline)을 감지하고 콜백함수를 실행하는 Hook
useNetwork의 return값으로 onLine인지 확인하는 예제이다.useNetwork는 인자로 onChange 함수를 받는다. useEffect함수를 이용해 컴포넌트가 mount 됐을 때 online 이벤트를 add하고, onchange 함수를 실행한다.
[ 결과이미지 ]

[ 코드 ]
/// app.js

import './App.css';
import {useNetwork} from "./hooks/useNetwork";

function App() {
    const handleNetworkChange = (onlLine) => {
        console.log(onlLine ? "We just went online" : "we are offline");
    }
    const onLine = useNetwork(handleNetworkChange);

    return (
        <div className="App">
            <h1>{onLine ? "Online" : "Offline"}</h1>
        </div>
    );
}

export default App;
/// useNetwork.js
import {useEffect, useState} from "react";
export const useNetwork = (onChange) => {
const [status,setStatus] = useState(navigator.onLine);
const handleChange = () => {
if(typeof onChange === "function"){
onChange(navigator.onLine);
}
setStatus(navigator.onLine);
}
useEffect(() => {
window.addEventListener("online", handleChange);
window.addEventListener("offline", handleChange);
return () => {
window.removeEventListener("online", handleChange);
window.removeEventListener("offline", handleChange);
}
},[]);
return status;
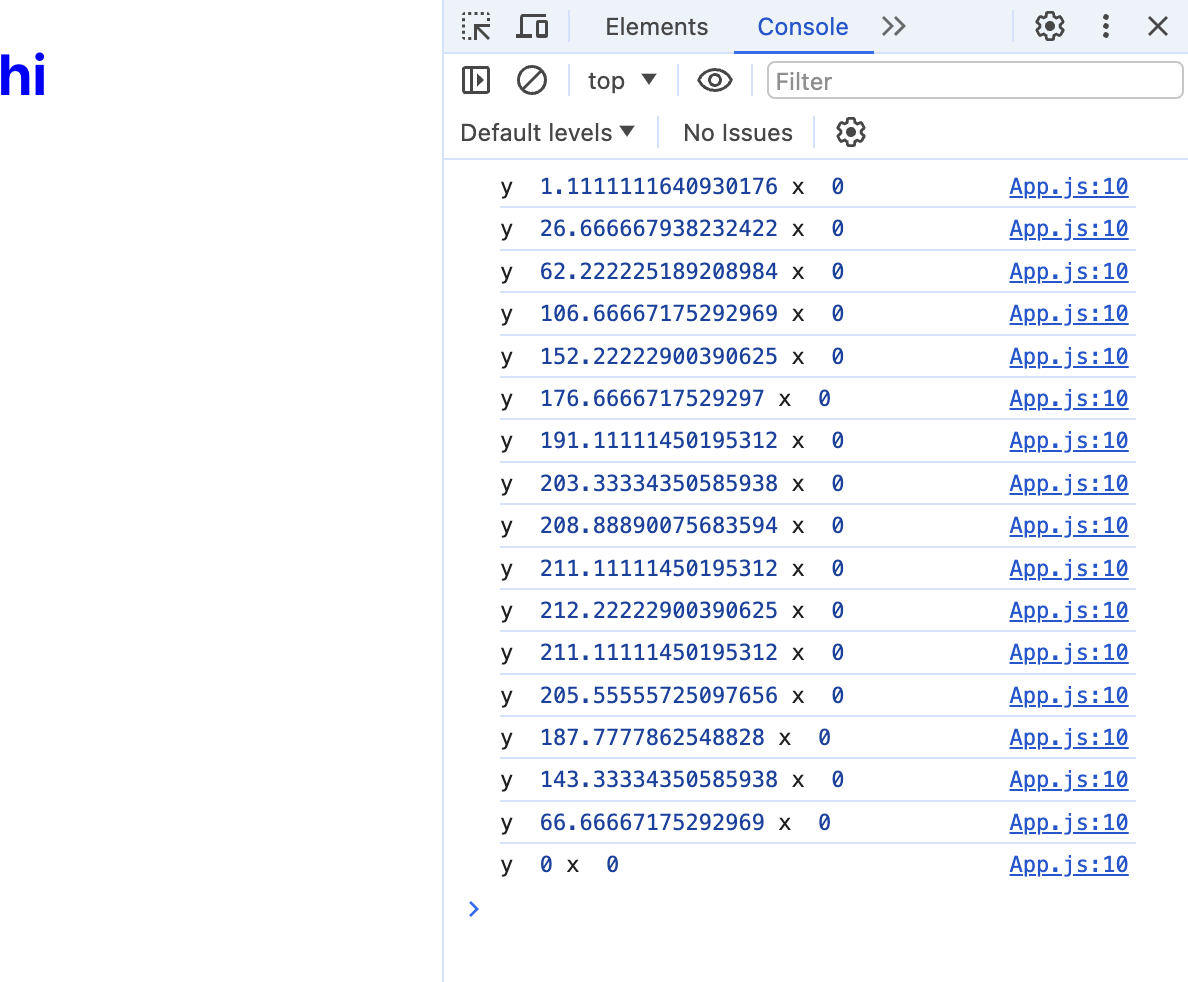
}useScroll
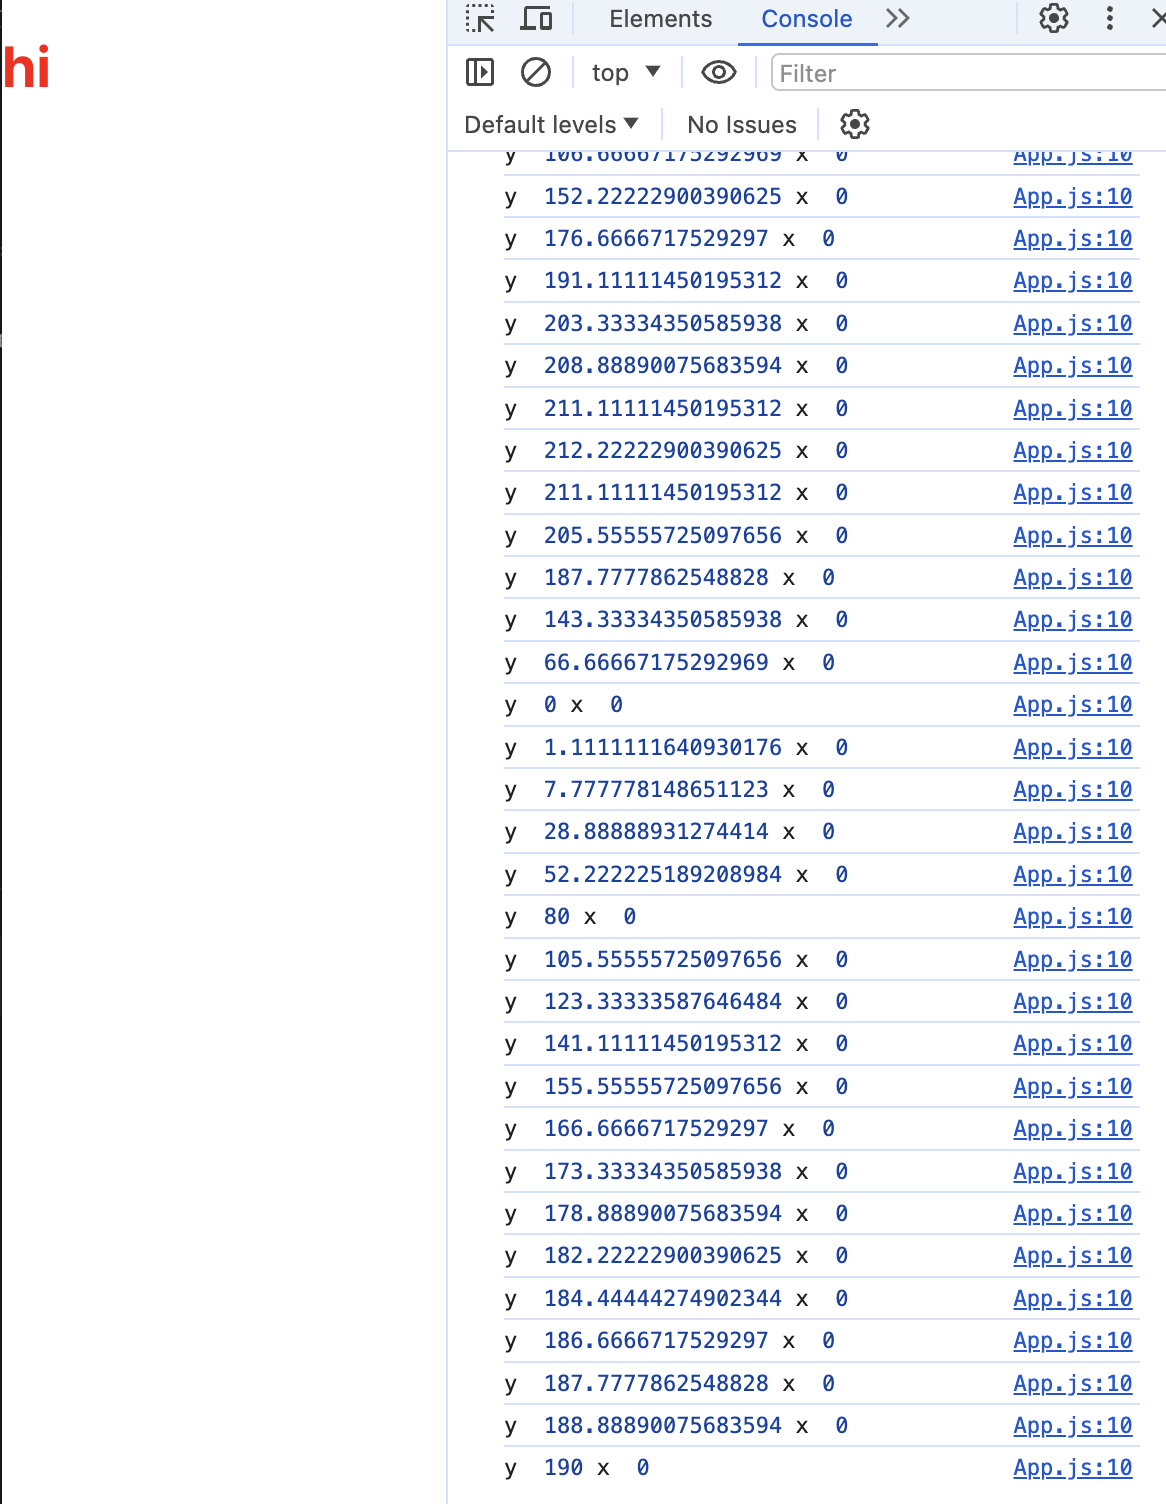
스크롤을 감지하고 콜백함수를 실행하는 Hook
useScroll에서 리턴되는 스크롤의 좌표를 통해 조건문으로 글자 색의 변화를 구현하는 예제이다.
[ 결과이미지 ]
[ 코드 ]
/// app.js
import './App.css';
import {useScroll} from "./hooks/useScroll";


    function App() {
    const {x,y} = useScroll();
    return (
        <div className="App" style={{height:'1000vh'}}>
            <h1 style={{ position:'fixed', color: y > 100 ? 'red' : 'blue'}}>hi</h1>
        </div>
    );
}

export default App;
///  useScroll.js
import './App.css';
import {useScroll} from "./hooks/useScroll";


    function App() {
    const {x,y} = useScroll();
    return (
        <div className="App" style={{height:'1000vh'}}>
            <h1 style={{ position:'fixed', color: y > 100 ? 'red' : 'blue'}}>hi</h1>
        </div>
    );
}

export default App;
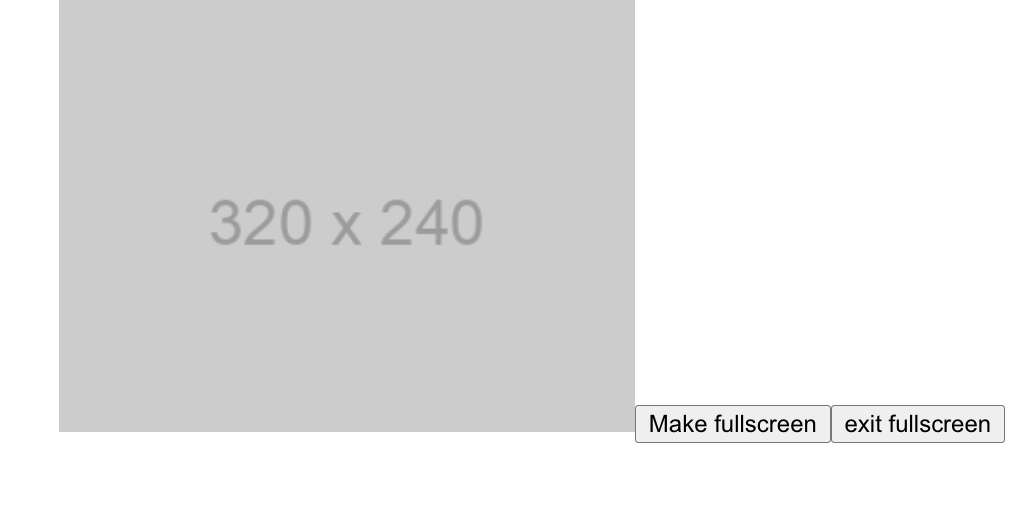
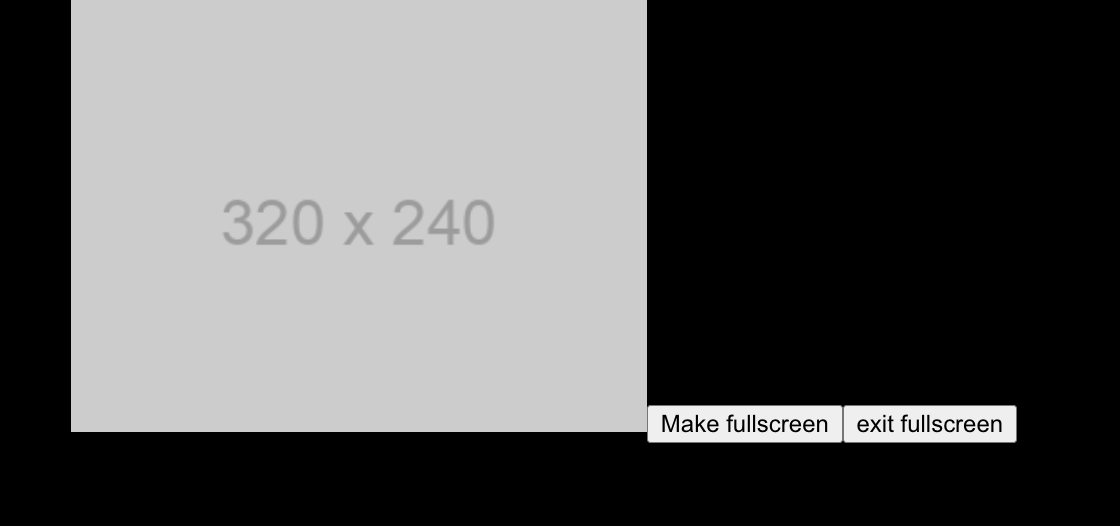
useFullScreen
Fullscreen으로 만들고 exit하는 Hook
useFullScreen으로 Fullscreen을 만들고 해제하며 인자로 넘긴 callback함수를 실행하는 예제이다.
[ 결과이미지 ]
[ 코드 ]
/// useFullScreen.js

import {useRef} from "react";

export const useFullScreen = (callback) => {
    const element = useRef();
    const runCb = (isFull) => {
        if(callback && typeof callback === "function"){
            callback(isFull);
        }
    }

    const triggerFull = () => {
        if(element.current) {
            element.current.requestFullscreen();
        }
        runCb(true);
    }

    const exitFull = () => {
        if(document.exitFullscreen){
            document.exitFullscreen();
        }
        runCb(false);
    }
    return {element, triggerFull ,exitFull};

}
/// app.js
import './App.css';
import {useFullScreen} from "./hooks/useFullScreen";


    function App() {
    const callback = (isFull) => {
        console.log(isFull ? "we are full" : "we are small");
    }
    const {element, triggerFull, exitFull} = useFullScreen(callback);
    return (
        <div className="App" style={{height: '1000vh'}} ref={element} >
            <img src="http://via.placeholder.com/320x240" alt='img'/>
            <button onClick={triggerFull}>Make fullscreen</button>
            <button onClick={exitFull}>exit fullscreen</button>

        </div>
    );
    }

export default App;
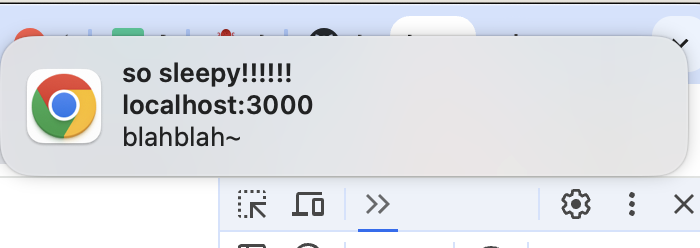
useNotification
notification을 보내는 Hook
실제 hook은 아니지만 함수형 프로그래밍으로 코드를 모듈화 하는 예제이다..
[ 결과이미지 ]
[ 코드 ]
/// useNotification.js

export const useNotification = (title, options) => {
    if(!("Notification" in window)){
        return;
    }
    const fireNotif = () => {
        if(Notification.permission !== "granted"){
            Notification.requestPermission().then(permission => {
                if(permission === "granted"){
                    new Notification(title, options);
                }else{
                    return;
                }
            });
        } else {
            new Notification(title, options);
        }
    }

    return fireNotif;
}
/// app.js
import './App.css';
import {useNotification} from "./hooks/useNotification";
function App() {
const triggerNotif = useNotification("so sleepy!!!!!!", {body:"blahblah~"});
return (
<div className="App" style={{height: '1000vh'}}>
<button onClick={triggerNotif}>Hello</button>
</div>
);
}
export default App;
onClick 함수를 외부에서 작성하여 처리해주는것도 좋은 방법같다. 특히 권한처리같은 경우 코드가 지저분해지는..경우가 많은데 (실력차이 일 수도..) 이런식으로 작성한다면 깔끔한 처리 가능..!
useAxios
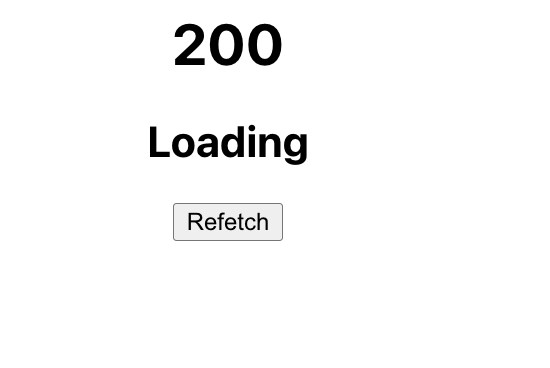
axios를 사용해 loading, 데이터 요청 등을 처리하는 Hook
axios라이브러리를 통해 api요청을 하고 로딩, 데이터 도착, 에러, refetch 등 상태관리를 하는 코드이다.
[ 결과이미지 ]
[ 코드 ]
/// useAxios

import defaultAxios from 'axios';
import {useEffect, useState} from "react";

const useAxios = (opts, axionsInstance = defaultAxios) => {
    const [state,setState] = useState({
        loading:true,
        error:null,
        data:null
    });

    const [trigger, setTrigger] = useState(0);
    const refetch = () => {
        setState({
            ...state,
            loading: true,
        });
        setTrigger(Date.now());
    }
    useEffect(() => {
    axionsInstance(opts)
        .then((data) => {
        setState({
            ...state,
            loading:false,
            data
        });
    }).catch((error) => {
        setState({...state,loading:false,error})
    })
    }, [trigger]);
    if(!opts.url){
        return;
    }

    return {...state, refetch};

}
export default useAxios;
import './App.css';
import useAxios from "./hooks/useAxios";
function App() {
const {loading,data,error,refetch} = useAxios({url : "https://yts.mx/api/v2/list_movies.json"});
return (
<div className="App" style={{height: '1000vh'}}>
<h1>{data && data.status}</h1>
<h2>{loading && "Loading" }</h2>
<button onClick={refetch}>Refetch</button>
</div>
);
}
export default App;
이 형태는 react query와 비슷한 형태.. 너무 좋은 코드다.
	const { isLoading, data, refetch } = useQuery({
		queryKey: ['key',id],
		queryFn: () => apiClient.getData(id),
	});
hook들은 어떤 이벤트를 감지하고 그거에 대한 상태관리를 통해 목표로 하는 기능을 구현하는데 목적을 두는것 같다. hook의 리턴값만을 이용해서 기능구현을 편리하게 하고 hook코드를 다른파일로 분리해서 가독성까지 높이기.. 너무 좋은 방법인듯. 연습 더 해봐야겠다.
useRef는 component의 어떤 부분을 선택할 수 있는 방법이다. document.getElementById()와 같음.
React 공부를 하면 할 수록 Flutter와 비슷하다는 생각을 자주 하게된다. Flutter에서 커스텀 컴포넌트를 만들어서 코드량을 줄이고 가독성을 높이는 작업을 할 때 너무 재밌었는데 이젠 묵혀왔던 React와 RN 코드들을 다 분해 해 볼 때가 된거같다. 다른 파일로 코드를 옮겨서 이 코드만으로 여러가지 input필드들의 이벤트를 처리할 수 있다는 점이 재밌는 포인트다..
맨 위에서 말한 잘 모르겠는 느낌은 useEffect가 생명주기와 관련되어있다는 생각을 못하고 썼다는 점이다. 파일을 분리 해서 코드 재사용 할 생각도 못하고 있었고. 온오프라인 확인하는 hook같은 경우에는 바로 적용해봐야겠다.
참고
다음을 공부하며 정리한 글입니다
노마드코더 - 실전형 리액트 훅
