cva로 재사용 가능한 UI 만들기 (feat. cva: class-variance-authority, tailwind-merge, clsx, shadcn)
라이브러리

서론
cva, tailwindmerge, clsx 조합을 통해 재사용 가능한 UI를 만들 수 있는데 해당 방법을 알게 된 경로는 shadcn/ui와 tailwind를 조합하여 컴포넌트를 사용하고 나서이다.
shadcn/ui와 tailwind를 조합에 대한 포스팅을 참고하면 좋다.
shadcn/ui 와 tailwind 라이브러리 함께 사용하기
...
cva란?
class-variance-authority라이브러리의 약자로 일관성 있는 UI를 정의하고 사용할 수 있도록 도와주는 툴로써 shadcn/ui 컴포넌트의 핵심 도구이기도 하다.
tailwind-merge란?
스타일 충돌 없이 자바스크립트에서 tailwind CSS 클래스를 효율적으로 병합하는 기능을 가진 라이브러리
사용 예시
import { twMerge } from 'tailwind-merge'

twMerge('px-2 py-1 bg-red hover:bg-dark-red', 'p-3 bg-[#B91C1C]')
// → 'hover:bg-dark-red p-3 bg-[#B91C1C]
➡️ 기존 css 케스케이딩 방식이라면 p-3 bg-[#B91C1C] 가 적용되지 않는데, 위와 같이 twMerge를 적용하면 hover 시에는 px-2 py-1 bg-red 클래스 대신 p-3 bg-[#B91C1C] 를 적용하여 우리가 기대한 클래스를 적용할 수 있다.
clsx란?
조건부 className를 구성하기 쉬우며 크기가 작은 장점이 있는 라이브러리이다.
어떻게 사용하나요?
1. install
npm install --save clsx
npm install tailwind-merge
npm install class-variance-authority
➡️ 사실 shadcn/ui를 사용한다면 위 라이브러리들이 자동으로 install 된다!(tailwind는 이미 있다는 전제 하에 진행.)
2. utils 작성 (선택사항)
import { type ClassValue, clsx } from 'clsx';
import { twMerge } from 'tailwind-merge';

export function cn(...inputs: ClassValue[]) {
  return twMerge(clsx(inputs));
}
➡️ 이 유틸함수는 tailwind를 merge할 때 발생할 수 있는 클래스 충돌 문제를 해결해준다. shadcn/ui에 사용할 때 기본으로 @/lib/utils.ts 위치에 생성된다. cn 함수를 사용할 때만 작성해준다.
3. 재사용 가능한 컴포넌트 만들기
실제 토이 프로젝트에서 사용한 코드
import { cva, type VariantProps } from 'class-variance-authority';
import { ButtonHTMLAttributes, FC } from 'react';

import { cn } from '../../lib/utils'; // 절대 경로 설정 시 스토리북 에러로 인해 상대경로로 수정

const ButtonVariants = cva(``, {
  variants: {
    variant: {
      more: 'bg-transparent hover:underline text-black-800',
      register: 'bg-black hover:bg-gray-800 text-white',
      cancel:
        'bg-transparent border border-gray-300 hover:bg-gray-300 hover:text-white text-gray-500',
    },
    shape: {
      square: 'rounded-none',
      primary: 'rounded',
      full: 'rounded-full',
    },
    size: {
      small: 'text-sm py-1 px-2',
      medium: 'text-base py-2 px-6',
      large: 'text-lg py-3 px-6',
    },
    weight: {
      normal: 'font-normal',
      medium: 'font-medium',
      semibold: 'font-semibold',
      bold: 'font-bold',
    },
  },
  defaultVariants: {
    variant: 'more',
    shape: 'square',
    size: 'small',
    weight: 'normal',
  },
});

interface ButtonProps
  extends ButtonHTMLAttributes<HTMLButtonElement>,
    VariantProps<typeof ButtonVariants> {
  children?: React.ReactNode;
}

export const CustomButton: FC<ButtonProps> = ({
  variant,
  shape,
  size,
  weight,
  children,
  ...props
}) => {
  return (
    <button className={cn(ButtonVariants({ variant, shape, size, weight }))} {...props}>
      {children}
    </button>
  );
};-
class-variance-authority에서 cva를 import 하고 첫번째 인자로는 공통 속성(없을 경우 위 코드처럼 ''로 빈 값을 넣어주어야 한다.), 두 번째 인자로는 variants 객체를 넣어준다. -
variants 객체 안 커스텀할 속성을 작성해준다.
-
interface를 설정해주고 사용할 HTML 속성과 위 에 작성해준
ButtonVariants을 타입으로 가져와 cva의VariantProps두 가지를 extends 해준다. -
CustomButton컴포넌트에 커스텀해둔 속성을 전달하고 className에cnimport한 것을 위와 같이 작성해준다.
4. 실제 코드에 사용하기
<CustomButton variant='register' shape='square' size='medium' weight='bold'>
  관심공연
</CustomButton>
<CustomButton variant='cancel' shape='square' size='medium' weight='bold'>
  홈페이지
</CustomButton>
➡️ 원하는 스타일의 속성을 전달해주어 사용할 수 있다.
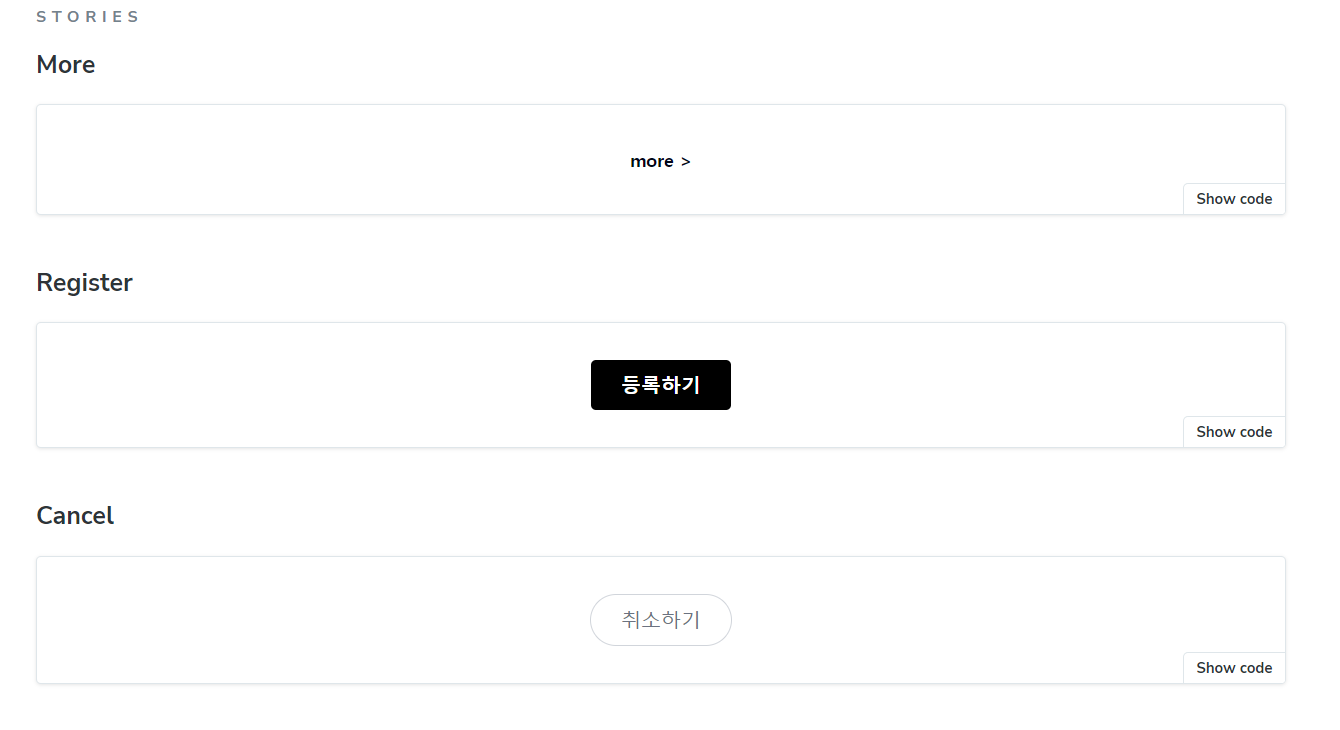
스토리북에 적용하기
import type { Meta, StoryObj } from '@storybook/react';

import { CustomButton } from './CustomButton';

const meta = {
  title: 'Component/Button',
  component: CustomButton,
  tags: ['autodocs'],
  parameters: {
    layout: 'centered',
  },
  argTypes: {
    variant: {
      options: ['more', 'register', 'cancel'],
      control: { type: 'select' },
    },
    shape: {
      options: ['square', 'primary', 'full'],
      control: { type: 'select' },
    },
    size: {
      options: ['small', 'medium', 'large'],
      control: { type: 'select' },
    },
    weight: {
      options: ['normal', 'medium', 'semibold', 'bold'],
      control: { type: 'select' },
    },
  },
} satisfies Meta<typeof CustomButton>;

export default meta;
type Story = StoryObj<typeof meta>;

export const More: Story = {
  args: {
    variant: 'more',
    shape: 'square',
    size: 'small',
    weight: 'bold',
    children: 'more >',
  },
};

export const Register: Story = {
  args: {
    variant: 'register',
    shape: 'primary',
    size: 'medium',
    weight: 'bold',
    children: '등록하기',
  },
};

export const Cancel: Story = {
  args: {
    variant: 'cancel',
    shape: 'full',
    size: 'medium',
    weight: 'medium',
    children: '취소하기',
  },
};
🌟 스토리북 사용 시 주의할 점은 컴포넌트에서 cn을 import하는 경우에 절대경로가 아닌 상대경로로 작성해주어야 확인할 수 있다.
자동완성으로 import를 하게 되면 해당 경로와 같이 불러와지는데 import { cn } from '@/lib/utils';
스토리북이 위 경로를 인식하지 못해서 상대경로로 지정해주었다.
import { cn } from '../../lib/utils';

저는 스토리북 경로 문제tsconfig의 baseUrl을 '.'으로 변경해서 해결되더라구여