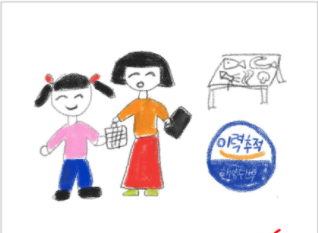
그림일기 프로젝트에 필요한 컴포넌트들을 만들었다.
간단하고, 작은 부분부터 만들었는데,
styled components 라이브러리를 사용했다.
컴포넌트 안에서 CSS를 적용할 수 있어서, 편했고 재미있었다.
잊기전에 코드들을 블로깅하려 TIL을 쓴다.
styled-components
npm i styled-component
타입스크립트를 사용하기 때문에, 아래 @types도 설치했다.
npm i @types/styled-component
import React from 'react'
import styled from "styled-components"

const MainComment = styled.div`
	background: yellow;
	font-size: 1.3em;
	margin: 1px;
`;

function Comment(){
 return (
    <MainComment>블로깅~!<MainComment/>

 )
}

export default Comment
이런식으로 styed.div , span h1 등 필요한 태그를 붙여 사용하면 된다.
처음엔 불편했지만, 쓰다보니 더 빠르고 편했다.
올드한 컨셉이라 일부러 구리게 CSS를 하는데 나는 이게 더 힘들다.😭
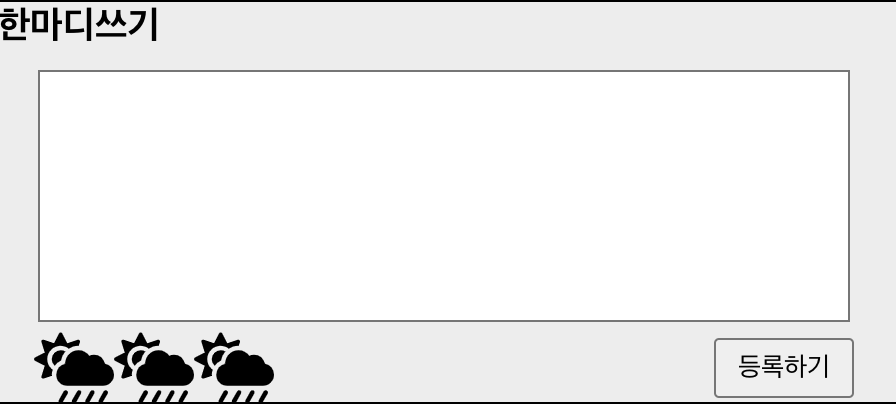
하단의 아이콘 부분은 스티커를 남기는 부분인데,
우선 임시로 가지고있는 날씨 아이콘을 넣어두었다.
추후 변경 예정,
복습한 내용
- justify-content : 가로 정렬
- align-items : 세로 정렬
- display : 블록, 인라인 요소 결정
공부가 더 필요한 내용
- flex box 연습
- hover 외 다양한 이벤트들
import React from "react";
import styled from "styled-components";

function CreateComment() {
	const CommentBox = styled.div`
		width: 450px;
		height: 200px;
		border: 1px solid black;
		margin-left: 10px;
		background: #ededed;
	`;
	const CommentBoxTitle = styled.h3`
		margin: 0px;
	`;

	const CommentInput = styled.textarea`
		width: 400px;
		height: 120px;
		background: white;
		margin-top: 10px;
		margin-left: 20px;
		resize: none;
		font-size: 1.5em;
	`;

	const CommentStampSend = styled.div`
		display: flex;
		align-items: center;
		justify-content: flex-end;
	`;

	const CommentSendButton = styled.button`
		width: 70px;
		height: 30px;
		align-items: center;
		justify-content: center;
		display: flex;
		margin-right: 22px;
		margin-left: 220px;
	`;

	return (
		<CommentBox>
			<CommentBoxTitle>한마디쓰기</CommentBoxTitle>
			<CommentInput />
			<CommentStampSend>
				<img
					className="date_weather"
					src="이미지 링크"
					alt=""
					width="40px"
					height="40px"
				/>
				<img
					className="date_weather"
					src="이미지 링크"
					alt=""
					width="40px"
					height="40px"
				/>
				<img
					className="date_weather"
					src="이미지 링크"
					alt=""
					width="40px"
					height="40px"
				/>
				<CommentSendButton>등록하기</CommentSendButton>
			</CommentStampSend>
		</CommentBox>
	);
}

export default CreateComment;

programming!