주저리 주저리
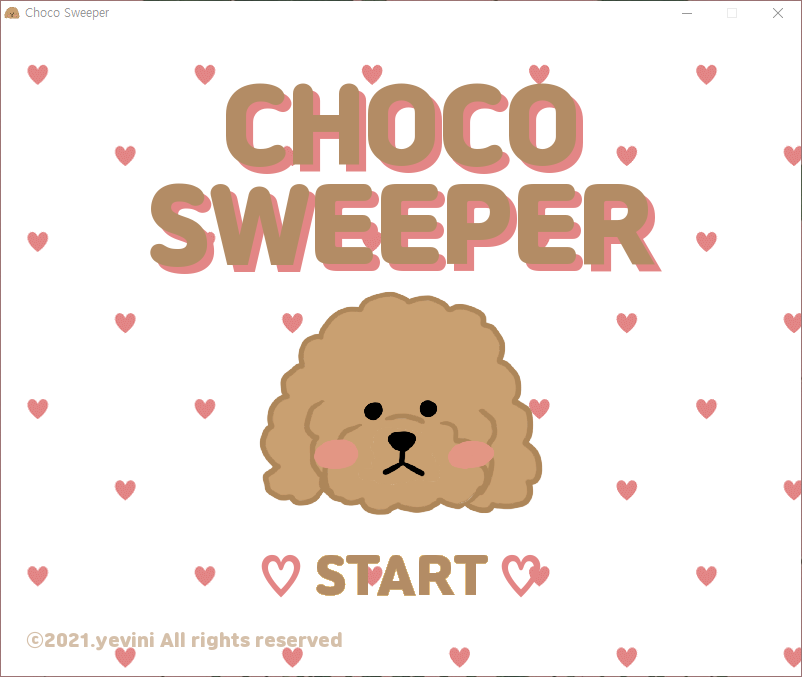
친구들의 더블클릭을 빨리좀 만들어달라는 의견 하에 정처기 필기가 끝나고 더블클릭 기능과 레벨선택 기능을 추가하여 초코 찾기 버전2를 만들었다.. 누구들은 깃허브에 잔디밭도 만들고 한다던데 내 깃허브는 지뢰찾기인 것인가🤢 v2를 마지막으로 초코찾기를 마무리 하였다!
0. 실행화면
레벨 선택 화면
커스텀 화면
초급 화면
1. 더블클릭 확인하기
pygame에는 아쉽게도 따로 더블클릭을 인식하는 라이브러리는 없어서 직접 구현을 해야했다.
더블클릭이 가능한 조건은
- 해당 칸이 열려 있어야 한다.
- 해당 칸 주위의 지뢰 갯수와 깃발 갯수가 같아야 한다.
수정된 보드 클릭 이벤트 발생시 코드
      elif boardSurf.collidepoint(event.pos) : #board pressed
            if startTime == 0: #timer on
                  startTime = time.time()
            index = getBoardIndex(cellx, celly)
            cell = board[index]
            if cell['flag'] == OPENED:
                  flagCount = getFlagCount(board, cell)

                  doubleTime = time.time()
                  doubleCheck = checkDouble(doubleTime, event.pos)
                  if doubleCheck == 1 and cell['count'] == flagCount:
                        setAroundOpened(board, cell)
해당 칸이 OPENED인지 확인 후 더블클릭을 확인하는 함수 checkDouble()을 실행하여 더블클릭이고 지뢰와 깃발의 수가 일치하는 경우 setAroundOpened()를 통해 깃발 칸을 제외한 주변 칸을 모두 연다.
더블 클릭을 확인하기
def checkDouble(doubleTime,  firstPos):

      passTime = 0

      while( passTime < 0.5):
            passTime = time.time() - doubleTime
            for event in pygame.event.get():
                  if event.type == MOUSEBUTTONUP:
                        if event.pos == firstPos :
                              return 1

      else:
            return 0
500ms 이내로 같은 좌표에 클릭 이벤트 발생시 1을 리턴하고 더블클릭이 확인되지 않은 경우 0을 리턴한다.
2. 레벨 선택하기
레벨은 총 4가지로 설정하였다.
- 초급 : 15 x 10
- 중급 : 20 x 20
- 고급 : 30 x 20 (기존 사이즈)
- 커스텀 : 사용자 입력
레벨 선택하기
def showLevelScreen():


    	...


            for event in pygame.event.get():
                  if event.type == QUIT:
                        terminate()
                  elif event.type == MOUSEBUTTONUP:

                        if beginnerRect.collidepoint((event.pos[0], event.pos[1])):
                              playButtonSound()
                              return 15, 10, 20

                        elif intermediateRect.collidepoint((event.pos[0], event.pos[1])):
                              playButtonSound()
                              return 20, 20, 80

                        elif advancedRect.collidepoint((event.pos[0], event.pos[1])):
                              playButtonSound()
                              return 30, 20, 120

                        elif customRect.collidepoint((event.pos[0], event.pos[1])):
                              playButtonSound()
                              wNum, hNum, pNum = showCustomScreen(customRect)
                              if wNum ==0 and hNum==0 and pNum==0:
                                    continue
                              return wNum, hNum , pNum
각 레벨에 맞는 가로, 세로, 지뢰를 반환한다.
커스텀 레벨의 경우 showCustomScreen()을 실행하여 사용자의 입력을 받을 수 있게 한다.
커스텀 레벨 입력받기
def showCustomScreen(customRect):

      ...

      textType = None

      wText = ""
      hText = ""
      pText = ""

      wColor = BGCOLOR
      hColor = BGCOLOR
      pColor = BGCOLOR

      while(True):

            for event in pygame.event.get():
                  if event.type == QUIT:
                        terminate()
                  elif event.type == MOUSEBUTTONUP:

                        if customWTBoxRect.collidepoint((event.pos[0], event.pos[1])):
                              wColor = LINECOLOR
                              hColor = BGCOLOR
                              pColor = BGCOLOR
                              textType = 'W'
                        elif customHTBoxRect.collidepoint((event.pos[0], event.pos[1])):
                              hColor = LINECOLOR
                              wColor = BGCOLOR
                              pColor = BGCOLOR
                              textType = 'H'
                        elif customPTBoxRect.collidepoint((event.pos[0], event.pos[1])):
                              pColor = LINECOLOR
                              wColor = BGCOLOR
                              hColor = BGCOLOR
                              textType = 'P'
                        elif customButtonRect.collidepoint((event.pos[0], event.pos[1])):
                              playButtonSound()

                              try :
                                    wNum = int(wText)
                                    hNum = int(hText)
                                    pNum = int(pText)
                              except ValueError :
                                    message = "1~100 사이의 숫자를 입력하세요!"
                                    drawErrorMessage(message)
                              else:

                                    if wNum < 15 or wNum > 60:
                                          message = "15~60 사이의 가로 숫자를 입력하세요!"
                                          drawErrorMessage(message)
                                    elif hNum < 10 or hNum > 30:
                                          message = "10~30 사이의 세로 숫자를 입력하세요!"
                                          drawErrorMessage(message)
                                    elif pNum < 1:
                                          message = "0보다 큰 지뢰의 숫자를 입력하세요!"
                                          drawErrorMessage(message)
                                    elif pNum >= wNum * hNum:
                                          message = "칸 수보다 적은 지뢰의 숫자를 "
                                          drawErrorMessage(message)
                                    else:
                                          return wNum, hNum, pNum
                        elif customBackRect.collidepoint((event.pos[0], event.pos[1])):
                              playButtonSound()
                              return 0, 0, 0
마우스로 선택된 박스를 표시한다. 입력된 수가 사전에 정의된 수의 범위를 벗어난 경우 drawErrorMessage()로 에러 메세지를 출력한다.
                  elif event.type == KEYDOWN:
                        if textType == 'W':
                              if event.key == K_BACKSPACE:
                                    wText = wText[:-1]
                              else:
                                    if len(wText) < 2:
                                          wText += event.unicode
                        elif textType == 'H':
                              if event.key == K_BACKSPACE:
                                    hText = hText[:-1]
                              else:
                                    if len(hText) < 2:
                                          hText += event.unicode
                        elif textType == 'P':
                              if event.key == K_BACKSPACE:
                                    pText = pText[:-1]
                              else:
                                    if len(pText) < 2:
                                          pText += event.unicode
선택된 박스안에 수를 입력받는다.
3. 전체 코드는 ..
깃헙에서 .. 💩
https://github.com/yevini118/choco_sweeper
외계인 코드인가👽
너무 게을러버린 나였다,, 몇개월만에 이 게시물을 이어 쓰고있다니🙃 쓰다가 말았던 게시글을 백만년만에 다시쓰려니까 내 코드지만 뭐였는지도 모르겠다,, 언젠가 심심한 내가 리팩토링를 할것이라 믿으며 얼레벌레 게시글 마무리하기^^!!
-choco_sweeper 시리즈 끝-

