- 프로젝트 준비
- Java 11
- IntelliJ
- 스프링 부트 스타터 사이트(https://start.spring.io)에서 스프링 프로젝트 생성
- Project: Gradle Project
- Spring Boot: 2.6.2
- Language: Java
- Packaging: Jar
- Java 11
- Meta data:
- groupId: hello
- artifactId: hello-spring
- Dependencies: Spring Web, Thymeleaf
package hello.hellospring;

import org.springframework.boot.SpringApplication;
import org.springframework.boot.autoconfigure.SpringBootApplication;

@SpringBootApplication
public class HelloSpringApplication {

	public static void main(String[] args) { //main 함수 실행
		SpringApplication.run(HelloSpringApplication.class, args);
	}

}
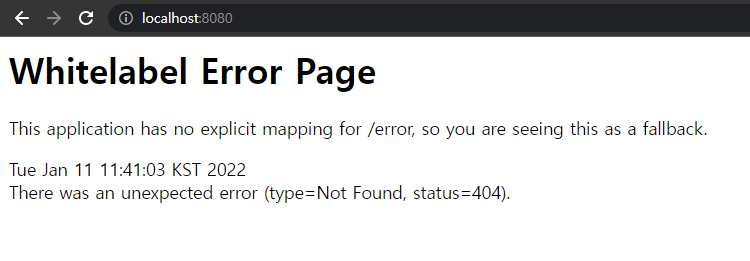
✅ 실행 결과
- localhost:8080에 연결됨


spring boot application은 톰캣 웹서버를 자체적으로 내장하고 있기 때문에 어플리케이션과 서버가 함께 띄워진다.
💡 Tip Preferences > Build, Execution, Deployment > Builde Tools > Gradle 에서 'Build and run using', 'Run tests using'의 설정값을 Gradle에서 IntelliJ로 변경하면 좀 더 빠르게 실행이 가능하다. Gradle을 통하지 않고 바로 Java를 띄워서 실행시키기 때문이다.
스프링입문01(김영한)
