무한 스크롤 리스트를 구현하는 과제를 받았습니다.
Intersection Observer API을 사용하여 구현하는 과정을 설명합니다.
Intersection Observer API
Intersection Observer API는 뷰포트와 타겟으로 설정한 요소의 교차점을 관찰하여, 타겟 요소가 뷰포트에 포함되었는가를 판단하는 기능을 제공합니다. 이러한 특징을 이용해 무한스크롤을 구현할 예정입니다. 뷰포트 요소의 스크롤이 끝나는 지점에 타겟 요소를 만들고 스크롤을 내리다가 뷰포트와 타겟 요소가 겹치는 시점을 스크롤의 끝으로 인지하여 api를 요청하여 데이터를 추가하는 방식으로 무한스크롤을 구현해보겠습니다
구현
첫번째. IntersectionObserver 인스턴스 생성 후 callbcak, options 전달
첫번째로 IntersectionObserver 인스턴스를 만들어주고 인자로 callback과 options를 전달합니다.
const callback = ((entries, observer) => {});
const observer = new IntersectionObserver(callback, {
  root: null,
  // root를 지정하지 않거나 null로 설정하면 브라우저 뷰포트가 사용됩니다
  rootMargin: "0px",
  threshold: 1.0,
});
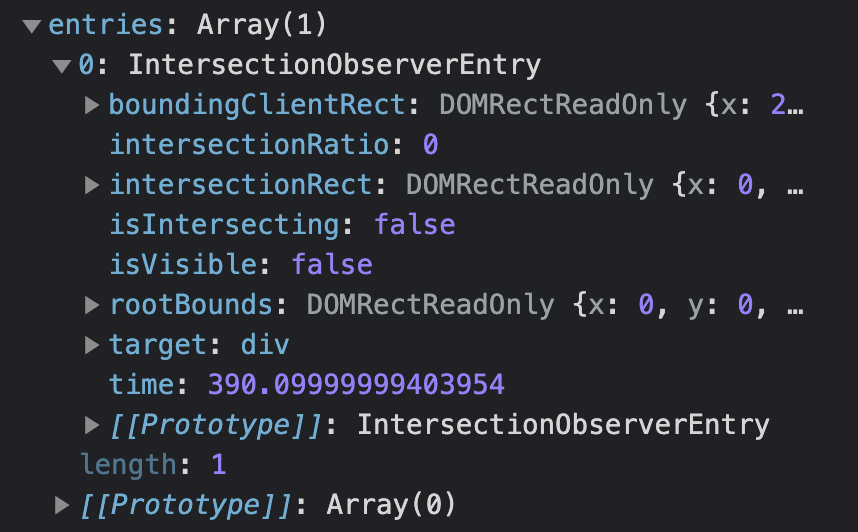
첫번째 인자로 전달된 callabck 함수는 뷰포트와 타겟 요소가 교차되는 시점에 실행됩니다. callabck 함수의 첫번째 인자인 entries에는 여러가지 속성이 있는데 그중 isIntersecting이라는 속성으로 타겟요소와 뷰포트가 교차되었는지를 판단할 수 있습니다.
뷰포트와 타겟요소가 겹치면 isIntersecting는 true가 되고 반대의 경우에는 false가 됩니다.
entries를 콘솔에 찍어보면 아래와같이 배열안에 여러가지 속성이 담겨있는것을 보실 수 있는데요

이 중에 제가 필요한 속성은 isIntersecting이기 때문에 아래와같이 구조분해할당을 통해 가져왔습니다.
isIntersecting 이외의 속성은 여기에서 확인하시면 됩니다. 설명이 정말 잘되있어요! 👏🏻
const callback = ([{ isIntersecting }], observer) => {
  if (isIntersecting) {
    console.log('뷰포트에 타겟요소가 포함되었습니다')
  }
};
IntersectionObserver 인스턴스를 만들때 사용되는 두번째 인자의 option에는 root, rootMargin, threshold를 넣을 수 있습니다.
root
root 속성이 지정되지 않거나 null이면 기본값으로 브라우저 뷰포트를 사용한다고 합니다. - 참고글
제가 구현하는 무한스크롤 기능은 브라우저 뷰포트를 사용하기 때문에 root 속성을 null로 전달하였습니다,
rootMargin
rootMargin은 말그대로 margin을 사용하여 root 요소 영역을 수축 혹은 증가 시킵니다. 기본값은 0입니다!
threshold
위에서 root 요소와 target 요소가 교차되는 시점에 콜백이 실행된다고 하였는데요, threshold 속성을 사용하여 target 요소가 root 요소에 얼만큼 교차되었을때 콜백 함수가 실행되는지를 설정할 수 있습니다. threshold 속성에는 가시성의 퍼센트를 나타내는 단일 숫자 혹은 숫자 배열을 전달할 수 있는데요. 예를 들어 단일 숫자로 1을 넘겼을 경우 target 요소의 모든 픽셀이 화면에 노출되어야 콜백함수가 실행됩니다. 그리고 숫자 배열로 [0, 0.5, 1]을 넘기게 되면 target 요소의 가시성 퍼센트가 0, 0.5, 1일때 모두 콜백 함수가 실행됩니다.
두번째. 타겟 요소 등록하기
뷰포트와 겹치는 타겟 요소를 등록합니다.
const LoadPointRef = useRef(null);

const target = LoadPointRef.current;

const callback = ([{ isIntersecting }], observer) => {
  if (isIntersecting) {
    console.log('뷰포트에 타겟요소가 포함되었습니다')
  }
};

const observer = new IntersectionObserver(callback, {
  root: null,
  rootMargin: "0px",
  threshold: 1.0,
});

observer.observe(target);LoadPointRef는 뷰포트로 지정한 요소의 스크롤이 끝나는 지점에 생성해둔 타겟요소에 넣어주었습니다.
<ul>
  <li></li>
  <li></li>
  <li></li>
  <li></li>
  <li ref={LoadPointRef}></li>
</ul>
세번째. api 등록하기
뷰포트와 타겟요소가 겹치는 시점에 실행해줄 api를 등록합니다
데이터를 불러오는 함수를 먼저 만들어 최초 렌더링시에 해당 함수가 실행될 수 있도록 해주었습니다
const loadComments = async (page) => {
  setLoading(true);
  try {
    const comments = await getComments(page);
    setComments((prev) => [...prev, ...comments]);
  } catch (e) {
    console.error(e);
  } finally {
    setLoading(false);
  }
};

// 사용
useEffect(() => {
  loadComments();
}, []);
무한스크롤시 데이터를 추가로 불러오는 함수를 만들어 뷰포트와 타겟요소가 교차되는 시점에 실행될 수 있도록 하였습니다
// 무한스크롤시 데이터 가져오는 함수
 const loadMoreComments = useCallback(async () => {
   if (comments.length > 0) {
     currentPage.current++;

     loadComments(currentPage.current);
   }
 }, [comments]);
// Intersection Observer 인스턴스 callback에 loadMoreComments 함수 추가
useEffect(() => {
const target = LoadPointRef.current;
const callback = ([{ isIntersecting }]) => {
console.log({ isIntersecting, loading });
if (isIntersecting && !loading) {
loadMoreComments();
}
};
const observer = new IntersectionObserver(callback, {
root: null,
rootMargin: "0px",
threshold: 1,
});
observer.observe(target);
}, [LoadPointRef, loading, loadMoreComments]);네번째. 리팩토링
IntersectionObserver API를 custom hooks로 만들어서 무한스크롤이 필요한 곳에 재사용이 가능하도록 만들수도 있습니다. 아래처럼 말이죠
컴포넌트의 특성에 따라 다르게 적용될 수 있는 부분을 파라미터로 받아 재사용이 가능하도록 합니다
뷰포트, 타겟요소, intersection options, 뷰포트와 타겟요소가 교차되는 시점에 실행될 함수를 파라미터로 받아 각각의 컴포넌트의 특성에 따라 재사용할 수 있도록 합니다
아래의 코드는 참고글에서 가져왔습니다. 좋은 코드 공유해주셔서 감사합니다 👍🏻
import { useEffect } from "react";

export const useIntersectionObserver = ({
  root = null,
  target,
  onIntersect,
  threshold = 1.0,
  rootMargin = "0px",
}) => {
  useEffect(() => {
    const observer = new IntersectionObserver(onIntersect, {
      root,
      rootMargin,
      threshold,
    });

    if (!target) {
      return;
    }

    observer.observe(target);

    return () => {
      observer.unobserve(target);
    };
  }, [target, root, rootMargin, onIntersect, threshold]);
};
위의 custom hooks는 사용되는 곳에서 아래와 같이 사용됩니다
useIntersectionObserver({
  target: LoadPointRef.current,
  onIntersect: ([{ isIntersecting }]) => {
    if (isIntersecting && !loading) {
      loadMoreComments();
    }
  },
});
custom hooks를 이용함으로써 내부적인 구현은 숨기고 코드 파악에 필수적인 핵심정보만 노출할 수 있습니다.
custom hook 사용 전 후 비교 코드
사용전,
useEffect(() => {
    const target = LoadPointRef.current;

    const callback = ([{ isIntersecting }]) => {
      if (isIntersecting && !loading) {
        loadMoreComments();
      }
    };

    const observer = new IntersectionObserver(callback, {
      root: null,
      rootMargin: "0px",
      threshold: 1,
    });

    observer.observe(target);
  }, [LoadPointRef, loading, loadMoreComments]);
사용후
  useIntersectionObserver({
    target: LoadPointRef.current,
    onIntersect: ([{ isIntersecting }]) => {
      if (isIntersecting && !loading) {
        loadMoreComments();
      }
    },
  });
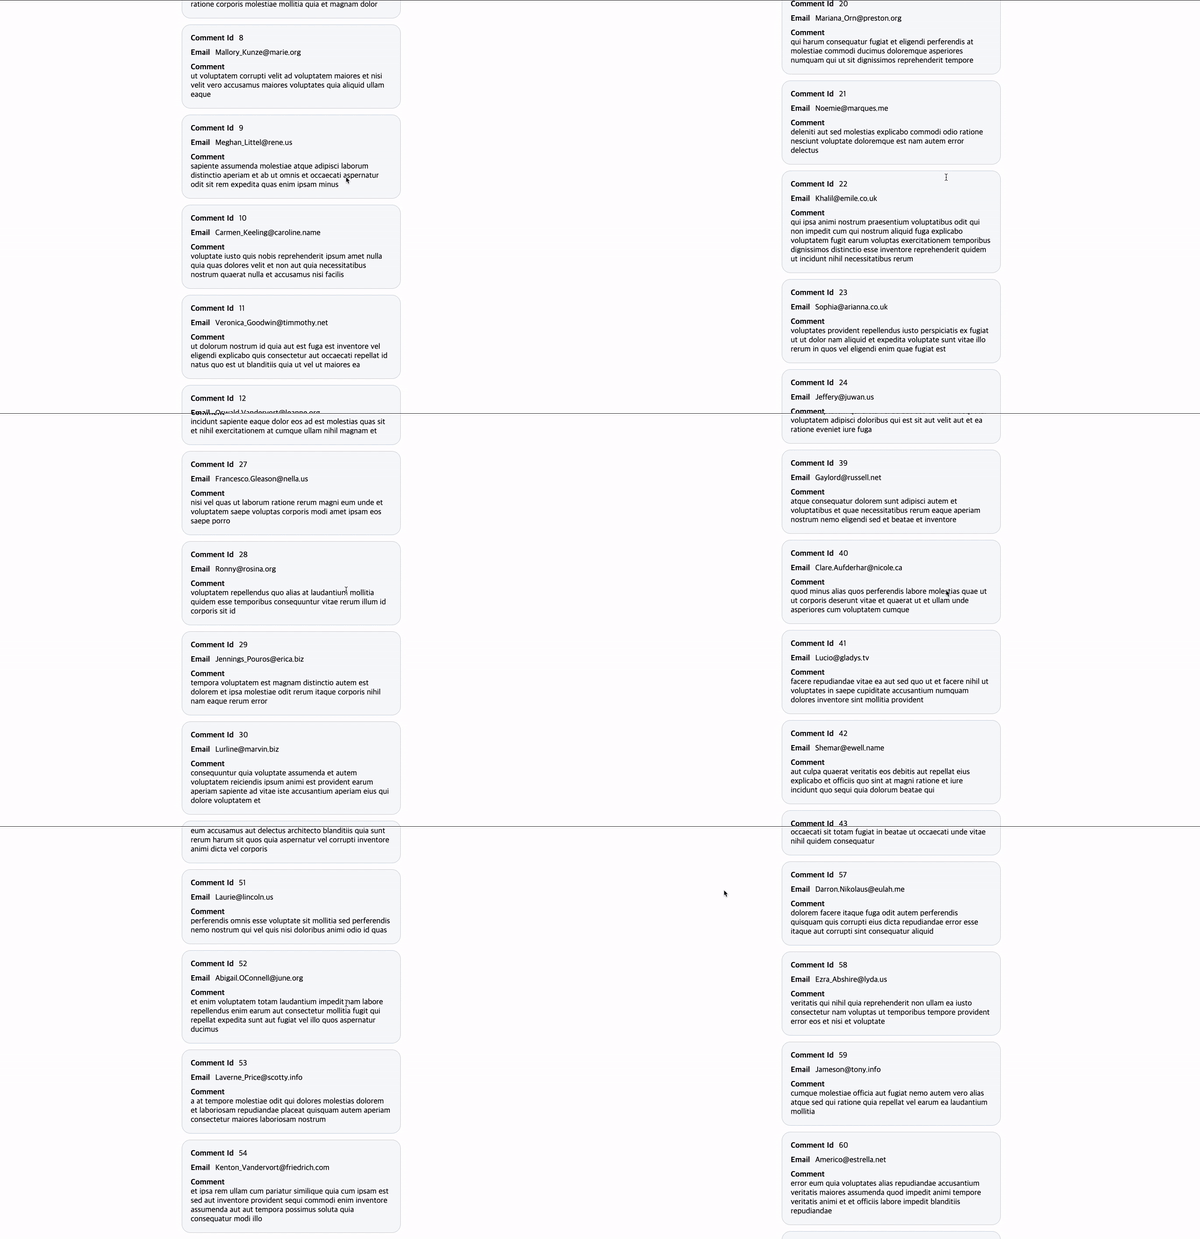
결과물

