Airflow Cli
- Linux 명령어 입력처럼 airflow command line interface
- airflow Web UI를 이용해 Manual 하게 dag 실행, 환경 변수 설정, user 등록 등 가능하지만 cli 통해서도 가능함
pip3 list | grep airflow

aiflow
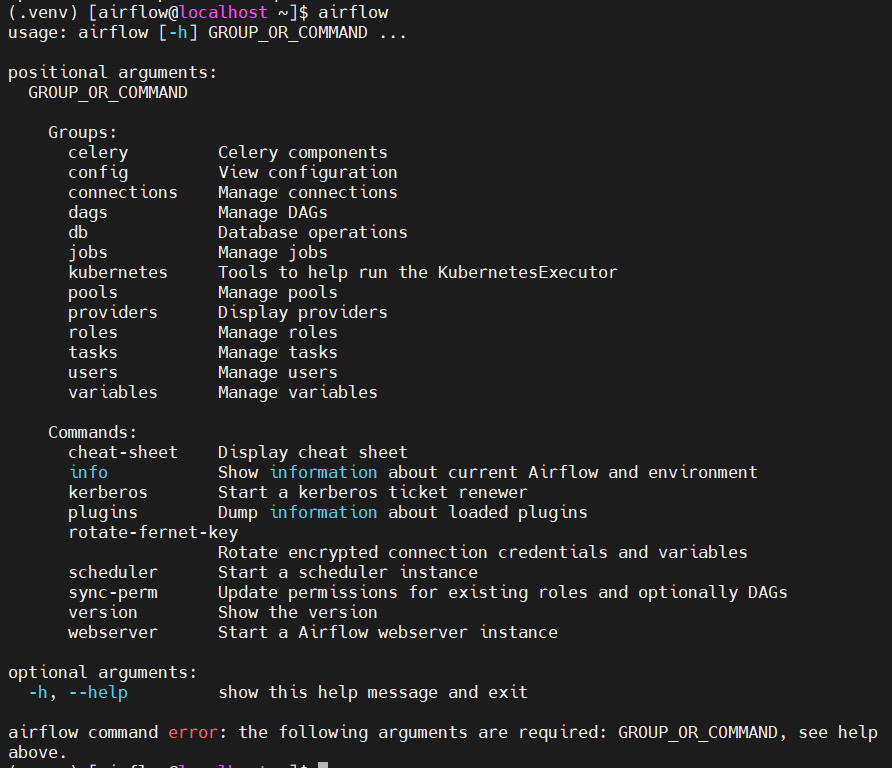
airflow dagas list

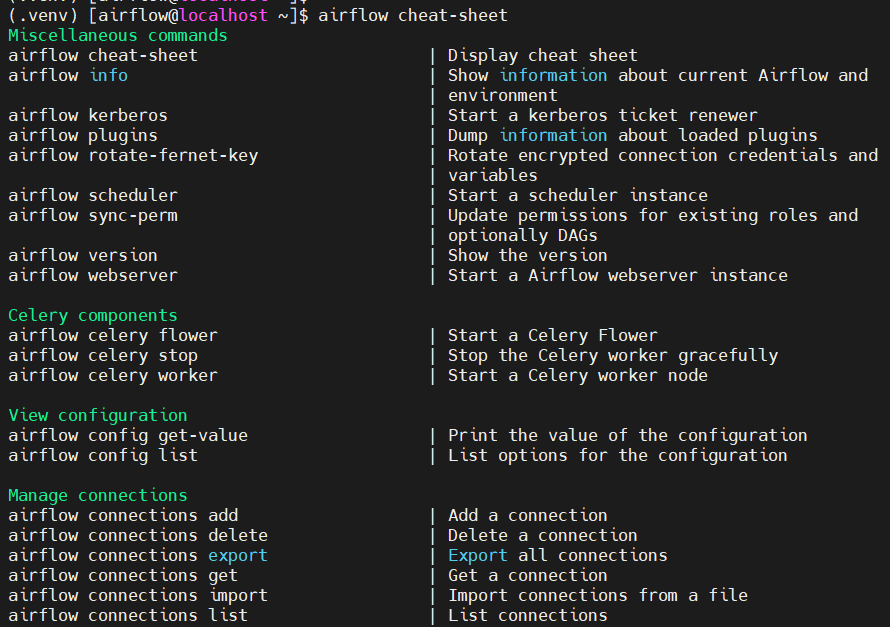
airflow cheat-sheet
자주 쓰이는 명령어 집합
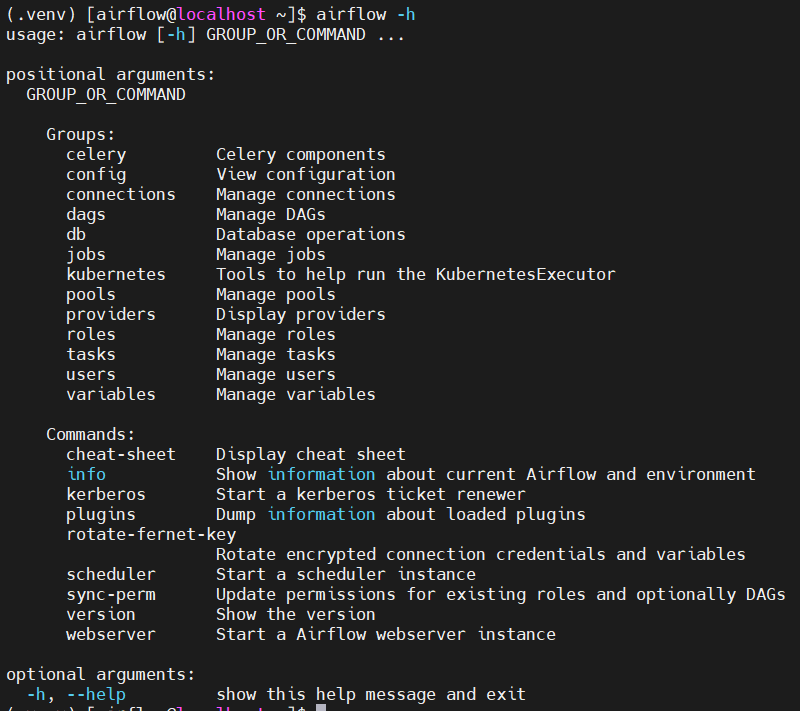
airflow -h
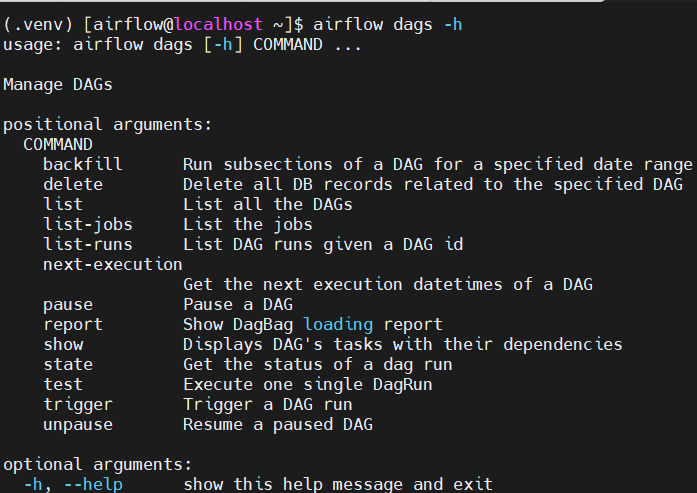
명령어에 대한 옵션 설명
airflow dags -h
vi airflow.cfg
뭐더라
True 변경
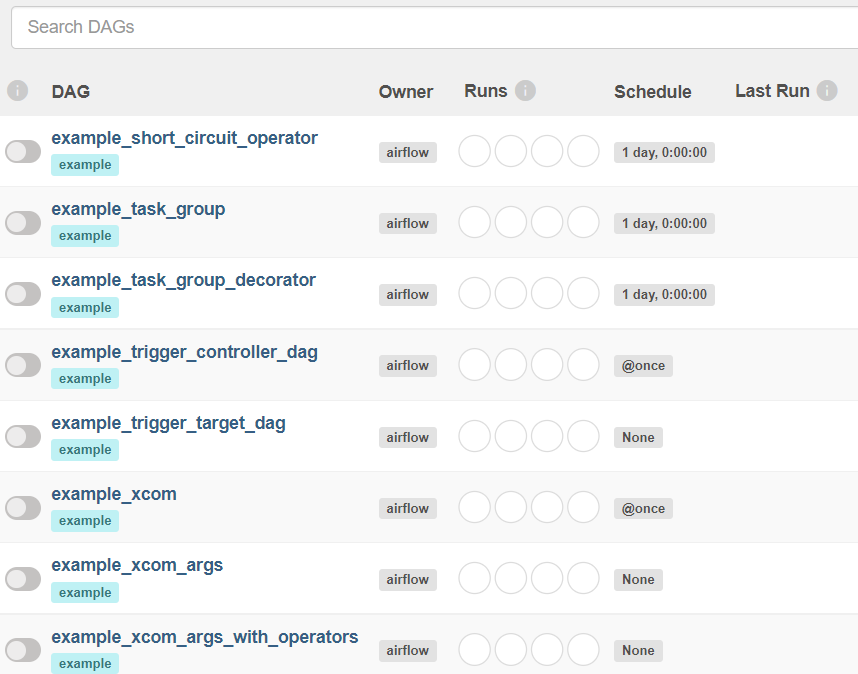 뜨면 성공
뜨면 성공
tags가 중요하다
tags를 용도 단위로 나눈다
어떤 dag가 잘 돌아가는지 검색 => tag id로 검색함
dags page
crontab과 동일하다
crontab.guru
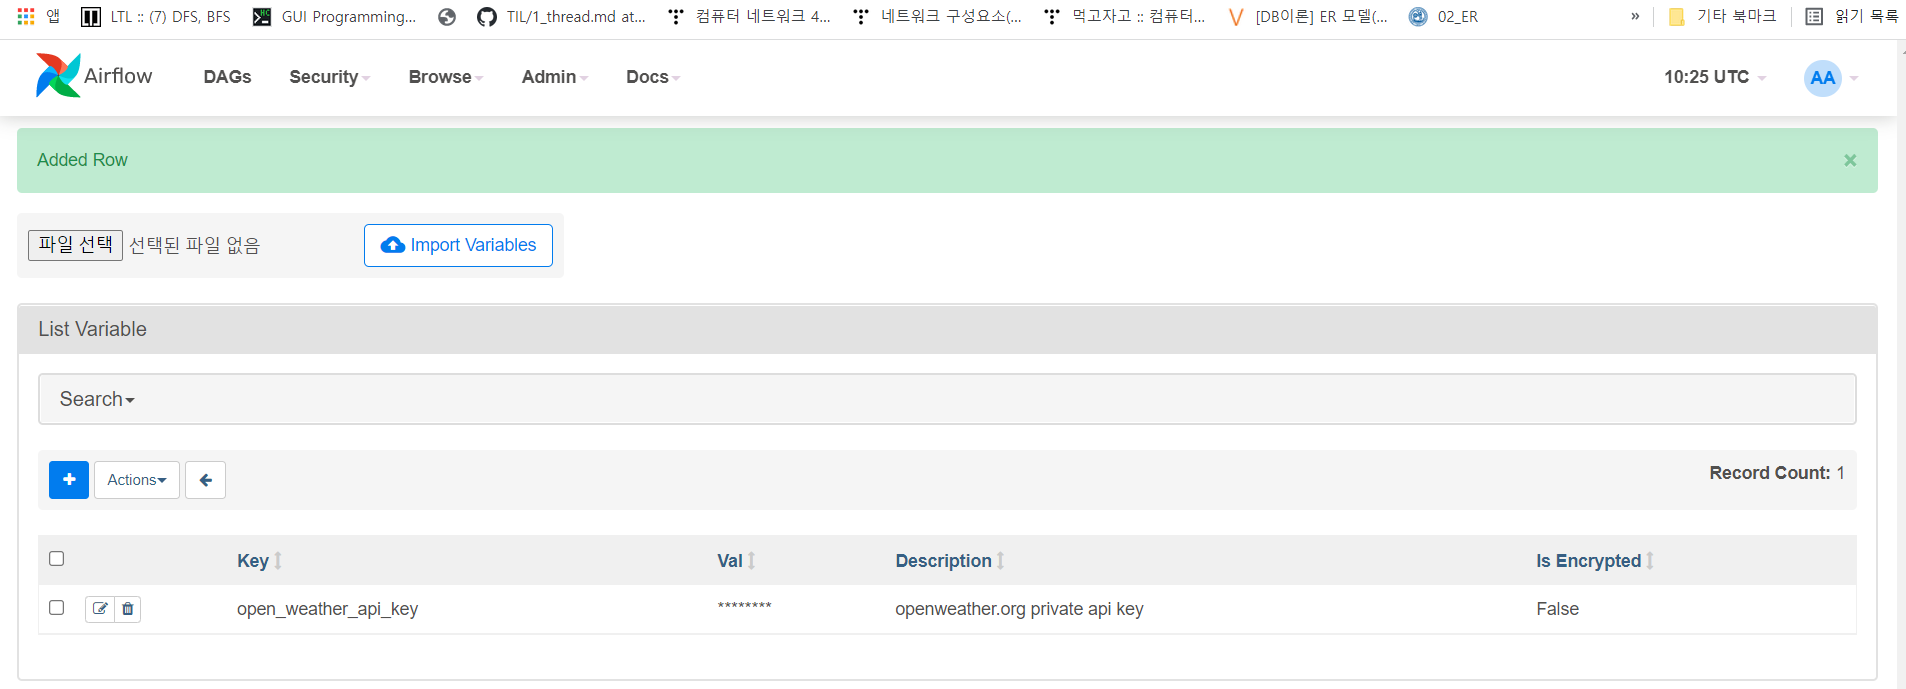
variable : 공용 변수 등록
global 변수를 admin에 추가
api key, value
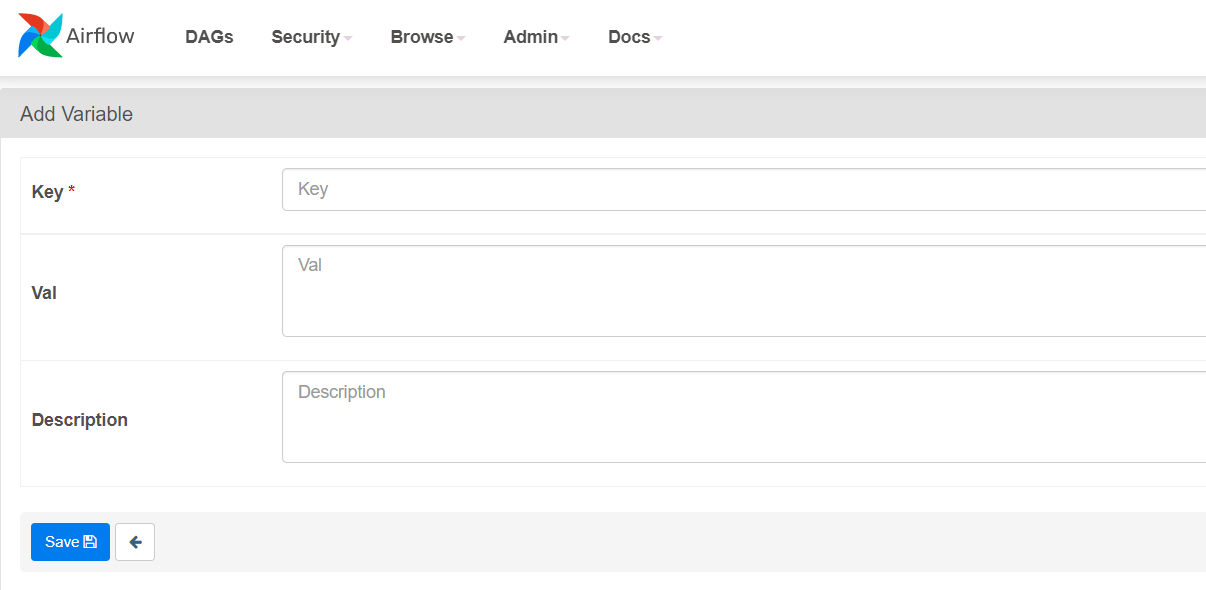
db 접속
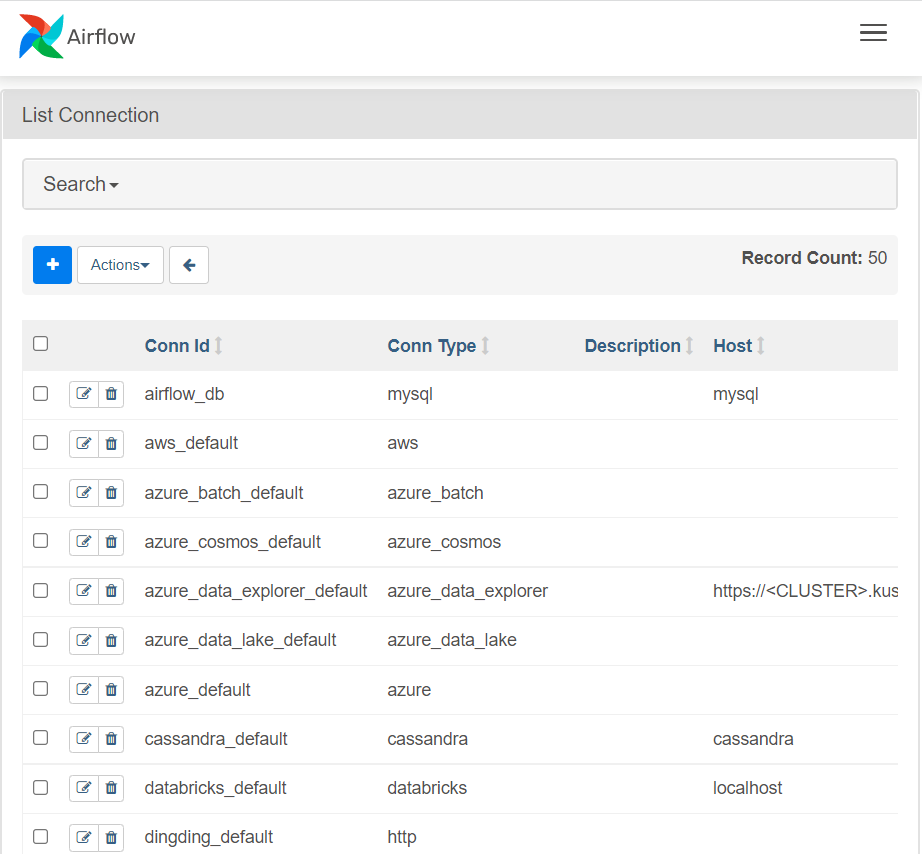
api 접속
end-point
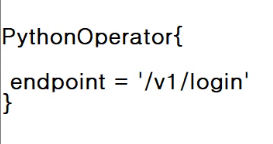

logging
print(a)
logging(a)
api 생성
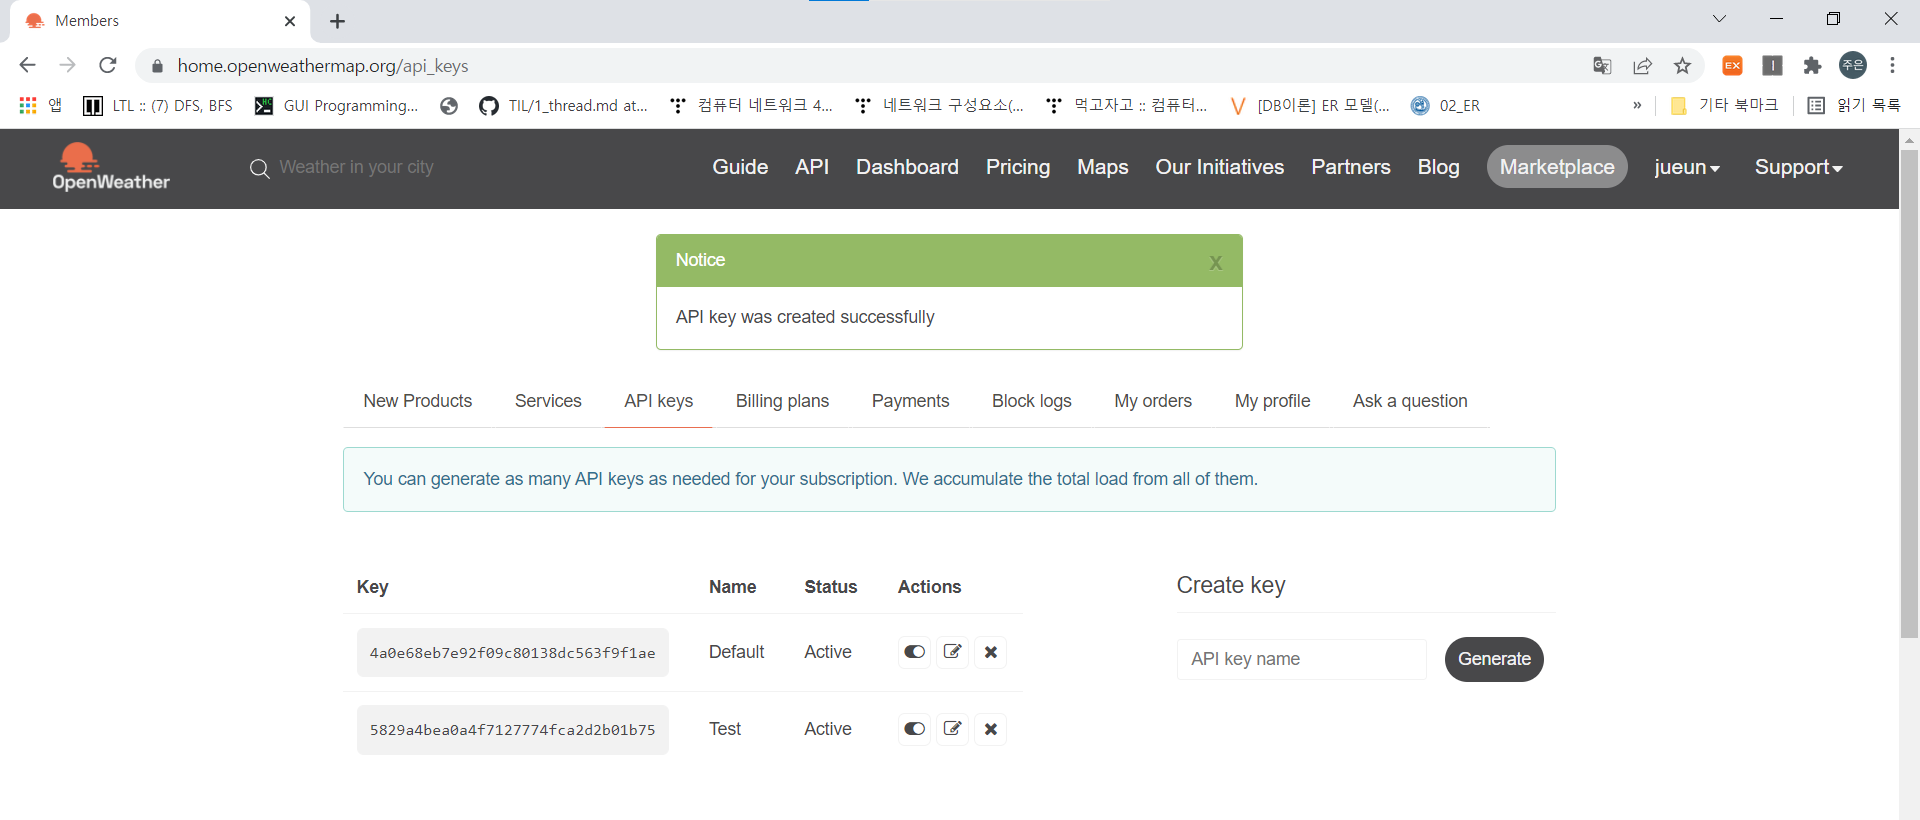
api -> one call api docs
https://openweathermap.org/api/one-call-api

https://api.openweathermap.org/data/2.5/onecall?lat={lat}&lon={lon}&exclude={part}&appid={API key}
and -> dictionary로 묶어주면 됨


from airflow import DAG # schduler가 자동으로 dag라고 인식
from airflow.operators.python import PythonOperator
from airflow.models import Variable # variable
import logging
import requests
from datetime import datetime, timedelta
'''
    ETL 작성
'''
def extract(**context):
    # 서울 시청의 위도와 경도를 찍어준거..
    seoul_lat = 37.541
    seoul_lon = 126.986
    api_key = context["params"]["api_key"]

    api_url = "https://api.openweathermap.org/data/2.5/onecall?lat={}&lon={}&appid={}".format(seoul_lat, seoul_lon, api_key)
    task_instance = context["task_instance"]
    execution_date = context["execution_date"]
    res = requests.get(api_url)
    return res.json()
'''
    DAG Configuration 구현 부분
'''
dag = DAG(
        dag_id = "weather_forecast",
        start_date = datetime(2021,12,9), # 데이터의 날짜
        schedule_interval = "0 * * * *",
        max_active_runs = 1,
        catchup = False,
        default_args = {
            "retries" : 1,
            "retry_delay" : timedelta(minutes=3)
        }
    )
'''
    Python Operator 구현 부분
'''
extract = PythonOperator(
        task_id = "extract",
        python_callable = extract,
        params = {
            "api_key" : Variable.get("open_weather_api_key")
        },
        provide_context = True,
        dag = dag
        )


def load(**context):

    res = context["task_instance"].xcom_pull(task_ids="transform")

    for r in res:
        with open("result.txt", "a") as f:
            f.write("{} {} {} {}\n".format(r[0], str(r[1]), str(r[2]), str(r[3])))
