쥬피터 노트북을 도커를 이용해 컨테이너로 만들어보려고 한다!
우선 베이스 이미지는 ubuntu 18.04로 결정했다
ubuntu 18.04 이미지를 기존에 다운받아놨으므로
docker run을 통해 ubuntu 컨테이너를 만들어 보겠다
docker run -itd -p 8888:8888 --name=myjupyter ubuntu:18.04
쥬피터 노트북의 포트가 8888을 기본값으로 사용하므로 포트를 8888에 맵핑해주고 -d 옵션으로 백그라운드 실행하였다
docker exec -it myjupyter /bin/bash
docker exec 명령어를 사용하여 실행시킨 컨테이너 내부로 들어가보자
우선 jupyter 설치 과정은 다음과 같다
1.우분투 업데이트
apt-get update
2.파이썬 설치
apt-get install -y python3
3.문서작업에 필요한 vim설치
apt-get install -y vim
4.pip list를 다운받기 위해 wget 설치
apt-get install wget -y
5.wget으로 pip 설치
wget https://bootstrap.pypa.io/get-pip.py
6.pip 설치전 필요 유틸설치
apt-get install python3-distutils -y
7.pip 설치
root@3272211c5b59:/# python3 get-pip.py
8.jupyter 설치
pip install jupyter
이상 기본적인 jupyter 설치 완료
비밀번호 설정
1.jupyter notebook --generate-config
.jupyter 디렉터리와 함께 내부에 jupyter_notebook_config.py 파일 생성
2.jupyter notebook(server) password
.jupyter 내부에 jupyter_notebook_config.json 파일 생성 쥬피터 노트북 비밀번호 포함
jupyter 실행
jupyter notebook --ip=0.0.0.0 --port=8888 --allow-root
위의 과정을 도커 파일로 만들어보자
Dockerfile
From ubuntu:18.04

RUN apt-get update && \
    apt-get install -y python3 && \
    apt-get install -y vim && \
    apt-get install wget -y && \
    apt-get install python3-distutils -y

WORKDIR /root

RUN wget https://bootstrap.pypa.io/get-pip.py && \
    python3 get-pip.py && \
    pip install jupyter

COPY ./.bashrc /root/.bashrc

RUN jupyter notebook --generate-config
#CMD ["jupyter", "notebook", "--generate-config"]
CMD ["sleep","5"]
COPY ./jupyter_notebook_config.json /root/.jupyter


CMD ["jupyter", "notebook", "--port=8888", "--no-browser", "--ip=0.0.0.0", "--allow-root"]
실행
docker run -itd -p 8888:8888 --name=myjupyter yk1700/ubuntu_jupyternotebook
비밀번호 hi
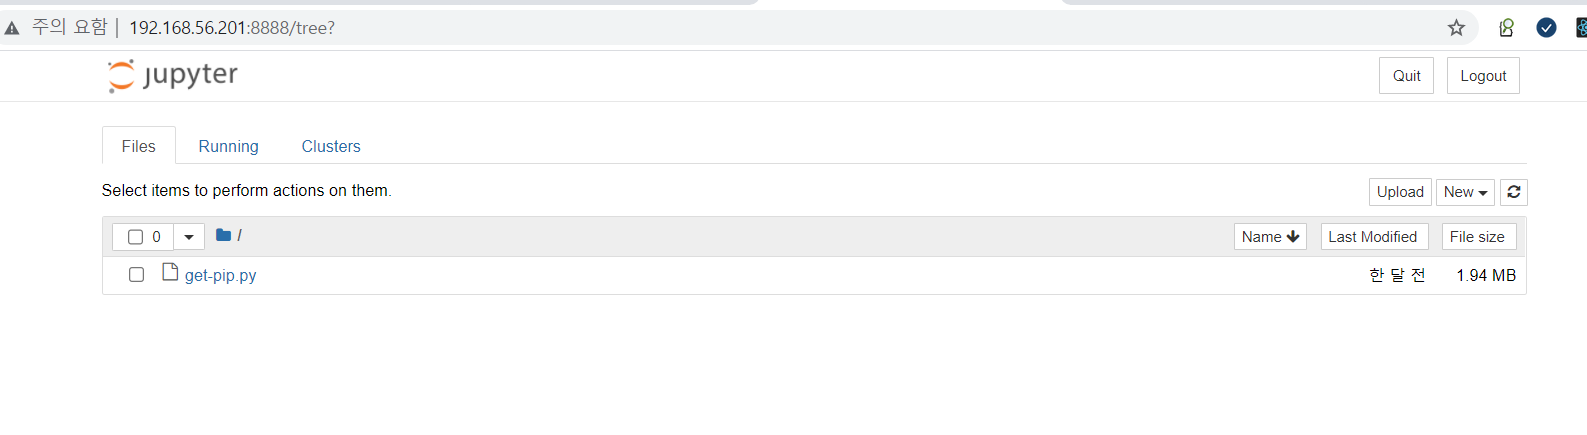
접속~
성공적으로 접속이 된다!!
dockerhub에 push
도커허브에 push하기위해서는
1.도커허브에 로그인이 되어있어야한다!
2.이미지 태그를 id/image:version으로 바꿔야 한다!
우선 도커 로그인
root@hostos1:~# docker login
Login with your Docker ID to push and pull images from Docker Hub. If you don't have a Docker ID, head over to https://hub.docker.com to create one.
Username: yk1700
Password:
WARNING! Your password will be stored unencrypted in /root/.docker/config.json.
Configure a credential helper to remove this warning. See
https://docs.docker.com/engine/reference/commandline/login/#credentials-store
로그인 성공
이미지 태그 바꾸기
docker image tag myjupyter:1.0 yk1700/ubuntu_jupyternotebook:1.0
root@hostos1:~# docker images
REPOSITORY                          TAG          IMAGE ID       CREATED        SIZE
httpd                               2.4          bde40dcb22a7   6 hours ago    138MB
my-httpd                            1.0          bde40dcb22a7   6 hours ago    138MB
myjupyter                           1.0          a303f3fa9196   15 hours ago   304MB
yk1700/ubuntu_jupyternotebook       1.0          a303f3fa9196   15 hours ago   304MB
성공적으로 변경되었다
이제 docker push 명령어만 날려주면 된다!!
docker push yk1700/ubuntu_jupyternotebook

짜잔
성공적으로 도커허브에 올라갔다!!