1. Spring Boot 환경 설정
1-1. build.gradle
- 최신 버전인 Swagger 3.x 버전을 적용
- Swagger 2.x 버전보다 간단하게
springfox-boot-starter 하나 추가로 필요한 모든 라이브러리 포함 가능
implementation 'io.springfox:springfox-boot-starter:3.0.0'
1-2. SwaggerConfig.java
- configuration 파일
SwaggerConfig.java 추가
- Docket: Swagger 설정의 핵심이 되는 Bean
- useDefaultResponseMessages : Swagger에서 제공해주는 기본 응답 코드 (200, 401, 403, 404)
- false : 기본 응답 코드 노출하지 않음
- apis : api 스펙이 작성되어 있는 패키지(Controller)를 지정
- paths : apis에 있는 API 중 특정 path를 선택
- apiInfo : Swagger UI로 노출할 정보
@Configuration
public class SwaggerConfig {

	@Bean
	public Docket api() {
		return new Docket(DocumentationType.OAS_30)
				.useDefaultResponseMessages(false)
				.select()
				.apis(RequestHandlerSelectors.basePackage("com.velog.eunjy.controller"))
				.paths(PathSelectors.any())
				.build()
				.apiInfo(apiInfo());
	}

	private ApiInfo apiInfo() {
		return new ApiInfoBuilder()
				.title("Swagger Test")
				.description("SwaggerConfig")
				.version("3.0")
				.build();
	}

}
1-3. 접속
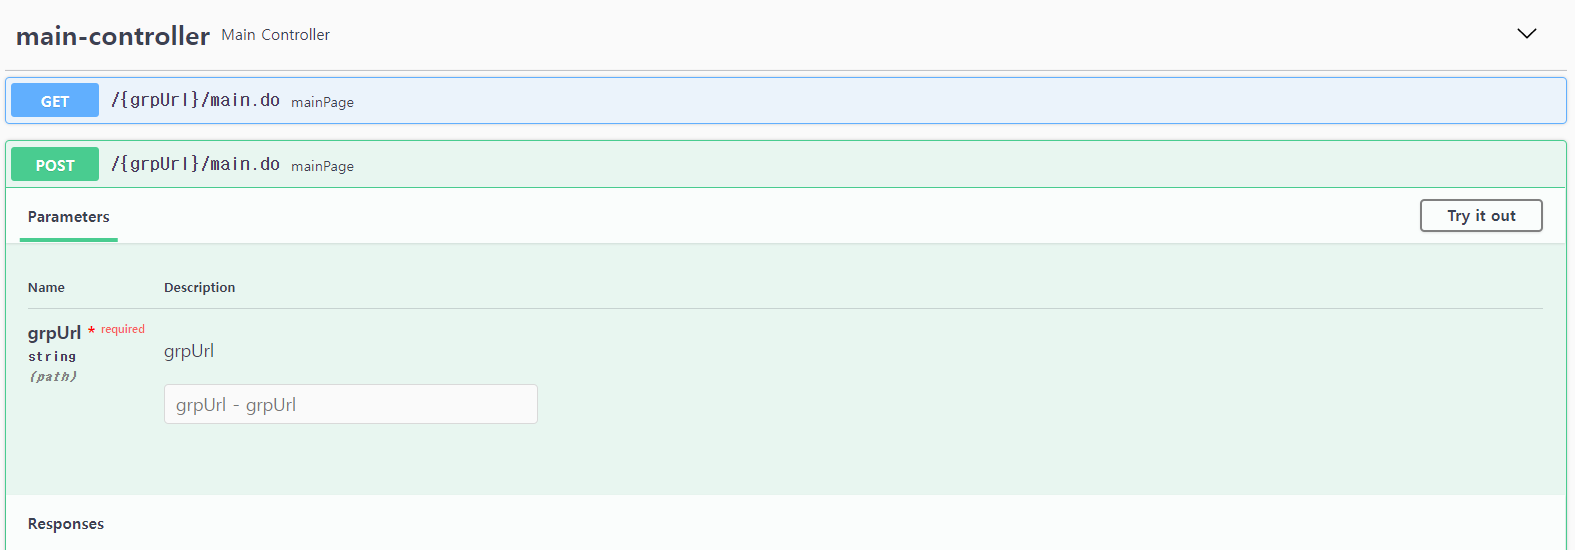
- Spring Boot 로컬 실행 후 URL 접속
- 아래와 같이 접속
- Swagger UI가 적용된 것을 확인
Try it out 버튼을 사용해 API를 테스트할 수 있음

1-4. 기타


ApplicationContextException: Failed to start bean 'documentationPluginsBootstrapper'; nested exception is java.lang. 에러 발생하신 분들은 아래 링크 참고하시면 좋을 것 같아요!
https://www.inflearn.com/questions/230160