1. 목표
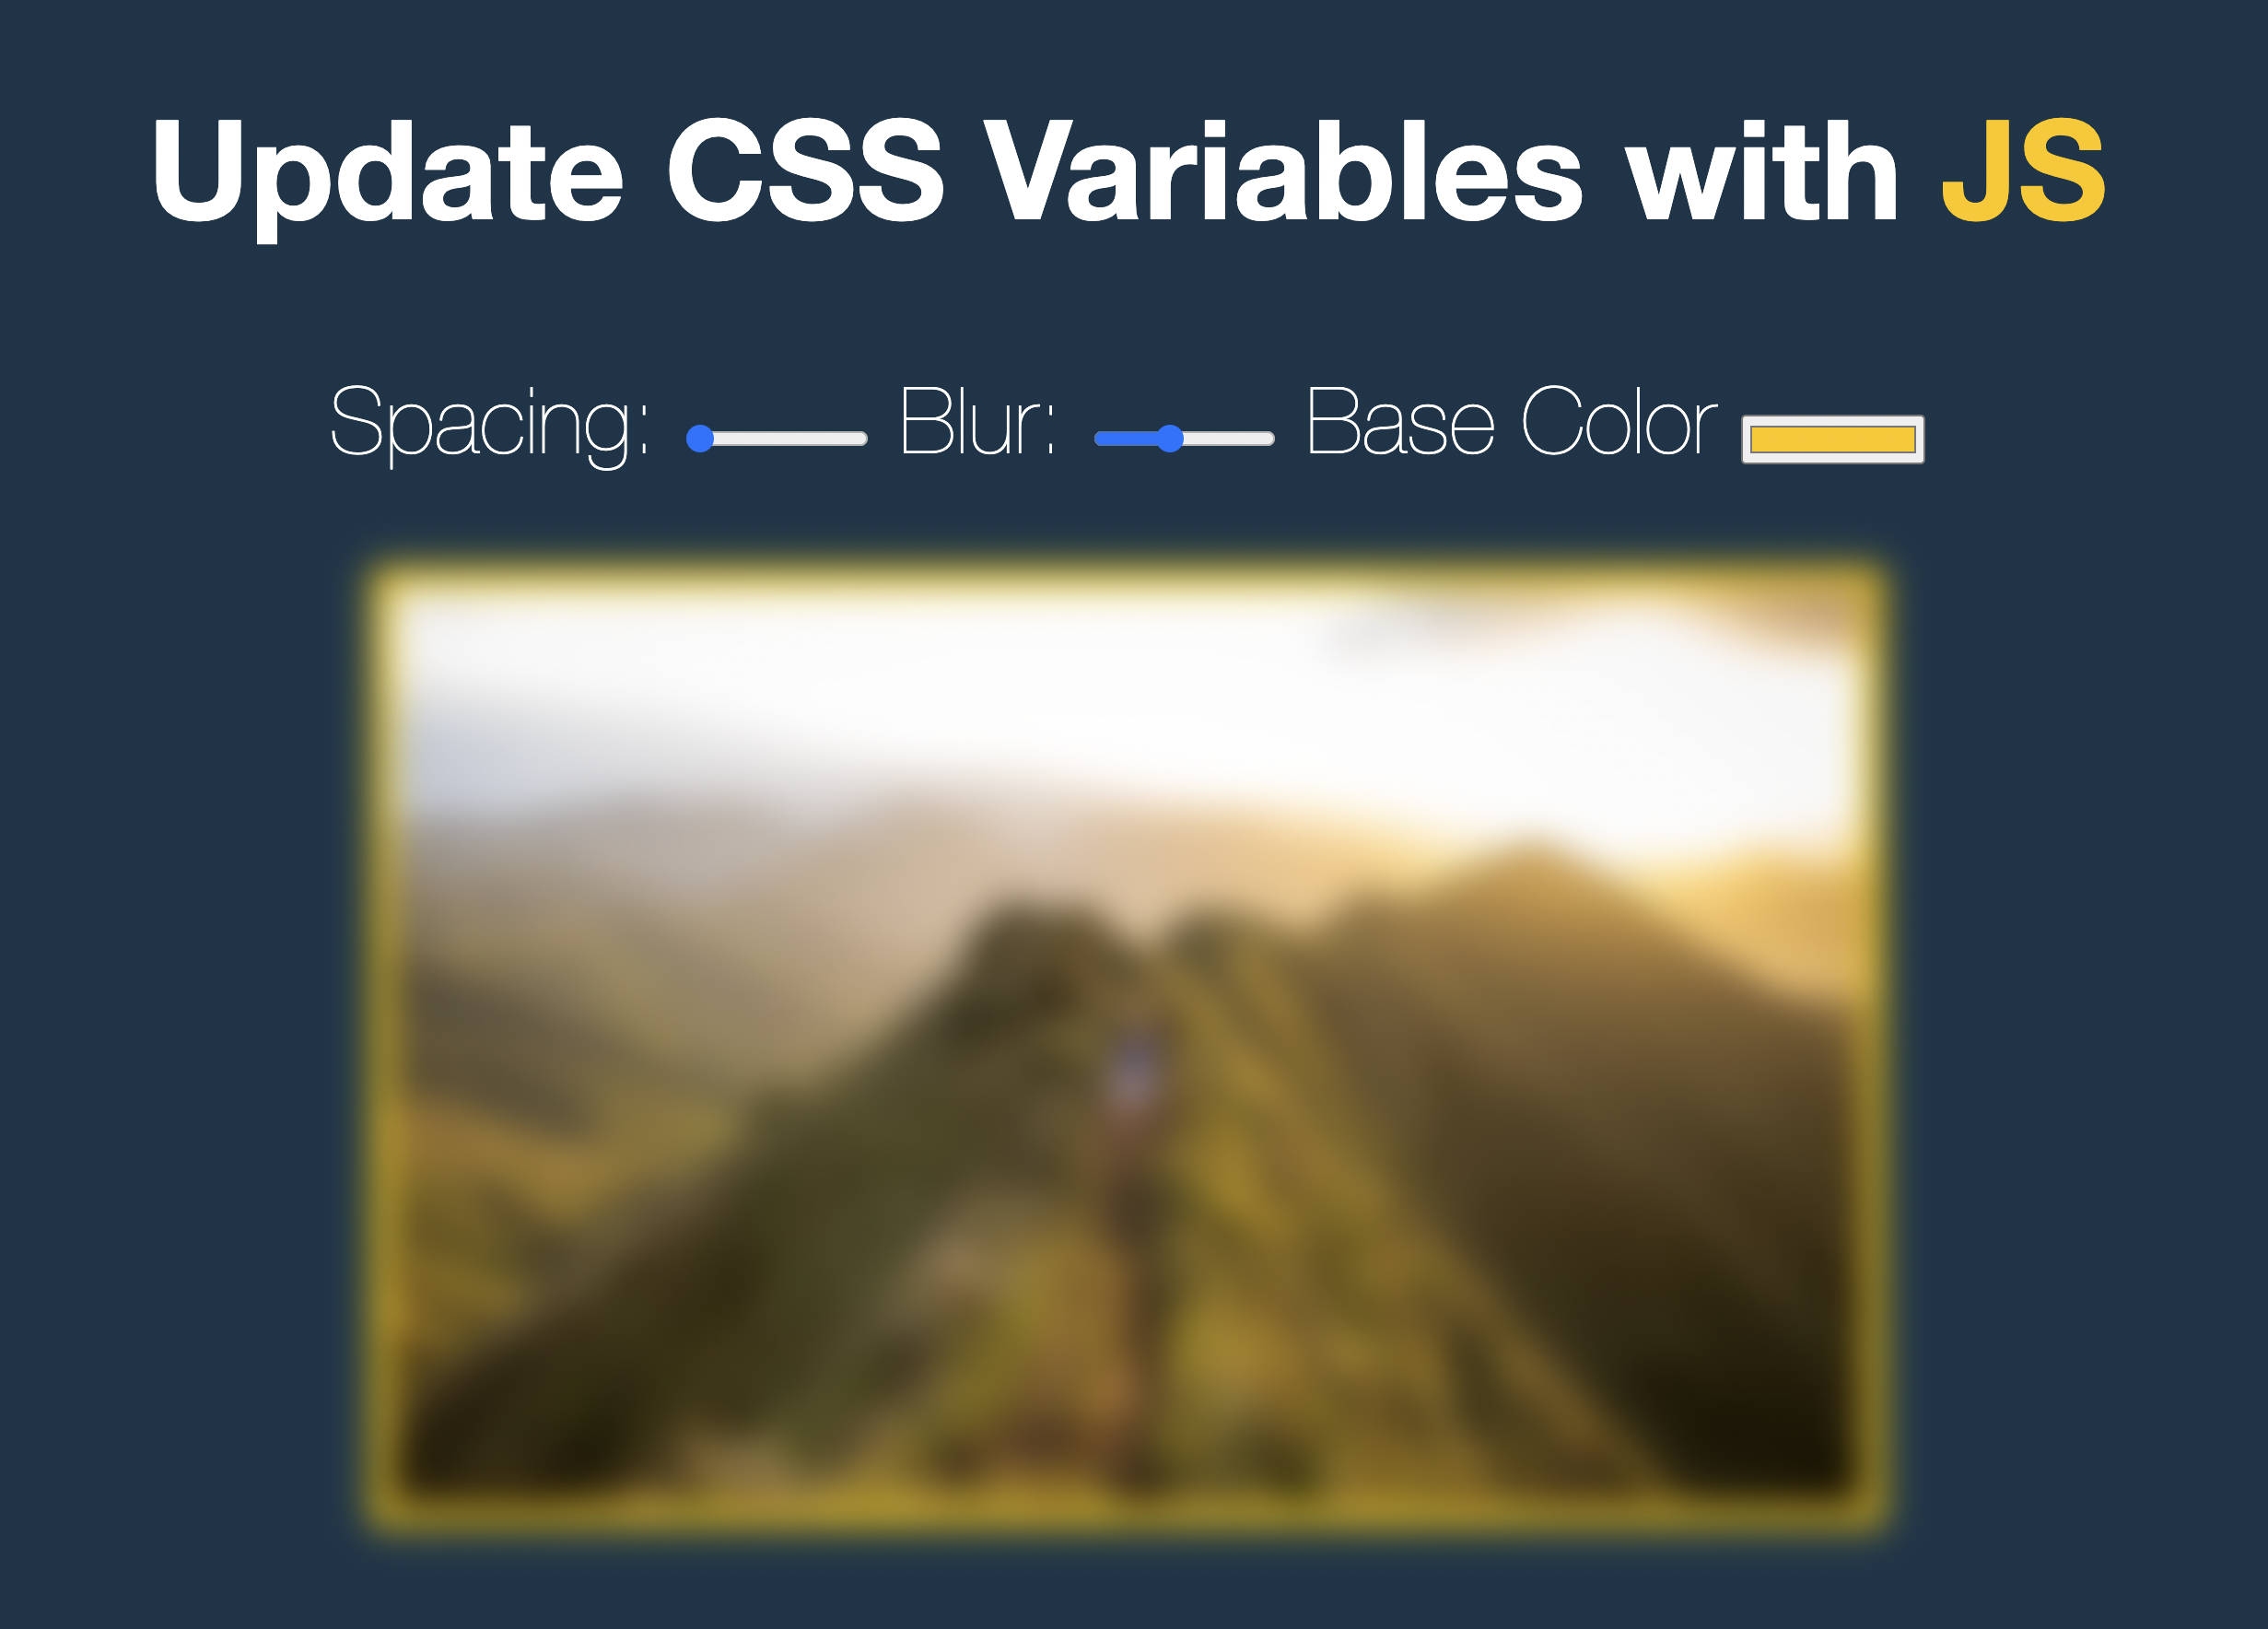
Spacing, Blur, Base Color 각 label이 변화할 때, 사진이 그 알맞게 변화해야 한다.
- Spacing: 그림의 padding값
- Blur: 그림이 흐린정도 (filter: blur(3px))
- Base Color: 그림의 background-color
2. 정리
<!DOCTYPE html>
<html lang="en">
  <head>
    <meta charset="UTF-8" />
    <title>Scoped CSS Variables and JS</title>
  </head>
  <body>
    <h2>Update CSS Variables with <span class="hl">JS</span></h2>

    <div class="controls">
      <label for="spacing">Spacing:</label>
      <input
        id="spacing"
        type="range"
        name="spacing"
        min="10"
        max="200"
        value="10"
        data-sizing="px"
      />

      <label for="blur">Blur:</label>
      <input
        id="blur"
        type="range"
        name="blur"
        min="0"
        max="25"
        value="10"
        data-sizing="px"
      />

      <label for="base">Base Color</label>
      <input id="base" type="color" name="base" value="#ffc600" />
    </div>

    <img src="https://source.unsplash.com/7bwQXzbF6KE/800x500" />

    <style>
      /* 사용자 지정 속성 */
      :root {
        --base: #ffc600;
        --spacing: 10px;
        --blur: 10px;
      }

      img {
        background-color: var(--base);
        padding: var(--spacing);
        filter: blur(var(--blur));
      }

      .hl {
        color: var(--base);
      }
      /*
      misc styles, nothing to do with CSS variables
    */

      body {
        text-align: center;
        background: #193549;
        color: white;
        font-family: "helvetica neue", sans-serif;
        font-weight: 100;
        font-size: 50px;
      }

      .controls {
        margin-bottom: 50px;
      }

      input {
        width: 100px;
      }
    </style>

    <script>
      // controls 가져오기
      const inputs = document.querySelectorAll(".controls input");

      function handleUpdate() {
        const root = document.documentElement.style; // css에서 :root에 해당됨.
        const unit = this.dataset.sizing || ""; // dataset으로 사용자 정의 attribute인 'data-속성' 에 접근할 수 있다.
        root.setProperty(`--${this.name}`, this.value + unit); // css 속성 설정.
      }
      inputs.forEach((input) => input.addEventListener("change", handleUpdate));
    </script>
  </body>
</html>
1. 사용자 지정 CSS properties 정의하기
:root {
        --base: #ffc600;
        --spacing: 10px;
        --blur: 10px;
}:root안에 사용자 지정 변수들을 정의할 수 있다.
변수명앞에는 --를 붙여줘야한다.
2. Document.documentElement
document들의 element들이 반환된다.
최상단 노드는 <html> 태그이다.
CSS에서 :root에 해당한다고 생각하자. (정확히는 :root가 가상 선택자라 우선순위가 더 높음)
그래서
const root = document.documentElement.style; 로 정의했다.
3. 사용자 지정 `data-속성' attribute 에 접근하기
dataset안에 해당 element에 선언한 data-속성들이 들어가 있다.
element.dataset.속성 으로 접근가능
const unit = this.dataset.sizing || ""; // px || undefined
4. setProperty
해당 element의 css 속성을 추가할 수 있다.
root.setProperty(`--${this.name}`, this.value + unit); // css 속성 설정.결과
:root {
	--this.name: this.value + unit
}