1. 목표
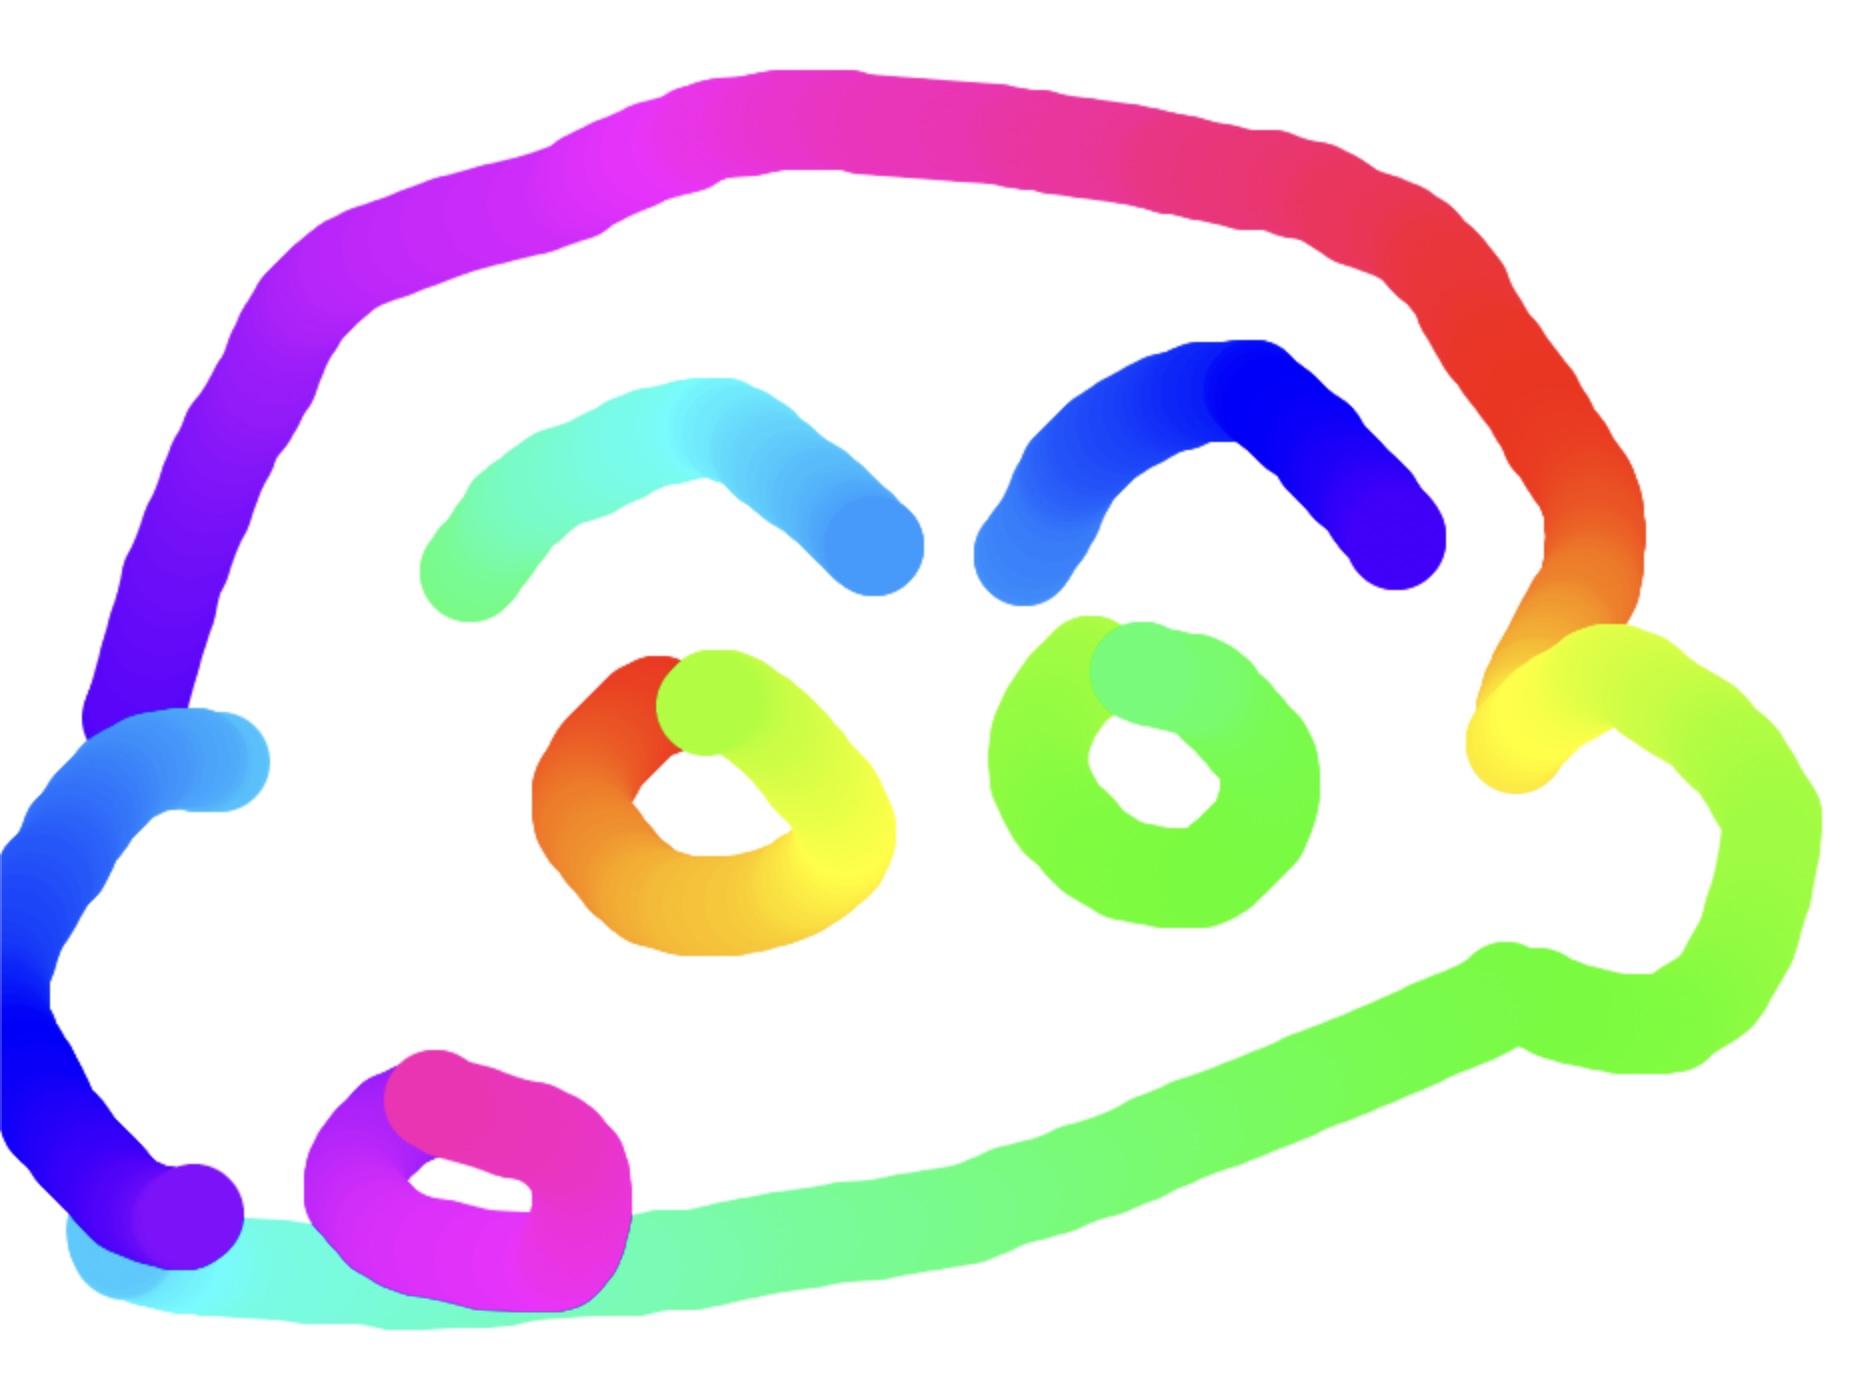
html <canvas> 태그를 이용해서 마우스로 그리기가 가능한 그림판을 만들자.
html
<!DOCTYPE html>
<html lang="en">
  <head>
    <meta charset="UTF-8" />
    <title>HTML5 Canvas</title>
  </head>
  <body>
    <canvas id="draw" width="800" height="800"></canvas>
    <script>
    </script>
    <style>
      html,
      body {
        margin: 0;
      }
    </style>
  </body>
</html>
Javascript
      const canvas = document.querySelector('#draw');
      const ctx = canvas.getContext('2d');
      canvas.width = window.innerWidth;
      canvas.height = window.innerHeight;
      ctx.strokeStyle = '#BADA55'; // 그릴 선 색깔 지정
      ctx.lineJoin = 'round';
      ctx.lineCap = 'round';
      ctx.lineWidth = 50;

      let isDrawing = false; // 마우스 왼쪽 클릭여부
      let lastX = 0;
      let lastY = 0;
      let hue = 0;

      // 클릭하고 있을때 그리기
      function draw(e) {
        if (!isDrawing) return;
        // 색 바꾸기: hsl(H, S, L): (색깔, 채도, 밝기)
        ctx.strokeStyle = `hsl(${hue}, 100%, 50%)`;
        // 초기화(필수)
        ctx.beginPath();
        // 시작과 끝 지정
        ctx.moveTo(lastX, lastY);
        ctx.lineTo(e.offsetX, e.offsetY);
        // 그리기
        ctx.stroke();
        [lastX, lastY] = [e.offsetX, e.offsetY]; // 이전 마우스 위치 저장
        hue++;
        if (hue > 360) hue = 0;
      }
      canvas.addEventListener('mousemove', draw);
      canvas.addEventListener('mousedown', (e) => {
        isDrawing = true;
        // 이전 마우스 위치 저장. ES6: destructuring
        [lastX, lastY] = [e.offsetX, e.offsetY];
      });
      canvas.addEventListener('mouseup', () => (isDrawing = false));
      canvas.addEventListener('mouseout', () => (isDrawing = false));
2.정리
1. canvas
https://developer.mozilla.org/ko/docs/Web/API/Canvas_API/Tutorial/Basic_usage
- html에 canvas태그를 정의한다. (고정 크기의 드로잉 영역 생성)
<canvas id="draw" width="800" height="800"></canvas>- JS에서 canvas element를 들고온다
const canvas = document.querySelector('#draw');
const ctx = canvas.getContext('2d'); // 렌더링할 컨텍스트 지정
canvas.width = window.innerWidth; // canvas 크기 지정
canvas.height = window.innerHeight;- 그릴 선 색깔,스타일,두께를 지정한다.
https://developer.mozilla.org/ko/docs/Web/API/Canvas_API/Tutorial/Applying_styles_and_colors
ctx.strokeStyle = '#BADA55'; // 그릴 선 색깔 지정
ctx.lineJoin = 'round';
ctx.lineCap = 'round';
ctx.lineWidth = 50;- 왼쪽 마우스를 클릭 중일때 그리는 함수를 정의한다.
      // 클릭하고 있을때 그리기
      function draw(e) {
        if (!isDrawing) return;
        // 색 바꾸기: hsl(H, S, L): (색깔, 채도, 밝기)
        ctx.strokeStyle = `hsl(${hue}, 100%, 50%)`;
        // 초기화(필수)
        ctx.beginPath();
        // 시작과 끝 지정
        ctx.moveTo(lastX, lastY);
        ctx.lineTo(e.offsetX, e.offsetY);
        // 그리기
        ctx.stroke();
        [lastX, lastY] = [e.offsetX, e.offsetY]; // 이전 마우스 위치 저장
        hue++;
        if (hue > 360) hue = 0;
      }
      canvas.addEventListener('mousemove', draw);
      canvas.addEventListener('mousedown', (e) => {
        isDrawing = true;
        // 이전 마우스 위치 저장. ES6: destructuring
        [lastX, lastY] = [e.offsetX, e.offsetY];
      });
      canvas.addEventListener('mouseup', () => (isDrawing = false));
      canvas.addEventListener('mouseout', () => (isDrawing = false));
draw(e)
ctx.beginPath()로 초기화를 하고
ctx.moveTo()에서 ctx.lineTo()까지 범위를 지정한 뒤
ctx.stroke(): 그 범위만큼을 그린다.
isDrawing
isDrawing이 true일때만 draw를 수행한다.
addEventListener로 mouse관련 event를 이용해 isDrawing값을 동적으로 바꿔준다.
hsl(H, S, L): (색깔, 채도, 밝기)
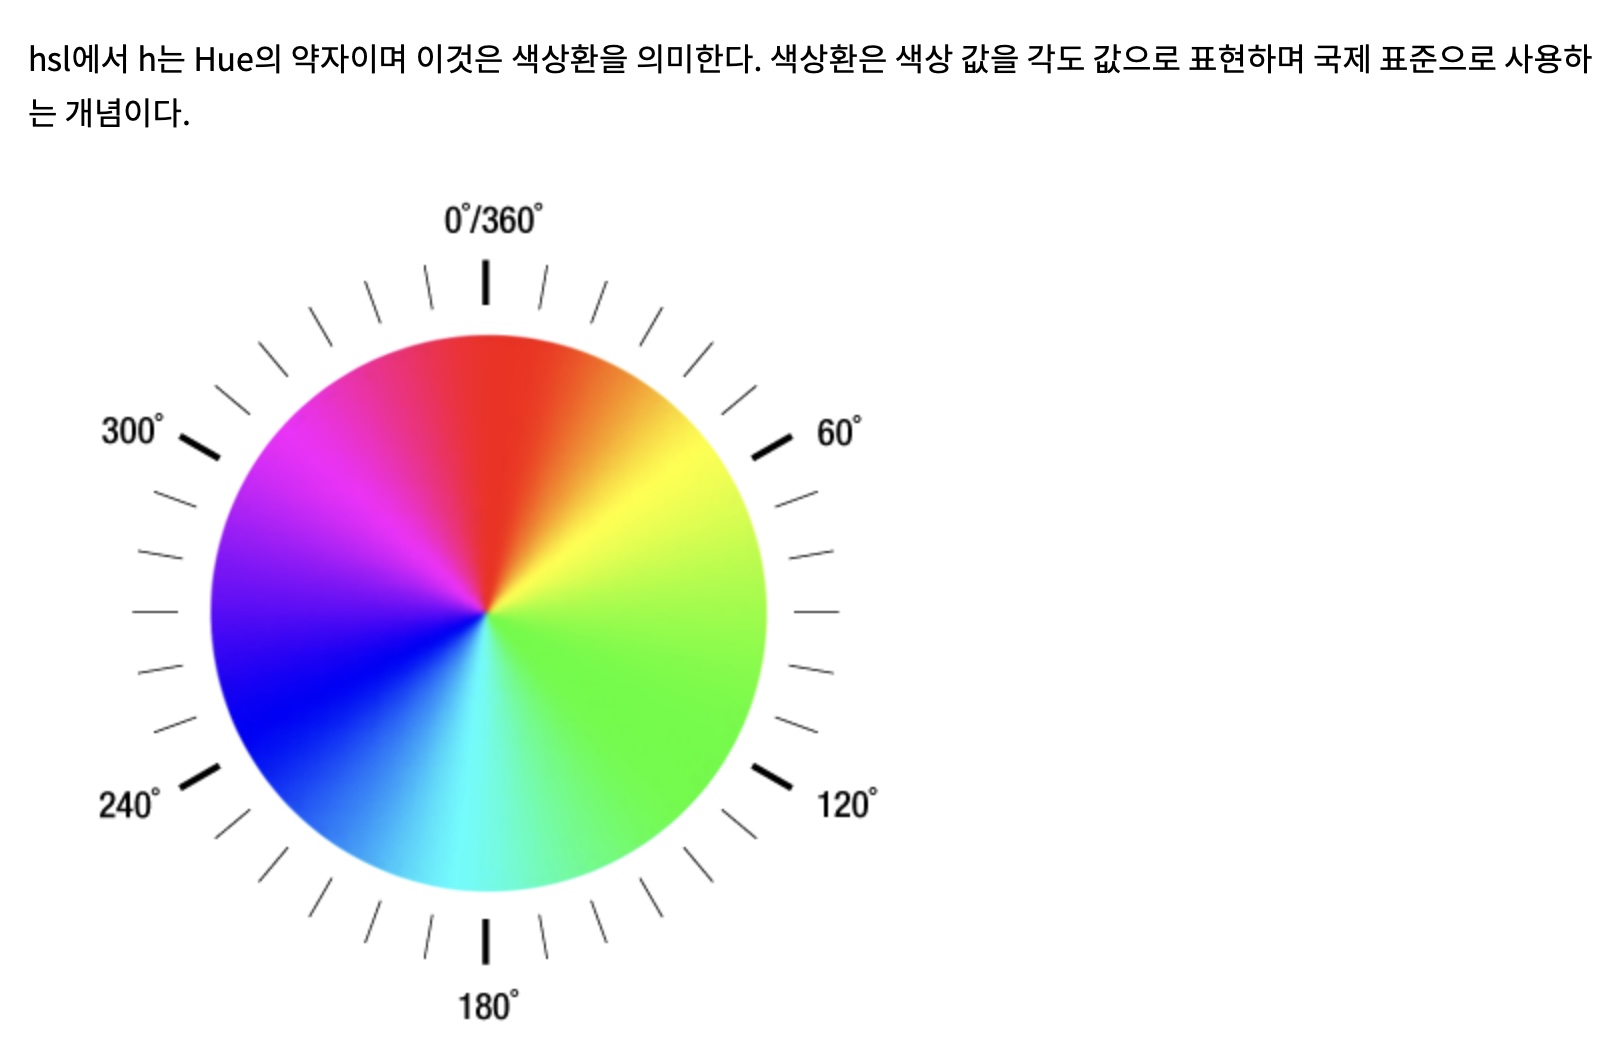
출처: http://www.devdic.com/css/refer/functions/function:158/hsl()
https://developer.mozilla.org/en-US/docs/Web/CSS/color_value/hsl()
색을 표현하는 방식 중 하나이다.