🤖 Orientation?
기본적으로 App을 실행한 상태에서 device를 회전시키면 App 화면 역시 그에 따라 함께 돌아갑니다
device의 머리 방향에 따라 각 상태를 Portrait(북) / Upside Down(남)/ Landscape Left(서) / Landscape Right(동) 으로 나누며 이를 Orientation이라 지칭합니다
Orientation 제어는 어떤 화면이 가능한 orientation을 제한하는 것을 말합니다
예로, 특정 App 혹은 App 내 특정 화면이 device를 돌리더라도 북쪽 방향으로 고정되게 설정할 수 있습니다
🐶 Orientation 제어하기
📌 Level 개념이 존재한다
(Level이라는 용어는 필자가 설명의 편의를 위해 임의로 사용하는 표현입니다)
Orientation 제어를 설정하는 주체에 따라 여러 Level이 존재합니다
가장 최상위 Level인 'Device'부터 최하위 Level인 '뷰컨'단위까지 설정할 수 있습니다
유의할 점은, 상위 Level에서 금지한 orientation은 하위 Level에서 허용하더라도 결국 금지된다는 것입니다
예로, App Level에서 Landscape를 금지했다면 뷰컨 Level에서 이를 허용하더라도 사용할 수 없습니다
✔️ 1. Device Level
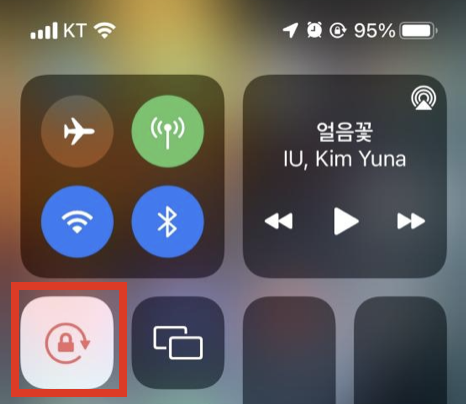
위 설정을 통해 Portrait 모드로 고정합니다
유저의 영역이므로 App 개발자가 제어불가
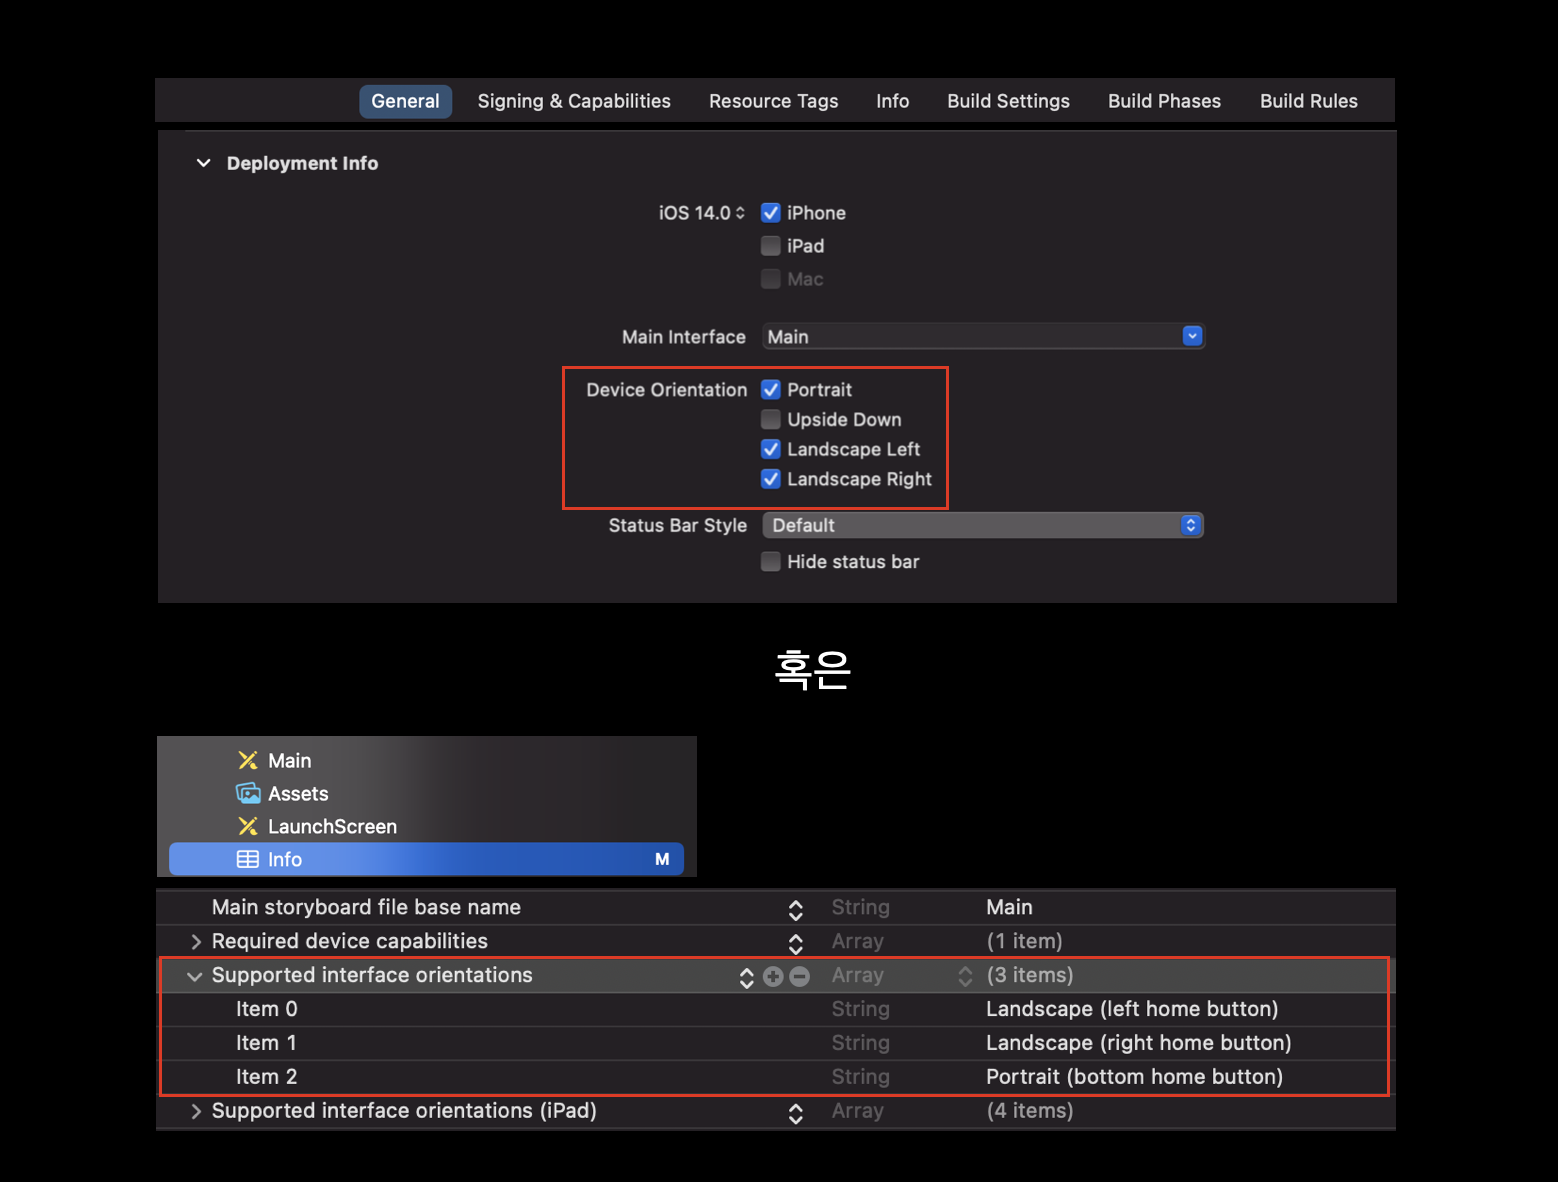
✔️ 2. App Level
2가지 방법이 있습니다
유의해야 할 점은, (방법1) AppDelegate에서 관련 메서드를 구현하면 (방법2) Xcode의 설정은 무시된다는 점입니다
방법1. AppDelegate
- 이 메서드를 구현하면 아래 방법2(Xcode에서 설정)는 무시됩니다
@main
class AppDelegate: UIResponder, UIApplicationDelegate {
    func application(_ application: UIApplication, supportedInterfaceOrientationsFor window: UIWindow?) -> UIInterfaceOrientationMask {
        return [.portrait, .landscape]
    }
}
방법2. Xcode에서 설정
- 아래 두 그림의 방식은 서로 동기화되므로 아무 방식으로나 설정하면 나머지 하나도 자동으로 동기화됩니다)
- 위의 방법1(AppDelegate)이 구현되어 있으면 이 설정은 무시됩니다)
✔️ 3. ViewController
supportedInterfaceOrientations라는 계산 프로퍼티를 override하여 설정합니다
class ViewController: UIViewController {
    override var supportedInterfaceOrientations: UIInterfaceOrientationMask {
        return .portrait
    }
}
🐰 상위 ViewController가 있다면 (자신의 설정은 버리고) 그에 복종한다
상위 뷰컨이란, 아래 그림과 같은 경우를 말합니다

위 사진의 경우, NavigationController라는 상위 뷰컨이 존재하여 EntryTableViewController는 자신의 orientation 설정과 무관하게 Navigation 뷰컨의 설정을 따르게 됩니다
✔️ 상위 뷰컨 개념이 등장하는 예시
(케이스가 더 있을 수 있습니다)
- NavigationController <-> Navigation 화면
- 이전 화면 <-> 일반적인 Modal 화면
(단, Full-screen Modal은 윈도우에서 이전 화면을 빼버리므로 상위 뷰컨이 없는 형태입니다)
✔️ 상위 뷰컨이 등장할 때, Orientation 설정법
간단하게도, 하위 뷰컨 대신 상위 뷰컨의 설정을 해주거나 / 두 뷰컨을 함께 설정하면 됩니다
예로, NavigationController를 사용하는 경우에서 여러 개의 하위 뷰컨이 존재하며, 하위 뷰컨 간 Orientation을 달리 설정하고 싶을 경우를 알아봅시다
- 우선, 각 뷰컨의 Orientation을 설정합니다
(상위 뷰컨인 NavigationController의 설정은 그대로이기에 실제 App에 Orientation 설정이 적용되지 않는 상태입니다)class ViewController: UIViewController { override var supportedInterfaceOrientations: UIInterfaceOrientationMask { return .portrait } }
- 매 화면 전환 시마다 NavigationController의 설정을 해당 하위 뷰컨의 설정으로 업데이트해줍니다
(supportedInterfaceOrientations라는 연산프로퍼티를 통해 손쉽게 구현가능합니다)class NavigationController: UINavigationController { override var supportedInterfaceOrientations: UIInterfaceOrientationMask { topViewController?.supportedInterfaceOrientations ?? .all } }
